Hey, Makers! The ultimate guide to building a stunning 3D printed tugboat (from design to maiden voyage)**
There’s something undeniably fascinating about tugboats. Their rugged physique, powerful appearance and tireless work ethic made them an icon of the port. Capturing this spirit in detailed, functional models is a rewarding challenge for any manufacturer. 3D printing has revolutionized the hobby, allowing us to create complex geometric shapes that were previously only possible by experienced craftsmen. In this guide, we’ll walk you through the process of designing, printing, assembling and finishing your own impressive 3D printed tugboat, and explain how professional services like ours at GreatLight can enhance ambitious projects.
Why a tugboat? Perfect for 3D printing!
Tugboats are an ideal subject for 3D printing projects:
- Rugged form: Their blocky, strong shape lends itself well to layer-by-layer additive manufacturing, minimizing the need for complex support structures commonly found in smooth boat hulls.
- Rich detail potential: From the unique tow bitts and winches on the deck to the pronounced fenders and wheelhouse, tugs offer excellent opportunities for complex, multi-part designs.
- Functional possibilities: Easily integrate features such as functional driveshafts and RC components connected to the electric motor for true radio control.
- Scale flexibility: Print small, detailed desktop models or dramatically scale up impressive watercraft models.
Set sail: prepress planning and design
-
Concept and scale:
- Purpose: Decide if it will be a static display model or a remote control boat. This greatly affects design complexity, material selection and internal structure.
- scale: Choose a manageable size for your printer and intended use. Common fan ratios such as 1:50 or 1:100 work well. For RC, consider buoyancy and component size.
- refer to: Collection of real tugboat photos and plans. Understanding the hull lines, deck layout and superstructure details are crucial to authenticity.
-
Get the model:
- download: There are many excellent tugboat designs available on platforms such as Thingiverse, Cults3D or MyMiniFactory. Search keywords such as "remote control tug boat," "tugboat model STL," or a specific name, such as "Z-Tech tugboat."
- CAD design: For the ultimate customization or treatment of a unique tug, design your own tug in CAD software like Fusion 360, Tinkercad (for beginners), or Blender. Focus on waterproofing the hull mesh and logically segmenting parts for printability.
- Material selection: the key to success!
- People’s Liberation Army: The most common choice. Easy to print, affordable and available in a variety of colors. Suitable for static models or smaller lightweight RC hulls. limitation: Poor heat resistance and UV resistance; will deform in hot environment/sunlight.
- Polyethylene glycol: Great alternative to PLA. Offers better toughness, impact resistance, flexibility, heat resistance (up to ~80°C) and UV resistance. A little more difficult to print, but highly recommended for RC boats prone to bumping.
- ASA: It is superior to PETG and ABS in terms of UV resistance and heat resistance (~90°C+), making it very suitable for ships that can see sunlight. Warpage is minimal compared to ABS. Ideal for hull and deck components exposed to the elements.
- Nylon (PA): Suitable for high performance remote control tugs requiring extreme toughness, impact resistance and slight flexibility. Printing without specialized equipment (hotter nozzle/bed, drying filament, housing) is challenging.
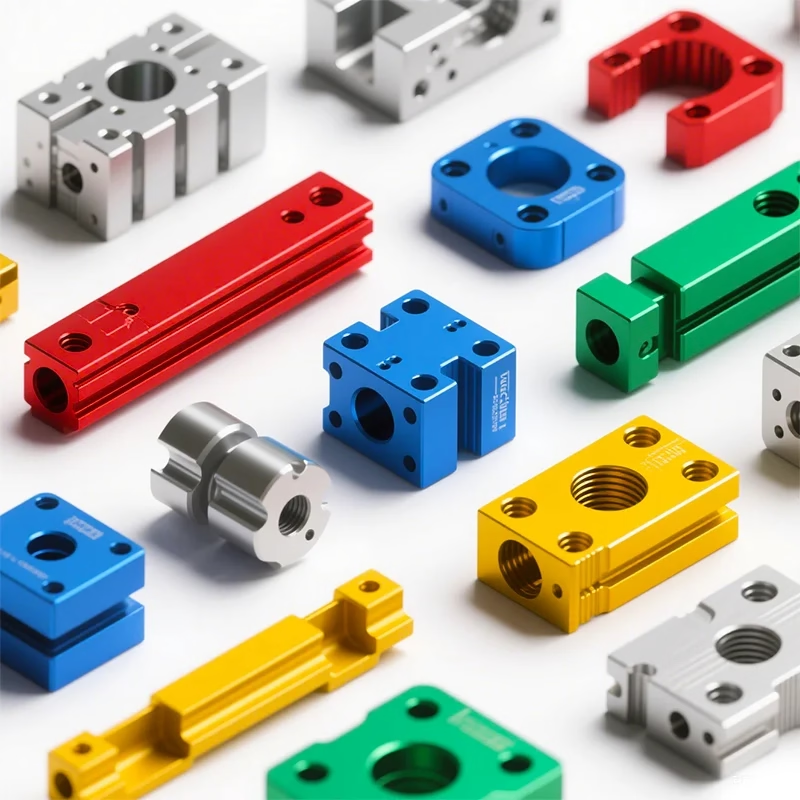
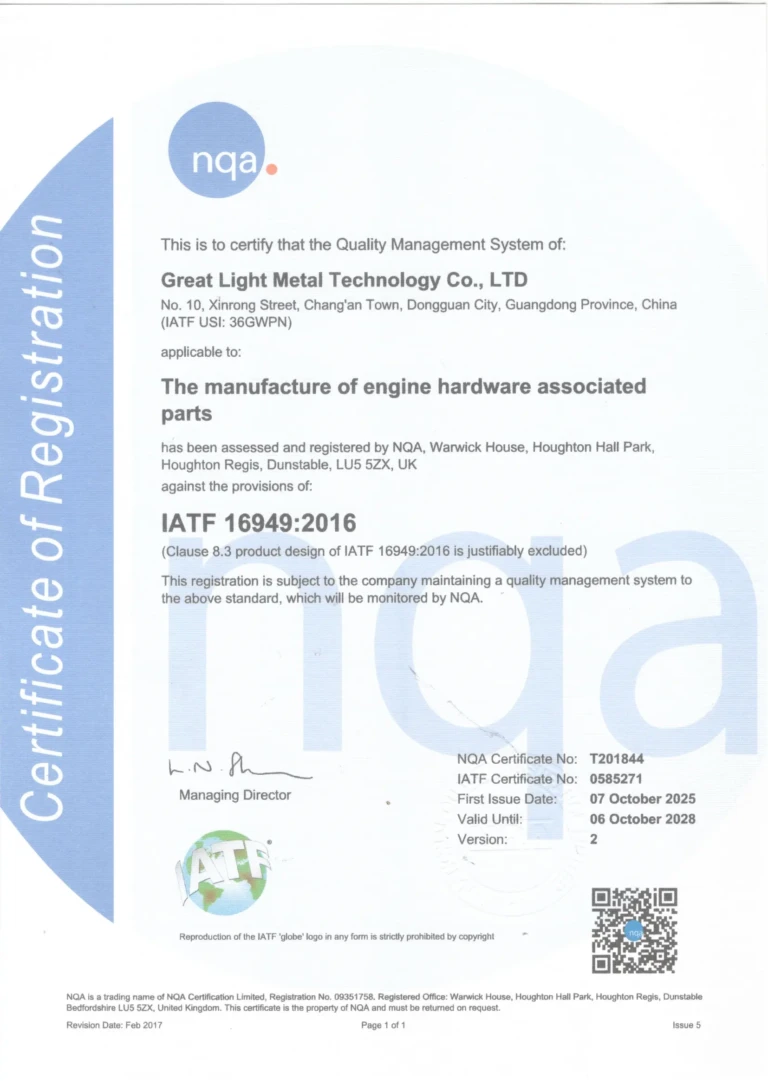
- Are key components made of specialized metal? While an entire hull might be ambitious for most desktop printers, this is Hongguang Metal 3D Printing Sparkling. Highly stressed components such as custom high-torque propeller shafts, durable rudder linkages, specialized tow hooks or intricate brass/bronze details on winches can be expertly manufactured via DMLS/SLM metal 3D printing. We can handle complex geometries in solid metals like stainless steel (316L), aluminum (AlSi10Mg) and even titanium, ensuring longevity and performance unmatched by desktop printing. Post-processing options like polishing or electroplating allow for stunning metal finishes.
Print your tugboat: settings for smooth sailing
-
Slicing strategy:
- Floor height: 0.15mm – 0.20mm Balance details and reasonable print time. For very fine superstructure parts use 0.1mm.
- Filling density:
- Static models: 10-20% gyroscope or cube for lightness and structure.
- RC hull and load-bearing parts: 30-50% helix or cube for strength. Density is higher (~80-100%) around the motor mount, shaft outlet and rudder post.
- Perimeter/Walls: 3-4 girth for increased strength, especially on the hull below the waterline.
- support: Use trees or organic supports for overhangs. Critical for cabin details, under bow/stern overhangs and inside complex openings. Make sure the interface is well supported but removable. Consider designing parts to minimize supports.
- direction: Hulls are usually best printed upside down (deck facing down) to get a smooth bottom. This requires a lot of support inside the hull, but ensures a smooth waterline. Printing on its sides minimizes internal support, but requires careful support on the curved hull sides and finishing seams. Orient small detail parts for optimal surface quality on visible faces.
- Brim/raft: For tall and narrow superstructure parts, use edges (4-10mm). Rafts can help with warping issues on large, flat hull sections, especially ABS/ASA.
- Key printer settings:
- ensure perfection horizontal bed.
- Adhesion: For large parts, it is recommended to use glue sticks (PLA, PETG, ASA) or specialized bed adhesives (such as Magigoo).
- Hot end/bed temperature: Calibrate carefully! Use a temperature tower appropriate for your specific filament. ASA typically requires ~240-260°C nozzle and 90-110°C bed inside the shell.
- speed: Medium speed (40-60mm/s) can bring better quality and inter-layer adhesion to structural parts.
- withdraw: Carefully adjusted to minimize hard-to-remove stringing on the inside of the model.
After printing: assembly and finishing touches
- Support removal: Carefully remove the supports. Use flat nose pliers, needle nose pliers and a utility knife. Patience is the key! Soaking water-soluble supports can help with troublesome PLA models.
- Cleaning and polishing:
- Use a knife or sander to remove strings and spots.
- The seams between the parts are sanded: start with a coarse grit (120-220 grit) and work your way up to a finer grit (400, 600, or even 1000+ grit for a super smooth surface). Wet sanding helps control dust.
- Filling gaps/joints: For larger gaps, use filling putty (e.g. Bondo, Tamiya putty). After curing, sand it smooth with sandpaper.
- assembly:
- Do it first and then close it! Make sure all parts are properly aligned before applying adhesive.
- Adhesive:
- PLA/PETG/ASA: Cyanoacrylate (CA/Super Glue) is suitable for most structural bonding. Use accelerators with caution. Plastic adhesives work but cure slowly. For critical RC joints, consider using epoxy.
- PROFESSIONAL BONDING: Structural epoxy is ideal for large ship hulls or highly stressed reinforced concrete joints.
- RC ASSEMBLY: ** Carefully install the motor, shaft (make sure there is a watertight seal!), servos, battery and receiver. Waterproof electronic compartments are non-negotiable!
- Primer and Paint:
- Primer: Use a high-build plastic primer (spray can or airbrush) to unify the surface, highlight imperfections (for final sanding), and provide a key for paint.
- painting: Use good quality amateur acrylics (Tamiya, Vallejo) or enamel paint. Airbrush produces the best smooth surface. Multiple thin coats are better than one thick coat. Allow each coat to cure completely.
- color: Research specific color schemes for realism. Classic tugboats usually come in bright red, blue or yellow with a white superstructure.
- Detailed description: Hand paint deck equipment, railings, windows using a fine brush. Decal/sticker on company logo, name or registration number. Guoguang advantages: For metal badges, nameplates, or custom ports in real metal, our precision metal 3D printing and plating provide unparalleled realism and durability.
- Finish:
- Glossiness: Suitable for hulls fresh off the dock.
- Satin/semi-gloss: Realistic for decks and superstructures.
- Matte: Suitable for non-slip areas of decks.
- Application final clear coat (glossy or matte) protects your paint and decals, especially important for RC boats located near water.
Conclusion: From digital models to waterborne wonders
Building a 3D printed tugboat is a journey that combines creativity, technical skills and patience. It demonstrates the huge potential of desktop 3D printing to realize complex functional models that inspire joy and fascination. Whether you’re creating a detailed static replica or designing a remote-controlled boat that can cruise your local pond, there’s a huge sense of satisfaction in seeing the final model (born from filament and code) floating proudly.
The choice of materials has a large impact on the results, from familiarity with PLA to the robustness of PETG and ASA for demanding applications. When your project requires strength, durability, and metal authenticity beyond the capabilities of a desktop printer—whether it’s an intricate workpiece or stunning decorative detail—keep in mind: Gretel is ready to be your precision partner. Our advanced metal 3D printing capabilities, extensive materials library (stainless steel, aluminum, titanium, and more) and comprehensive one-stop post-processing services (including heat treatment, support removal, machining and polishing) ensure that even the most ambitious custom metal parts meet your exacting standards, enhancing your creation and ensuring its longevity.
So set your course, download or design your tugboat, and dive into the rewarding world of 3D printed naval modeling. Smooth sailing!
FAQ: Answers to your tugboat building questions
Question 1: How large a tugboat hull can actually be printed on a standard desktop printer?
A1: Common coreXY or large i3 printers (e.g. 300×300 mm) can handle a tugboat hull length of approximately 60-80 cm (24-32 inches) when printing in multiple parts (e.g. front/center/rear). Slicers allow for clever slicing. Larger models require professional large format printing or a dedicated DIY setup. Consider your printer’s print volume early in the design phase.
Q2: Is PLA really suitable for remote control tug hulls?
A2: People’s Liberation Army able work for smallusing lightweight remote control hulls carefully Soak in cold water for a limited time. However, it is Not recommended. Over time, PLA becomes brittle when wet and softens significantly when exposed to warm water or sunlight. polyethylene terephthalate or ASA An excellent choice for RC hulls due to its better water resistance, toughness, impact resistance and higher thermal stability. They’re worth the slightly steep learning curve.
Q3: How do I make my tugboat watertight?
A3: Several key steps:
- Seam sealing: Carefully apply waterproof marine epoxy along the line all Internal seams of the hull. For larger gaps, epoxy putty can be used to fill them. Coat overlapping parts before assembly.
- Shaft seal: Use a properly stuffed tube with lubricant or a mechanical lip seal designed specifically for model boats where the propeller shaft exits the hull.
- Rudder post: The seal exits in a similar manner to the drive shaft.
- Deck hatch: Make sure any access openings, such as battery hatches, have waterproof gaskets designed specifically for the model.
- Inner coating: For additional coverage, place the entire in Apply a thin layer of epoxy or specialty liquid electrical tape to the hull below the waterline (confirm compatibility with your filament).
- Float test: Before installing electronics, test an empty hull in the water for an extended period of time!
Q4: Where would I use metal 3D printing on the tugboat model?
A4: Metal parts excel where superior strength, durability, wear resistance, weight (as ballast) or authentic appearance are required:
- Functionality: Highly stressed propeller shafts and struts, strong rudder stock and hinges, custom tow hooks/bollards (capable of handling real loads), complex metal gears for winches.
- Ballast: Dense metal panels are integrated into the keel design.
- cosmetic: Highly detailed portholes, vents, nameplates, bells, forged anchor details (especially when plated in brass/bronze). huge light DMLS/SLM technology is exclusively used to produce these complex, high-precision metal parts.
Q5: How do I power my remote control tug?
A5: Most remote control tug boat enthusiasts use:
- engine: Brushed DC motors are simple and low speed (usually reduced). Brushless motors offer higher power and efficiency for larger/faster models, but require a different ESC.
- ESC (Electronic Speed Controller): Must match motor type (brushed/brushless) and current draw. Waterproof or water-cooled ESCs are preferred.
- Servo: For rudder control. The waterproof rating is crucial.
- Recipient: Waterproof remote control receiver (or housed in a waterproof housing).
- Battery: Lithium polymer (LiPo) is the standard material for RC and provides high capacity and power. Must be packed in a waterproof compartment! Use NiMH for an easier setup.
- radio: Standard hobby grade 2.4GHz transmitter/receiver.
Q6: Where can I get professional help for complex parts?
A6: For parts that are outside the scope of desktop printing, especially complex, high-strength or custom metal parts, working with an experienced manufacturer is key. huge light Specialize in this. Utilizing advanced industrial metal 3D printers (DMLS/SLM), we use stainless steel 316L, aluminum alloy, titanium and other materials to turn complex digital designs into reality. Our services cover the entire workflow: expert file analysis, optimal direction/strategy, printing, thorough post-processing (support removal, heat treatment, machining, surface finishing) and strict quality control. [Customize Your Precision Metal Parts Today!]*
(Replace the text in brackets with your actual CTA/link)


