Unlock Quick Prototyping: Your Comprehensive Guide to DIY PCB Milling Machine
So you already have an excellent electronic idea to burn a hole in your notebook, but it feels painful to wait for weeks to make the board. Input DIY PCB Milling: A powerful technology that empowers engineers, students, and manufacturers to transform digital designs into physical circuit boards for workbenches. It provides incredible freedom, rapid iteration and control over the design test cycle. But how exactly does it work? What are the trade-offs? Is this always the right solution? From hobby projects to professional prototypes, let us uncover the mystery of the world of PCB milling.
Core idea: Subtraction manufacturing on the table
Unlike commercial PCB manufacturing using chemical etching and lithography, the principle of milling machines runs Subtraction manufacturing. Think of it as precise engraving.
- design: You start with a PCB design file (standard Gerber format, usually accompanied by a drill file – NC Drill or Excellon).
- Cam treatment: Dedicated CAM (Computer-Aided Manufacturing) software analyzes your Gerbers. It converts them into precise tool paths – complex instructions that tell the milling machine where the copper needs to be removed to isolate the traces, that the drill bit needs to be used for the VIA/component, and that its routing board profile is routed.
- Milling: Use a high-speed rotating spindle equipped with an ultra-fine drill bit (usually a V-shaped one). "engraving" Trace drill bits and small drill bits), the machine is physically "Mills" Remove harmful copper from pre-coated copper laminates such as FR-1 or FR-4.
- result: Look! A prototype PCB appears, ready for component components. No chemicals, masks or multi-day shipping delays.
Navigation DIY PCB factory types
DIY landscapes have flexibility. Your choice depends to a lot on budget, technical skills and required accuracy:
- Modified CNC router: DIY CNC routers designed for wood or plastic can sometimes be used for PCB work. This is usually The most economical Entrance point If you already have one. advantage: Use existing hardware. shortcoming: Good PCB results usually require significant modifications (spindle upgrade, accuracy calibration, dust control). Accuracy may be limited.
- Special desktop PCB mill kit: These kits are tailored to electronic prototypes, often with optimized frame stiffness, high RPM spindles and suitable controllers (usually open source like GRBL). Thinking about similar machines "Bantam Tools" Or low-cost universal suites from online retailers. advantage: Specially built, easier to set up, better centrifuge accuracy. Huge community support. shortcoming: The cost is higher than modifying an existing router. Substance size limit. Fine tuning may still be required.
- Scraping machine: The ultimate DIY challenge! Built from scratch using components such as aluminum extrusion (T-Slot), precision rod/bearing, stepper motor, lead screw/ball screw and open source controller boards (e.g., Arduino/Ramps or derivative GRBL/MARLIN). advantage: Maximum customization and deep understanding. Potential cost savings depend on the components. shortcoming: A lot of engineering knowledge, time investment and troubleshooting skills are required. Achieving true accuracy is challenging.
Anatomy of DIY PCB mills: Key components explain
Understanding key parts helps you whether you are building or buying a kit:
- Framework/Infrastructure: Base. it must Rigid and stable to minimize vibration ("chatter") – Painting with fine trace milling. Aluminum extrusion, thick plate or composite materials are common. Heavy = good.
- Linear motion system: Responsible for precise XYZ movement. High-precision linear guides are used in conjunction with ball screws, with minimal rebound (play) preferred and excellent position accuracy over simple rod/bushing systems or belts. Leadscrews (with Antibacklash nuts) are a popular tradeoff to balance cost and performance.
- Spindle: Your cutting head. Crucial! It requires very high rpm (usually 20,000-60,000 rpm+) to clean in copper with small pieces. Running low is crucial. DC spindle is budget, but noisy/brush wears. Brushless DC (BLDC) spindles are excellent, providing high power, low noise/vibration and longer life. The spindle mount must be strong and adjustable. Tool fixtures (such as ER11 clips) require high precision.
- Control electronics: The brain and nerves of surgery. Usually involved:
- Microcontroller board: Arduino Uno/Nano clones running GRBL firmware are standard. More powerful options such as ESP32 boards are emerging.
- Motor: Control the stepper motor that drives each shaft. The TB6600 or DM542T is a reliable choice.
- power supply: Enough ampere/voltage for the driver and spindle.
- Connect to the system: USB from the computer usually provides logical control signals and power; separate power supply for the spindle drive/motor.
- Software Stack: The glue holds it all together. Main parts:
- Controller: Get the G-code command. Popular: Universal Gcode Sender (UGS), Candle, Lasergrbl, BCNC.
- CAM software: Convert Gerber/Drill Files → Machine Ready G Code for PCB Functions. Basic! Options include FlatCam (free/open source), Coppercam (commercial), Topor Cam Shield modules.
- CAD: Used for initial schematic/board designs (e.g. Kicad, Eagle, Altium Designer).
Build your own: Key considerations and pitfalls
While a complete build guide is beyond this scope, it is critical Areas that need careful attention yes:
- Rigid, rigid, rigid: This is not optional. Frame bending and motor vibration manifests as rough tool markings, broken drill bits and placement features. Overengineering is wise. Strengthen joints.
- Calibration is King: The machine must move perfectly in an orthogonal (right corner) path. The frame square, table (relative to the z-axis balance) and rebound compensation settings are crucial. Expect to spend a lot of time here. Digital dialing metrics are your ally.
- Tool paths are important: The CAM software must be configured accurately:
- Trace isolation: Select the appropriate one "Quarantine Strategy" (Contours with tradition and climbing milling – affect edge quality). Best setting "offset" (must be isolated from each other and ground plane).
- drilling: Accurate Z-depth calibration and correct drilling speed/feed are required. Drill pecking helps.
- Cutting depth: Balancing behavior! Tai shallow leaf copper bridge. Too deep damage to the substrate. Copper thickness (typical 1 ounce/35 µm, sometimes 0.5 ounce/17 µm) is the key data for CAM.
- Tool selection and management:
- V position: Dominant isolation ("engraving"). Choose the angle carefully (e.g. 10°, 15°, 20°, 30°). The 30° surface produces a wider trace path than 15°. The thinner angle reaches a narrower isolation path, but is more prone to rupture. It is recommended to have backup!
- End Mills: For drilling holes (tiny holes!), routing profiles, cleaning large copper areas (less passes than outlined for each trace) and slots. It is crucial to match the drill bits in the diameter with the drill bit files and cam settings.
- labor force: Firmly fixing the bare copper plate is extraordinary. Adhesives, pins, vacuum meter – Each has advantages/disadvantages. Avoid excessive force causing plate elasticity!
- Dust and noise control: Not charming, it is essential! Milling dust (especially FR4’s fiberglass!) is annoying. Build/buy effective extractions, such as vacuum nozzles located at the cutting head. Enclosed machines help with noise and dust. Wear the right PPE.
Embrace reality: Challenges and limitations
DIY milling is excellent, but not a panacea for every PCB requirement:
- Exquisite features? Be careful to trample: Achieving reliable consistency in <0.2mm (8MIL) or surface mount assembly (QFP, Fine-Pitch BGA) requires excellent machine calibration, vibration damping and absolutely sharp spots. This is a challenging and error-prone DIY.
- Material Difficulties: FR-1 (phenols) is much cleaner than FR-4 (fiber glass). FR-4 passivates debris quickly, creating abrasive dust and stratification risks around holes/vias unless very precise. Polyimide (flexible PCB) is extremely difficult. Multi-layer? Forgot to DIY.
- Time is money: A simple double-sided panel with drilling and profile can take 30 minutes or more depending on the complexity and accuracy settings. Compare this to the near-inherent time of chemical etching (although set/chemical processing is more). Mass production is unrealistic.
- Reliability and maintenance: The drill bit breaks. The motor skips the steps. Bearing thread. Dust can cause chaos. Periodic calibration and troubleshooting are expected to be part of the DIY experience.
- VS.Etching: For very simple single-layer boards, chemical etching may be faster and cheaper if you safely deal with chemicals and produce low volumes. Milling avoids chemicals, but requires a lot of hardware investment and setup.
Important: Authorize your prototypes and know when to expand
DIY PCB Milling unlocks incredible superpowers: fast, on-demand PCB creation. It promotes creativity, accelerates the design test cycle (usually just changing digital files!), and can complete the entire physical production chain by itself, giving people deep satisfaction. Whether you choose a suite or embrace the full DIY build journey, you will gain a priceless hands-on understanding of the CNC principles.
However, tradeoffs – limitations of feature size, material compatibility, throughput time and inherent reliability are real. It is a great tool for low-volume low-complexity prototypes (especially single/double-sided designs with moderate trace widths).
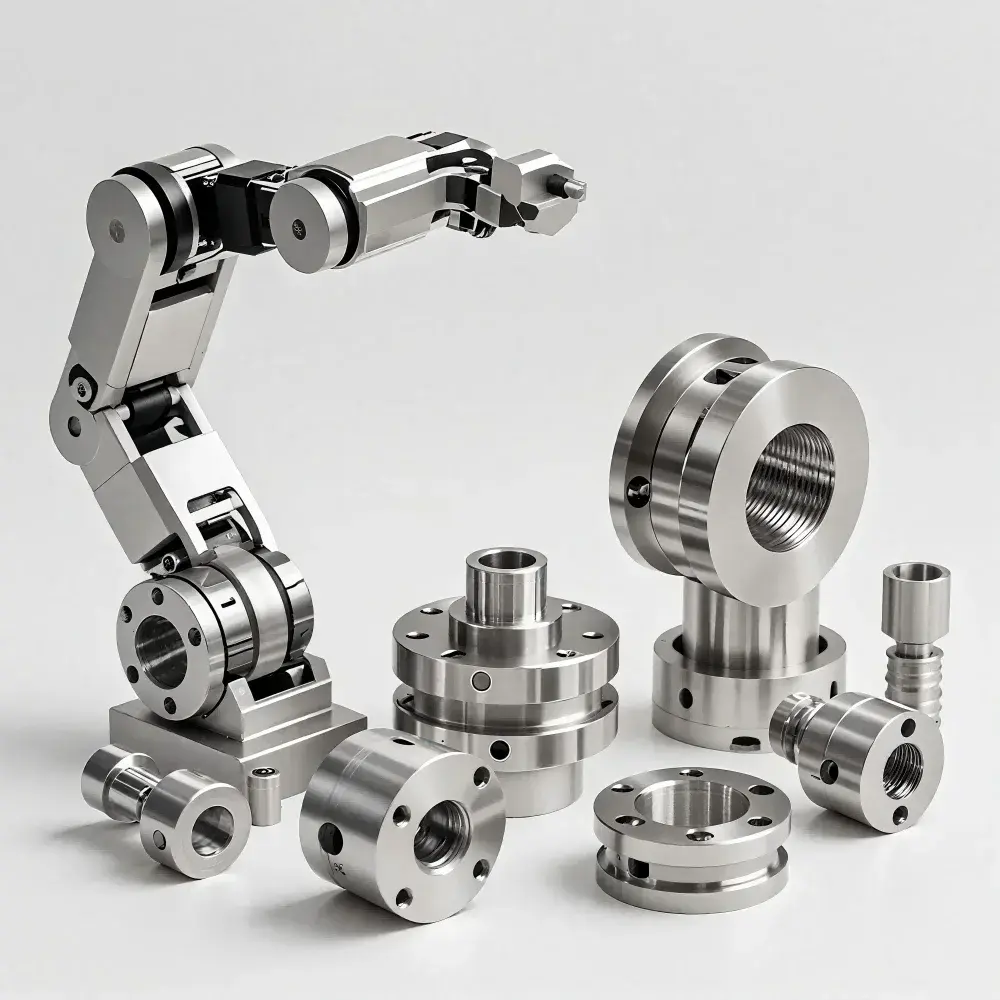
When precision, reliability, speed or complexity becomes critical – when fine components, advanced materials (aluminum alloys, copper, stainless steel exceed PCB), complex geometry or medium-to-high production demands enter the equation, the DIY method reaches its practical limit.
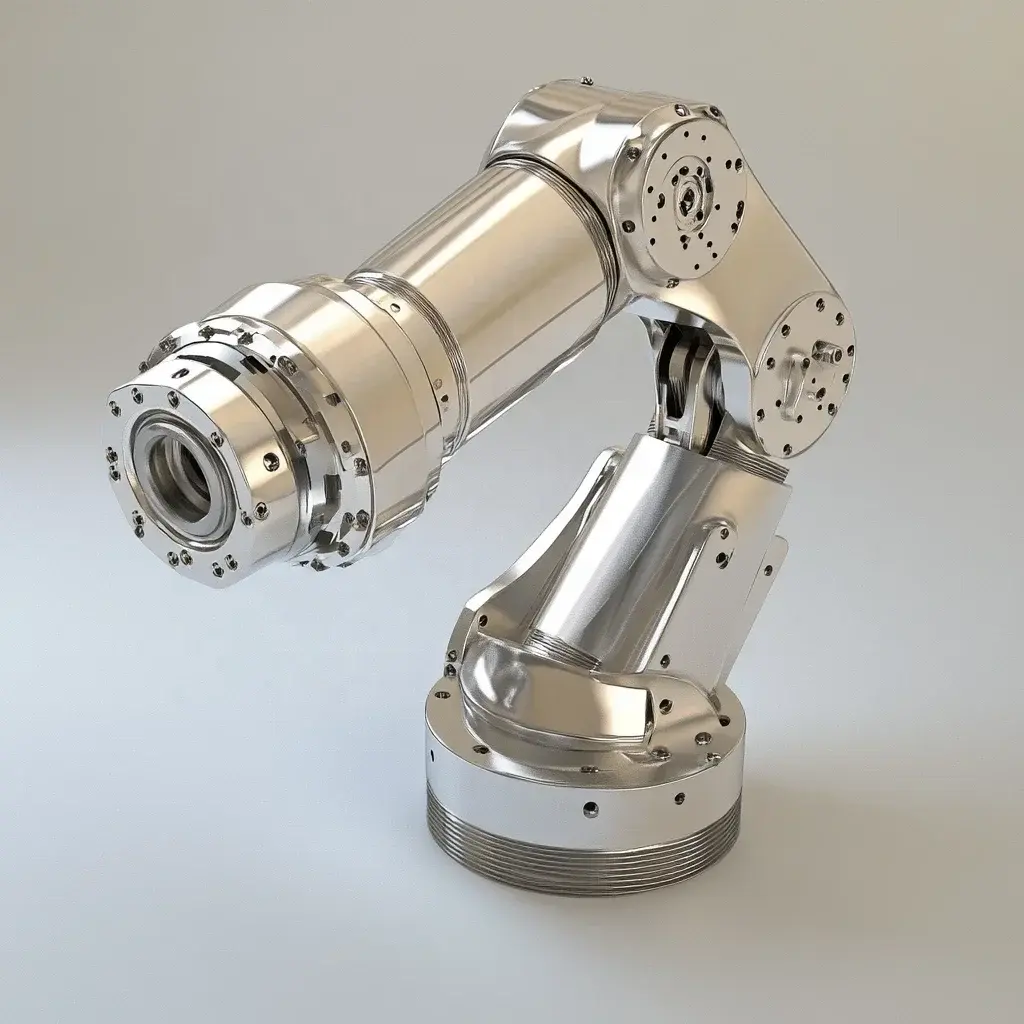
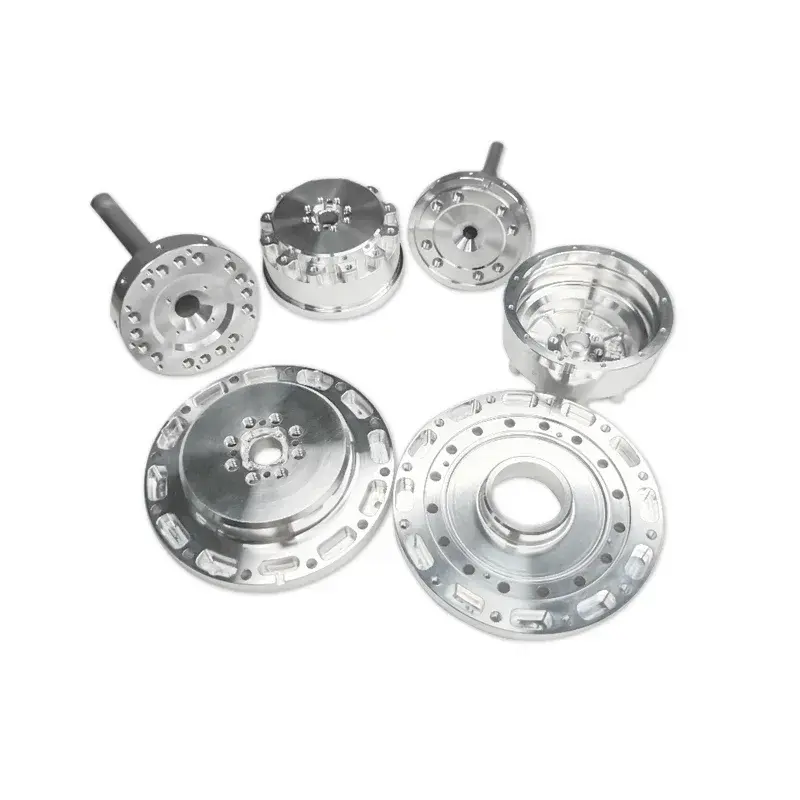
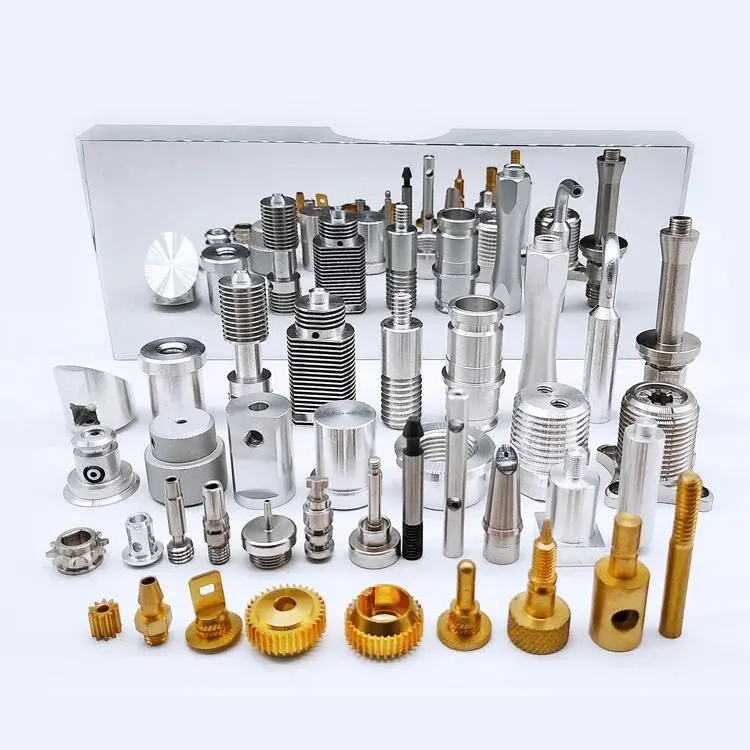
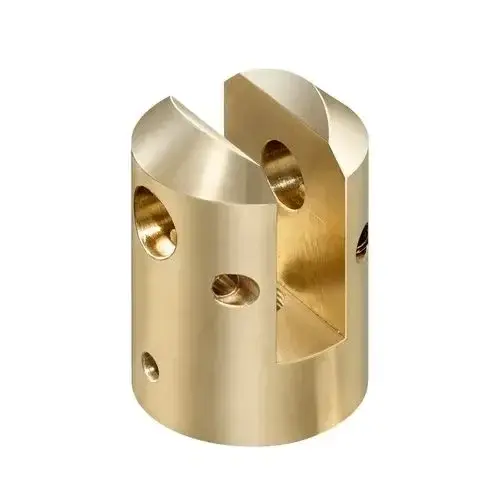
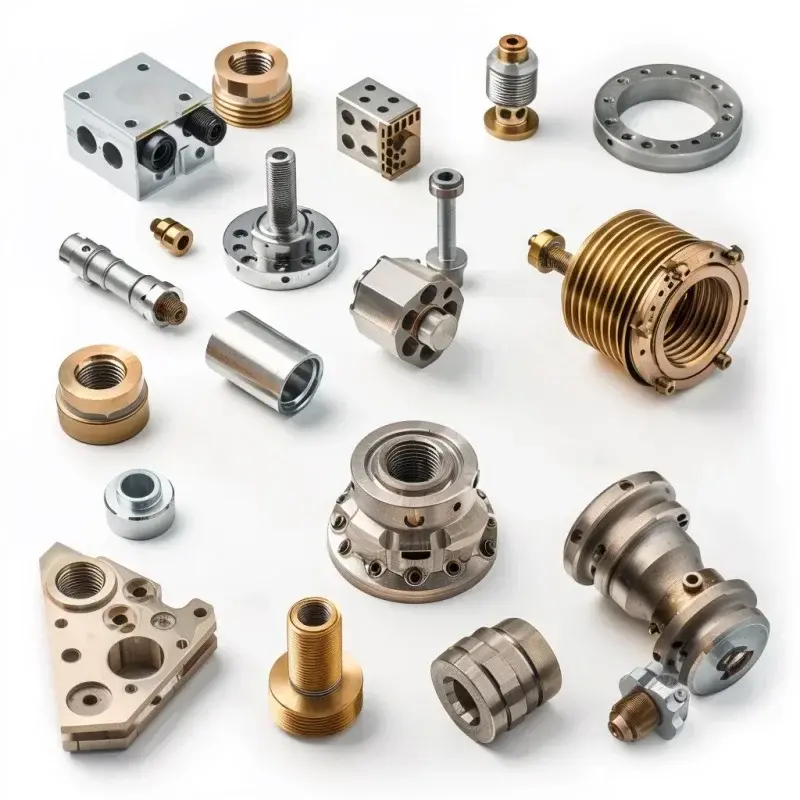
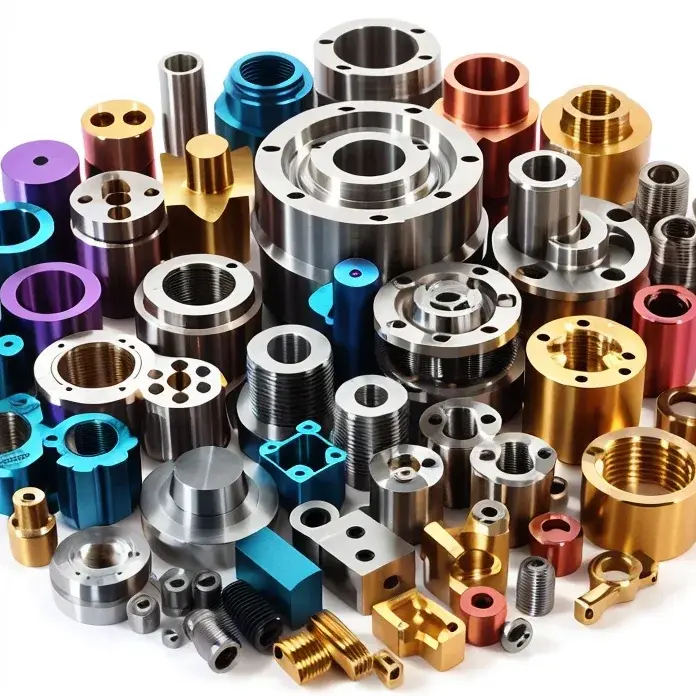
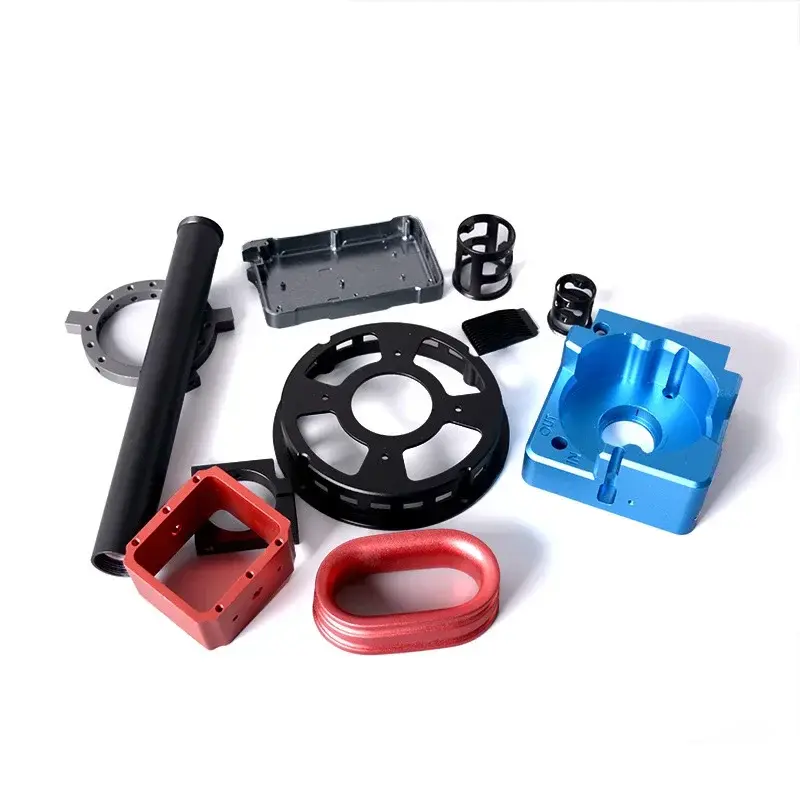
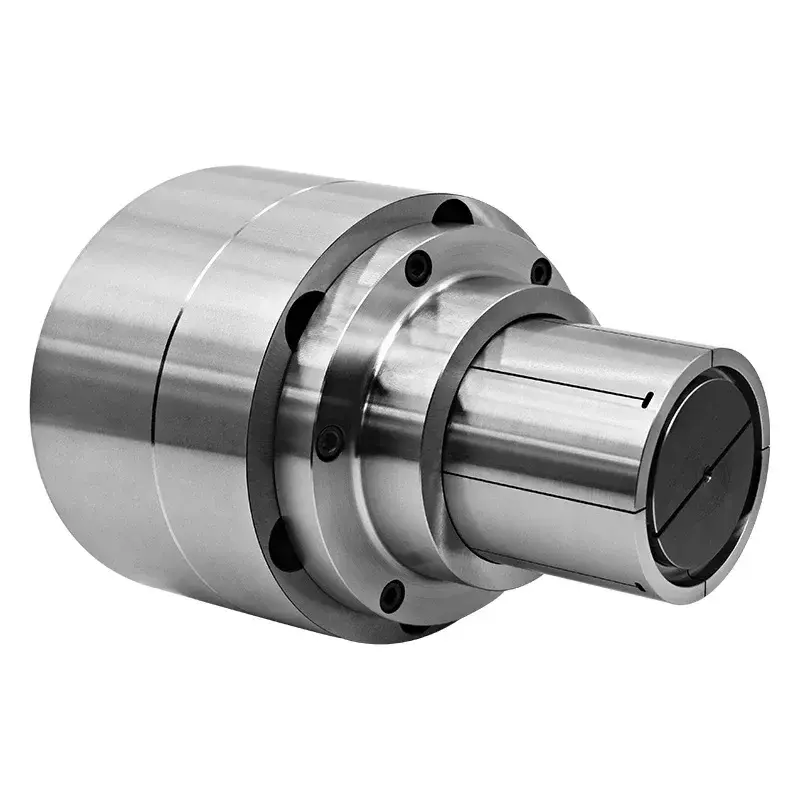
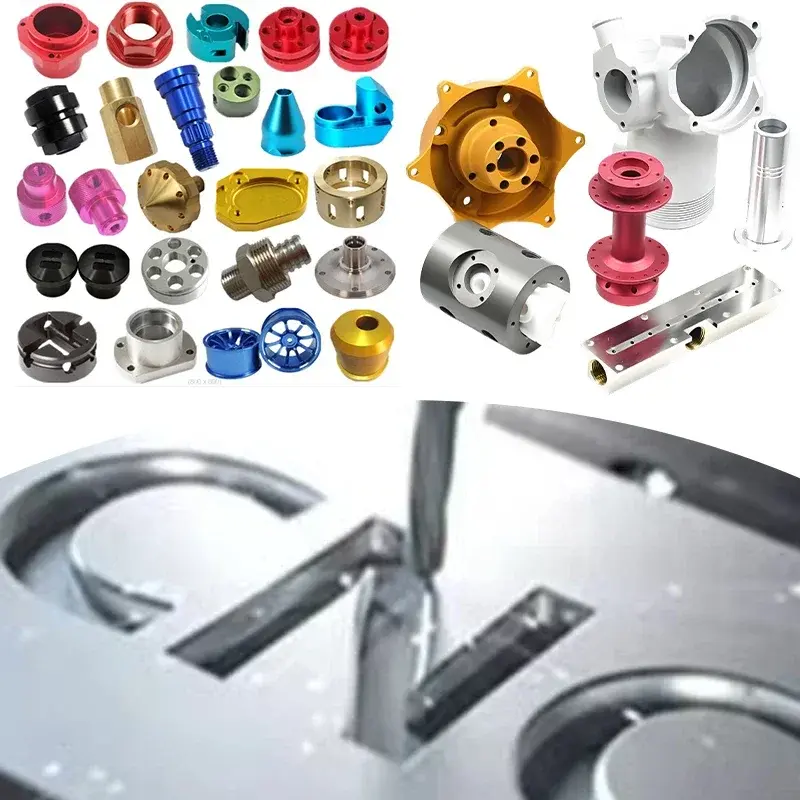
Here, like Greatlime, professional CNC machining services become an indispensable partner. We use The most advanced professional five-axis CNC system With unrivalled rigidity, precisely calibrated environment, sophisticated automated tool changers, optimized high-pressure spindle tool cooling, and industrial-grade CAM expertise. We deal with various materials (plastics, stainless steel, aluminum alloys, titanium, brass, copper, etc.), providing surface finishes, complex geometry and tolerances that are simply unavailable for hobby equipment. We provide Comprehensive engineering support and one-stop service From machining to precise completion. result? Parts such as digital models are delivered reliably to meet the rigorous needs of aerospace, medical care, robotics and high-performance electronics production.
DIY PCB milling allows you to innovate quickly and learn deeply. Professional CNC services ensure that your final product works perfectly and meets market demands. Understand everyone’s strengths for a comprehensive development journey. Considering a sophisticated complex prototype that requires precise CNC capabilities? Get the best quotes quickly: Greglight CNC machining service.
Frequently Asked Questions about DIY PCB Milling Machines
-
Q: Can I use a DIY machine to mill a double-sided PCB?
- one: Yes, but it’s going to be challenging. You need:
- Extremely high precision in board flip/alignment.
- 4-axis control or assembly of manual boards with perfect origin alignment (clutch critical!).
- Careful cam setup is used for drilling (acting as an alignment reference) and plating (if required – DIY plating is complex).
- A commercial suite designed for the two-sided help of alignment features.
- one: Yes, but it’s going to be challenging. You need:
-
Q: What is the most common problem in breaking the engraving position?
- one: Excessive vibration ("chatter") The #1 killer caused by lack of machine stiffness, improper tool speed/feed or too deep. The drill bit touches the substrate too deep (especially breaking through FR4 fiberglass) and Physical conflict (Error Z probe/destination, unexpected material movement) is nearly seconds. Using blunt positions will greatly increase the chance.
-
Q: Is my 3D printer (or laser cutter) converter kit useful for PCB milling?
- one: Cartesian printers exist for conversion kits. although Possible For soft materials, they are usually Deficiencies of reliable PCB. They lack the stiffness and vibration management required for copper grinding. The spindle RPM is usually too low and the Z-Depth control is insufficient. The results are usually bad and very frustrating. Invest in tools designed for milling from the very beginning.
-
Q: Milling and etching: Which one is cheaper?
- one: for A very simple wooden boardIf you ignore the setting time/safety, it can be cheaper (HCl peroxide mixture + copper cladding cost). For prototypes and iterative changesMilling wins: saves chemistry and setup with every revision. Used to make multiple copies Fixed designetching may be cheaper. Consider hidden costs: milling debris; safety equipment and chemical disposal for etching. factor.
-
Q: My DIY mill fights FR4 fiberglass. Are there any skills?
- one: FR4 is tough! try:
- Strict use Pecking cycle Drill holes to remove the chip and dissipate heat.
- Keep your V position Sharp. FR4 blunt tool quick (consider professional PCB bit).
- Slightly reduce spindle rpm? Experiment carefully to find stability.
- Significantly reduce feed rate (slower cutting = less stress, hotter tool).
- Minimize Pass: If possible, milling is only a sign rather than clearing large ground areas. Route path. Reduce Z-Depth.
- Consider using FR-1 (phenol) where possible! This is much easier.
- Use heavy duty dust extraction!
- one: FR4 is tough! try:
- Q: When should I absolutely not use DIY mills, but look for professional services like Greatlime?
- one: Choose professional CNC processing when needed:
- Trace/spacing is less than ~0.15mm.
- Consistent production is not just a few identical boards.
- Multi-layer board (4 layers).
- PCB substrates require difficult processing (polyimide is ceramic).
- Non-PCB components require high precision (metal housing, complex mechanical parts).
- Tolerance is less than 0.05mm.
- Complex 3D profiles machining with 4 or 5 axes.
- Heavy processing in difficult materials requires high material removal rates.
- Complete reliability and guaranteed delivery schedule.
- one: Choose professional CNC processing when needed:
Embrace the DIY spirit and explore and use professional abilities to produce!