CNC Machines and VEX Robotics Parts: Your Complete Fabrication Guide
Introduction
This FAQ addresses educators, robotics teams, hobbyists, and fabricators exploring CNC machining for VEX Robotics components. We clarify capabilities, material choices, design pitfalls, and cost-effectiveness to help you decide whether CNC is viable for custom or replacement VEX parts.
I. Understanding CNC Machining and VEX Compatibility
Q1: Can CNC machines produce functional VEX Robotics parts?
A1. Core Answer:
Yes, CNC machines (mills, lathes, or routers) can fabricate precise VEX Robotics parts compatible with standard kits.
A2. In-depth Explanation:
VEX parts require tight tolerances (±0.005 inches) for interlocking mechanisms and gear alignment. CNC machines achieve this via computer-guided tools, unlike 3D printing which may warp or have layer inconsistencies. Injection-molded OEM parts use ABS plastic, but CNC supports alternatives like Delrin, aluminum, and aircraft-grade plywood—ideal for high-stress parts like gears or structural brackets.
A3. Action Guide:
Verify CAD model dimensions against VEX’s official technical drawings. For structural components, use simulation tools to test load distribution before machining.
Q2: Are CNC-made VEX parts competition-legal?
A1. Core Answer:
In official VRC/VEX U competitions, rule R3c explicitly permits custom parts if identical in material function.
A2. In-depth Explanation:
Rules allow non-OEM parts if dimensions match stock components and they don’t introduce unfair advantages. CNC parts pass inspection because they replicate geometries precisely. Critical note: Anodized aluminum or carbon fiber may violate material rules—always cross-check with the current season’s Game Manual.
A3. Action Guide:
Document machining specs and retain material certifications. Submit parts to referees pre-tournament with dimension overlays. (Reference our "VEX Competition Compliance Checklist" for detailed guidance.)
II. Design and Material Selection
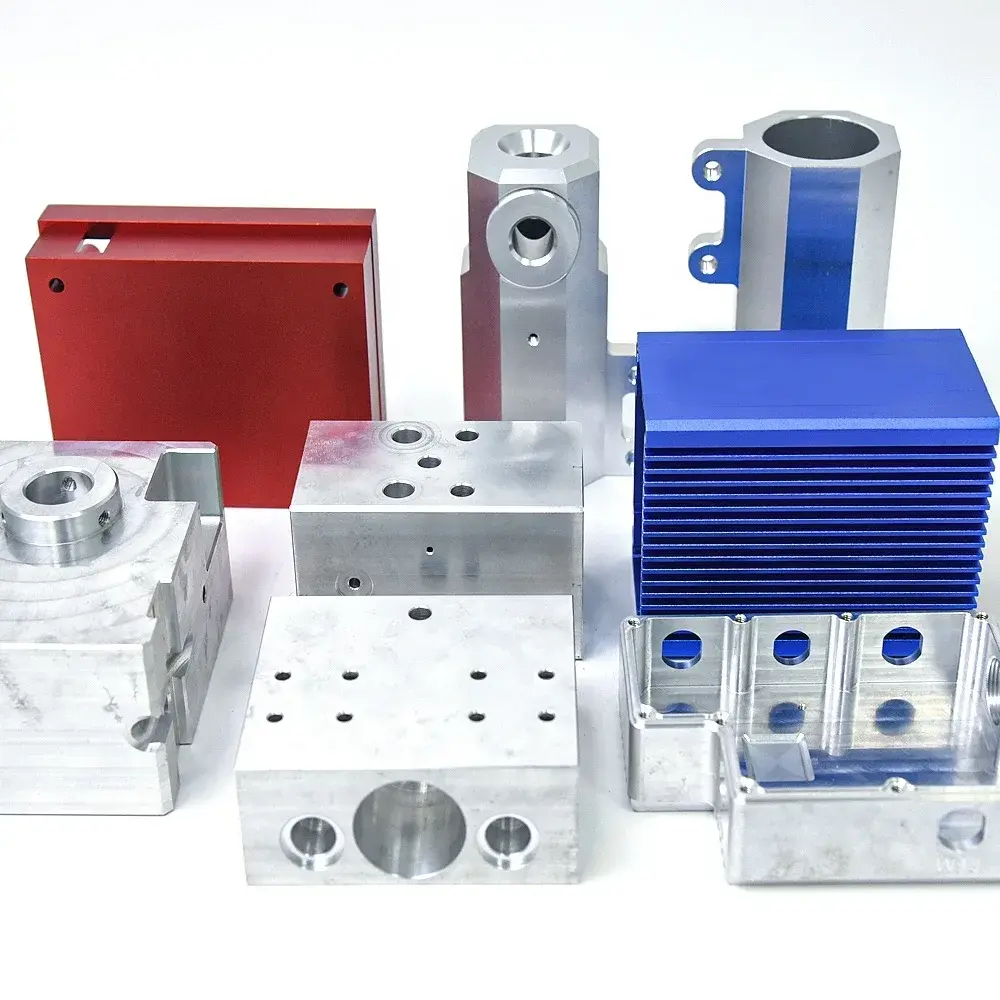
Q3: What materials work best for CNC’d VEX parts?
A1. Core Answer:
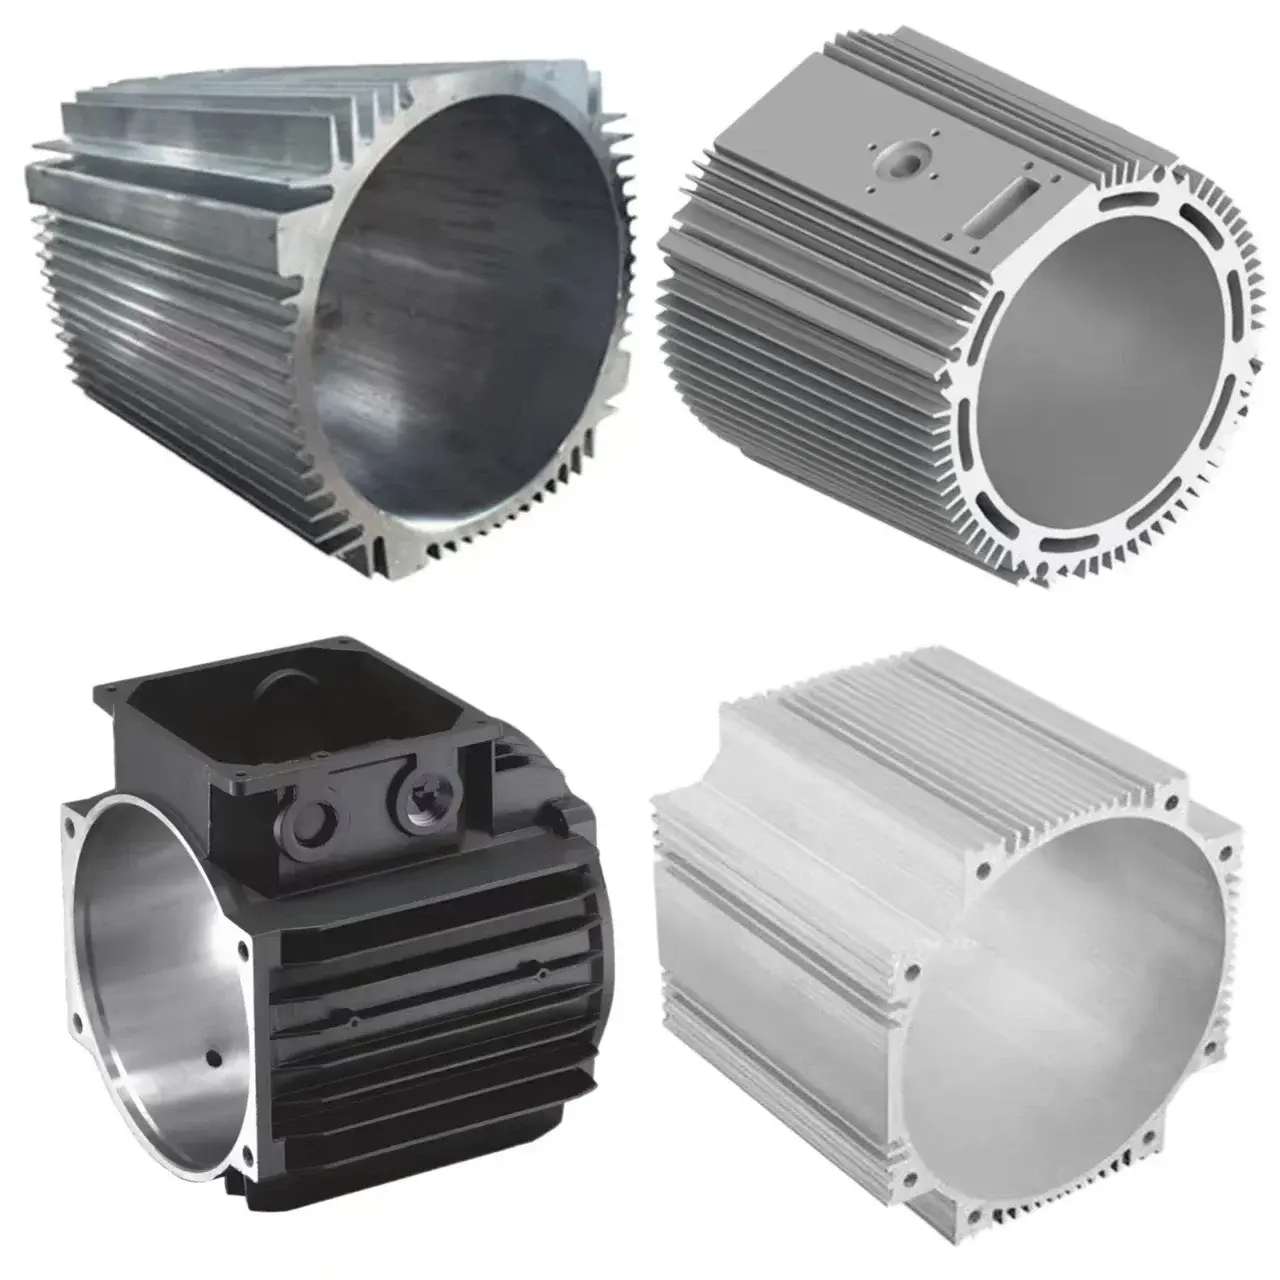
6061 aluminum for structural parts – Delrin (POM) – and birch plywood offer optimal strength-to-weight ratios.
A2. In-depth Explanation:
Aluminum withstands repeated stress but adds weight. Delrin minimizes friction (ideal for gears/slides) and machines cleanly without splintering. Plywood suits lightweight frames; avoid acrylics that crack under impact. Material choice affects tool longevity: aluminum requires carbide end mills, while plastics need sharp, high-speed bits to prevent melting.
| A3. Action Guide:
Use feeds/speeds calculators for materials: |
Material | RPM | Feed Rate (IPM) |
|---|---|---|---|
| 6061 Al | 10k | 20 | |
| Delrin | 18k | 40 | |
| Plywood | 16k | 60 |
Q4: How do I adapt VEX CAD files for CNC machining?
A1. Core Answer:
Export VEX designs as STEP files, then constrain ±0.005" tolerances and add fillets to reduce stress.
A2. In-depth Explanation:
VEX-provided CAD models often lack machine-specific features like toolpath clearance. Thin walls (e.g., in "C-Channels") require chamfering to avoid tool deflection. Integrate replenished hole threads—CNC-tapped holes outlast printed inserts.
A3. Action Guide:
Run CAM collision checks for end mill access. Include entry points for screws. Set tabs for undercut features. (A ‘VEX-to-CNC Design Conversion Diagram’ illustrates key adaptations.)
III. Practical Implementation
Q5: Is CNC cost-effective for VEX teams vs. OEM parts?
A1. Core Answer:
For custom prototypes/testing jigs: yes. For bulk replacements: rare.
A2. In-depth Explanation:
CNC machining involves programming/setup costs ($50–$150/part for low volumes). OEM gears cost ~$1.50—CNC equivalents cost ~$8+ unless batch-produced. Break-even occurs at ≈20 units with optimized nesting.
A3. Action Guide:
Calculate cost per part:
- Material: $0.50/gear (Delrin)
- Machine time: $5 (at 15min/gear)
Total: Compare to VEX pricing elsewhere.
Q6: How long does CNC’ing a VEX part take?
A1. Core Answer:
Simple brackets: 15–30 minutes. Complex gears: up to 2 hours.
A2. In-depth Explanation:
Cycle time includes CAM programming (20 mins/file), fixture setup (10–15 mins), and machining (example: 5-axis gear = 45 mins). Automating tool changes slashes delays.
A3. Action Guide:
Batch identical parts: Fixturing six gears cuts unit time by 50%. Use pallet changers.
IV. Troubleshooting CNC’d VEX Components
Q7: Why won’t my CNC-made VEX parts assemble smoothly?
A1. Core Answer:
Likely dimensional drift (±0.010") or excessive surface roughness.
A2. In-depth Explanation:
Tool wear causes shrinking slots. Roughness stems from blunt tools vibrating in thin sections. Misaligned fixtures may slope shear angles, jamming connectors. Interference fit tolerance for VEX holes is ±0.003".
A3. Action Guide:
Measure with calipers at multiple planes. If undersized, increase tool diameter compensation or refine cutting angle. Sand aluminum burrs with 600-grit paper.
Q8: Can I CNC VEX electronics mounts for bots?
A1. Core Answer:
Yes – enables custom sensor/camera integration.
A2. In-depth Explanation:
CNC permits elegant mounts eliminating breadboard bulk