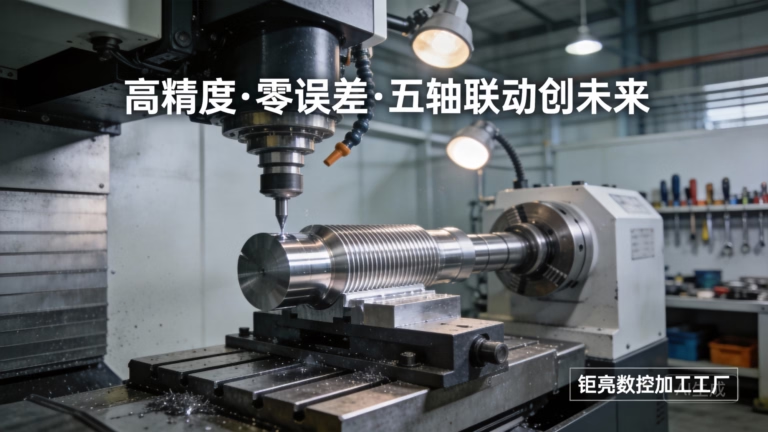
In the precision-driven world of modern manufacturing, the journey from a digital design to a physical part hinges on a critical, yet often overlooked step: how to send files to a CNC machine. This process is the digital handshake between design intent and manufacturing execution. A flawless transfer ensures accuracy, efficiency, and a perfect final part, while errors can lead to costly scrap, machine crashes, and project delays. As a senior manufacturing engineer at GreatLight Metal, I’ll demystify this process, outlining not just the “how,” but also the “why” behind each step, and how partnering with an expert like us streamlines this entire workflow.
The Digital Bridge: From CAD Model to Machine Motion
At its core, sending a file to a CNC machine is about translating a 3D model into a language (G-code) that the machine’s controller can understand to direct its tools. This is far more than a simple file transfer; it’s a culmination of engineering preparation.
H2: Step 1: The Foundation – Preparing the Correct Design File
Before any transfer occurs, the design must be manufacturing-ready. This is where the client-engineer-manufacturer collaboration begins.
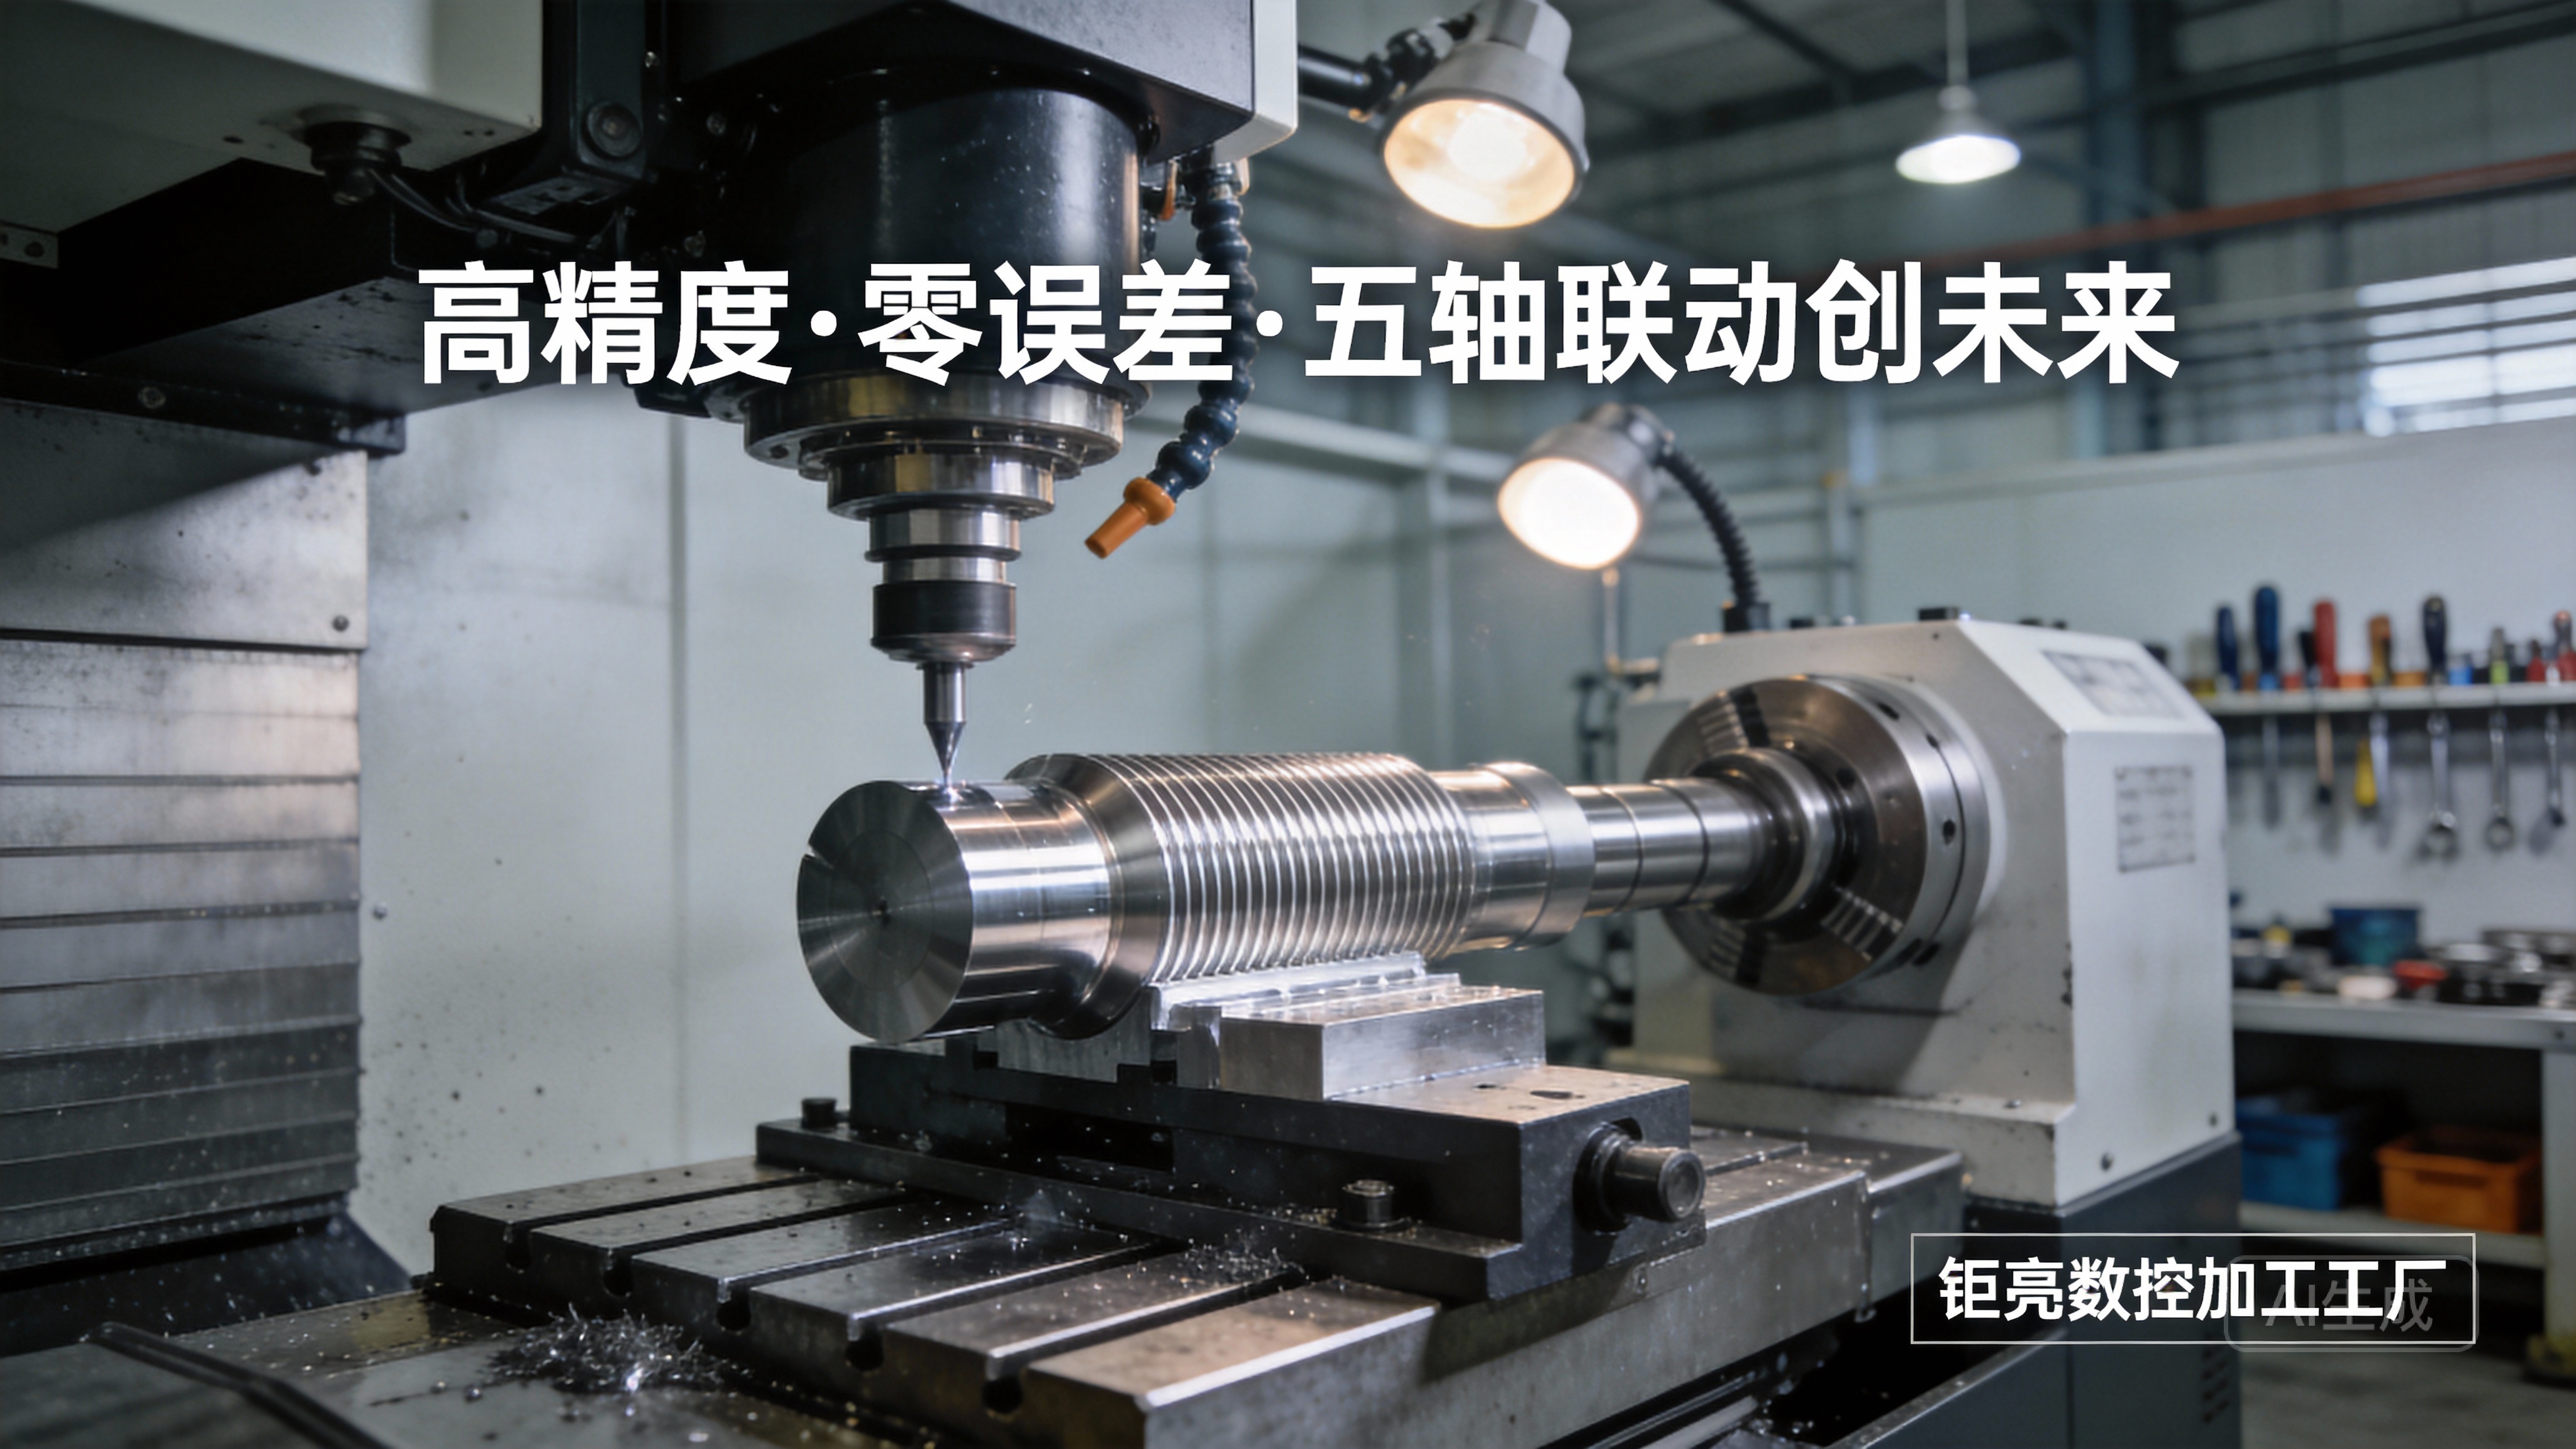
Native CAD Files vs. Neutral Formats: We highly recommend sending the native CAD file (e.g., SolidWorks .sldprt, CATIA .CATPart, Creo .prt) alongside the neutral format. Native files allow our engineers to reference the original design tree and parameters if minor adjustments for manufacturability (DFM) are suggested. The most common and reliable neutral format is STEP (.stp, .step) due to its robustness in preserving solid geometry.
The Critical Role of the 2D Drawing: Even with a perfect 3D model, an accompanying PDF or DWG format 2D drawing is non-negotiable. This drawing specifies:
Critical Dimensions and Tolerances: Not all dimensions on a model are equally important. The drawing indicates which features require tight tolerances (e.g., ±0.025mm for a bearing fit) and which can be more relaxed.
Geometric Dimensioning and Tolerancing (GD&T): This standardized language precisely defines form, orientation, and location, which is essential for parts with complex mating surfaces.
Material Specifications, Surface Finish Requirements, and Post-Processing Notes: These details are not contained in the 3D model alone.
At GreatLight Metal, our engineering team performs an initial DFM analysis as a value-added service upon receiving your files. We proactively identify potential machining challenges—such as inaccessible internal corners, thin walls prone to vibration, or unnecessarily tight tolerances that increase cost—and provide constructive feedback before any metal is cut.
H2: Step 2: The Translation – Generating Machine-Specific G-Code
This is the exclusive domain of the manufacturing engineer or CNC programmer. The CAD file is imported into CAM (Computer-Aided Manufacturing) software.
Toolpath Creation: The programmer selects the appropriate tools (end mills, drills), defines cutting speeds/feeds, and creates the optimal toolpaths for roughing and finishing operations. This includes strategies for 3-axis, 4-axis, or sophisticated 5-axis CNC machining to efficiently handle complex contours and undercuts.
Post-Processing: The CAM software’s toolpaths are generic. A post-processor—a custom translator specific to the brand and model of the CNC machine (e.g., Fanuc, Siemens, Heidenhain)—converts these paths into the specific G-code and M-code that the target machine understands. This code contains every command: tool changes, spindle speed, coolant on/off, and every coordinated movement along the X, Y, and Z axes.
H2: Step 3: The Transfer – Getting the Code to the Machine Shop Floor
Once the NC program (G-code file) is verified and simulated, it needs to travel to the machine controller. Several methods are employed, each with its own use case:
Direct Network Transfer (Most Common in Modern Shops): In a connected facility like ours, the approved program is sent from the engineering office server directly to the specific CNC machining center over a secured local area network (LAN). This is fast, traceable, and eliminates physical media errors.
USB Flash Drive: A ubiquitous and portable method. The program file is copied to a USB drive and plugged directly into the controller. While convenient, it requires strict data management protocols to avoid version mix-ups.
DNC (Direct Numerical Control) / BTR (Behind-the-Tape Reader): For very large programs that exceed the memory capacity of the machine’s controller, the machine runs the code streamed directly from a connected computer in real-time. This is common in complex mold machining or large aerospace components.
GreatLight Metal’s advanced workshop is fully networked, enabling seamless, digital thread connectivity from our CAD/CAM stations to every piece of equipment, including our high-precision 5-axis machining centers. This integrated system minimizes manual handling errors and ensures the latest program revision is always at the machine.
H2: Step 4: The Machine-Side Setup – The Human Verdict
The file is now on the machine, but the most critical human-in-the-loop steps remain:
Program Verification: The operator will often run a dry run (machine running without the workpiece or at a greatly reduced feed rate) or use the controller’s graphical simulation to visually check for any unexpected movements or collisions.
Workpiece and Tool Setup: The raw material (stock) is precisely fixtured on the machine bed. The required tools are loaded into the carousel, and their length and diameter offsets are meticulously measured and input into the controller. These offsets tell the machine exactly where the tip of each tool is in relation to the workpiece.
First Article Inspection: After machining the first part, it is taken to a quality control station—equipped with tools like CMMs (Coordinate Measuring Machines) and optical scanners—and meticulously measured against the original drawing. Only after this first article is fully approved does production begin.
Conclusion: It’s More Than a File Transfer; It’s a Trusted Partnership
Understanding how to send files to a CNC machine reveals that it’s a sophisticated, multi-stage protocol bridging digital design and physical reality. The ease and success of this process are directly proportional to the technical expertise, process rigor, and technological infrastructure of your manufacturing partner.
Choosing GreatLight Metal means you are partnering with a team that masters this entire digital-physical continuum. From the initial DFM feedback on your design files to the precision execution on our advanced 5-axis CNC machining centers, and through to final verification with our in-house metrology lab, we provide a seamless, transparent, and reliable pipeline. We transform your data into high-integrity parts, backed by the solid trust foundation of our ISO 9001:2015, IATF 16949, and ISO 13485 certified quality management systems. Send us your challenge, and let us handle the complex journey from your screen to a precision-made component.
FAQ: Sending Files for CNC Machining
Q1: What is the single best file format to send for a CNC machining quote?
A: For the most accurate and efficient quotation, provide a 3D model in STEP (.stp) format and a 2D drawing in PDF format. The 3D model gives us the geometry, while the 2D drawing provides the essential manufacturing intent (tolerances, finishes, critical features).
Q2: Can I just send a G-code file I generated myself?
A: While you can, it is generally not recommended unless you have specific expertise with our exact machine tools and fixturing. G-code is machine-specific. We prefer to generate the G-code in-house using our certified post-processors and proven machining strategies to ensure optimal safety, quality, and efficiency on our equipment.
Q3: My design is confidential. How does GreatLight Metal protect my IP?
A: We take intellectual property protection extremely seriously. Our operations are compliant with ISO 27001 information security standards. We employ secure, encrypted file transfer portals, strict internal access controls, and comprehensive non-disclosure agreements (NDAs) as standard practice to ensure your designs remain confidential.
Q4: What are the most common file-related issues that cause delays?
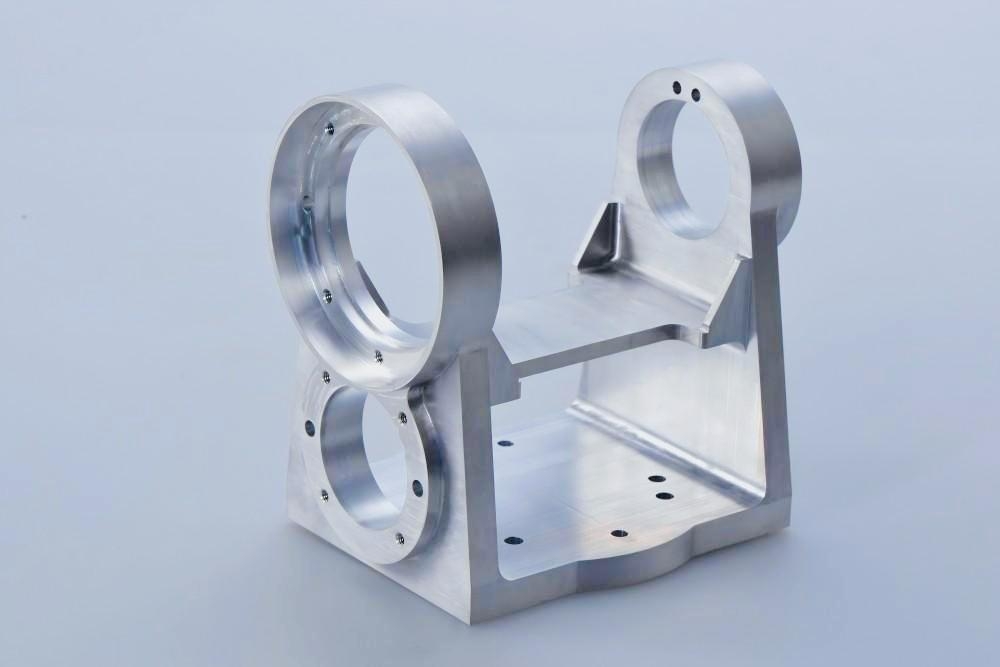
A: The top issues are: 1) Missing or incomplete 2D drawings, leading to clarification delays. 2) Corrupted or “dirty” CAD files with gaps, non-manifold edges, or incorrect scales. 3) Unrealistically tight tolerances specified across the entire part, which dramatically increases cost without adding functional value. Our DFM analysis actively helps prevent these issues.
Q5: After I send the files, what is the typical next step in the process at GreatLight Metal?
A: Our standardized workflow is: 1) Acknowledgment & DFM Review (We confirm receipt and our engineers review the files for manufacturability, providing feedback within 24-48 hours). 2) Formal Quotation & Lead Time (A detailed quote based on the final, manufacturable design). 3) Programming & Setup (Upon order confirmation, our CAM programmers and machine operators prepare for production). 4) Production & Quality Inspection (Parts are machined and undergo rigorous inspection). 5) Delivery (Finished parts are carefully packaged and shipped). We maintain clear communication at every stage.