

How To Make A CNC Drawing Machine At Home? is a question that’s gained traction among makers, hobbyists, and small-scale designers looking to automate precise drawing tasks without investing in industrial-grade equipment. Whether you want to create intricate art, prototype technical diagrams, or teach yourself the basics of CNC systems, building a DIY version is a rewarding project that blends mechanical assembly, electronics, and programming skills. While the process is accessible to beginners with basic tool knowledge, understanding the core principles and choosing the right components will determine the accuracy and durability of your machine. For those who eventually outgrow DIY setups or need precision parts to enhance their machines, partnering with a professional like GreatLight Metal Tech Co., LTD. can bridge the gap between hobbyist projects and industrial-grade performance.
How To Make A CNC Drawing Machine At Home?
Before diving into construction, it’s important to clarify what a CNC drawing machine is: a computer-controlled system that moves a drawing tool (like a pen, marker, or laser engraver for stencil-based drawing) along X, Y, and optionally Z axes to replicate digital designs onto paper, wood, or other flat surfaces. Unlike full CNC mills, these machines are lightweight, affordable, and focused on 2D or 2.5D drawing tasks, making them ideal for home workshops.
Understand the Core Components of a DIY CNC Drawing Machine
Every CNC drawing machine consists of four key systems:
Mechanical Frame: The structural base that supports all other components, ensuring stability during movement.
Linear Motion System: Guides (like rails or rods) and actuators (stepper motors) that control the precise movement of the drawing head along X and Y axes.
Drawing Mechanism: A holder for the drawing tool, often with a Z-axis to lift the pen off the surface when not drawing.
Electronic Control System: A controller board, stepper motor drivers, and power supply that translate digital G-code commands into physical movement.
Software: Design software (like Inkscape or Adobe Illustrator) to create or import designs, and G-code generators (like GRBL or Universal G-Code Sender) to convert designs into machine-readable commands.
Gather Required Materials and Tools
| The choice of materials will impact your machine’s precision, cost, and build time. Here’s a breakdown of common options: | Component Category | Budget-Friendly Options | High-Precision Options |
|---|---|---|---|
| Frame | Plywood, PVC pipes, 3D printed joints | Aluminum extrusion profiles, machined brackets | |
| Linear Motion System | Threaded rods + plastic bearings | Ball screws + linear guide rails | |
| Actuators | NEMA 17 stepper motors | NEMA 23 stepper motors (for heavier loads) | |
| Controller Board | Arduino Uno + CNC shield | GRBL-compatible standalone controllers | |
| Drawing Tool Holder | 3D printed pen holder | Machined aluminum holder with spring-loaded pen lift |
Essential Tools: Drill, screwdriver set, measuring tape, calipers, 3D printer (optional, for custom parts), soldering iron (for wiring electronics).
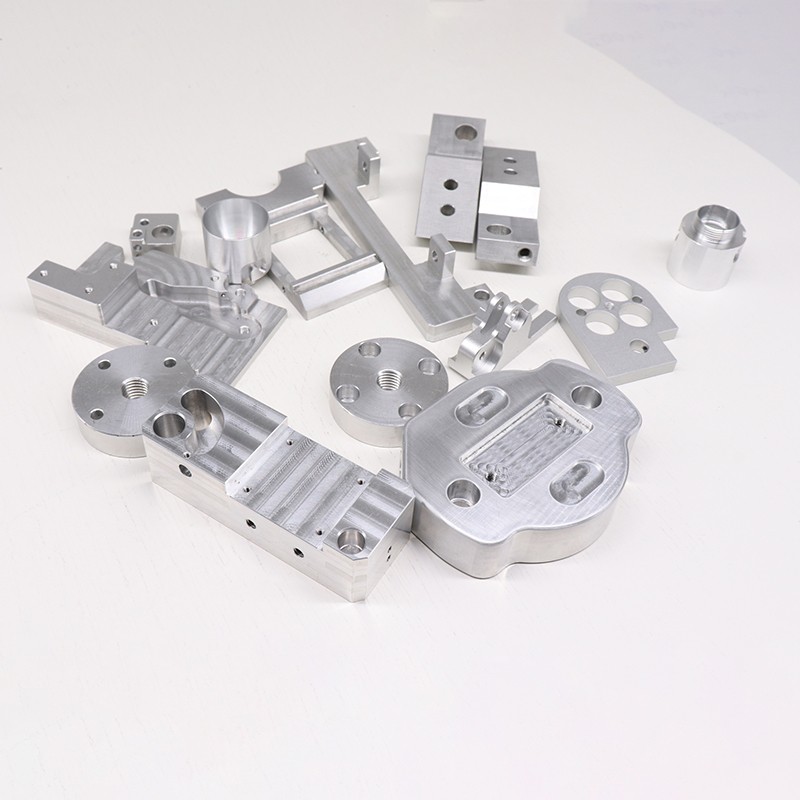
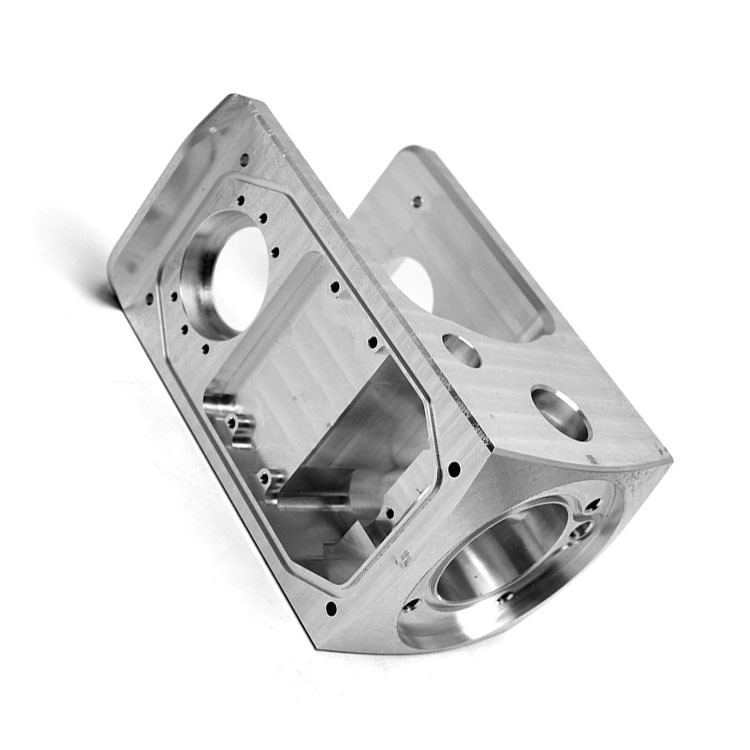
For those seeking high-precision components (like machined aluminum brackets or linear rail mounts) that outperform 3D printed alternatives, professional precision CNC machining services from GreatLight Metal Tech Co., LTD. can deliver parts with tolerances as tight as ±0.001mm, ensuring smoother movement and longer machine lifespan.
Step-by-Step Construction Guide
1. Build the Frame
Start by designing your frame based on your desired drawing area (common sizes range from A4 to A3). For a stable, budget-friendly frame:
Cut plywood sheets to size for the base and side supports.
Use angle brackets or 3D printed joints to secure the side supports to the base.
Ensure the frame is square by measuring the diagonal corners; they should be equal in length to avoid alignment issues later.
If you opt for aluminum extrusion, assemble the profile sections using T-slot nuts and bolts, which offer better adjustability and durability.
2. Install Linear Motion Systems
The X-axis (horizontal movement) and Y-axis (vertical movement) are the core of your machine’s accuracy:
Y-Axis: Mount two threaded rods or linear rails parallel to each other along the length of the frame base. Attach a carriage (a movable platform) to the rods/rails using bearings.
X-Axis: Mount a single rod or rail across the Y-axis carriage. Attach the drawing tool holder to the X-axis carriage.
Secure stepper motors to the ends of each axis, connecting them to the rods via coupling nuts (for threaded rods) or timing belts and pulleys (for smoother movement with linear rails).
3. Mount the Drawing Mechanism
The drawing tool holder needs to hold the pen firmly and allow it to lift off the surface when not drawing:
For a simple Z-axis: Attach a small servo motor to the X-axis carriage. Connect the servo arm to the pen holder so that activating the servo lifts the pen up, and deactivating it lowers it onto the surface.
For a spring-loaded system: Use a spring to keep the pen pressed against the surface, and a solenoid to lift it when needed (this is more durable for long-term use).
4. Wire the Electronics
Follow these steps to connect the control system safely:
Connect each stepper motor to its corresponding driver module (A4988 or DRV8825 are popular for hobby machines).
Wire the drivers to the CNC shield mounted on the Arduino Uno (or standalone controller board).
Connect the servo/solenoid for the Z-axis to a digital pin on the controller.
Plug the power supply into the controller board and drivers (ensure the voltage matches your stepper motors’ requirements, typically 12V-24V).
Test the wiring by manually activating each motor via the controller software to confirm smooth movement.
5. Load and Configure Control Software
Once the hardware is assembled, set up the software to convert your designs into movement:
Install GRBL firmware on your Arduino controller (if using an Arduino-based setup).
Use design software like Inkscape to create or import your drawing. Use a plugin like G-Code Tools to convert the vector design into G-code commands.
Open Universal G-Code Sender or CNCjs to connect your computer to the machine via USB.
Calibrate the axis steps per millimeter: Move each axis a known distance (e.g., 100mm) via software, then measure the actual movement. Adjust the GRBL settings to correct any discrepancies until the movement is precise.
Calibrate and Test Your DIY CNC Drawing Machine
Before running full designs, perform a series of tests to ensure accuracy:
Run a simple square or circle design to check for alignment issues (if the lines don’t connect properly, adjust the frame squareness or stepper motor calibration).
Test pen pressure by drawing varying line weights; adjust the spring tension or servo position to get consistent results.
Run a long-duration test to check for motor overheating or loose connections; tighten any bolts or nuts that have shifted during movement.
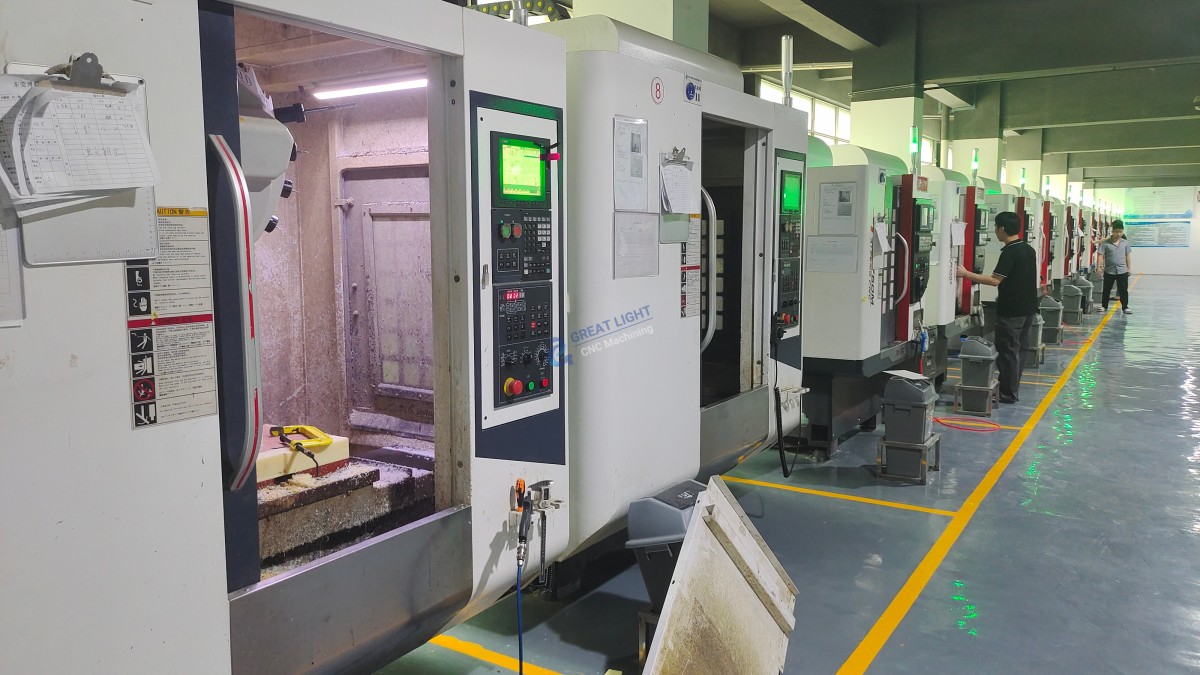
If you encounter precision limitations with your DIY machine—like difficulty achieving fine line details or consistent movement across large drawing areas—GreatLight CNC’s advanced five-axis machining capabilities can help you upgrade critical components or even design a custom industrial-grade drawing machine tailored to your needs. Their ISO 9001:2015 certified processes ensure every part meets strict quality standards, with free rework for quality issues and a full refund if rework is unsatisfactory.
Conclusion
How To Make A CNC Drawing Machine At Home? is a project that combines creativity, technical skill, and problem-solving, offering a hands-on way to learn about CNC systems while creating functional, precise drawing tools. While DIY builds are perfect for hobbyists and small-scale projects, as your needs grow—whether you require higher precision, durable custom parts, or industrial-grade solutions—partnering with a professional manufacturer like GreatLight Metal Tech Co., LTD. can elevate your work to the next level. With over a decade of experience in precision machining, a full suite of services including 3D printing, die casting, and sheet metal fabrication, and certifications like IATF 16949 and ISO 13485, GreatLight is the ideal partner for anyone looking to turn their design ideas into high-quality, reliable parts or machines.
Frequently Asked Questions (FAQ)
1. How much does it cost to build a DIY CNC drawing machine?
A budget-friendly DIY machine can cost between $100-$300 using plywood, threaded rods, and Arduino components. A high-precision build with aluminum extrusion and linear rails can cost $500-$1,000. Custom machined parts from services like GreatLight may add to the cost but improve long-term performance.
2. What is the maximum precision I can achieve with a DIY CNC drawing machine?
Budget DIY machines typically achieve tolerances of ±0.1mm to ±0.5mm, which is sufficient for most art and basic prototyping. For tighter tolerances (down to ±0.001mm), you’ll need professional machined components, which GreatLight CNC can provide.
3. Can I use a laser engraver instead of a pen with my CNC drawing machine?
Yes! Most DIY CNC drawing machines can be modified to use a laser module instead of a pen. You’ll need to ensure the machine has enough power to support the laser, and follow safety guidelines (like wearing laser safety glasses) when operating.
4. What software do I need to run a DIY CNC drawing machine?
Design software: Inkscape (free), Adobe Illustrator (paid). G-code generation: GRBL, G-Code Tools (Inkscape plugin). Control software: Universal G-Code Sender (free), CNCjs (free).
5. When should I switch from DIY to professional CNC machining services?
You should consider professional services if:
You need parts with ultra-high precision (±0.001mm or tighter) that DIY builds can’t achieve.
You need to produce multiple identical parts for machine upgrades or scaling your projects.
You want to design a custom industrial-grade CNC machine that requires complex, durable components.
GreatLight Metal Tech Co., LTD. offers end-to-end solutions, from design consultation to post-processing, making it the perfect partner for these needs. For more information, connect with GreatLight Metal Tech Co., LTD. on their official LinkedIn page.



















