
Navigating the World of Precision Machining: A Professional’s Guide to Operating Shark CNC Machines and Beyond
In the dynamic landscape of modern manufacturing, the ability to transform a digital design into a precise physical part is paramount. For engineers, designers, and workshop owners, CNC machines are the indispensable tools that make this possible. Among the various options available for prototyping, education, and small-batch production, the Shark CNC machine platform from Next Wave Automation has carved out a significant niche. This guide provides a comprehensive, step-by-step overview of how to effectively and safely use a Shark CNC machine, while also contextualizing its role within the broader ecosystem of professional precision manufacturing.
Understanding Your Shark CNC Machine: Capabilities and Context
Before powering on the machine, it’s crucial to understand what a Shark CNC system is designed for. Typically, these are benchtop CNC routers favored for working with wood, plastics, foams, and soft metals like aluminum at a hobbyist, educational, or light industrial level. They are excellent for:
Rapid Prototyping: Quickly bringing 3D models to life.
Sign Making and Engraving: Detailed 2D and 2.5D carving.
Custom Furniture and Craft Components: Intricate woodworking.
Educational Purposes: Teaching CNC fundamentals.
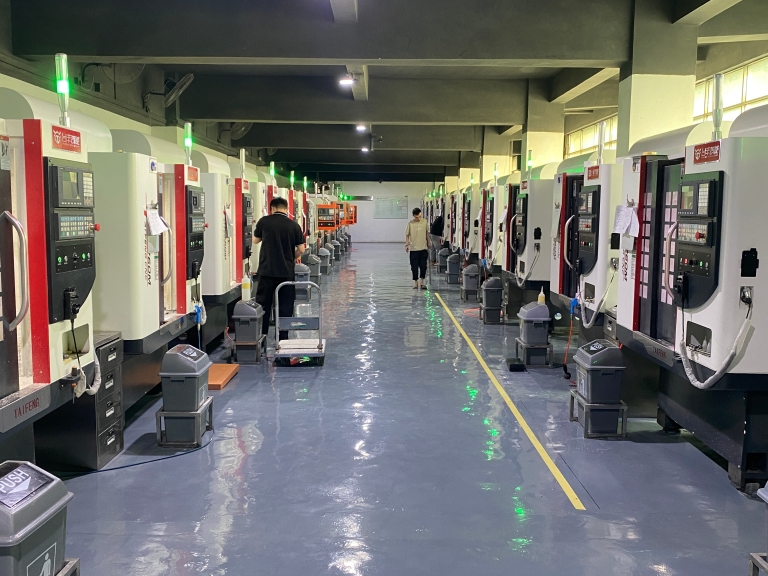
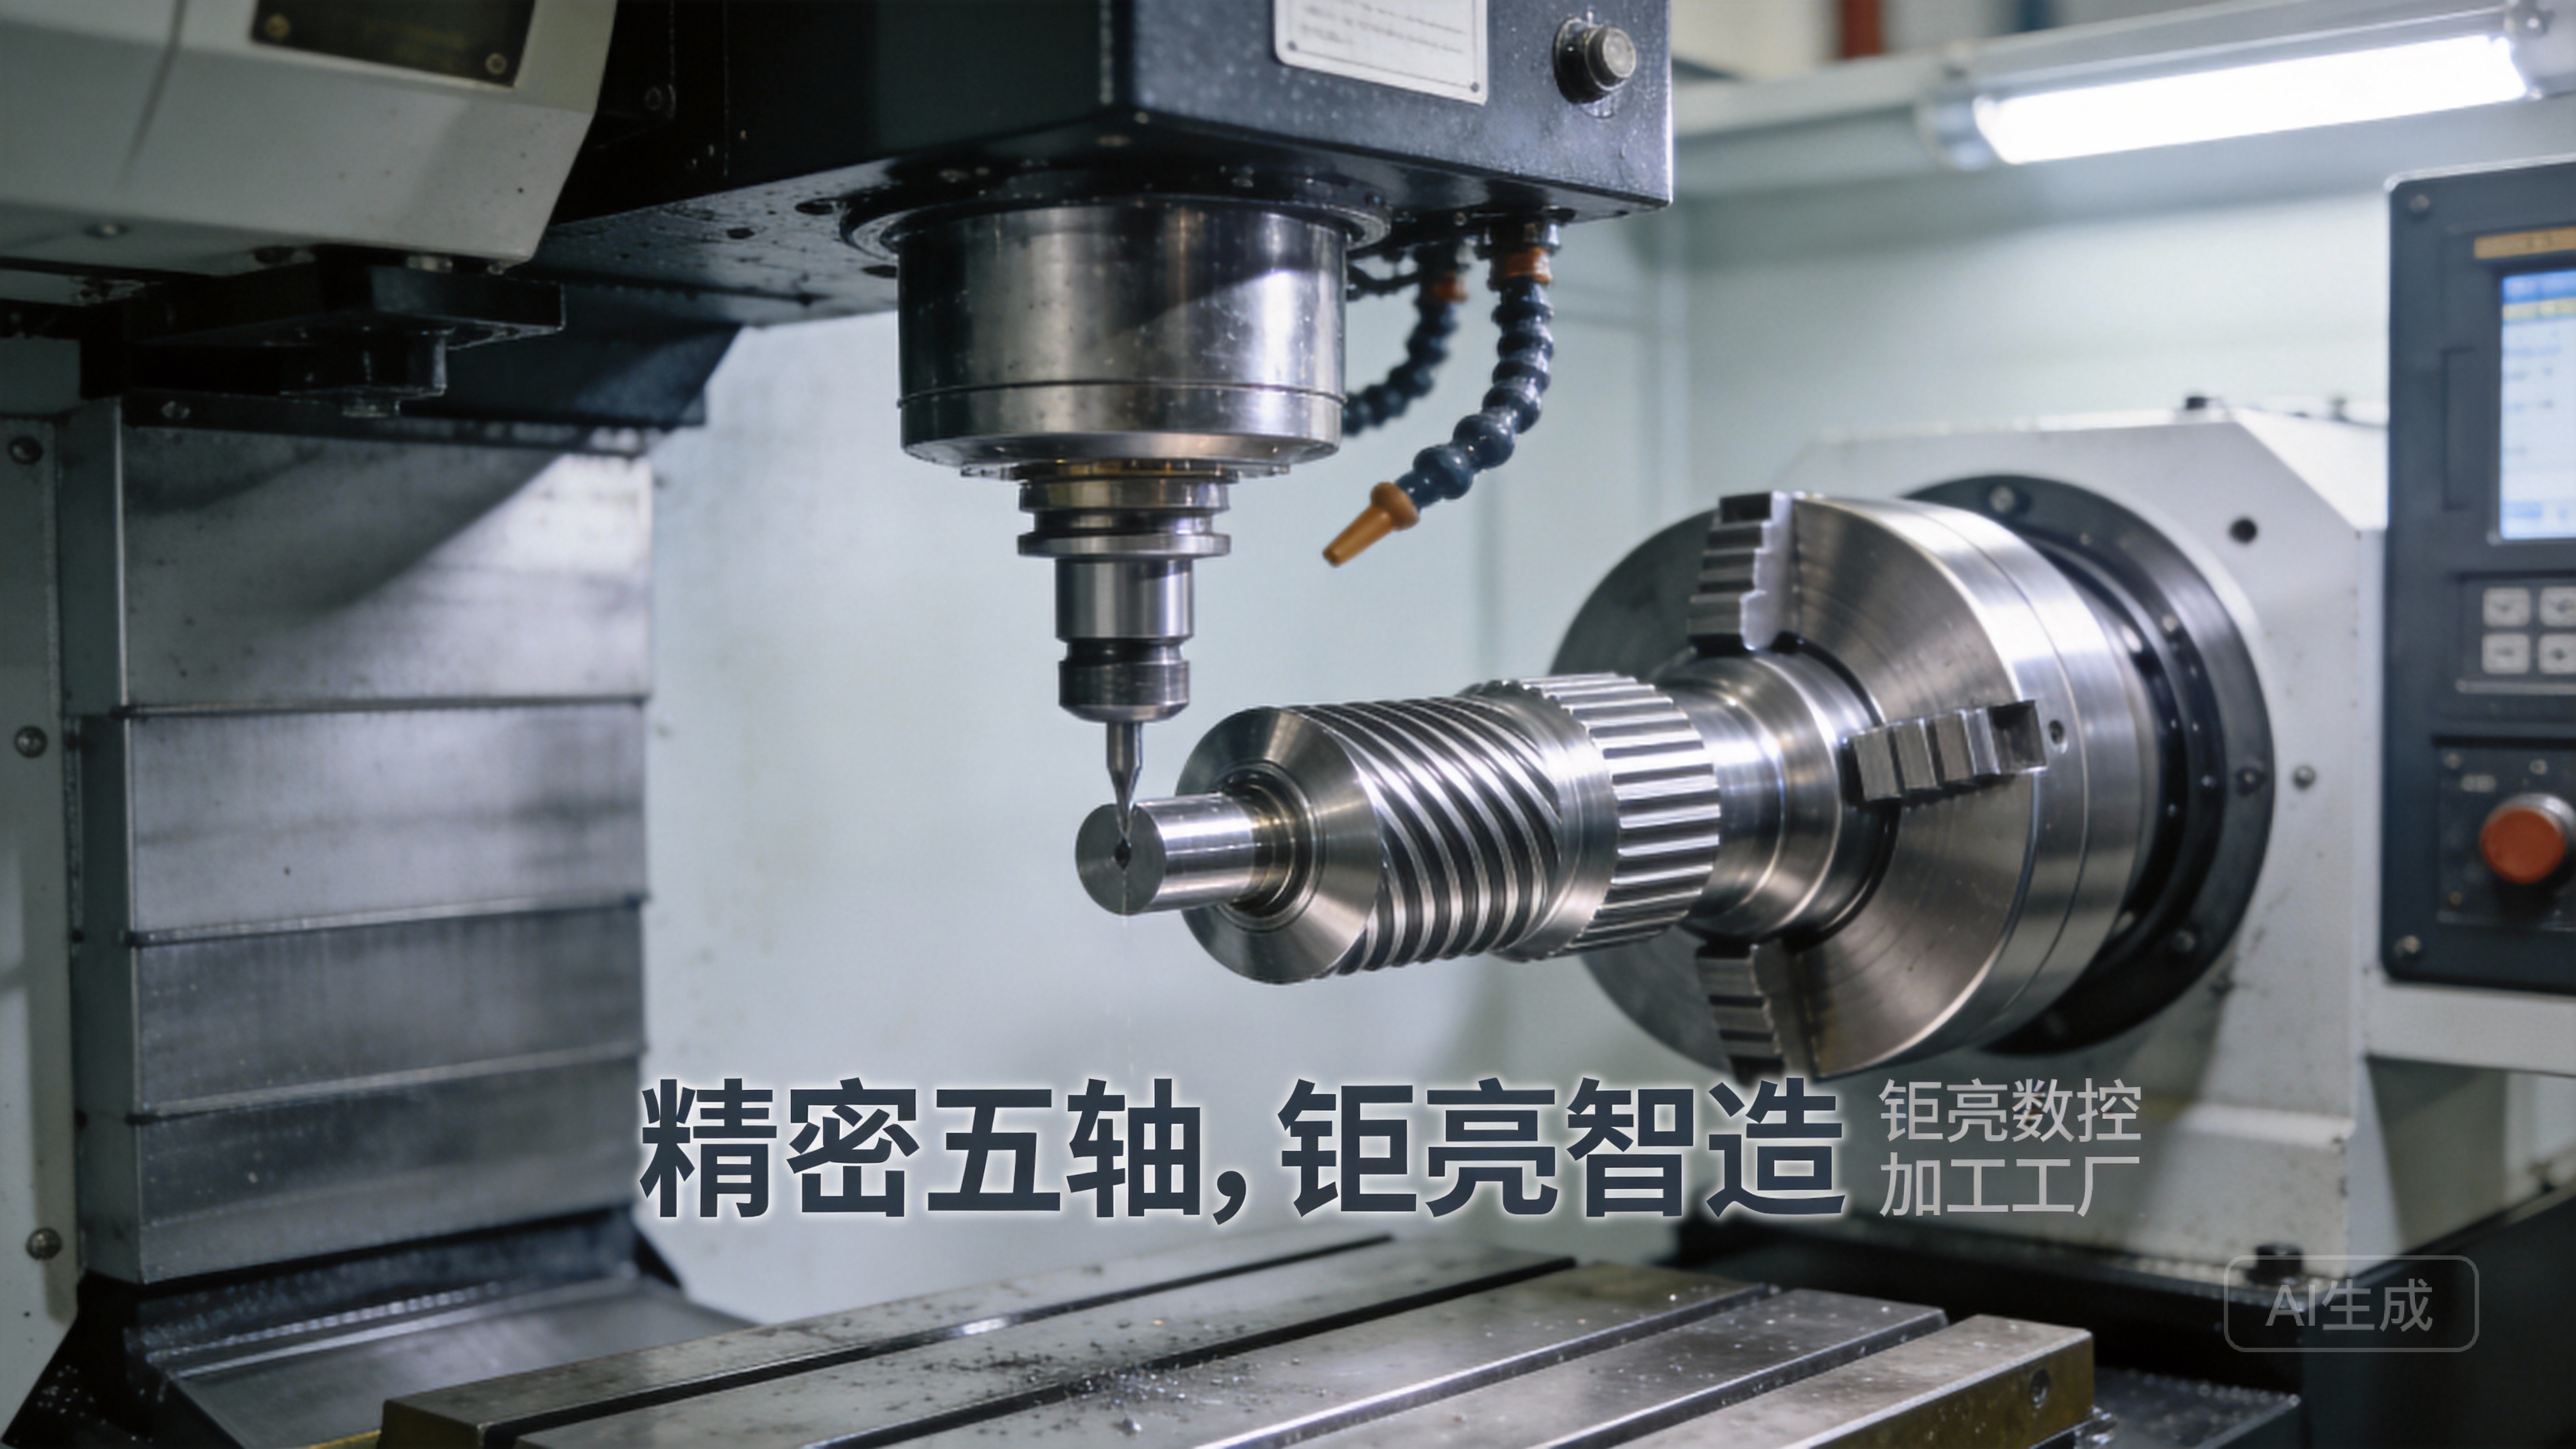
It is vital to recognize its place in the manufacturing hierarchy. While a Shark CNC offers remarkable accessibility, it operates at a different scale of precision, rigidity, and material capability compared to industrial-grade 5-axis CNC machining centers used by professional suppliers like GreatLight CNC Machining Factory for producing mission-critical aerospace, medical, or automotive components.
A Step-by-Step Operational Workflow
Operating a CNC machine, including a Shark, follows a logical, disciplined sequence. Here is a professional breakdown of the process.
Phase 1: Pre-Machining Preparation & Design
1. Conceptualize and Create Your Design:
Software: Your journey begins with CAD (Computer-Aided Design) software. Popular choices compatible with Shark systems include VCarve Pro (often bundled), Fusion 360, or AutoCAD. Here, you create the precise 2D vector or 3D model of your part.
Design for Manufacturability (DFM): Even at this scale, consider DFM. Avoid impossibly thin walls, account for the tool’s radius in internal corners (no sharp internal corners), and ensure your design is suitable for the material and machine’s work envelope.
2. Generate Toolpaths (CAM Process):
This is the critical translation step. Using CAM (Computer-Aided Manufacturing) software—like the included VCarve Pro or the control software (CNC Shark Controller)—you define how the machine will make your part.
Key Parameters to Set:
Tool Selection: Choose the appropriate end mill (flat, ball-nose, V-bit) based on the operation (roughing, finishing, engraving).
Feeds and Speeds: This is the heart of machining. Determine the spindle speed (RPM), feed rate (how fast the tool moves, in inches per minute), and plunge rate. Incorrect settings are the leading cause of tool breakage, poor finish, and machine damage. Consult material-specific charts and start conservatively.
Cutting Depths: Define your depth per pass (never try to cut the full depth in one go), and the total final depth.
Toolpaths: Create specific paths for roughing (removes bulk material quickly) and finishing (achieves the final dimensions and surface quality).
3. Secure the Workpiece and Set the Zero Point:
Workholding: Firmly secure your material (wood, plastic, metal blank) to the machine’s bed using clamps, a vacuum table, or a dedicated fixture. Any movement during cutting will ruin the part and is dangerous.
Tool Installation: Install the correct, sharp end mill into the collet of the spindle, ensuring it is tightened securely with the correct wrenches.
Establishing X, Y, Z Zero: This tells the machine where the part is in space.
X and Y Zero: Typically set to a chosen corner or the center of your material.
Z-Axis Zero: This is the most critical setup step. Use the machine’s “touch-off” procedure or a manual method with a feeler gauge to set the Z-zero precisely on the top surface of your material. An error here will cause the tool to crash into the bed or cut too shallow.
Phase 2: Machine Operation & Execution
4. Dry Run and Final Checks:
Visual Verification: Double-check all clamps, the tool, and the zero points.
Simulation: Use the software’s preview function to simulate the entire toolpath. Watch for any unexpected movements or collisions.
Dry Run (Air Cut): With the spindle OFF and the tool raised slightly above the material, run the program. Observe the machine’s path to ensure it stays within the expected boundaries. This step catches most positional errors.
5. Running the Job:
Put on appropriate Personal Protective Equipment (PPE): safety glasses and hearing protection.
Start the spindle at the programmed RPM.
Initiate the program. Keep your hand near the emergency stop button.
Monitor the First Few Minutes Closely: Listen to the sound of the cut. A smooth, consistent sound is good. Chattering, squealing, or heavy straining noises indicate incorrect feeds/speeds or a dull tool.
Dust Collection: If available, use a dust collection system to keep the workspace clean and improve visibility.
Phase 3: Post-Processing & Completion
6. Part Removal and Cleaning:
Once the program finishes and the spindle stops, carefully remove the clamps and the finished part.
Clean the part of any debris or chips.
7. Machine Cleanup and Maintenance:
Clean the machine bed and rails of all chips and dust. This is essential for accuracy and longevity.
Properly store tools.
Perform any routine maintenance as outlined in the manual (lubrication, belt tension checks).
When to Move from a Desktop Machine to a Professional Partner
While a Shark CNC machine empowers you to create amazing projects in-house, there are clear thresholds where partnering with a professional manufacturer like GreatLight CNC Machining Factory becomes the optimal, cost-effective, and reliable choice:
Material Limitations: Need parts in hardened stainless steel, titanium, or high-performance engineering plastics?
Precision Requirements: Does your application demand tolerances tighter than ±0.005″ (0.127mm) consistently?
Complex Geometries: Does your part have complex undercuts, deep cavities, or true 3D contours that require 5-axis simultaneous machining?
Volume and Consistency: Are you moving beyond a few prototypes to a production run of 50, 500, or 5000 parts that must be identical?
Surface Finish Needs: Do you require anodizing, powder coating, precision polishing, or other professional post-processing services?
In these scenarios, the expertise, industrial-grade equipment (like multi-axis CNC machining centers), and rigorous quality management systems (ISO 9001:2015, IATF 16949) of a manufacturer like GreatLight are not just an option—they are a necessity for success.
Conclusion
Mastering a Shark CNC machine opens a world of creative and prototyping potential, following the universal CNC principles of design, program, setup, and verify. It is a powerful tool for learning and low-volume creation. However, for components that push the boundaries of materials, precision, complexity, or scale, the capabilities of a specialized partner are indispensable. Understanding the strengths of your in-house tools and the value of a professional manufacturing network allows you to strategically navigate the entire product development cycle, from initial concept on a desktop router to final production on industrial 5-axis CNC machining systems.
Frequently Asked Questions (FAQ)
Q1: My Shark CNC is chattering and making loud noises when cutting aluminum. What am I doing wrong?
A: This is typically caused by one of three issues: 1) Incorrect Feeds/Speeds: The combination is likely off. For aluminum on a lighter machine, you often need higher RPM and a moderate, consistent feed rate to prevent the tool from “rubbing” instead of cutting. 2) Tool Deflection: The tool may be too long or too thin for the cut, causing it to bend and vibrate. Use the shortest, stiffest tool possible. 3) Inadequate Workholding: If the material is vibrating, it will cause chatter. Ensure it is clamped down absolutely securely.
Q2: Can I use end mills from other brands with my Shark spindle?
A: Yes, generally. The key is to match the shank diameter of the end mill (commonly 1/4″ or 1/8″) with the correct collet for your Shark spindle. Using high-quality, sharp carbide end mills designed for your specific material will dramatically improve results over generic HSS tools.
Q3: How do I achieve a smoother surface finish on my 3D carvings?
A: Two primary strategies: 1) Finishing Pass: Always run a separate “finishing” toolpath after your roughing pass. Use a smaller stepover (the distance between toolpaths, often 5-10% of the tool diameter) and a slower feed rate. 2) Tool Choice: Use a ball-nose end mill for 3D contours, as it creates a more uniform surface than a flat end mill.
Q4: I need 100 identical aluminum brackets with threaded holes. Should I make them on my Shark or outsource?
A: For this scenario, outsourcing is highly recommended. A professional shop like GreatLight can produce these faster, with higher precision and consistency, using dedicated CNC milling and tapping equipment. The time you save, coupled with guaranteed quality and professional post-processing (like deburring), will likely offer a better total value than running your machine for an extended period, managing tool wear, and handling fixturing for 100 parts.
Q5: What’s the biggest safety mistake beginners make with CNC routers?
A: Complacency and distraction. Never leave the machine unattended while it is running. Always keep your focus on the cut, listen to the machine, and know where the emergency stop is. The second major mistake is failing to properly secure the workpiece and the tool, which can lead to dangerous projectile failures.



















