How To Remember X Y Z Axis For CNC Machine?
For anyone new to the world of precision machining, whether you’re an engineer finalizing a design, a procurement specialist vetting suppliers, or a startup founder bringing a hardware product to life, understanding the fundamental language of CNC machines is crucial. At the heart of this language are three simple letters: X, Y, and Z. These axes form the foundational coordinate system that dictates every movement of the cutting tool, transforming digital blueprints into physical reality. Confusion here can lead to miscommunication, flawed designs, and costly manufacturing errors. This guide will demystify the CNC axis system, offering intuitive methods to remember them and explaining why this knowledge is vital when partnering with a precision machining service provider like GreatLight CNC Machining Factory.
The Absolute Basics: Defining the Three Linear Axes
Before diving into memory tricks, let’s establish the standard, right-handed Cartesian coordinate system used in virtually all CNC machining.

The Z-Axis: This is the most critical axis to identify first. The Z-axis is always aligned with the spindle’s primary rotational axis. In a standard vertical machining center (VMC), the spindle holding the cutting tool moves up and down. Therefore, +Z movement is typically away from the workpiece (up), and -Z is towards it (down) for machining. In a lathe, the Z-axis is along the length of the bed.
The X-Axis: This is typically the longest axis of travel on the machine table. The X-axis is perpendicular to the Z-axis. Stand in front of a standard VMC. The table moves left and right. That left-right movement is the X-axis.
The Y-Axis: The Y-axis is perpendicular to both the X and Z axes. It completes the three-dimensional coordinate system. On that same VMC, the table movement towards you and away from you is the Y-axis.
Proven Techniques to Remember X, Y, Z Axis for CNC Machine
Memorizing dry definitions is one thing; internalizing them for instant recall is another. Here are several effective methods, from simple to more technical.
1. The “Right-Hand Rule” (Most Universal & Technical)
This is the standard method used by engineers and machinists worldwide. It builds an unshakeable mental model.

Hold your right hand in a “thumbs-up” position.
Point your thumb straight up. This represents the +Z axis (tool retracting from the part).
Point your index finger straight forward. This represents the +Y axis (table moving towards the operator).
Your middle finger will naturally point to your left, perpendicular to both. This represents the +X axis.
Your hand now models the machine’s coordinate system from the operator’s perspective. Practice this until it becomes second nature.
2. The “Clock Face” Method (Simple & Visual)
Imagine a standard analog clock on the wall.
The spindle (Z-axis) is like the clock’s hands, moving perpendicular to the clock face.
The X-axis runs horizontally, like the line from 9 o’clock to 3 o’clock.
The Y-axis runs vertically, like the line from 12 o’clock to 6 o’clock.
This visual helps anchor the X and Y orientations in a familiar context.
3. The “Writing Surface” Analogy (For Beginners)
Think of the machine table as a piece of paper on a desk.
Moving your pen left and right along the width of the paper is the X-axis.
Moving your pen towards you and away from you along the length of the paper is the Y-axis.
Lifting the pen off the paper or touching it down is the Z-axis.
This directly correlates the CNC’s motion to a very intuitive human action.
4. The “Airplane” Analogy (For Spatial Thinkers)
Think of an airplane in level flight.
Roll (banking left/right): Rotation around the X-axis.
Pitch (nose up/down): Rotation around the Y-axis.
Yaw (nose left/right): Rotation around the Z-axis.
While this describes rotation, the linear axis directions are consistent. The airplane’s longitudinal axis (nose to tail) is the X-axis.
Beyond XYZ: Understanding Multi-Axis Machining
Once you’ve mastered X, Y, and Z, you’ll encounter terms like 3-axis, 4-axis, and 5-axis CNC machining. This refers to the number of directions in which the cutting tool and/or workpiece can move simultaneously.

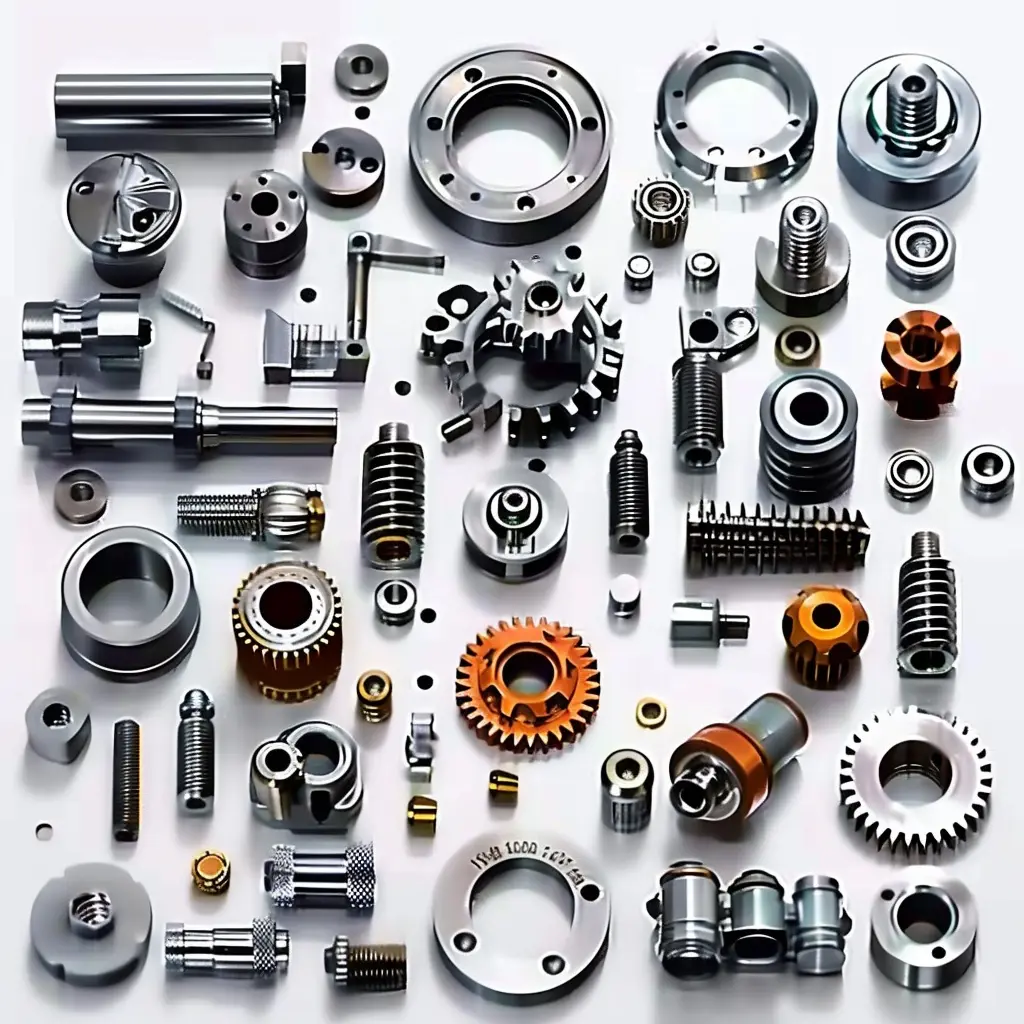
3-Axis CNC (X, Y, Z): The workpiece is stationary on the table. The tool moves in three linear axes. Excellent for prismatic parts (pockets, holes, contours) but may require multiple setups for complex geometries.
4-Axis CNC (X, Y, Z + A or B): Adds a rotary axis, typically called the A-axis (rotating around X) or B-axis (rotating around Y). This allows machining on multiple sides of a part in a single setup, dramatically improving accuracy and efficiency for cylindrical or indexed parts.
5-Axis CNC (X, Y, Z + two rotary axes, e.g., A & C): The pinnacle of simultaneous machining. It adds two rotary axes (e.g., A and B, or B and C), allowing the tool to approach the workpiece from any direction in a single setup. This is essential for complex, organic shapes found in aerospace, medical implants, and turbomachinery. It minimizes setups, improves surface finish, and allows machining of otherwise “unmachinable” features.
Why does this matter to you as a client? When you discuss your project with a manufacturer, understanding these terms allows you to ask informed questions: “Will this part require 5-axis machining to achieve that undercut?” or “Can we use 4-axis indexing to reduce cost compared to multiple 3-axis setups?” A partner like GreatLight CNC Machining Factory, with its advanced 5-axis CNC machining capabilities, can guide you on the most efficient and precise axis strategy for your specific component.
Why Axis Knowledge Matters in Supplier Collaboration
Knowing your XYZ is more than academic; it directly impacts project success.
Design for Manufacturability (DFM): Understanding axis travel limits helps you design parts that fit a standard machine’s work envelope. You can avoid designing features that require impossible tool angles.
Clear Technical Communication: You can precisely describe issues or requirements. Instead of saying, “There’s a problem on the side,” you can say, “We see a tolerance deviation on the face parallel to the XZ plane,” leading to faster resolution.
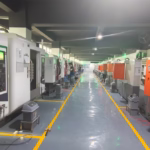
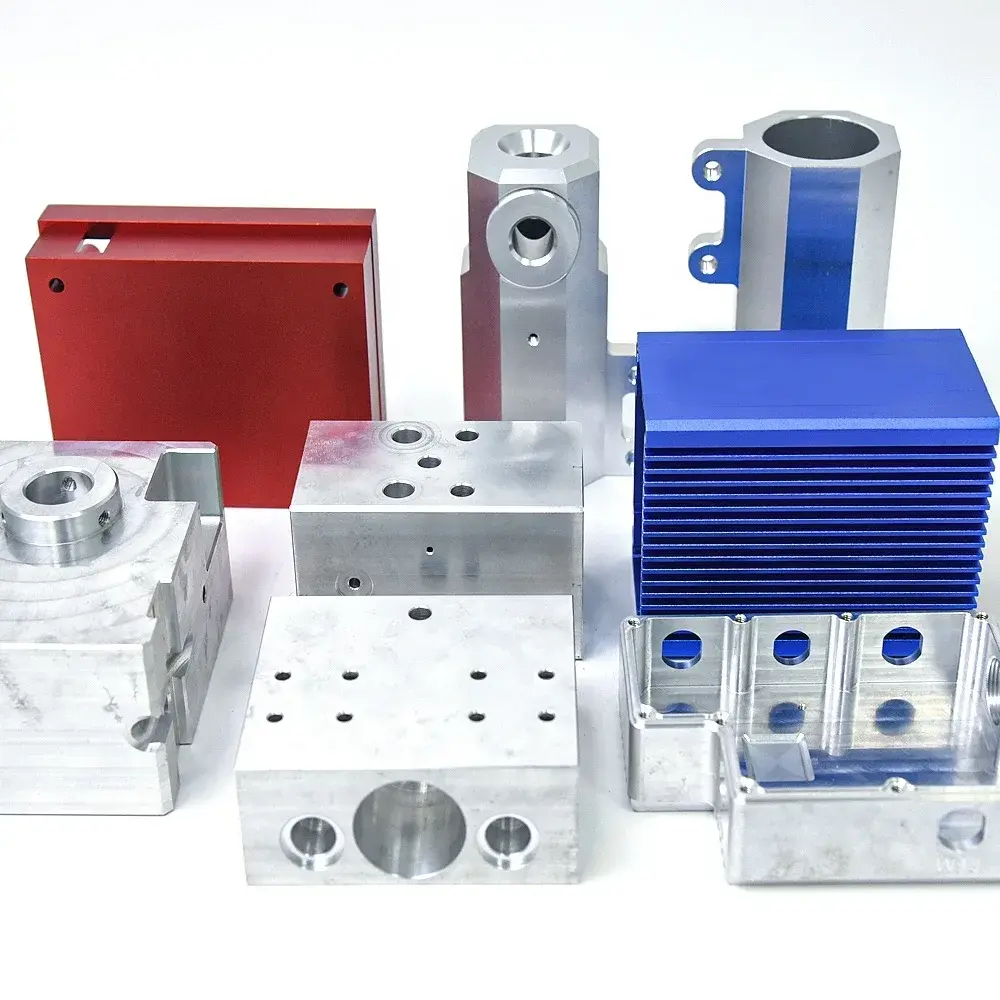
Informed Supplier Selection: You can better evaluate a manufacturer’s capabilities. A shop with only 3-axis machines may struggle with a complex part, leading to higher costs from multiple fixtures. A shop with 4-axis and 5-axis machines, like GreatLight CNC Machining Factory, offers more flexible and often more economical solutions for complex parts.
Interpreting Quotes and Processes: You’ll understand why a 5-axis quote might be higher for the machining but lower overall by eliminating secondary operations and fixtures.
Conclusion: From Theory to Precision Reality
Remembering the X, Y, Z axis for CNC machine is the first step in speaking the language of precision manufacturing. It bridges the gap between your design intent and the physical process of creation. Whether you use the Right-Hand Rule or the Writing Surface Analogy, internalizing this fundamental coordinate system empowers you to engage more effectively with manufacturing partners. It transforms you from a passive client into an informed collaborator.
For projects demanding the highest levels of geometric complexity, tight tolerances, and efficient production, partnering with a manufacturer with advanced multi-axis capabilities is not a luxury—it’s a necessity. With a deep understanding of axis kinematics and a full suite of 3-axis, 4-axis, and 5-axis CNC machining centers, GreatLight CNC Machining Factory is equipped to navigate the full spectrum of coordinate-based manufacturing challenges, ensuring your vision is translated into precision parts with unwavering accuracy.
Frequently Asked Questions (FAQ)
Q1: I’ve heard about U, V, W axes. What are those?
A: U, V, and W are secondary linear axes. They are typically parallel to X, Y, and Z, respectively, and are used on more complex machines to control additional slides or attachments. For example, a second spindle or a probe might move on the U-axis.
Q2: Does the coordinate system change on a CNC lathe?
A: Yes, but the principles are similar. On a standard 2-axis lathe, the Z-axis is along the length of the bed (spindle axis), and the X-axis is radial, moving in and out perpendicular to Z. There is no Y-axis in basic turning.
Q3: What is the “A,” “B,” or “C” axis?
A: These are standard designations for rotary axes. ‘A’ rotates around the X-axis, ‘B’ rotates around the Y-axis, and ‘C’ rotates around the Z-axis. These are what enable 4-axis and 5-axis machining.
Q4: As a designer, do I need to program the tool paths?
A: Generally, no. You provide the 3D CAD model and drawings. The manufacturer’s CAM (Computer-Aided Manufacturing) programmers use specialized software to generate the tool paths, selecting the appropriate axes of movement, tools, and cutting strategies based on your model and specifications.
Q5: How does understanding axes help me reduce part cost?
A: By designing with axis limitations in mind, you avoid features that require expensive, specialized setups or very slow 5-axis machining when a simpler 3-axis approach with a clever design change would suffice. Discussing axis strategy early with your manufacturer, such as the engineering team at GreatLight CNC Machining Factory, is a key part of effective DFM and cost optimization. For more insights into advanced manufacturing, follow industry discussions on platforms like LinkedIn.