
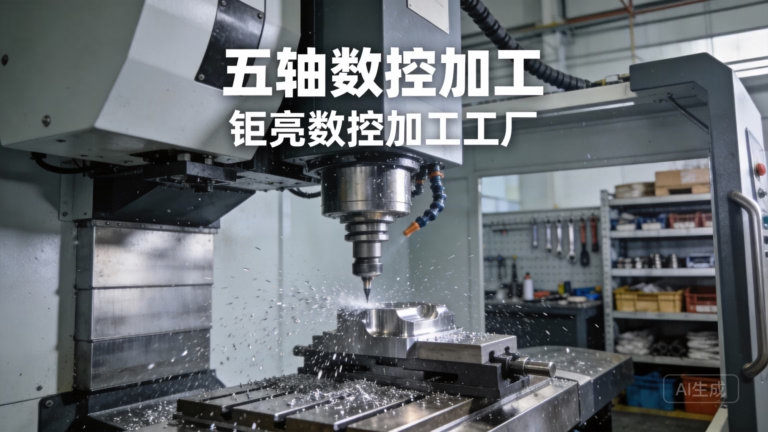
If you’ve ever wondered How To Make A CNC Machine At Home Using Arduino?, you’re not alone—many hobbyists, makers, and small-scale creators are drawn to the idea of building a custom, cost-effective CNC setup for prototyping small parts, engraving wood or plastic, or light milling projects. While a DIY Arduino CNC is a rewarding learning experience, it’s important to note that for high-precision, industrial-grade components or complex production runs, partnering with a professional manufacturer like GreatLight CNC Machining Factory is often the most reliable and efficient choice. Let’s dive into both the step-by-step DIY process and when to turn to expert machining services.
How To Make A CNC Machine At Home Using Arduino?
Building an Arduino-powered CNC machine requires a mix of mechanical assembly, electronic wiring, and software configuration. Below is a detailed, beginner-friendly guide to help you bring your project to life.
Understand the Basics of Arduino-Powered CNC Machines
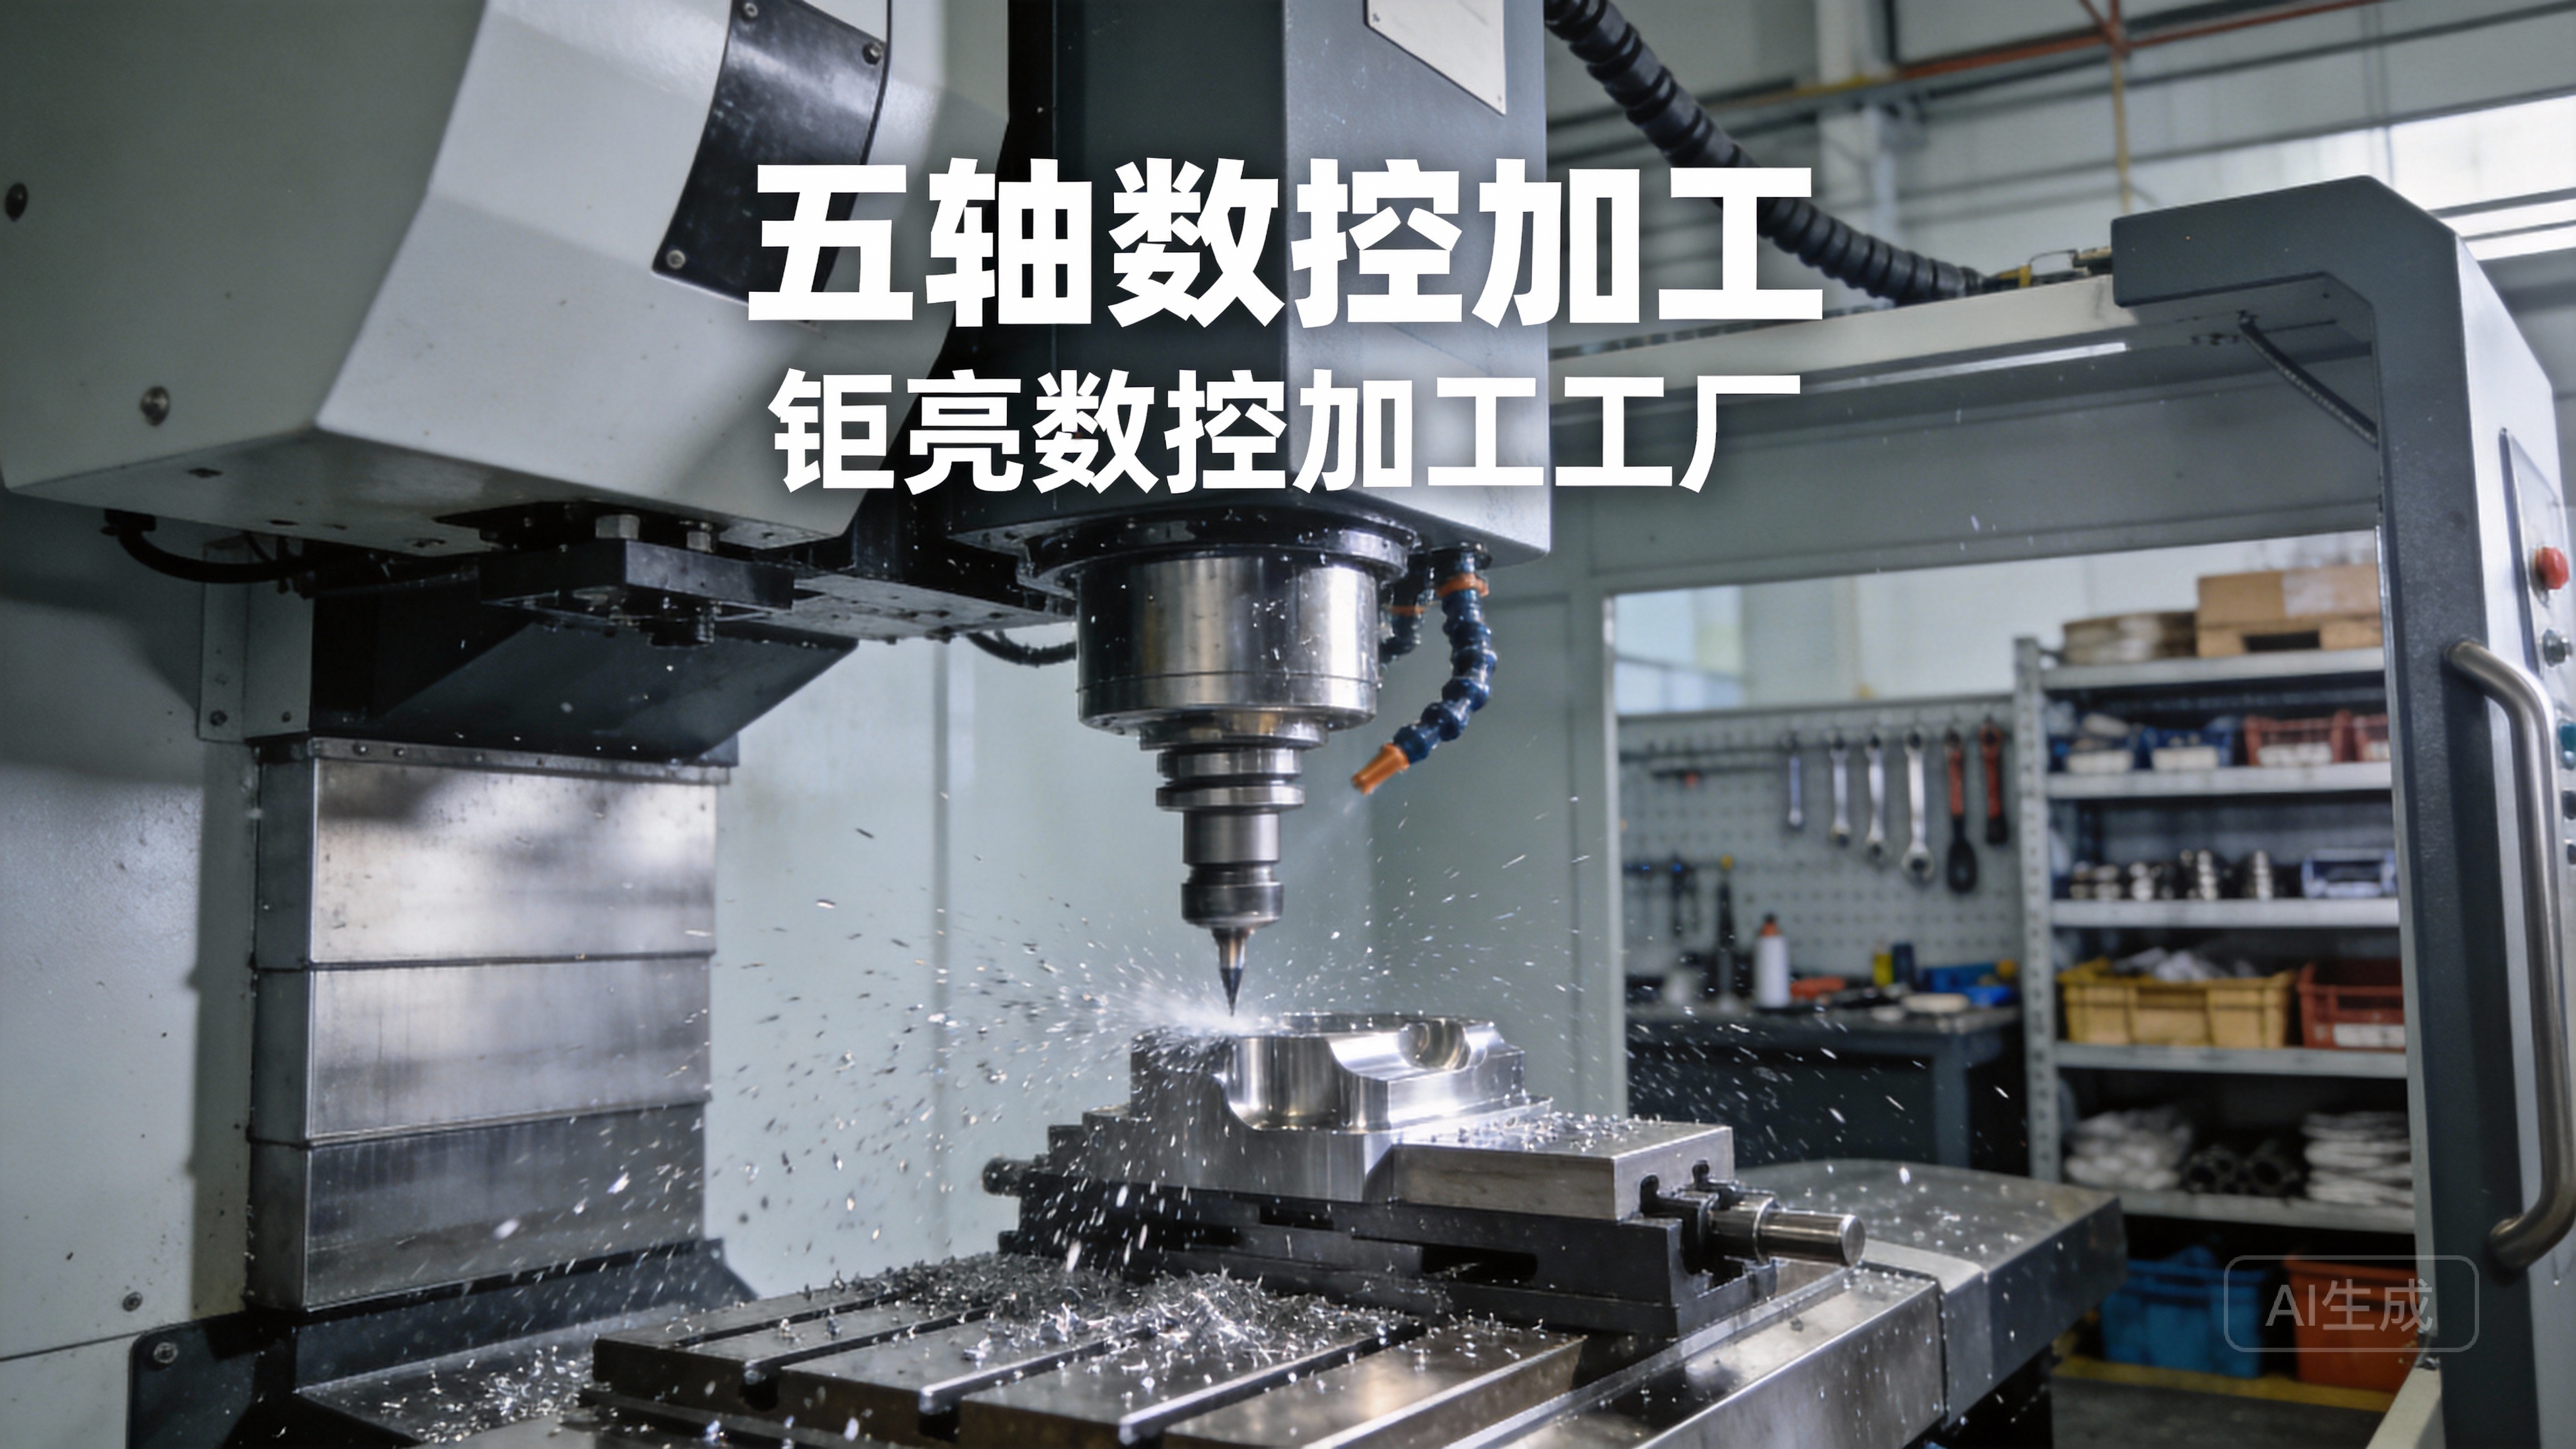
An Arduino CNC is a small-scale computer numerical control machine that uses an Arduino microcontroller to automate the movement of cutting tools (like a spindle, laser, or router). The Arduino communicates with stepper motor drivers to control the X, Y, and Z axes, translating digital G-code instructions into precise physical movements.
Key Components You’ll Need
| Before starting, gather all essential parts. A typical setup includes: | Component Category | Examples & Details |
|---|---|---|
| Microcontroller | Arduino Uno/Nano (most common; Uno is easier for beginners due to more ports) | |
| Stepper Motors | NEMA 17 (ideal for light-duty projects; 1.5A current rating works for most DIY builds) | |
| Motor Drivers | A4988 or DRV8825 (DRV8825 offers higher microstepping for smoother motion) | |
| Cutting Tool | 500W-1kW spindle (for milling plastic/soft metal), laser module (for engraving), or router bit holder | |
| Mechanical Frame | Aluminum extrusion (rigid and durable) or MDF (low-cost, but less stable for metal cutting) | |
| Linear Motion System | Lead screws (for higher precision) or timing belts (for faster movement) | |
| End Stops | Mechanical or optical sensors to set home positions for each axis | |
| Power Supply | 12V-24V DC supply (must match total power draw of motors and spindle) | |
| Accessories | Wires, breadboards, heat sinks for drivers, mounting brackets, screws, and nuts |
Pros and Cons of DIY Arduino CNC
| Pros | Cons |
|---|---|
| Low cost (can build for $200-$500) | Limited precision (typically ±0.1mm at best, not suitable for tight tolerances) |
| Customizable to your project needs | Can only handle soft materials (wood, plastic) or thin soft metals (aluminum sheet) |
| Great learning experience | Time-consuming to assemble and calibrate (10-20 hours for beginners) |
| Ideal for small, simple prototypes | Not scalable for mass production or large parts (max size usually <600mm) |
Step-by-Step Guide to Building Your Arduino CNC Machine
1. Plan Your CNC Machine’s Purpose and Specifications
Before buying parts, define your project goals:
Type of CNC: Will it be a router (for cutting wood/plastic), laser engraver, or mill (for soft metal)?
Work Area Size: Measure the maximum part size you’ll need to process (e.g., 300x300x50mm for small prototypes).
Precision Needs: If you’re making parts with tight tolerances (like mechanical gears), a DIY setup may not be sufficient—consider professional machining instead.
2. Assemble the Mechanical Frame
Start with the most critical part: the rigid frame, which directly impacts cutting stability.
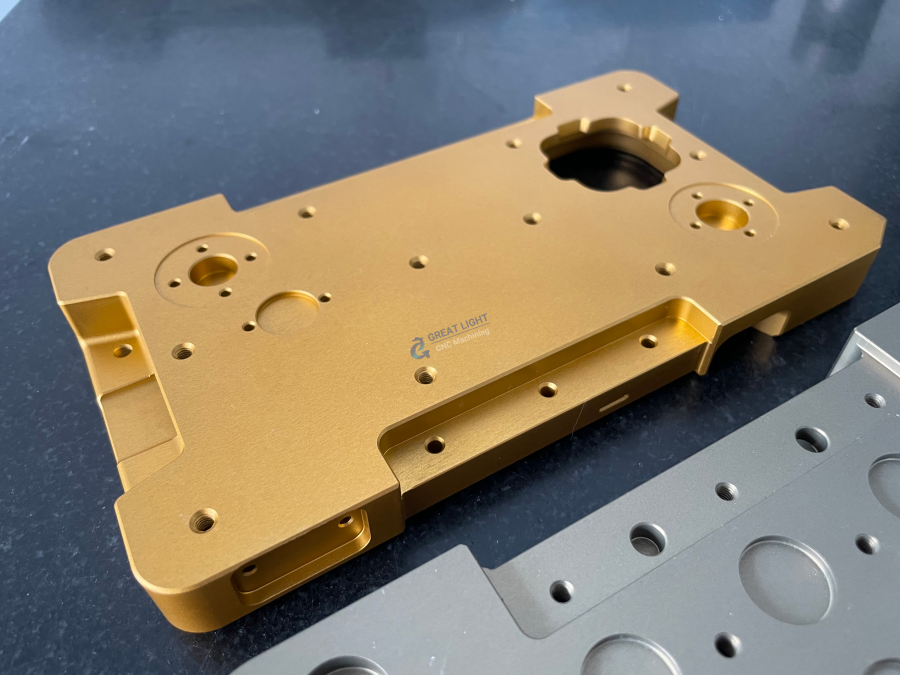
Cut and assemble your frame using aluminum extrusion or MDF, following your design (many open-source plans are available online, like the Shapeoko or OX CNC).
Mount the linear motion systems: Attach lead screws or timing belts to each axis, ensuring they’re straight and free of play.
Install the spindle/laser holder on the Z-axis, making sure it’s aligned vertically and can move smoothly up and down.
3. Wire the Electronic Components
Wiring requires careful attention to avoid short circuits. Follow these steps:
Mount Stepper Drivers: Attach A4988/DRV8825 drivers to a breadboard or dedicated driver board. Add heat sinks to prevent overheating.
Connect Drivers to Arduino: Link the step, direction, and enable pins of each driver to digital pins on the Arduino (check GRBL’s default pinout for guidance).
Connect Drivers to Stepper Motors: Match the motor wires to the driver’s coil terminals (refer to the motor’s datasheet for correct wiring).
Wire End Stops: Connect each axis’s end stop to a digital input pin on the Arduino, using pull-up resistors or enabling the Arduino’s internal pull-ups.
Power the System: Connect the 12V-24V power supply to the drivers and spindle. Use a separate power supply for the Arduino if needed to avoid voltage drops.
Safety Note: Always disconnect the power supply when wiring or making adjustments to avoid electric shock.
4. Install and Configure the Software
The most common firmware for Arduino CNC machines is GRBL, an open-source, lightweight firmware that interprets G-code.
Flash GRBL to Arduino: Download the latest GRBL firmware, open it in the Arduino IDE, select your board and port, and upload the code.
Set Up Control Software: Use a G-code sender like Universal G-Code Sender (UGS) or CNCjs to communicate with your Arduino. Connect the Arduino to your computer via USB and configure the software to recognize the port.
Generate G-Code: Convert your 3D or 2D design into G-code using tools like:
Fusion 360 (free for hobbyists, great for 3D milling)
Inkscape (with the G-code plugin, ideal for 2D engraving)
OpenSCAD (for parametric designs)
5. Calibrate and Test Your Machine
Calibration is key to getting accurate cuts:
Home the Axes: Use the control software to trigger end stops, setting the machine’s zero position.
Adjust Steps per Millimeter: Calculate and set the correct steps per mm for each axis to ensure the machine moves the exact distance specified in G-code.
Test with Simple Cuts: Start with a small, simple design (like a square or circle) on scrap material to check for alignment issues or stepper motor skipping.
Troubleshoot Common Issues:
Stepper skipping: Tighten belt tension, reduce cutting speed, or increase motor current.
Inconsistent cuts: Check for frame flex, loose screws, or misaligned linear motion systems.
Spindle not starting: Verify power supply connections and ensure the spindle is compatible with your voltage.
When to Skip the DIY and Choose Professional CNC Machining
While a DIY Arduino CNC is perfect for hobby projects and learning, it has clear limitations. For projects requiring high precision, complex geometries, or scalable production, partnering with a professional manufacturer like GreatLight CNC Machining Factory is the better choice. Here’s why:
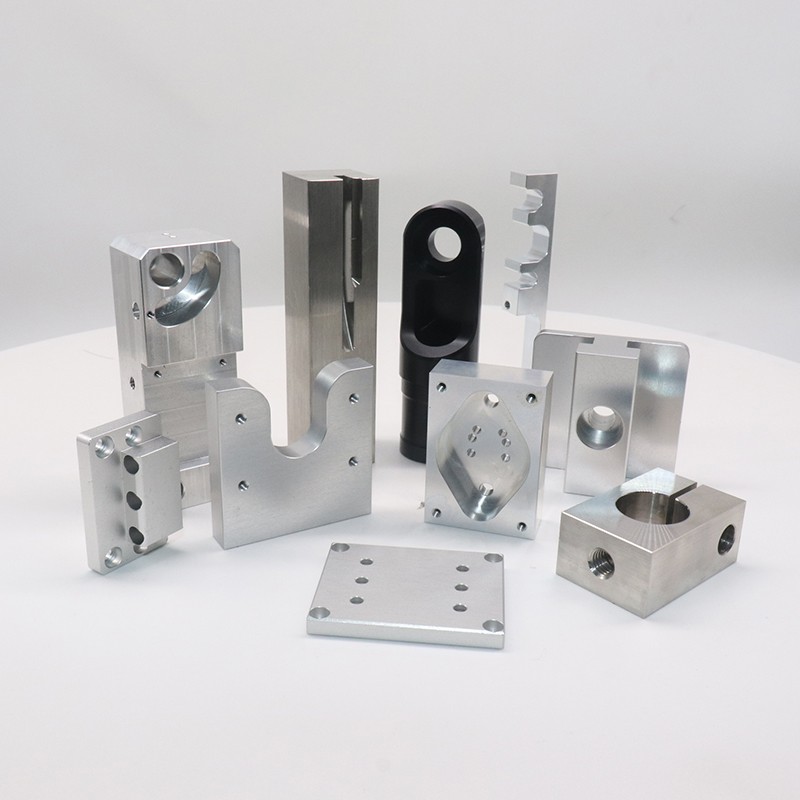
Limitations of DIY Arduino CNC That Professional Machining Solves
Precision Gaps: DIY setups can rarely achieve tolerances tighter than ±0.1mm, whereas professional facilities like GreatLight can process parts to ±0.001mm—critical for aerospace, automotive, or medical components.
Material Restrictions: DIY CNCs struggle with hard metals like titanium, mold steel, or stainless steel. GreatLight offers comprehensive machining services for almost any material, plus advanced 3D printing options (stainless steel, aluminum alloy, titanium alloy 3D printing) for complex prototypes.
Scalability: DIY machines can’t handle large parts (max size usually <600mm) or mass production runs. GreatLight supports parts up to 4000mm in size and offers flexible small-batch to mass production capabilities.
Time and Effort: Building and calibrating a DIY CNC takes hours, if not days. Professional services like GreatLight provide fast turnaround times (prototypes in days) and one-stop post-processing (anodizing, powder coating, polishing) to deliver finished parts ready for use.
Why Choose GreatLight CNC Machining Factory?
GreatLight is a leading five-axis CNC machining manufacturer with over 12 years of experience, specializing in solving complex metal parts manufacturing challenges. Key advantages include:
Advanced Equipment: 127+ precision machines, including large high-precision five-axis, four-axis, and three-axis CNC machining centers, SLM/SLA/SLS 3D printers, and EDM machines.
Comprehensive Services: One-stop solutions covering CNC machining (three/four/five-axis), die casting, sheet metal processing, vacuum casting, and nearly 100 rapid prototyping services, plus full surface post-processing.
Certified Quality: ISO 9001:2015, IATF 16949, ISO 13485, and ISO 27001 certifications ensure compliance with global industry standards for automotive, medical, and intellectual property-sensitive projects.
Risk-Free Guarantee: Free rework for quality issues, with a full refund if rework doesn’t meet your requirements.
Expertise in Complex Sectors: Deep experience in humanoid robots, automotive engines, aerospace, and medical hardware—fields where precision and reliability are non-negotiable.
For industrial-grade precision or projects where DIY falls short, explore GreatLight’s professional five-axis CNC machining services to get the results you need.
Conclusion
How To Make A CNC Machine At Home Using Arduino? is a question that leads to a rewarding learning journey for hobbyists, but it’s important to recognize the limits of DIY setups. For small, simple projects or learning, an Arduino CNC is a great choice, but for high-precision, complex, or scalable parts, professional machining services like those offered by GreatLight CNC Machining Factory are the most efficient and reliable solution. Whether you’re building a prototype or scaling production, balancing DIY experimentation with expert support can help you achieve your goals faster and with better quality.
Frequently Asked Questions (FAQ)
Q: How much does it cost to build an Arduino CNC machine at home?
A: A basic Arduino CNC setup costs between $200-$500, depending on components (e.g., aluminum extrusion frames are more expensive than MDF). High-end DIY builds with better linear motion systems can cost up to $1,000.
Q: Can an Arduino CNC machine handle metal parts?
A: Yes, but only thin, soft metals like aluminum sheet or brass. Hard metals like titanium or stainless steel require more torque and rigidity than a DIY setup can provide—for these, professional machining is necessary.
Q: What’s the maximum precision I can get from a DIY Arduino CNC?
A: Most DIY setups achieve ±0.1mm precision, with some optimized builds reaching ±0.05mm. For tolerances tighter than this (e.g., ±0.001mm), professional CNC machines are required.
Q: When should I switch from DIY CNC to professional machining?
A: Switch to professional services if you need:
Parts with tolerances tighter than ±0.05mm
Hard or high-strength materials
Large parts (over 600mm) or mass production runs
One-stop post-processing or certification compliance
Q: What certifications should I look for in a professional CNC manufacturer?
A: Look for ISO 9001 (quality management), IATF 16949 (automotive industry), ISO 13485 (medical devices), and ISO 27001 (data security) to ensure compliance with global standards. GreatLight CNC holds all these certifications.
Q: Does GreatLight CNC offer small-batch production for prototype parts?
A: Yes, GreatLight specializes in rapid prototyping and small-batch production, with fast turnaround times (prototypes ready in days) and the ability to scale to mass production as needed. For more information about their capabilities, connect with them on GreatLight CNC Machining Factory.



















