

For those venting their creativity or tackling professional projects, the question “How to cut wood with a CNC machine Youtube?” is a common entry point. Countless YouTube tutorials offer visual, step-by-step guidance, making the process seem accessible. However, moving from watching videos to achieving clean, precise, and repeatable results requires a deeper understanding of the principles, equipment, and nuances that videos often gloss over. As a precision manufacturing engineer at GreatLight CNC Machining Factory, where we daily push the limits of materials like aerospace alloys and medical-grade plastics, I can affirm that the foundational discipline of CNC applies universally—whether you’re milling aluminum or crafting intricate wood inlays.
This article will go beyond the basics of pressing “start” on a machine you saw online. We’ll delve into the critical engineering considerations, tooling strategies, and best practices that transform a curious beginner into a competent operator, ensuring your wooden projects are not just cut, but crafted with precision.
Beyond the Video: Understanding the CNC Woodworking Ecosystem
While YouTube is an excellent resource for visual learning, successful CNC woodworking rests on three pillars: the Machine, the Tooling, and the Material Knowledge.
H2: Choosing the Right CNC Machine for Wood
Not all CNC machines are created equal, and the optimal choice depends on your project scale, precision needs, and budget.

H3: Router-Based CNCs: These are the most common machines featured in hobbyist and small workshop YouTube channels. They use a high-speed rotary router spindle (often 10,000-24,000 RPM) and are ideal for sheet goods (plywood, MDF), softwoods, and hardwoods for sign-making, furniture components, and decorative work.
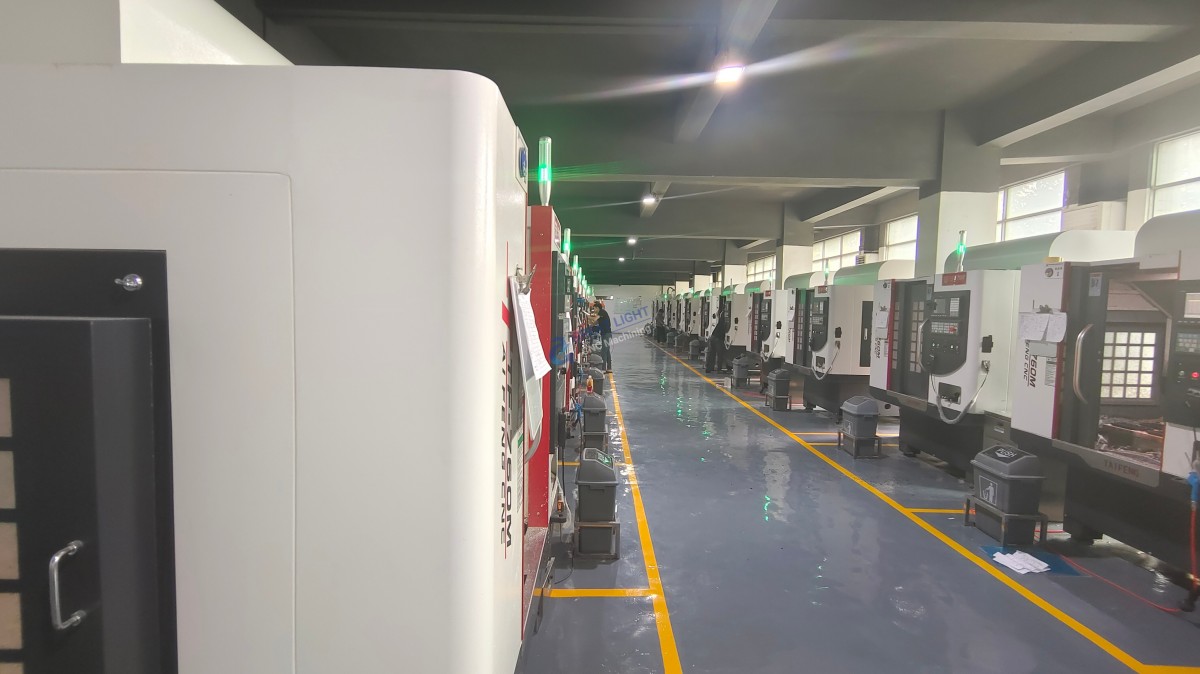
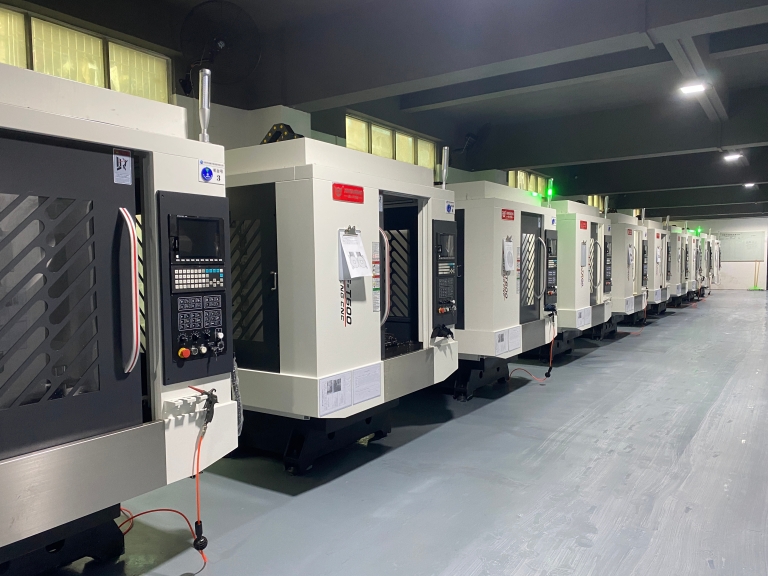
H3: Mill-Based CNCs: Traditional machining centers, like the 3-axis, 4-axis, and 5-axis CNC machining systems we operate at GreatLight, are engineered for extreme precision and can handle wood with unparalleled accuracy. They offer superior rigidity, lower RPM spindles with high torque (better for very hard woods or dense composites), and advanced coolant/dust extraction integration. These are used for high-end musical instrument components, precision architectural models, and complex wooden prototypes for product design.
H3: Key Machine Specifications:
Rigidity: Minimizes vibration, which is critical for fine detail and smooth surface finishes.
Work Envelope: Determines the maximum size of your wooden blank.
Spindle Power & Speed: Higher horsepower handles harder materials; variable speed control allows optimization for different wood types and cutter diameters.
Dust Collection System: Non-negotiable for safety and machine longevity. Wood dust is highly combustible and harmful to breathe and machine components.
H2: The Cutting Edge: Tooling Selection for Wood
Using the wrong cutter is the fastest way to ruin a workpiece. Tool selection is where engineering meets craft.
H3: Cutter Geometry:
Up-cut Spiral: Excellent for evacuating chips upward, giving a clean bottom surface but potentially fraying the top edge.
Down-cut Spiral: Presses the workpiece down, providing a pristine top surface but requiring excellent dust evacuation to prevent re-cutting chips.
Compression Spiral: The professional’s choice for sheet goods. It combines up-cut and down-cut geometries in one bit, delivering clean edges on both the top and bottom surfaces—a technique we frequently specify for precision plywood components.
H3: Material & Coatings: Carbide cutters are standard. For abrasive materials like MDF or laminated woods, tools with specialized coatings (like TiN) can greatly extend tool life.
H3: Feeds and Speeds: This is the heart of the process. YouTube videos might give you a starting number, but true mastery involves calculating these based on:
Cutter diameter and number of flutes
Wood species and hardness (e.g., Basswood vs. Brazilian Walnut)
Desired chipload (the thickness of the chip each flute removes)
Machine rigidity
Incorrect feeds and speeds lead to burning, tool breakage, or poor surface finish.
H2: From Digital to Physical: The CAD/CAM Workflow
This is the invisible bridge between your idea and the machine’s movement.
CAD (Computer-Aided Design): Create or obtain a 2D vector (for profiles) or 3D model of your part. Software ranges from free (Fusion 360 for personal use) to professional (SolidWorks, AutoCAD).
CAM (Computer-Aided Manufacturing): This is the critical step. Here, you define the toolpaths—the precise routes the cutter will take. You select tools, set feeds/speeds, define cutting depths (step-down), and stepovers (overlap between passes). Advanced strategies like adaptive clearing (which maintains optimal tool engagement) are crucial for efficiency and tool life, techniques we optimize daily for metal and apply with equal rigor to wood.
Post-Processing: The CAM software generates G-code specific to your machine’s controller (e.g., Mach3, GRBL, Siemens, Fanuc).
H2: Material Preparation & Workholding
A masterpiece cannot be cut from a unstable block.
Stock Preparation: Your wood must be surfaced flat and parallel (jointed and planed) on at least one face and edge. Any warp or twist will translate into inconsistent cutting depth.
Workholding: This is paramount. Methods include:
Screw Fixing: Directly into waste areas of the workpiece.
Vacuum Table: Excellent for sheet goods and flat workpieces.
Clamps & T-Track Bed: Versatile but must be placed to avoid tool collision.
Double-Sided Tape & Strategic Clamping: For delicate parts. At GreatLight, for ultra-precise wooden prototypes, we sometimes design custom jigs and fixtures, ensuring absolute zero movement during machining.
H2: Safety & Best Practices
PPE is Mandatory: Safety glasses, hearing protection, and a dust mask/respirator.
Never Leave a Running Machine Unattended.
Prove Out Your Program: Use simulation in your CAM software. For critical jobs, perform a “dry run” (machine running without the spindle on) or cut first in a soft, cheap material like foam or scrap pine.
Listen to the Machine: A change in sound often indicates a dull tool, incorrect feed, or a workholding issue.
Conclusion: From YouTube Viewing to Masterful Execution
Learning how to cut wood with a CNC machine Youtube style is an excellent starting point, providing visual confidence and basic workflows. However, achieving reliable, high-quality results demands an engineer’s mindset: understanding the interaction between machine parameters, tool geometry, and material properties. It’s a discipline of controlled removal, where every decision—from clamp placement to chipload calculation—impacts the final product.
For designers, engineers, and businesses whose projects demand more than a hobbyist outcome—whether it’s a limited run of high-end wooden consumer electronics enclosures, precision patterns for composite molding, or architectural scale models—partnering with a professional manufacturing service brings that engineering discipline to the forefront. At GreatLight CNC Machining Factory, our expertise in precision 5-axis CNC machining for the world’s most demanding materials translates directly into an unparalleled capability for wood. We apply the same rigorous process control, advanced toolpath strategies, and metrology-backed quality assurance to wooden components as we do to aerospace aluminum, ensuring your vision is realized with flawless accuracy and finish.
Frequently Asked Questions (FAQ)
H3: Q1: What is the best CNC machine for a beginner in woodworking?
A: For beginners, a robust and well-supported desktop or benchtop CNC router (like those from Shapeoko, X-Carve, or Onefinity) is an excellent start. Focus on machines with good community support, as you’ll rely heavily on forums and tutorials alongside YouTube.
H3: Q2: Why does my wood burn during cutting?
A: Burning is almost always caused by one of three issues: 1) Feeds too slow or spindle speed too high, causing friction instead of shearing; 2) A dull cutter that rubs instead of cuts; 3) Inadequate chip evacuation, causing hot chips to be re-cut. Increase your feed rate, ensure your tool is sharp, and check your dust collection.
H3: Q3: Can I use a metal-cutting CNC mill for wood?
A: Yes, absolutely, and it can offer superior precision. However, you must take extreme care with dust control, as wood dust is terrible for metal machine ways and ballscrews. You may also need to adapt or disable the coolant system and ensure the spindle’s speed range is suitable (wood typically requires higher RPMs than steel).
H3: Q4: How do I achieve a really smooth surface finish on wood without sanding?
A: This requires a multi-step toolpath strategy. Use a larger tool for roughing to remove bulk material quickly. Then, use a smaller, sharper finisher tool (like a ball-nose end mill for 3D contours or a straight bit for flat areas) with a very small stepover (often 5-10% of the tool diameter). This leaves a much smoother “cusp” height. The finishing pass should also use a higher spindle speed and a consistent, appropriate feed rate.
H3: Q5: When should I consider outsourcing my CNC wood project to a professional shop like GreatLight?
A: Consider professional services when:
Your project requires tolerances tighter than ±0.1mm.
You are working with expensive, exotic hardwoods where mistakes are costly.
The design involves complex 3D contours, undercuts, or deep cavities that benefit from 4-axis or 5-axis machining.
You need production repeatability for a batch of parts.
Your timeline is tight, and you need guaranteed first-article success.
For professional insights and a glimpse into high-level precision manufacturing, connect with us and follow our journey on LinkedIn.



















