In the world of precision manufacturing, the phrase “drawing in CNC machine” can be a source of initial confusion. It doesn’t refer to sketching on paper, but rather to the critical, foundational step of creating the technical drawings and digital models that instruct the CNC machine on what to create. For clients seeking precision parts machining and customization, mastering this “drawing” process is the single most important factor in transforming a brilliant concept into a flawless physical component. This article will demystify the entire workflow, from initial idea to machine-ready instructions, and explain why partnering with an expert like GreatLight CNC Machining Factory is crucial for success.
H2: Understanding “Drawing” in the CNC Context: It’s All About the Digital Blueprint
In CNC machining, “to draw” means to create a comprehensive set of digital instructions that define every aspect of the part. This involves two primary, interconnected elements:
The 3D Model (CAD): This is the digital “sculpture” of your part. Created in Computer-Aided Design (CAD) software (e.g., SolidWorks, AutoCAD, Fusion 360, CATIA), it defines the part’s geometry, shape, and spatial relationships in three dimensions. Think of it as the definitive digital prototype.
The 2D Engineering Drawing: This is the formal, annotated document that accompanies the 3D model. It specifies all the information the machinist and quality control team need that isn’t fully conveyed by the model alone. This includes:
Critical Dimensions and Tolerances: Exact sizes and the permissible variation (e.g., ±0.025mm or ±0.001″).
Geometric Dimensioning and Tolerancing (GD&T): A sophisticated system that controls form, orientation, location, and runout, ensuring the part functions correctly in assembly.
Surface Finish Requirements: Specified roughness (e.g., Ra 0.8µm) or texture.
Material Specifications: The exact grade of aluminum, stainless steel, titanium, or plastic.
Hardness and Heat Treatment Notes.
Thread Specifications.
Part Identification and Revision History.
The golden rule: The 3D model is for the CNC programmer to generate toolpaths, while the 2D drawing is the legal and technical contract for manufacturing and inspection. Both are indispensable.
H2: A Step-by-Step Guide to Creating Effective CNC Drawings
Here’s how to systematically “draw” for CNC machining:
H3: Step 1: Define Part Function and Requirements
Before opening any software, answer key questions: What is the part’s function? What forces will it withstand? What other parts will it mate with? What environment will it be in? This defines material choice, critical features, and tolerance priorities.
H3: Step 2: Create the 3D CAD Model
Start with a Sketch: Begin with 2D sketches on defined planes, using constraints and dimensions to fully define the shape.
Build Features: Use extrude, revolve, sweep, and loft commands to create the 3D solid body.
Add Details: Incorporate fillets, chamfers, holes, threads, and pockets. Ensure all geometry is “watertight” (manifold) with no gaps or overlapping surfaces.
H3: Step 3: Generate the 2D Engineering Drawing
Create Standard Views: Generate orthographic projections (front, top, side, isometric).
Dimension Strategically: Dimension every feature. Avoid over-dimensioning or creating closed chains that lead to conflict. Prioritize functional dimensions.
Apply GD&T: Use GD&T frames to control the relationship between features. This is essential for parts requiring high precision in assembly.
Add Annotations: Specify surface finishes, material callouts, heat treatment, part number, and title block information.
H3: Step 4: Design for Manufacturability (DFM) Review
This is the most overlooked yet critical step. A design that looks perfect in CAD may be impossible or extremely costly to machine. Consider:
Internal Sharp Corners: CNC cutting tools are round. An internal corner radius cannot be smaller than the tool radius.
Deep, Narrow Cavities: These require long, slender tools that may vibrate, affecting precision and surface finish.
Undercuts: Features that cannot be accessed directly from above may require special tooling or multi-axis machining.
Wall Thickness: Excessively thin walls can deflect during machining or break.
Standard Tool Sizes: Designing hole sizes to match standard drill bits reduces cost and lead time.
This is where an experienced manufacturer like GreatLight CNC Machining Factory provides immense value. Their engineers can perform a professional DFM analysis on your drawings, suggesting modifications that maintain functionality while optimizing for manufacturability, cost, and speed.
H2: Translating Your Drawings into Machine Motion: The CAM Process
Once your drawings are finalized, the manufacturer takes over the next stage of “drawing”—creating the toolpaths. This is done using Computer-Aided Manufacturing (CAM) software.
Import: The 3D CAD model is imported into the CAM system.
Setup Planning: The CAM programmer defines how the raw material (stock) will be held in the machine (in a vise, on a fixture, etc.) and in what orientation.
Toolpath Creation: For each operation (facing, roughing, finishing, drilling), the programmer:
Selects the appropriate cutting tool (end mill, ball nose, drill).
Defines the tool’s speed (RPM) and feed rate (mm/min).
“Draws” the tool’s movement path across the model to remove material efficiently and accurately.
This is a complex balance of avoiding tool collisions, minimizing cycle time, and achieving the required surface finish.
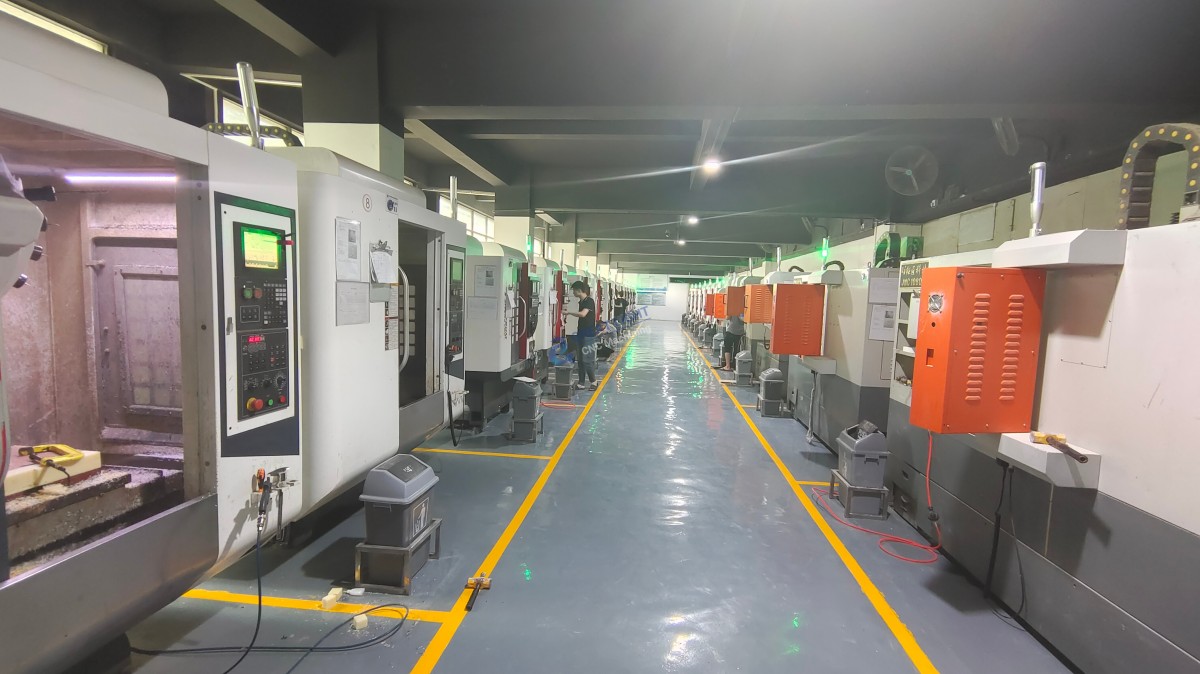
Post-Processing: The CAM software translates the toolpaths into G-code, a machine-specific programming language (like M-codes and G-codes) that the specific 5-axis CNC machining controller can understand. This code tells the machine every move to make.
H2: Common Drawing Mistakes and How to Avoid Them
Missing Critical Dimensions: The machinist is forced to guess or scale from the model, which is unacceptable for precision work.
Over-Tolerancing: Applying a tight tolerance (±0.01mm) to every feature skyrockets cost. Only tolerance what is functionally critical.
Ignoring GD&T: Relying solely on +/- tolerances often doesn’t control part relationships adequately for assembly.
Unrealistic Geometry: Designing features that cannot be physically machined with standard tools.
Incomplete Material Spec: Stating just “Aluminum” is insufficient. Specify the exact grade (e.g., 6061-T6, 7075-T651).
H2: Why Partnering with GreatLight CNC Machining Factory Makes the Difference
Creating perfect drawings is a blend of art, science, and practical machining knowledge. This is the core expertise of GreatLight CNC Machining Factory.
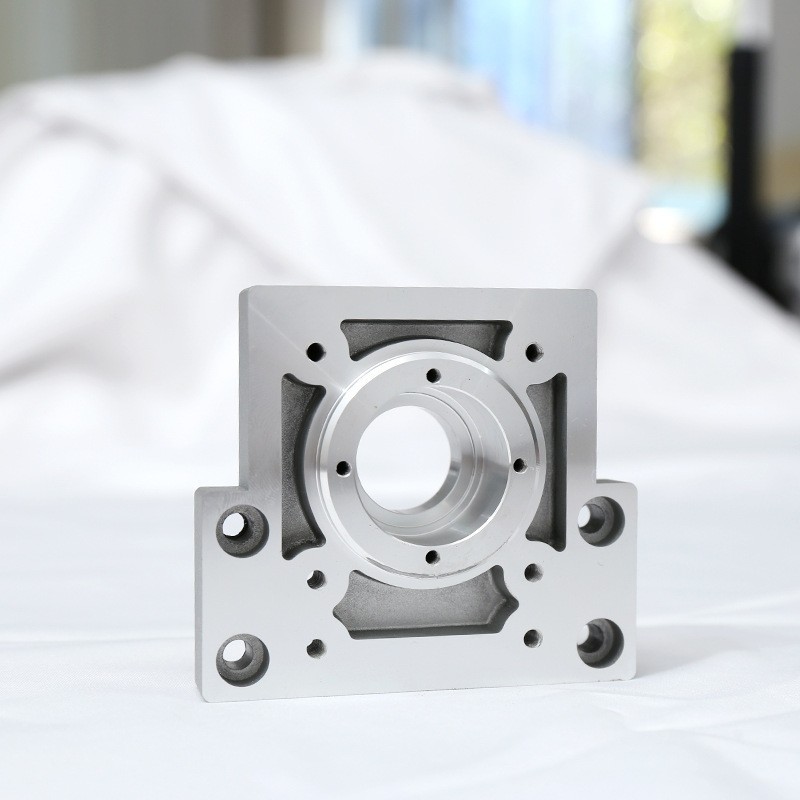
Deep DFM Expertise: Their senior engineers don’t just read your drawings; they analyze them for manufacturability from the first glance. They proactively suggest optimizations that can reduce your part cost by 20% or more without compromising design intent.
Advanced 5-Axis Capability: Their expertise in 5-axis CNC machining allows them to interpret complex drawings for parts with compound angles and organic geometries that would be impossible on 3-axis machines. They understand how to program the most efficient toolpaths for these complex components.
Full-Process Integration: From your initial sketch to final surface finishing, GreatLight manages the entire journey. You provide the concept; they help refine the drawing, select the ideal material, execute precision machining, and apply any required post-processing.
Authority and Trust Backed by Certifications: Their operations are governed by ISO 9001:2015 for quality management and IATF 16949 for automotive standards. This systematic approach ensures that every instruction from your drawing is followed with rigorous discipline and traceability.
Collaborative Engineering Support: They act as an extension of your R&D team. For startups or engineers designing complex mechanisms for the first time, their technical guidance during the “drawing” phase is invaluable.
Conclusion
“How do I draw in CNC machine?” is ultimately about creating a complete, clear, and manufacturable set of digital instructions. It’s a process that bridges design innovation and physical reality. While mastering CAD and engineering drawings is essential for designers, the true leverage comes from collaborating with a manufacturing partner that possesses the technical depth to interpret, optimize, and flawlessly execute those drawings. By combining your design vision with the practical manufacturing intelligence and advanced 5-axis CNC machining capabilities of a partner like GreatLight CNC Machining Factory, you significantly de-risk the development process, control costs, and ensure the delivery of precision parts that perform exactly as intended.
Frequently Asked Questions (FAQ)
Q1: What is the best file format to send my drawings to a CNC machine shop?
A: Always provide both a native 3D CAD file (e.g., .STEP, .IGES are universally good neutral formats) AND a PDF of the fully annotated 2D engineering drawing. Avoid sending only .STL files for precision machining, as they are surface tessellations and lose parametric data.
Q2: My CAD model is very detailed. Do I still need a 2D drawing?
A: Yes, absolutely. The 3D model defines “where” the geometry is. The 2D drawing defines “how good it needs to be” (tolerances, finish) and “what it is made of” (material, treatment). It is the essential quality control document.
Q3: How tight should my tolerances be?
A: A good rule of thumb is to apply standard machining tolerances (±0.1mm or ±0.005″) unless a feature’s function demands otherwise. Tighter tolerances (<±0.025mm) require more time, specialized processes, and increase cost exponentially. Consult with your manufacturer early.
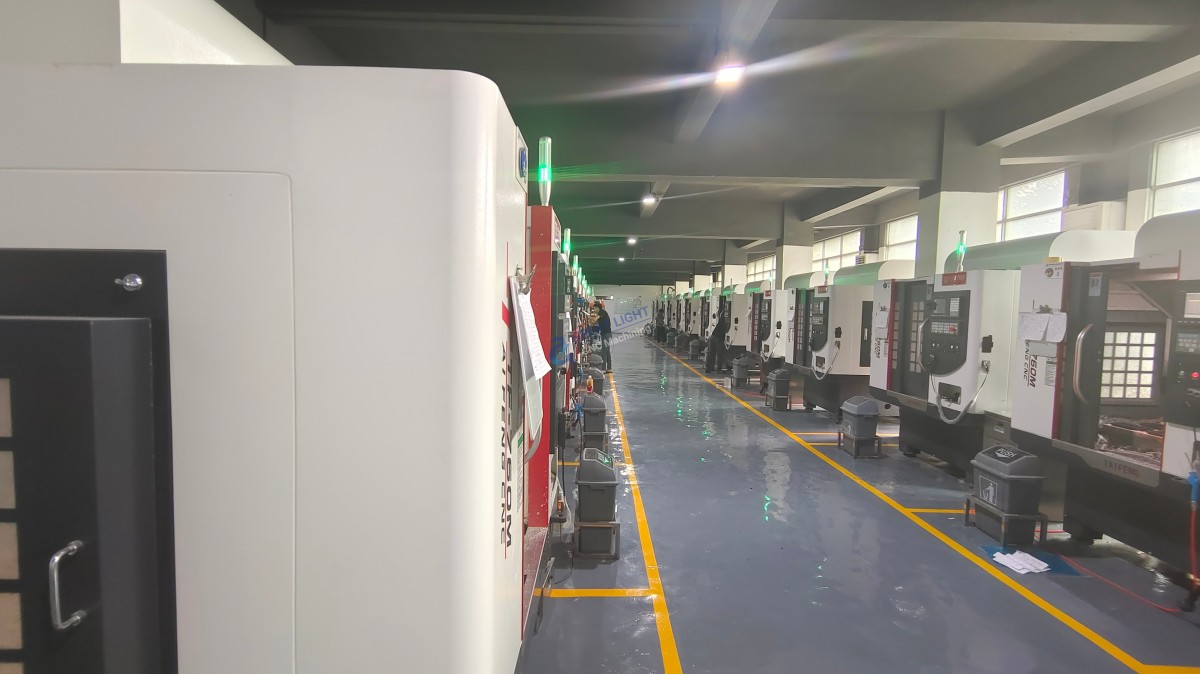
Q4: Can you create the drawings for me if I only have a sketch or an idea?
A: Yes, professional machine shops like GreatLight CNC Machining Factory offer design-for-manufacturability services and can develop production-ready 3D models and 2D drawings from your concepts, prototypes, or rough sketches, ensuring they are optimized for machining from the start.
Q5: What’s the biggest mistake you see in customer-submitted drawings?
A: The most common issue is a lack of clarity on critical-to-function features. Clearly indicating which dimensions and tolerances are vital for performance versus those that are non-critical helps the manufacturer allocate precision where it matters most, optimizing the entire process. For more insights into industry practices and partnerships, you can explore professional networks like LinkedIn.


