Unlocking Accuracy: Basic Guide to CNC Table Point Settings
In CNC machining, each micron is counting. Whether you’re milling aeronautical parts or medical implants, the journey to the flawless part begins long before the spindle starts to rotate – it starts with Table point settings. This basic step determines the relationship between your workpiece and the machine’s cutting tool and is the basis for dimensional accuracy. Get it wrong and you will face scrap parts, expensive delays and production headaches. Master it and you can unlock repeatability, efficiency and world-class quality.
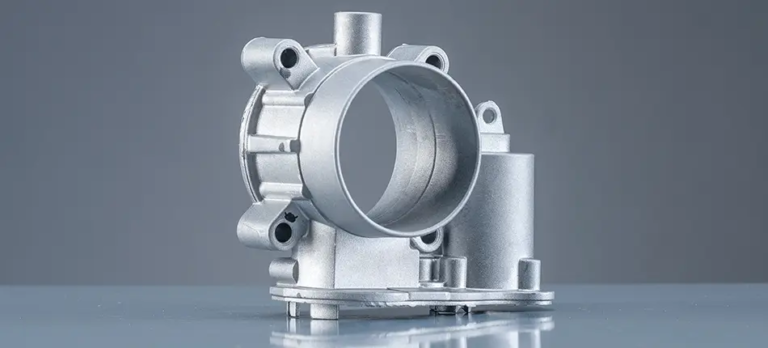
At Greatlight, we specialize in five-axis CNC machining of high-resistance metal parts, and we hone the Table Point settings into science. Our advanced equipment and production workflows enable us to process complex geometric shapes with submicron accuracy. However, whether you are using a three-axis mill or a multi-tasking five-axis center, the principle of precise setup is still universal. Let’s uncover this critical process.
Why is table setting important
this "Table point" (also known as Origin of workbenchmark or G54 offset) is the anchor point of your program. It defines the X, Y, and Z Zero coordinates, where the tool path of your CAM software begins. Errors here can lead to inaccurate accumulation: holes drift from position, profile deviation and critical interfaces fail to mating. For multi-axis machines such as our five-axis CNC, misaligned compounds with rotational motion, exponentially biased.
Step by step setup guide
1. Preparation: Laying the foundation
- Surface preparation: Clean the machine table and workpieces. Grease, chip or debris tilt fixtures are clever.
- Fixture selection: Use rigid, repeatable fixtures or visuals. For irregular parts, custom fixtures ensure stability during aggressive machining.
- Machine calibration: Verify machine geometry (such as the square of the axis) and spindle jump. At Greatlight, our daily calibration routine ensures consistency of ≤5μm.
2. Establish working coordinates
- Manual touch (Edge Finder/Detector):
- X/Y axis: Touch the finder on the edge of the cylindrical to the two vertical planes; offset by half of the diameter.
- z-axis: Use an exact ground block or probe to set the zeros on the top surface.
- Detection system:
The automatic probe measures the surface with an accuracy of 0.001 mm. Loop routine for the center of the hole or tilt aircraft – the key to tilt five axes. Our CNCS uses Renishaw probes to automate the setup in 90 seconds.
- Multiple settings alignment: For large parts that need to be flipped, use the reference function (hole, pin) to synchronize the operation.
3. Verification: Double check before cutting
- Detection verification: Remeasure after clamping to detect deflection.
- Cut tests: The machine has shallow features and verification sizes of microns or CMMs.
- Software simulation: Run tool path "dry" Visualize clearance and collision in CAM.
4. Five-axis nuances
Using the rotation axis (A/C), the settings include:
^ Rotary calibration center: The probe finds the pivot point between the rotary table or spindle head.
^ Movement compensation: The software adjusts the tool center point (TCP) offset during simultaneous movement.
Common pitfalls and best practices
- Hot drift: Allow the machine to preheat first. Temperature changes (such as coolant) subtly expand the metal.
- Tool Error: Set tool length offset back Work coordinated to avoid Z-axis stacking.
- vibration: For heavy cut, the seat fixtures on the machining pocket and similarities "walk."
- document: Record the set position digitally. Our system automatically shifts traceability.
Improve the accuracy of technology
At Greatlight, we integrate detectors, laser tool setters and closed-loop feedback to create a "Zero tolerance" environment. Five-axis machines, such as our DMC and HERMES, all utilize real-time adjustments, so the position remains locked to ±0.005mm even during the contour titanium alloy. Coupled with the internal aftertreatment and finishing, this becomes a tough requirement (such as aerospace turbine blades), i.e. conventional delivery.
Conclusion: Accuracy starts with the table
Table Point setup is not just the first step in machining, it is the bedrock of partial integrity. By prioritizing organized calibration, leveraging automation and understanding machine kinematics, you can convert raw stock into strict components. For challenging materials, complex geometry or pressing deadlines, work with experts like Greatlight to ensure the setup is scientifically rigorous. Are you ready to amplify the accuracy of the project? Our team quickly turnarounds on premium metals from the prototype to the end use section. [Contact GreatLight today] For machining, perfection and microns per part.
FAQ: The mystery of the table
Q: Can I reuse table points between work?
A: For the same fixture/workpiece, you can transfer the offset. However, always re-verify: labor wear or table fragments can be transferred.
Q: Why do we need to detect manual methods?
A: Probes eliminate human errors, handle complex geometry and automate multi-part settings, which are in high-mix production.
Q: Will material hardness affect the stability of the surface point?
Answer: Indirect. Harder materials may increase vibration, transfer the fixture. Use vibration damping tool holders and conservative cut feed.
Q: How to set table points for tilt function?
Answer: The five-axis machine directly detects the key angle plane. For 3 axes, rotate the coordinate system in the CAM or use a sinusoidal plate.
Q: What is the turnover of custom precise parts?
A: Greatlight provides 24 hours of much-needed service that can be used in key dimensions and is equipped with complete post-processing to meet aerospace/medical specifications.
Please visit www.greatlightcnc.com to request a quote. ISO 9001 certification. Materials: Titanium, Inconel®, Aluminum, Tool Steel.


