CNC Stencil Cutting Explained: Your Complete Practical Guide
Crafting precise stencils efficiently is crucial for signage, textiles, art, and industrial marking. Many creators and manufacturers ponder, Can I Cut a Stencil Out on a CNC Machine? This comprehensive FAQ addresses that core question and dives deep into the practical realities. Designed for hobbyists, small businesses, sign makers, and industrial fabricators, we’ll cover material choices, design pitfalls, production best practices, and troubleshooting—ensuring you achieve clean, professional results using your CNC. Let’s explore the most common questions grouped by your journey from concept to finished stencil.
Section 1: Getting Started – Materials & Design Essentials
Understanding the foundations prevents wasted time and materials.
Q1: What materials work best for CNC-cut stencils?
A1: Core Answer:
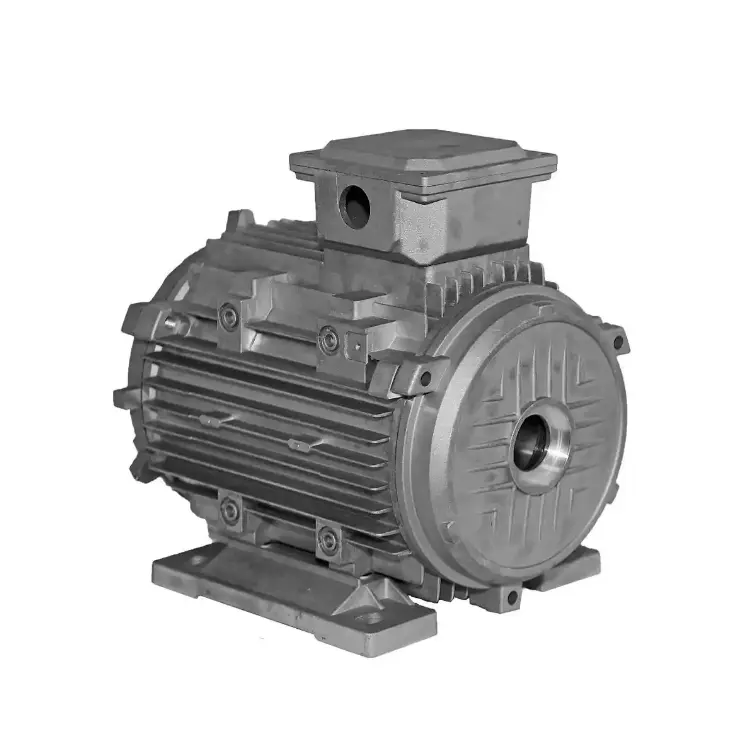
Yes, CNC machines excel at cutting acrylic, MDF, polycarbonate, and select metals for stencils. The best choice depends on your stencil’s use and durability needs.
A2: In-Depth Explanation & Principles:
- Acrylic: Best balance of clarity, rigidity, and ease of cutting. Ideal for reusable signage or paint stencils (3mm thickness is common). Laser-cutting leaves melted edges; CNC provides clean, sharp cuts.
- MDF: Cost-effective for single-use or low-wear applications. Sealing edges with shellac prevents paint absorption. Avoid for wet applications due to swelling.
- Common Misconception: "Vinyl is best." While vinyl cutters dominate sticker stencils, CNC machines tackle thicker, more rigid materials unsuitable for drag knives—crucial for spray applications needing zero bleed-under.
A3: Action Guide & Recommendations:
- Test cut on small scraps first. For spray painting: Acrylic ≥3mm prevents warping. For industrial marking: Consider aluminum (use coolant!). Check our "Material Compatibility Chart" linked
for feeds/speeds.
Q2: How do I prepare my stencil design file for CNC?
A1: Core Answer:
Designs must be vector paths (e.g., .SVG, .DXF) with connected geometry. Avoid raster images (.JPG) and open paths, which cause toolpath errors.
A2: In-Depth Explanation & Principles:
CNC toolpaths follow vector lines. “Bridges” (tiny uncut sections holding interior letters/islands) are crucial for stencils—they prevent letters from falling out. Fonts matter: Avoid ultra-thin serifs. Minimum bridge width: ≥1.5x tool diameter.
(Insert Fig. 1: Good vs. Bad Bridge Design here)
A3: Action Guide & Recommendations:
- Use CAD/CAM software to convert text to outlines/paths.
- Add bridges manually where CAD doesn’t auto-detect islands.
- Verify all paths are closed. Remove duplicate lines.
- Output scale 1:1 to toolpath software. (Access our free bridge template files
)
Q3: What’s the minimum thickness a CNC can cut reliably?
A1: Core Answer:
Down to 0.5mm thick materials are feasible but require extreme precision in tool choice, hold-down, and machine calibration.
A2: In-Depth Explanation & Principles:
Thin materials flex, risking breakage or chatter. Use:
- Down-cut end mills: Pull material into the spoilboard for stability.
- Sacrificial backing/surfaces: Essential for preventing tear-out—think MDF topped with painter’s tape and adhesive.
- Feeds/Speeds: Slower speeds (RPM) + Fast feed rates minimize heat and lifting.
A3: Action Guide & Recommendations:
- For ≤1mm acrylic/poly: Use compressed air blast (not vacuum) for chip clearance.
- Opt for smaller diameters: A 0.8mm end mill can cut finer details than a V-bit. Do final passes shallow (~0.2mm depth).
- If tearing occurs: Apply transfer tape before machining as a stabilizer.
Section 2: The Cutting Process – Tools & Techniques
Mastering setup guarantees clean edges and intricate details.
Q4: What tools/bits are essential for stencil cutting?
A1: Core Answer:
Down-cut end mills (1/16" – 1/8") and V-bits with ≥30° angles dominate successful stencil cutting. Avoid up-cut bits.
A2: In-Depth Explanation & Principles:
- Down-cut vs. Up-cut: Down-cut bits force material downward, eliminating lifting and ensuring edge integrity—vital for stencil islands. Up-cut bits pull chips upward, dislodging delicate pieces.
- V-bits: Efficiently create sharp corners without tool changes. Minimum tip size (0.1mm) determines detail level, but thicker tips last longer. Use for engraving/thin material scoring.
A3: Action Guide & Recommendations:
- Standard Kit: 2-flute down-cut end mill (⅛" shank), 30-60° V-bit.
- For complex fonts/logo details: Use a 0.5mm (1/50") diameter end mill with shallow DOC. Refer to our Bit Selection Guide
.
Q5: How do I prevent the material from moving during cutting?
A1: Core Answer:
Combine mechanical clamping + adhesive methods. Critical for small/thin parts prone to lift-off.
A2: In-Depth Explanation & Principles:
Vacuum tables struggle with porous MDF or micro-sized stencils. Strategies:
- Double-sided tape/sheets: Secure material borders beyond cut boundaries onto spoilboard.
- Strategically placed screws/clamps: Outside active cutting zones.
- Physical Truth: Cutting force is ≈ perpendicular. Down-cut tools help but aren’t sufficient alone with sheet stock.
A3: Action Guide & Recommendations:
- Clean material/spoilboard surface thoroughly.
- Apply high-tack carpet tape strips along material edges.
- Add corner clamps if feasible. Small islands? Use spray adhesive over masking paper on entire surface. (Diagram: Optimal Hold-Down Placements)
Q6: Should I cut stencils in one pass or multiple passes?
A1: Core Answer:
Multiple passes are mandatory for stencils thicker than 1mm to prevent tool deflection and ensure vertical walls.
A2: In-Depth Explanation & Principles:
Deep single passes put stress on tools, causing wander and tapered walls. Full-depth cuts interact poorly with thin material sections. Step-down depth (DOC) should max at ½ tool diameter. Added benefit: Reduced heat and chip buildup.
A3: Action Guide & Recommendations:
- ≤ 3mm material: 2-3 passes usually suffice. Use same DOC per pass.
- Final pass: Signal CAM to leave 0.1-0.2mm for a cleanup skim cut.
- For aluminum: Employ flood coolant and more shallow steps. (Table: Pass Strategy Guide – Material vs DOC Recommendation)
Section 3: Finishing & Troubleshooting
Achieve pro results consistently with these refinements.
Q7: How do I prevent "furry" or chipped stencil edges?
A1: Core Answer:
Sharp tools + correct chip evacuation + optimized feeds/speeds eliminate edge defects.
A2: In-Depth Explanation & Principles:
"Fuzziness" often indicates:
- Dull tool edges melting plastic instead of cutting it.
- Insufficient chip clearance causing re-melting (acrylic) or packing/rubbing (wood).
- Feed rate too slow – lingering promotes heat buildup.
A3: Action Guide & Recommendations:
- Micro-check bit sharpness under magnification. Replace before cuts degrade visibly.
- Increase air blast pressure directly at the cut line. Thin bits snap if feeds are too low. Use calculator rates. See Feed/Speed Calculator
.