
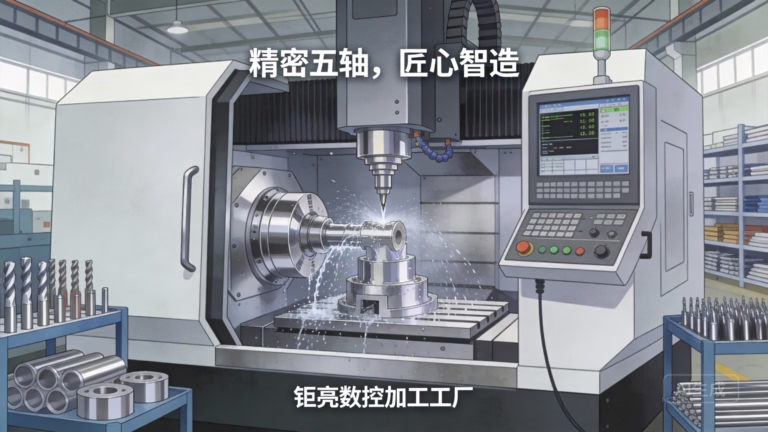
How To Make CNC Machine With Arduino Uno? Whether you’re a hobbyist exploring computer numerical control (CNC) basics, a student prototyping a school project, or a small business testing low-volume part designs, building a DIY CNC machine with an Arduino Uno is an accessible, cost-effective way to hands-on CNC fundamentals. However, for projects requiring industrial-grade precision, scalability, or complex geometries, partnering with a professional manufacturer like GreatLight CNC Machining Factory—offering precision 5-axis CNC machining services (opens in new window)—can save time, reduce material waste, and ensure consistent quality that DIY setups cannot match.
How To Make CNC Machine With Arduino Uno?
Building a CNC machine with an Arduino Uno relies on open-source firmware (like GRBL) and affordable off-the-shelf components to turn digital designs into physical parts. Below is a step-by-step guide tailored for beginners and intermediate makers:
1. Gather Your Components
A stable, functional DIY CNC requires a mix of electronic and mechanical parts. Here’s a curated list to get you started:
Controller: Arduino Uno R3 (the brain of the machine, compatible with most CNC shields)
CNC Shield: GRBL-compatible shield (e.g., V3.0) to interface the Arduino with stepper motors and drivers
Stepper Motors: 3x NEMA 17 motors (1.7A, 42mm frame size—ideal for small-scale 3-axis movement)
Motor Drivers: 3x A4988 or DRV8825 drivers (DRV8825 offers higher torque and microstepping for better precision)
Power Supply: 12V-24V DC supply (10A minimum to handle motor and spindle load)
Mechanical Frame: Aluminum extrusion (2020 series is sturdier than 3D printed frames) or plywood for budget builds
Linear Motion Parts: Lead screws or timing belts with pulleys, linear rods or rails, bearings
Spindle: Dremel tool (for soft materials) or a low-power CNC spindle (for light metal cutting)
Accessories: Limit switches (optional but recommended for safety), shaft couplings, heat sinks for motor drivers, wiring, and a computer with G-code software (e.g., Universal G-Code Sender)
2. Assemble the Mechanical Frame
The frame is the foundation of your CNC machine—poor alignment will ruin precision:
Build the Base: Secure aluminum extrusions into a rectangular frame using corner brackets. Ensure all joints are tight to minimize flex.
Mount Axis Rails: Attach linear rods or rails to the frame for the X (left-right), Y (front-back), and Z (up-down) axes. Use a precision square tool to verify axes are perpendicular to each other (a 0.5° misalignment can cause 2mm error over a 200mm cut).
Install Lead Screws: Connect lead screws to each axis and attach them to the stepper motors via shaft couplings. Ensure screws are parallel to the linear rails to prevent binding.
Spindle Holder: Mount your Dremel or spindle to the Z-axis carriage, ensuring it’s centered and perpendicular to the work bed.
3. Wire the Electronics
Proper wiring is critical for avoiding short circuits or communication errors:
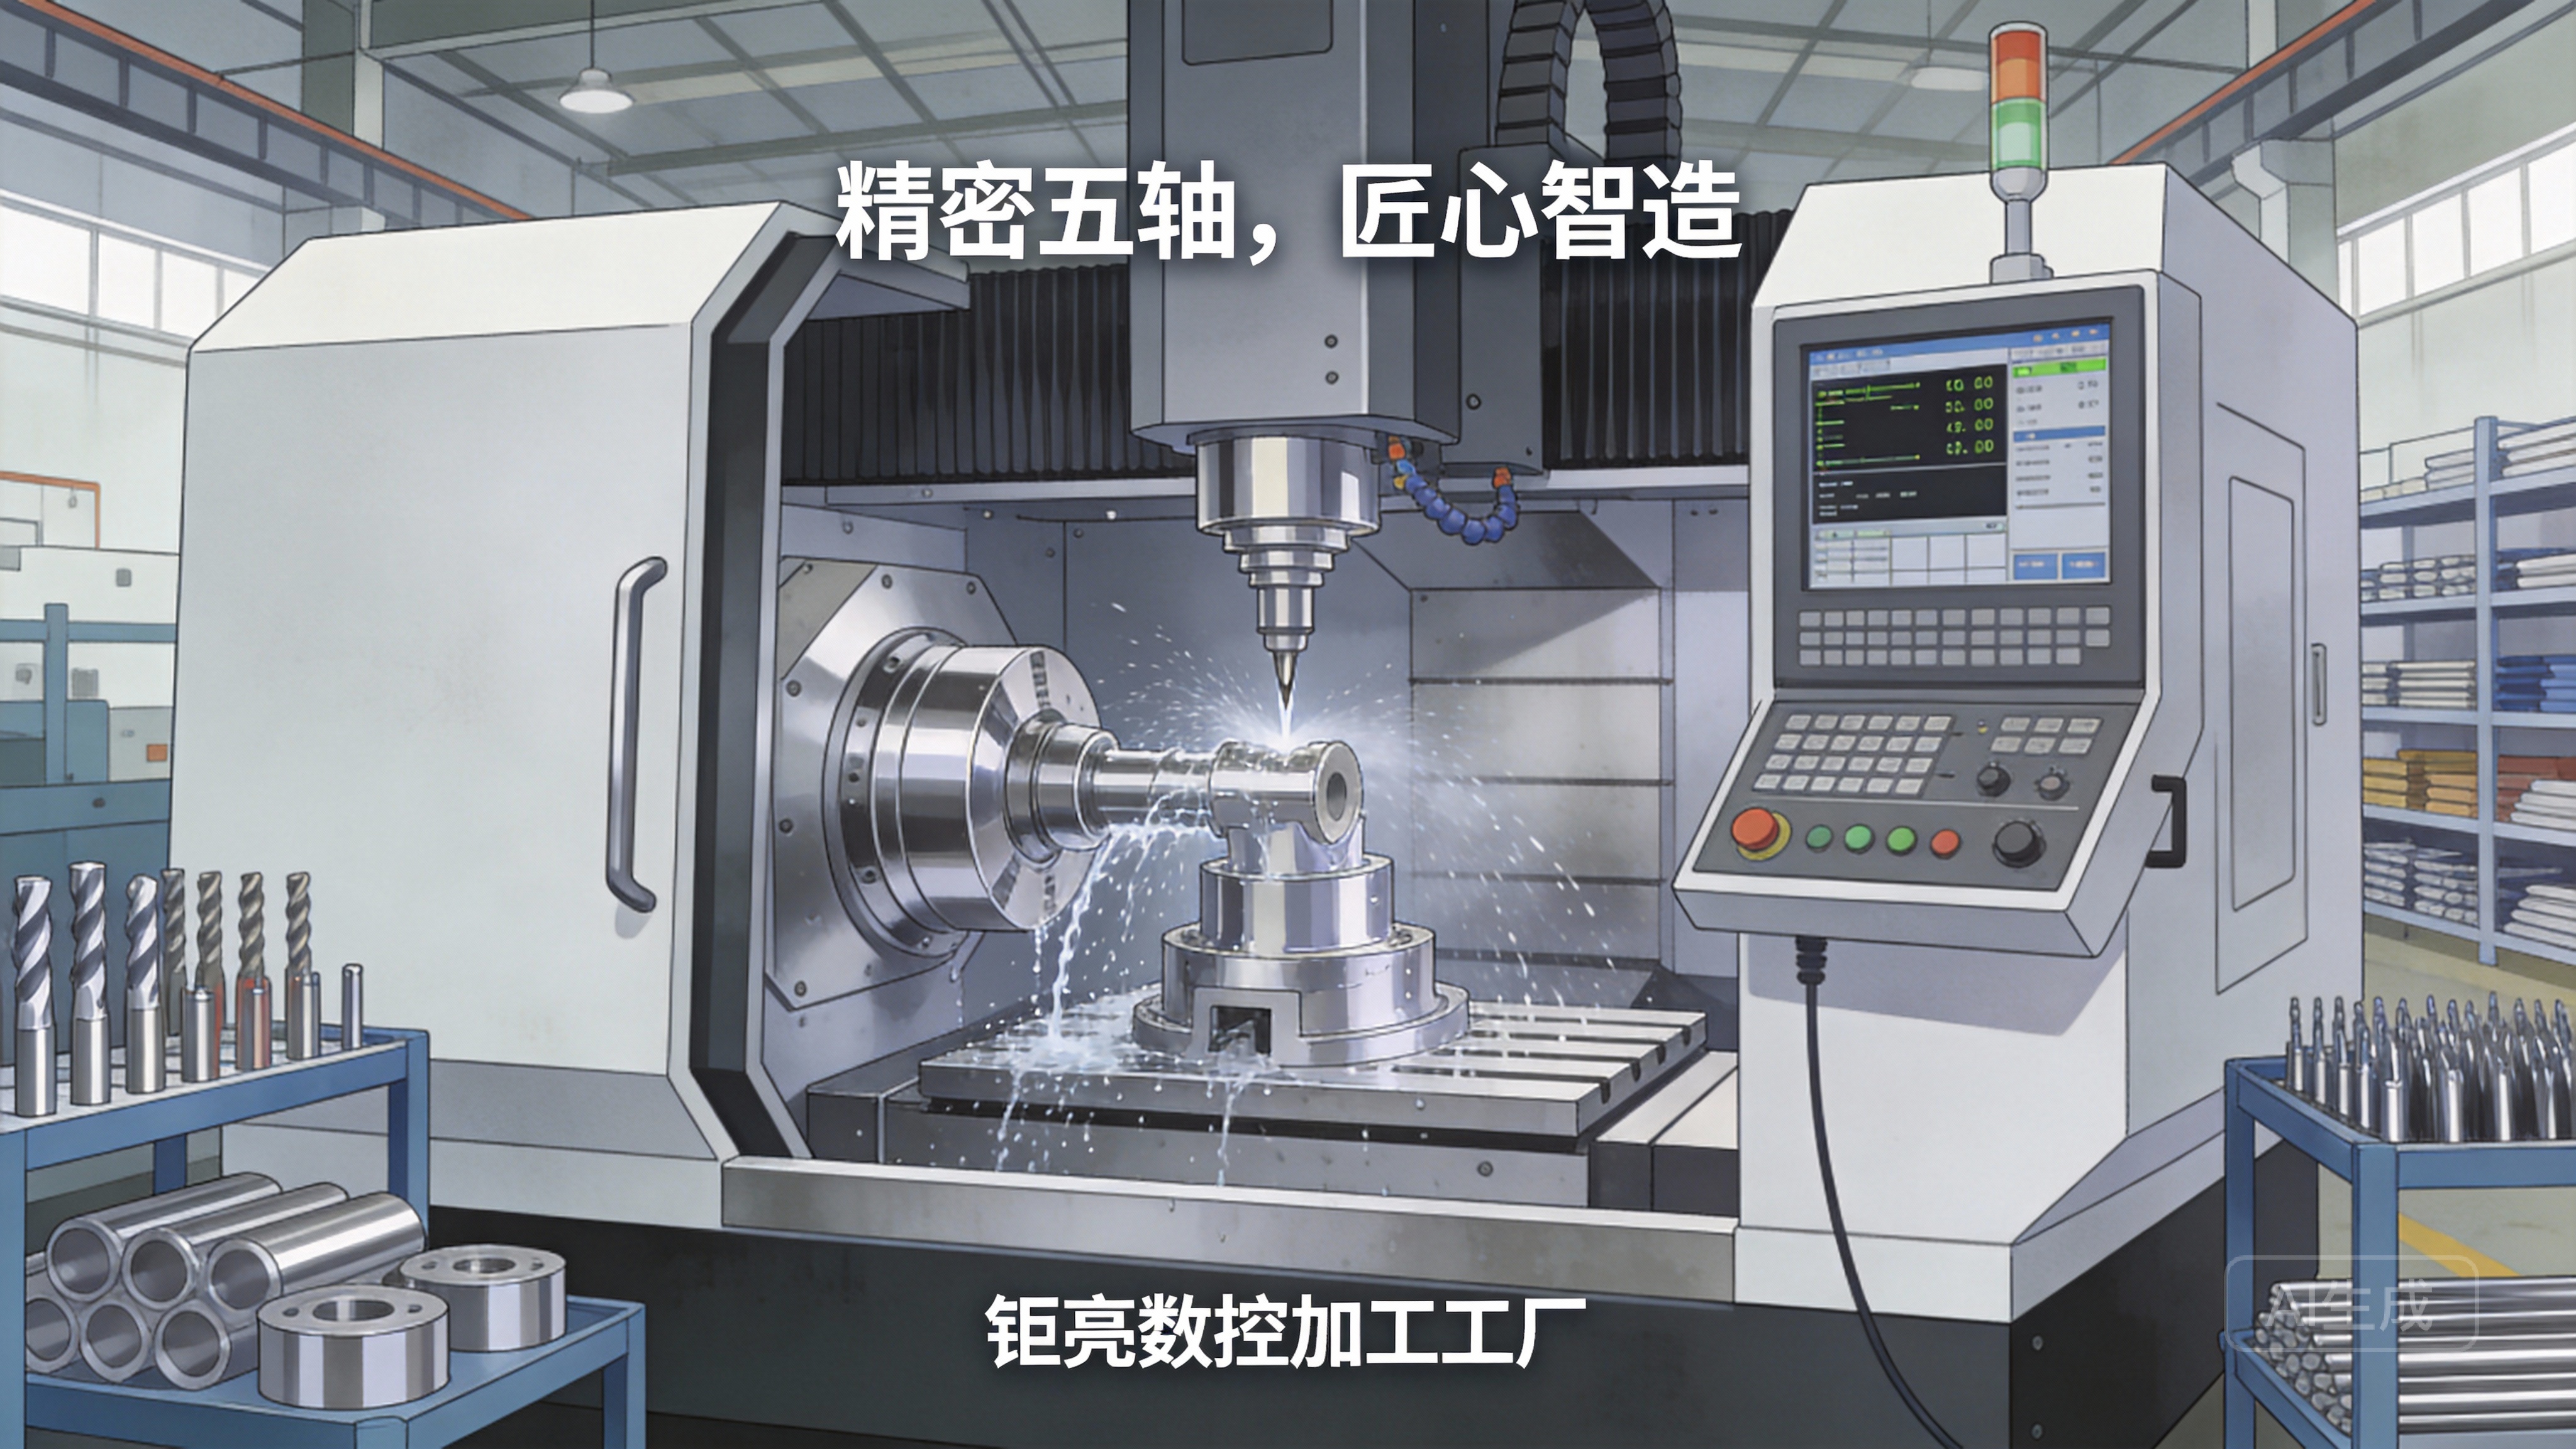
Mount the CNC Shield: Plug the Arduino Uno into the CNC shield’s designated slot.
Connect Motor Drivers: Insert the A4988/DRV8825 drivers into the shield’s driver slots (align the pin 1 marker with the shield’s indicator). Add heat sinks to the drivers to prevent overheating during long runs.
Wire Stepper Motors: Connect each stepper motor’s four wires to the corresponding terminals on the shield (refer to the motor’s datasheet for correct wiring order).
Power Supply: Connect the DC power supply to the CNC shield’s power input. Ensure the voltage matches your motor specifications (12V for NEMA 17, 24V for higher torque needs).
Spindle Control: Wire your Dremel or spindle to a relay module connected to the shield’s spindle pin, allowing you to toggle power via G-code.
4. Flash GRBL Firmware to the Arduino Uno
GRBL is an open-source firmware that turns the Arduino into a CNC controller:
Download GRBL: Get the latest version of GRBL from its official repository.
Upload to Arduino: Open the Arduino IDE, load the GRBL sketch, and upload it to your Arduino Uno. Ensure the correct board and port are selected in the IDE.
Verify Communication: Open the serial monitor in the Arduino IDE, set the baud rate to 115200, and send a $ command—you should receive a list of GRBL settings, confirming successful communication.
5. Calibrate and Test Your Machine
Calibration ensures your machine cuts accurately:
Adjust Microstepping: Use the jumpers on the CNC shield to set microstepping (e.g., 1/16 step for smoother movement and higher precision).
Configure Axis Settings: Send G-code commands to set steps per mm for each axis (calculate based on your lead screw pitch and microstepping). For example, a 2mm pitch lead screw with 1/16 microstepping requires 800 steps per mm.
Test Movement: Use Universal G-Code Sender to manually move each axis. Check for binding, missed steps, or misalignment.
Run a Test Cut: Generate G-code for a simple shape (like a square or circle) using software like Inkscape or Fusion 360. Run the cut on a soft material (foam or plywood) to verify accuracy. Troubleshoot issues like missed steps (check motor current) or uneven cuts (re-align frame).
Limitations of DIY Arduino Uno CNC Machines
While building an Arduino CNC is a great learning experience, it has key limitations for professional use:
Precision: DIY setups typically achieve tolerances of ±0.05mm to ±0.1mm, compared to industrial machines that can reach ±0.001mm.
Material Compatibility: Soft materials (foam, plywood, aluminum) are manageable, but hard metals (titanium, stainless steel, mold steel) require higher torque and industrial spindles.
Scalability: DIY machines are not designed for high-volume production—they lack the stability and speed needed to produce 100+ consistent parts.
Complex Geometries: Most DIY CNCs are 3-axis, so they cannot handle the intricate 5-axis cuts needed for aerospace or automotive components.
When to Upgrade to Professional CNC Machining Services
If your project exceeds the limits of a DIY Arduino CNC, partnering with a professional manufacturer like GreatLight CNC Machining Factory is the logical next step. Choose professional services when:
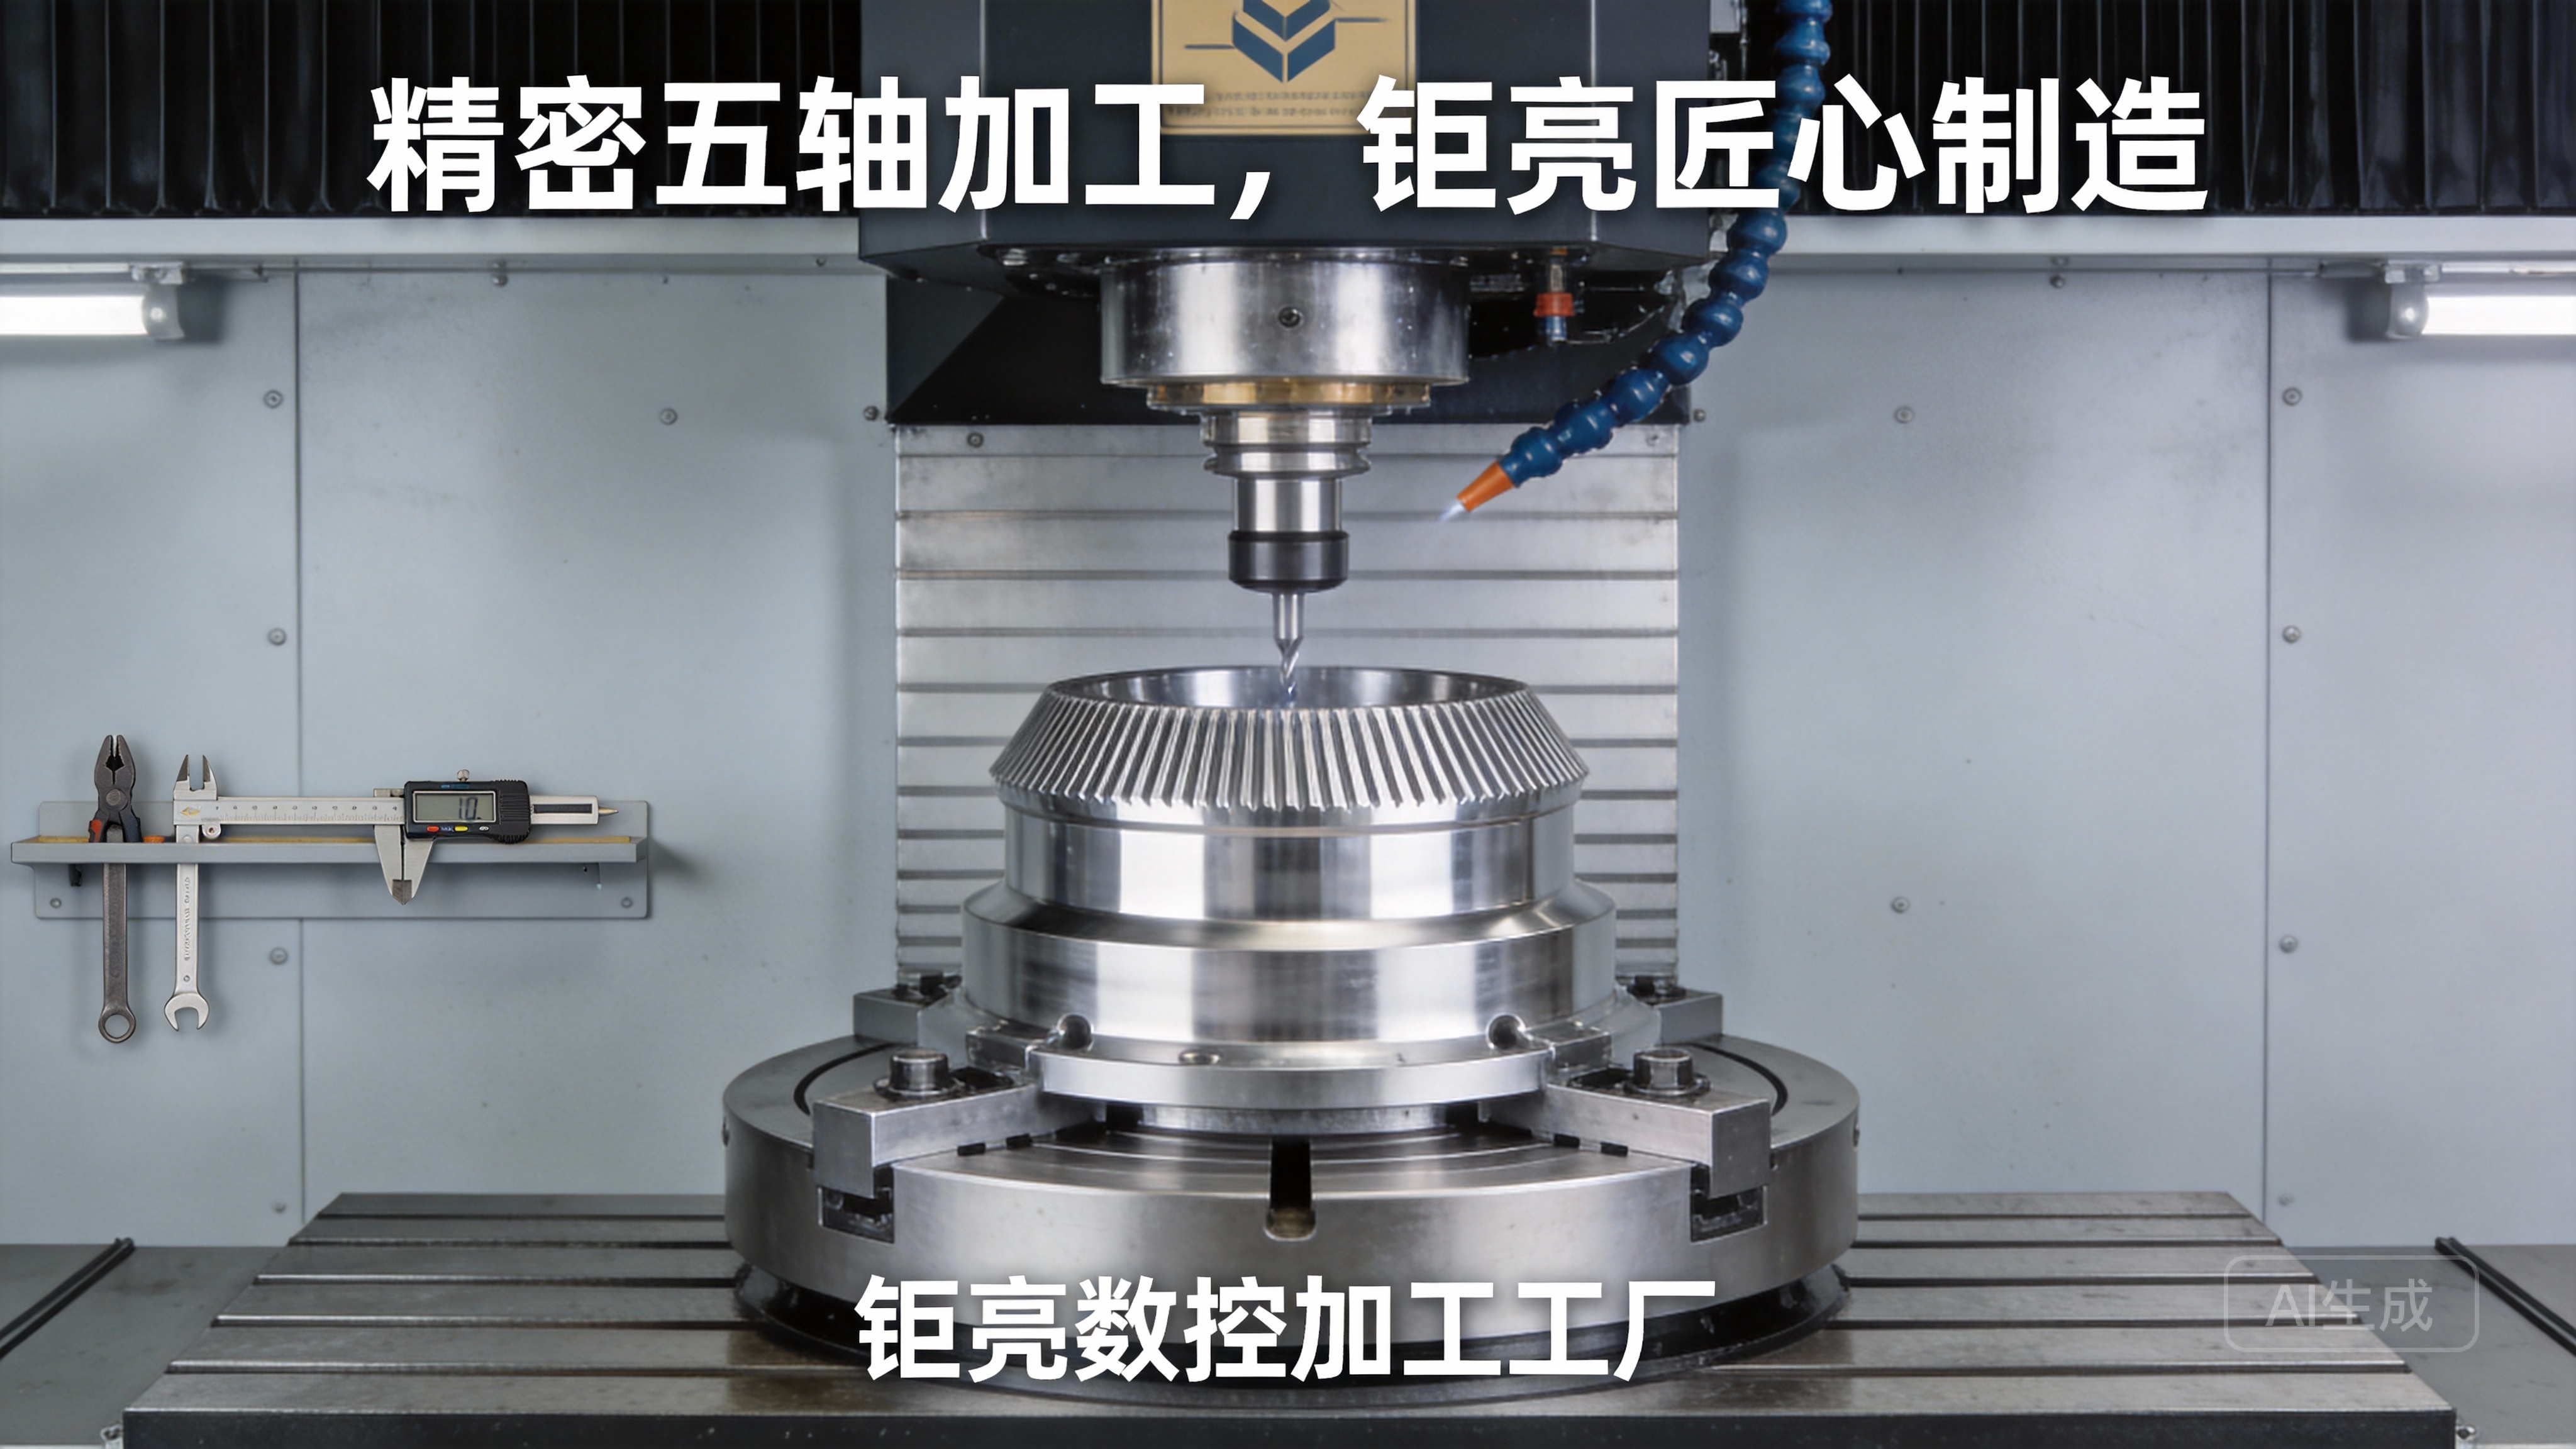
You need parts with tolerances tighter than ±0.01mm.
You’re working with hard materials (titanium, mold steel, stainless steel).
You require high-volume production (100+ parts) with consistent quality.
Your design has complex 4-axis or 5-axis geometries.
You need one-stop post-processing (anodizing, powder coating, polishing, plating).
GreatLight CNC Machining Factory, founded in 2011 in Dongguan’s “Hardware and Mould Capital,” offers a comprehensive range of services to meet these needs:
Full Process Chain: 3/4/5-axis CNC machining, die casting, sheet metal fabrication, vacuum casting, and 3D printing (including stainless steel, aluminum, and titanium 3D printing).
Precision and Certifications: ISO 9001:2015 certified, with precision up to ±0.001mm, and specialized certifications like IATF 16949 (automotive) and ISO 13485 (medical) to meet industry-specific standards.
After-Sales Guarantee: Free rework for quality issues, with a full refund if rework doesn’t meet your requirements.
Large-Scale Capability: Maximum processing size of 4000mm, with three wholly-owned manufacturing plants and 127 pieces of precision equipment to handle even the largest projects.
Conclusion
In summary, while learning How To Make CNC Machine With Arduino Uno? is a rewarding way to grasp the fundamentals of computer numerical control, for projects that demand industrial-grade precision, scalability, and reliability, partnering with a trusted manufacturer like GreatLight CNC Machining Factory is the smart choice. With state-of-the-art equipment, a full-process chain, and a track record of solving complex manufacturing challenges across automotive, aerospace, and medical sectors, GreatLight delivers the quality and consistency that DIY setups cannot match. Whether you’re a hobbyist transitioning to professional production or an engineering team needing prototype parts with tight tolerances, GreatLight offers tailored solutions to bring your designs to life. At the end of the day, How To Make CNC Machine With Arduino Uno? is an excellent starting point, but when quality and efficiency matter most, turn to experts who deliver results you can count on. To learn more about our projects and capabilities, connect with us via our LinkedIn page (opens in new window).
Frequently Asked Questions (FAQ)
Q1: Can an Arduino Uno CNC machine cut metal?
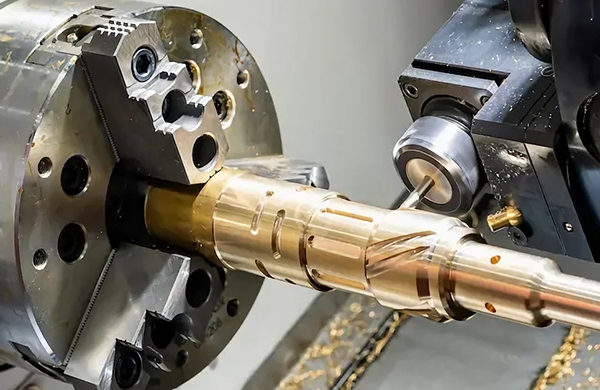
A: Yes, but only soft metals like aluminum or brass, and with limited precision (±0.05mm to ±0.1mm). Hard metals like titanium or stainless steel require industrial-grade spindles, high-torque motors, and rigid frames—all of which GreatLight CNC provides for professional metal machining.
Q2: What’s the maximum precision I can get from an Arduino Uno CNC?
A: DIY Arduino CNC machines typically achieve tolerances between ±0.05mm and ±0.1mm, depending on build quality. In contrast, GreatLight’s industrial 5-axis CNC machines can reach tolerances as tight as ±0.001mm, making them ideal for high-precision applications in medical or aerospace industries.
Q3: Do I need coding experience to build an Arduino CNC machine?
A: No—most DIY kits use pre-configured GRBL firmware, and control software like Universal G-Code Sender has a user-friendly interface that doesn’t require coding. Basic coding knowledge can help with customizing GRBL settings, but it’s not mandatory for a functional machine.
Q4: When should I switch from a DIY CNC to professional machining services?
A: Switch to professional services when:
Your project requires tolerances tighter than ±0.01mm.
You’re working with hard or specialty materials (titanium, mold steel, stainless steel).
You need high-volume production (100+ parts) with consistent quality.
Your design has complex geometries that 3-axis DIY setups can’t handle (e.g., 5-axis machining for aerospace components).
GreatLight offers free rework for quality issues and a full refund if rework doesn’t meet your expectations, ensuring your project’s success.
Q5: What materials can GreatLight CNC machine?
A: GreatLight can process nearly all metals (aluminum, titanium, stainless steel, mold steel, brass) and plastics. We also offer specialized services like stainless steel 3D printing, aluminum alloy 3D printing, and mold steel 3D printing, along with one-stop post-processing (anodizing, powder coating, polishing, electroplating) to complete your parts.
Q6: Does GreatLight offer prototype services for small batches?
A: Yes—GreatLight specializes in rapid prototyping and low-volume production, with the ability to produce parts in days using 3-axis, 4-axis, or 5-axis CNC machining technology. We also offer free design consultations to help optimize your prototype for manufacturability.



















