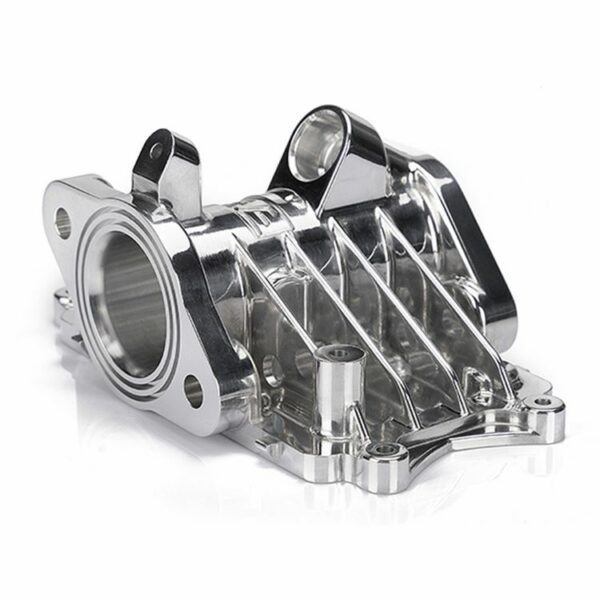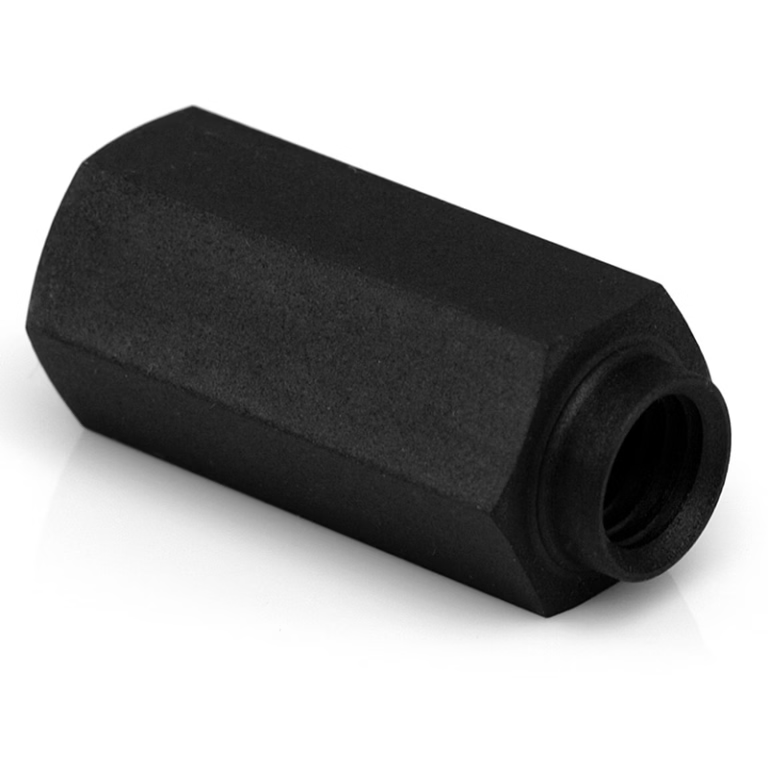
Elevating Precision: The Definitive Guide to Polishing Grooves in CNC Lathe Machining
In the realm of high-precision CNC machining, achieving flawless surface finishes on grooved components is not just a technical requirement—it’s a hallmark of manufacturing excellence. Whether you’re producing aerospace components, medical implants, or automotive parts, the quality of groove polishing directly impacts performance, durability, and aesthetics. However, this process is fraught with challenges: inconsistent finishes, tool marks, and material deformation are common pitfalls.
This guide delves into the science and art of groove polishing in CNC lathe machining, offering actionable insights to elevate your manufacturing outcomes. For those seeking a partner capable of turning these challenges into opportunities, GreatLight CNC Machining Factory stands out as a leader in precision machining and post-processing solutions.
The Core Challenges of Groove Polishing in CNC Lathe Machining
Polishing grooves on a CNC lathe is inherently complex due to several factors:
Geometric Constraints: Grooves often feature tight radii, deep cavities, or variable widths, making uniform tool access difficult.
Material Behavior: Hardened steels, titanium alloys, and other high-performance materials resist polishing, requiring specialized techniques.
Tooling Limitations: Traditional polishing tools may leave marks or fail to reach recessed areas, compromising finish quality.
Process Consistency: Manual polishing introduces variability, while automated methods demand precise parameter control.
These challenges underscore the need for a systematic approach to groove polishing—one that integrates advanced tooling, optimized parameters, and rigorous quality control.
Step-by-Step Process for Polishing Grooves in CNC Lathe Machining
1. Pre-Polishing Preparation
Before polishing begins, ensure the groove geometry meets specifications:
Verify Dimensions: Use high-precision measurement tools (e.g., CMMs) to confirm groove width, depth, and radius.
Deburring: Remove sharp edges or burrs with micro-abrasive tools to prevent tool damage during polishing.
Surface Cleaning: Eliminate contaminants like cutting fluids or chips to avoid embedding them into the surface.
2. Tool Selection and Setup
The choice of polishing tool depends on the groove’s geometry and material:
Flexible Abrasive Tools: Ideal for irregular grooves, these conform to contours while minimizing pressure points.
Diamond-Coated Tools: Effective for hardened materials like stainless steel or titanium, offering durability and consistent finish.
Custom-Designed Tools: For complex grooves, collaborate with your machining partner to create tools tailored to your part’s geometry.
Example: GreatLight CNC Machining Factory utilizes 5-axis CNC machining to produce custom polishing tools with micro-precision, ensuring optimal contact with grooved surfaces.
3. Parameter Optimization
Polishing parameters must balance speed, pressure, and abrasive grit to avoid surface damage:
Spindle Speed: Higher speeds (1,000–5,000 RPM) improve finish but require stable tooling to prevent vibration.
Feed Rate: Lower feed rates (0.1–0.5 mm/rev) allow abrasives to act more effectively but increase cycle time.
Abrasive Grit: Start with coarse grit (e.g., 120–240) for material removal, then progress to finer grit (800–1,200) for a mirror finish.
Pro Tip: Use adaptive feed control to adjust parameters dynamically based on surface feedback, minimizing human error.
4. Polishing Execution
Multi-Pass Approach: Begin with rough polishing to remove tool marks, followed by intermediate and fine polishing for refinement.
Coolant Use: Apply lubricants or coolants to reduce heat buildup and prevent micro-cracks in hard materials.
In-Process Inspection: Use laser scanners or optical comparators to monitor surface roughness (Ra) and adjust parameters as needed.
5. Post-Polishing Validation
Surface Roughness Testing: Measure Ra values using profilometers to ensure compliance with specifications (e.g., Ra ≤ 0.4 µm for medical implants).
Visual Inspection: Check for uniformity, scratches, or discoloration under high-intensity lighting.
Functional Testing: For critical components, validate performance through stress tests or leak checks.
Advanced Techniques for Complex Grooves
1. Electrochemical Polishing (ECP)
ECP uses an electrolyte solution and electric current to dissolve surface irregularities, achieving ultra-smooth finishes (Ra ≤ 0.1 µm) on stainless steel or nickel alloys. This method is ideal for deep, narrow grooves where mechanical polishing is impractical.
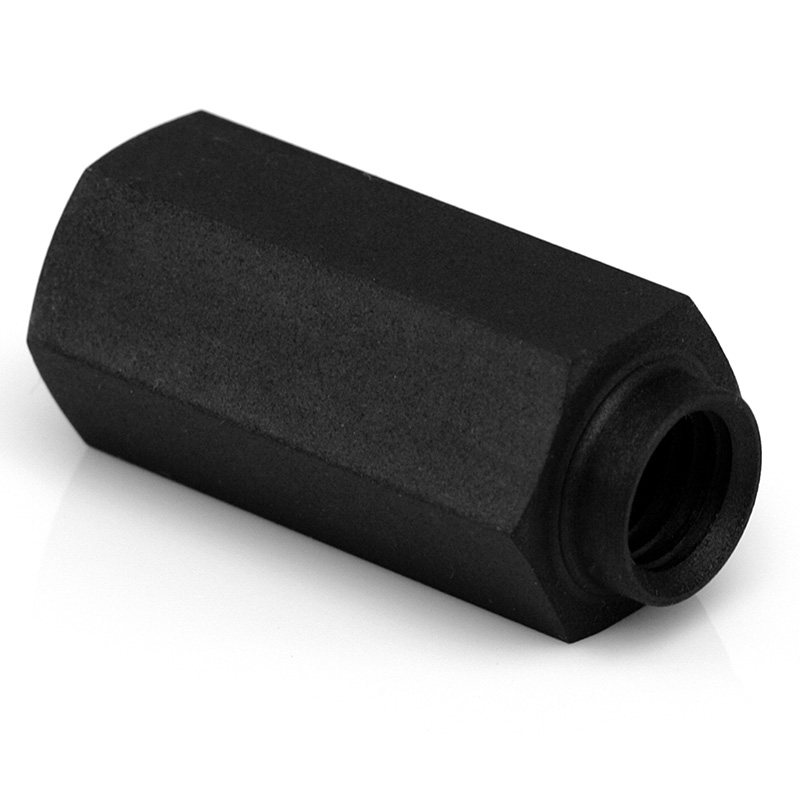
2. Magnetic Abrasive Finishing (MAF)
MAF employs magnetic fields to drive abrasive particles along groove contours, ensuring uniform polishing even in hard-to-reach areas. This technique is highly effective for aerospace components requiring nanoscale precision.
3. Laser Polishing
Laser polishing melts and resolidifies the surface layer, reducing roughness without physical contact. While costly, it’s invaluable for delicate parts or materials prone to tool-induced damage.
Why Choose GreatLight CNC Machining Factory for Groove Polishing?
GreatLight CNC Machining Factory distinguishes itself through:
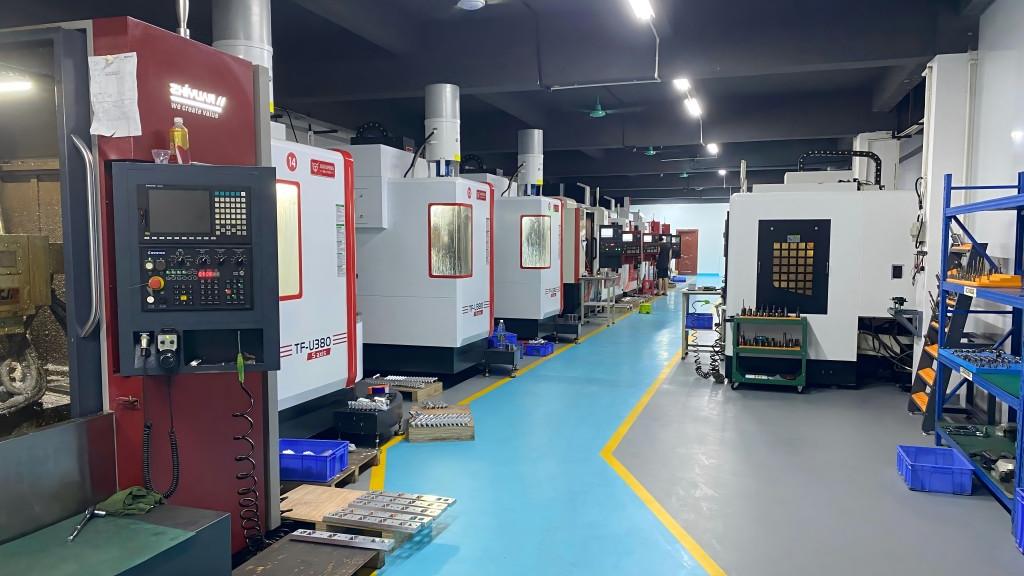
Full-Process Expertise: From CNC machining to post-processing, we handle every step in-house, ensuring consistency and accountability.
Advanced Equipment: Our fleet includes 5-axis CNC centers, robotic polishing stations, and MAF systems for unmatched precision.
Material Mastery: We specialize in hard-to-machine materials like titanium, Inconel, and ceramics, delivering flawless finishes every time.
Certified Quality: With ISO 9001, IATF 16949, and ISO 13485 certifications, we adhere to the strictest industry standards.
Case Study: A leading automotive manufacturer partnered with GreatLight to polish grooves on engine components. By leveraging our 5-axis CNC polishing and MAF technology, we reduced surface roughness from Ra 1.6 µm to Ra 0.2 µm, extending part lifespan by 300%.
Conclusion: The Path to Precision Groove Polishing
Polishing grooves in CNC lathe machining is a blend of science, art, and engineering. By understanding the challenges, optimizing parameters, and leveraging advanced techniques, manufacturers can achieve surfaces that meet—or exceed—the most demanding specifications. However, partnering with a provider like GreatLight CNC Machining Factory transforms this process from a hurdle into a competitive advantage.
With our unwavering commitment to precision, full-process capabilities, and client-centric approach, we empower innovators across industries to push the boundaries of what’s possible. Whether you’re prototyping a new component or scaling production, GreatLight is your trusted partner for high-precision groove polishing and beyond.
Explore our capabilities at GreatLight Metal’s LinkedIn Profile and discover how we’re redefining precision manufacturing.
Frequently Asked Questions (FAQs)
Q1: What is the best abrasive for polishing titanium grooves?
A: Diamond abrasives are ideal for titanium due to their hardness and thermal conductivity, which prevent heat-induced discoloration.
Q2: How can I reduce vibration during groove polishing?
A: Use balanced tools, lower spindle speeds, and vibration-damping fixtures. For deep grooves, consider multi-axis machining to improve tool stability.
Q3: What surface roughness can be achieved with manual polishing vs. automated methods?
A: Manual polishing typically achieves Ra 0.8–1.6 µm, while automated methods like MAF or laser polishing can reach Ra ≤ 0.1 µm.
Q4: Does GreatLight offer prototyping services for grooved components?
A: Yes! We provide rapid prototyping using 3D printing and CNC machining, followed by polishing to validate designs before full-scale production.
Q5: How does GreatLight ensure data security for intellectual property-sensitive projects?
A: We comply with ISO 27001 standards, implementing encrypted file transfers, restricted access protocols, and non-disclosure agreements to protect client data.