
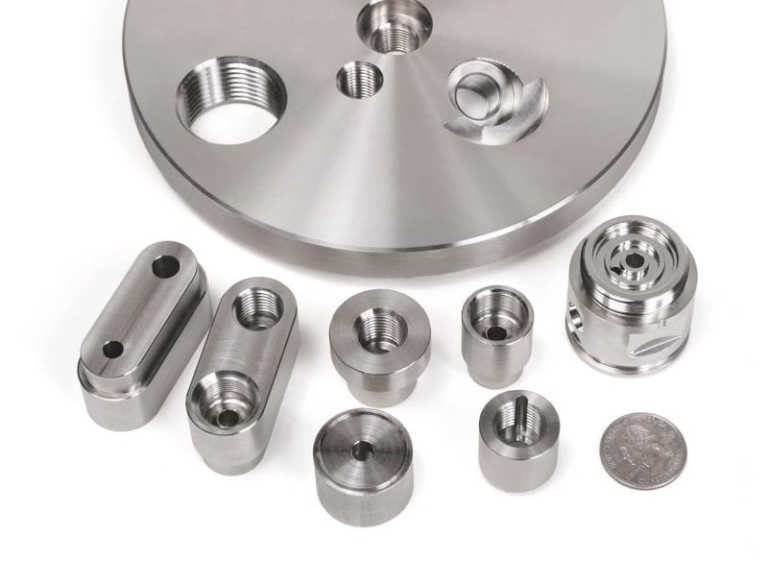
For engineers, makers, and prototyping enthusiasts, the idea of building your own CNC machine is an incredibly compelling project. It represents the ultimate fusion of digital design and physical creation. While commercial solutions from professional manufacturers like GreatLight CNC Machining Factory offer unparalleled precision and reliability for production parts, constructing a DIY CNC machine with an Arduino offers invaluable learning, customization, and a deep sense of accomplishment. This guide delves into the how-to, while also exploring when to transition from a DIY build to partnering with a professional service.
Understanding the DIY CNC Machine Ecosystem
A CNC (Computer Numerical Control) machine is fundamentally a robotic system that follows digital instructions (G-code) to move a tool along precise paths. A DIY version typically breaks down into several core subsystems:
Mechanical Structure: The frame, linear motion systems (rails, lead screws, belts), and the spindle or tool holder.
Motion Control System: Stepper or servo motors, along with their drivers, which convert electrical pulses into precise mechanical movement.
Control Electronics: The brain of the operation. This is where the Arduino comes in, paired with a dedicated CNC shield or motor driver board.
Software Stack: A three-part suite:
CAD Software: For designing the part (e.g., Fusion 360, FreeCAD).
CAM Software: For converting the CAD model into toolpaths and generating G-code (e.g., Fusion 360 CAM, Estlcam).
Control Software: The program that sends the G-code to the Arduino (e.g., Universal G-code Sender, GrblController).
Step-by-Step Guide to Building Your Arduino-Based CNC Machine
H2: Phase 1: Planning and Design
Before purchasing any components, detailed planning is crucial.
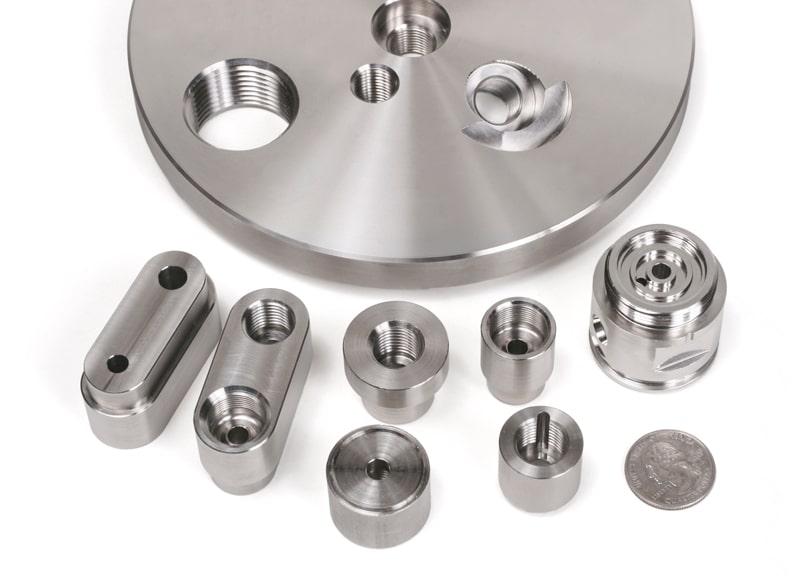
Define Your Purpose and Specifications: Will it be a lightweight machine for engraving wood and PCBs, or a more robust router for aluminum? This determines size, rigidity, and budget.
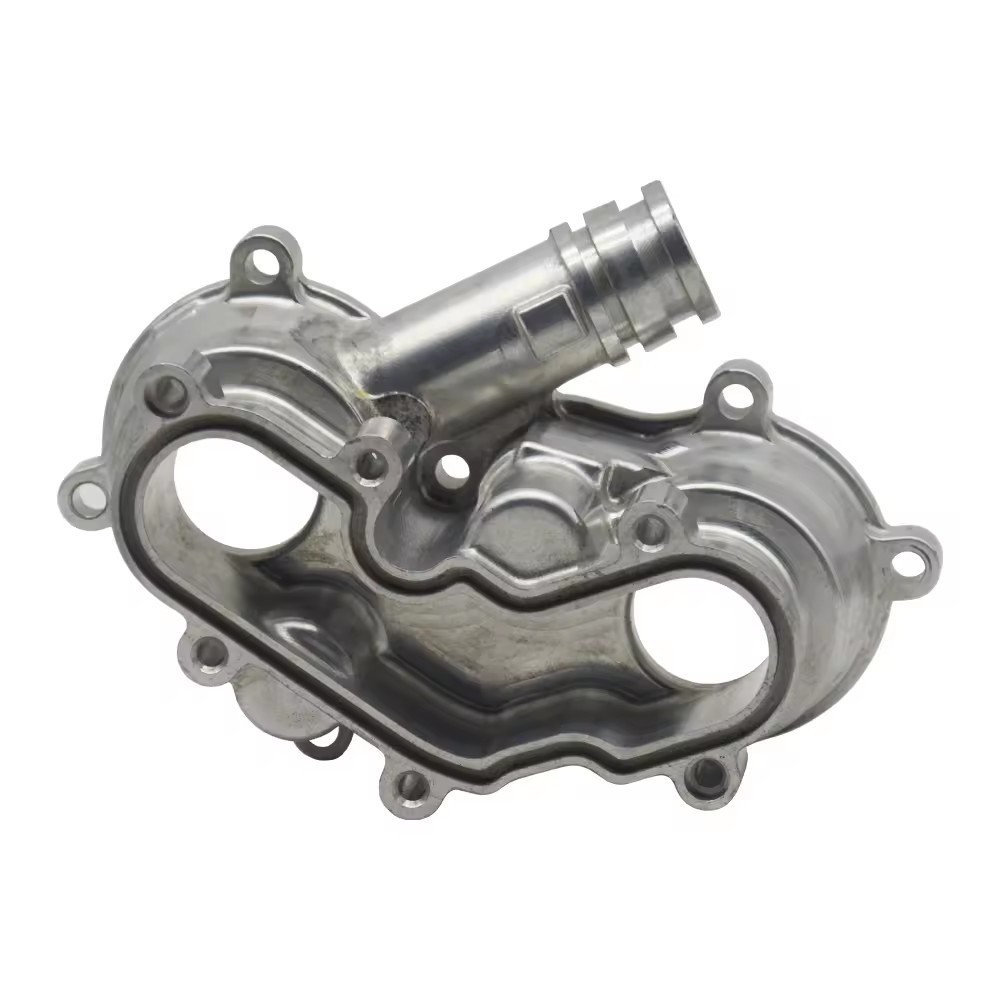
Work Area: Decide on the X, Y, Z travel dimensions.
Materials: Target materials (soft wood, hard wood, plastics, aluminum) dictate the required rigidity and spindle power.
Precision Expectations: DIY machines excel in learning and prototyping but operate in a different league than industrial equipment. Expect tolerances in the range of ±0.1mm to ±0.5mm, compared to the ±0.001mm achievable by professional 5-axis CNC machining services.
Choose a Mechanical Design: Common designs for DIY include:
Moving Gantry: The most popular for routers. The workpiece is stationary on the bed, and the gantry (bridge) holding the spindle moves in X and Y.
Fixed Gantry: The gantry is fixed, and the bed moves in Y. Often more rigid but more complex to build.
CoreXY: Uses a stationary gantry and a clever belt system to move the toolhead. Excellent for high speed and lightweight applications like 3D printer conversions.
H2: Phase 2: Sourcing Components and Mechanical Assembly
H3: Mechanical Components:
Frame: Extruded aluminum profiles (e.g., 2040, 2080 series) are the standard for their modularity, rigidity, and ease of assembly. MDF or plywood can be used for ultra-budget builds.
Linear Motion: Options include:
V-Slot Wheels & Rails: Cost-effective and easy to assemble, common in 3D printer-derived designs.
Linear Rails (Round or Square): Offer superior rigidity, precision, and load capacity. Square rails are best for heavy-duty routing.
Lead Screws or Belts:
Lead Screws (with anti-backlash nuts): Provide good torque and precision for Z-axis and smaller machines. Ball screws are superior but costly.
Timing Belts: Used in CoreXY designs or for high-speed, low-force applications like laser engravers or pen plotters.
Spindle: The cutting tool driver.
DC Brushed Spindle: A simple, low-cost option for very light work.
Brushless DC (BLDC) Spindle with ER Collet: The professional choice for DIY. An 800W to 2.2kW water-cooled spindle with a variable-frequency drive (VFD) is ideal for cutting a variety of materials.
H3: Electrical and Control Components:
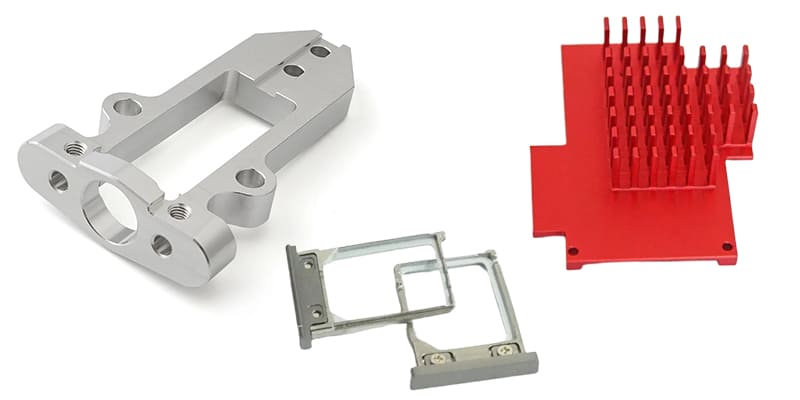
Microcontroller: An Arduino Uno is the classic choice.
CNC Shield: A board that stacks on top of the Arduino Uno. It houses the stepper motor drivers and organizes connections. Popular versions are compatible with the open-source Grbl firmware.
Stepper Motor Drivers: Modules like A4988 or DRV8825 are common on basic shields. For better performance, consider standalone drivers like TMC2209 (for quiet operation) or DM542T (for higher current).
Stepper Motors: NEMA 17 for very small machines, NEMA 23 is the standard for most DIY CNC routers.
Power Supply: A switched-mode power supply (SMPS) rated for sufficient voltage and current (e.g., 36V 10A) to power the motors and spindle.
Limit Switches: Essential for homing the machine and preventing over-travel crashes.
H3: The Assembly Process:
Construct the frame, ensuring it is square and rigid.
Mount the linear motion components and carriages.
Assemble the gantry and attach it to the X-axis motion system.
Install the Z-axis assembly and spindle mount.
Mount the stepper motors and connect them to the lead screws or belts.
Wire all electrical components: motors, limit switches, spindle, and power supply to the CNC shield/Arduino. Pay extreme attention to safety and correct wiring.
H2: Phase 3: Electronics, Firmware, and Software Setup
Firmware: Grbl is the dominant, high-performance open-source G-code interpreter firmware for the Arduino. Upload it to your Arduino using the Arduino IDE.
Configuration: Use a terminal program (like CoolTerm) or G-code sender to set Grbl parameters: steps per millimeter for each axis, max feed rates, acceleration, and direction settings. This is a critical calibration step.
Software Installation:
Install your chosen CAD/CAM software.
Install a G-code sender (e.g., Universal G-code Sender, Candle).
H2: Phase 4: Calibration, Testing, and First Cut
Mechanical Calibration: Ensure all axes move smoothly without binding. Check for squareness between the X and Y axes.
Electrical Calibration: Use the Grbl $$ settings command to verify and tune steps/mm. Move the machine 100mm and physically measure the travel to calibrate.
Test with Air Cutting: Run your first G-code programs without a bit installed or material loaded to verify movement logic and limits.
First Material Cut: Start with a soft material like foam or soft pine. Use conservative feed rates and spindle speeds. Always wear safety glasses.
H2: The Professional Counterpart: When to Choose a Service Like GreatLight CNC Machining Factory
Building a CNC machine is an educational triumph, but it’s important to recognize its inherent limitations compared to industrial solutions. Here’s when partnering with a professional becomes the strategic choice:
Production Requirements: Need 10, 100, or 10,000 identical parts? DIY is for prototyping and one-offs.
Material Capability: Professional machines from GreatLight CNC Machining Factory effortlessly handle stainless steel, titanium, hardened tool steels, and engineering plastics with high precision and surface finish. A DIY machine is typically limited to non-ferrous metals and softer materials.
Complex Geometry: DIY 3-axis machines struggle with undercuts and complex 3D contours. Professional 5-axis CNC machining can produce these geometries in a single setup.
Tolerance and Repeatability: As mentioned, professional shops operate at tolerances (±0.001mm) that are orders of magnitude tighter than any DIY setup can reliably achieve.
Time and Resource Investment: The design, build, and debug process for a reliable DIY CNC can take hundreds of hours. For a business, time-to-market is critical.
Integrated Post-Processing: A professional service provides a one-stop post-processing and finishing solution—anodizing, powder coating, polishing, heat treatment—which is a separate complex endeavor for a DIYer.
GreatLight CNC Machining Factory, with its ISO 9001:2015 certified quality management system, fleet of advanced multi-axis CNC centers, and in-house metrology lab, exists to bridge the gap between a brilliant prototype and a production-ready, high-performance component. They transform the digital design into a physically perfect part, ensuring it meets the rigorous demands of fields like aerospace, automotive, and medical hardware.
Conclusion
How to build a CNC machine with Arduino is a journey that teaches mechanics, electronics, software, and the fundamentals of subtractive manufacturing. It empowers creators to bring ideas into tangible form. This DIY path is foundational for learning and low-volume prototyping. However, for parts that demand extreme precision, material integrity, complex geometries, or scalable production, the expertise, advanced equipment, and systemic reliability of a professional manufacturer like GreatLight CNC Machining Factory are not just an option—they are a necessity. The savvy innovator uses the DIY approach for rapid iteration and proof-of-concept, then leverages professional 5-axis CNC machining services to finalize and manufacture the design with commercial-grade quality.
Frequently Asked Questions (FAQ)
H3: Q1: What is the total estimated cost of building a DIY Arduino CNC machine?
A: Costs vary dramatically based on size and capability. A small PCB engraver can be built for under $300. A medium-sized (500x500mm) router capable of light aluminum work typically ranges from $800 to $2,500. High-rigidity machines with premium components (linear rails, ball screws, 2.2kW spindle) can exceed $3,000.
H3: Q2: Can I use a Raspberry Pi instead of an Arduino for control?
A: Yes, but the architecture is different. A Raspberry Pi can run a more powerful CNC controller software like LinuxCNC or MachineKit, often with a real-time kernel for better performance. However, the setup is more complex. A common hybrid approach is using a Raspberry Pi to run the G-code sender and interface, communicating with an Arduino running Grbl for real-time motor control.
H3: Q3: My DIY CNC machine has poor surface finish and chatter marks. What’s wrong?
A: This is usually a rigidity or calibration issue. Check: 1) Frame Rigidity: Ensure all joints are tight, and the frame doesn’t flex. 2) Tooling: Use a sharp, appropriate end mill. 3) Feeds and Speeds: Incorrect spindle speed or feed rate for the material is a primary cause. Use a feeds and speeds calculator. 4) Vibration: Make sure the workpiece is securely clamped. 5) Backlash: Check for play in lead screws or belts and install anti-backlash nuts or tensioners.
H3: Q4: How does the precision of my DIY machine compare to a professional CNC service?
A: The difference is substantial. A well-tuned DIY machine might achieve ±0.1mm repeatability under ideal conditions. A professional machine like those at GreatLight CNC Machining Factory is calibrated to hold tolerances of ±0.025mm or better routinely, with high-end applications reaching ±0.001mm. This is due to industrial-grade cast iron or polymer concrete frames, precision ground ball screws, temperature-controlled environments, and laser calibration.
H3: Q5: I’ve successfully prototyped a part on my DIY machine. How do I prepare my files for professional manufacturing?
A: Congratulations! The next step is to engage with a manufacturer like GreatLight CNC Machining Factory. You should provide:
A clean, fully defined 3D CAD model (STEP or IGES format is preferred).
A 2D technical drawing with critical dimensions, tolerances, geometric tolerancing (GD&T), and surface finish requirements.
Information on the material specification and any required post-processing (e.g., anodizing, hardness treatment).
Your target quantity and timeline. A professional engineer will then analyze the design for manufacturability (DFM) and provide feedback and a formal quotation.
Follow us on LinkedIn for more insights into precision manufacturing.



















