When diving into the world of 3D printing, layer height is a critical parameter that influences not only the quality of the final product but also the efficiency and speed of the printing process. Understanding layer height can significantly improve your printing results and ensure that your projects meet your specific requirements. In this article, we’ll explore the importance of layer height, factors affecting it, its effects on print quality, and best practices for selecting the right layer height for different types of projects.
What is Layer Height?
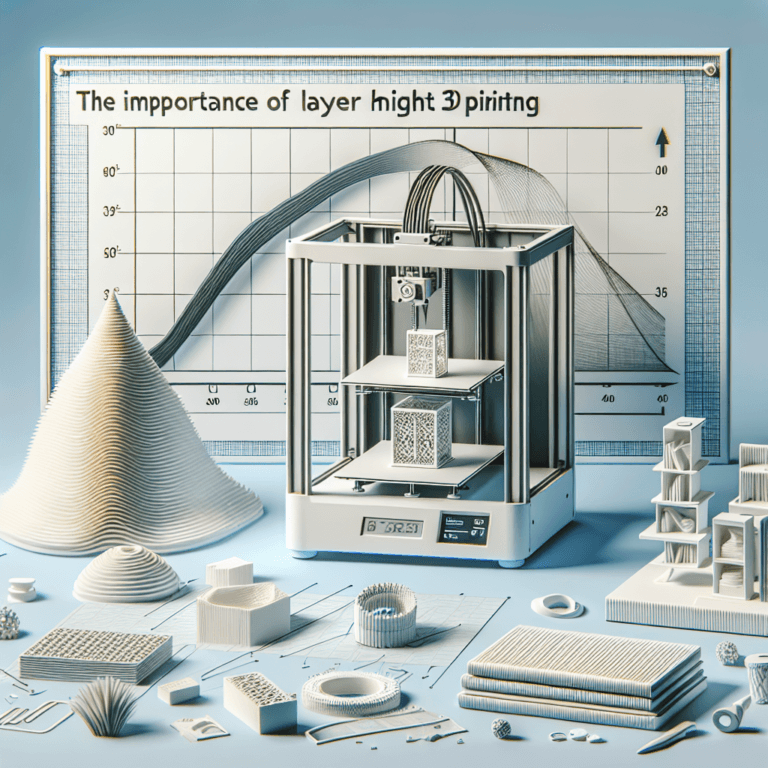
Layer height refers to the thickness of each individual layer of filament as it is deposited during the 3D printing process. This measurement is typically expressed in millimeters (mm) and can range from very fine layers (e.g., 0.1 mm) to thicker layers (e.g., 0.5 mm or more). Generally, layer height is one of the key settings determined in the slicing software which prepares a digital 3D model for printing.
Importance of Layer Height in 3D Printing
1. Impact on Print Quality
Layer height has a direct correlation with the overall quality of the printed object. Thinner layers allow for greater detail and smoother finishes, as each layer can conform more accurately to the shape of the 3D model. This is particularly important for intricate designs or when printing fine features, such as in the case of miniatures or detailed prototypes.
Conversely, thicker layers can lead to a more pronounced step effect—where the individual layers become visibly discernible—especially on curved surfaces. This effect is often acceptable for larger, less detailed objects but can be detrimental for products requiring high resolution.
2. Strength and Durability
The strength of a 3D-printed object can also be influenced by layer height. Generally, thicker layers provide better adhesion between layers due to the increased amount of material deposited at once, which can lead to improved overall strength and durability. However, this can vary based on the type of filament used and the printing conditions.
For functional parts that need to withstand mechanical stress, a balance must be struck; while thicker layers may enhance adhesion and strength, they can also lead to reduced precision, particularly in applications requiring tight tolerances. Therefore, the choice of layer height should consider both the complexity of the object and its intended use.
3. Printing Speed and Efficiency
Layer height significantly affects the duration of the print job. Thicker layers mean fewer layers need to be printed, leading to shorter print times. This makes thick layers favorable for rapid prototyping or for projects that do not require high precision, as the overall speed of production can be a significant factor.
However, for high-quality or complex prints, the increased production time that comes with thinner layers may be worthwhile. When evaluating the trade-off between speed and print quality, consider the purpose of the print and any deadlines you may face.
Considerations for Choosing Layer Height
Choosing the right layer height for a specific project involves assessing several factors, including:
1. Model Complexity
For detailed models with intricate designs, such as architectural models or jewelry, a lower layer height (e.g., 0.1 mm or 0.15 mm) is usually recommended to capture fine details accurately. For simpler shapes or larger prints where detail is less critical, a higher layer height (e.g., 0.2 mm to 0.5 mm) will suffice and yield quicker results.
2. Material Type
Different filaments behave uniquely during printing. For example, flexible materials may require a different approach compared to rigid plastics, affecting how layers bond to each other. The thermal properties, flow characteristics, and cooling times can influence the choice of layer height.
For instance, PLA (Polylactic Acid) can be printed successfully with thicker layers, while ABS (Acrylonitrile Butadiene Styrene) may require limitations on layer height to maintain adhesion and reduce warping.
3. Desired Surface Finish
If the aesthetic of the printed object is important, selecting a lower layer height will help achieve a smoother surface finish. Post-processing can help mitigate surface imperfections, but starting with the right layer height can save time and effort.
Best Practices for Layer Height Selection
Experimentation: The best way to determine the optimal layer height for a specific project is through trial and error. Start with a recommended range based on the criteria above and adjust according to the results.
Slicing Software Settings: Many slicing software programs come with presets for layer heights that can serve as a good starting point for various materials and applications. Understanding these presets can provide insights into which settings may work best.
Consider the Final Application: Always consider the end use of the printed object. For display pieces, prioritize aesthetics; for functional parts, focus on strength and durability.
- Balance: Finding a middle ground is essential. In many cases, a medium layer height (for instance, 0.2 mm) is sufficient for general printing and provides a good balance between quality and speed.
Conclusion
In summary, layer height is a crucial factor in 3D printing that affects the quality, strength, and efficiency of your prints. Understanding the implications of selecting a particular layer height can directly influence your success in achieving the desired outcome for your 3D printing projects. By evaluating model complexity, material characteristics, required surface finish, and other factors, you can make informed decisions that enhance your 3D printing experience. Experimentation and close attention to printing parameters can lead to optimal results that meet both aesthetic and functional demands.
[vid_desc]
This video will dive into the nuances of 3D printing layer height. We’ll walk you through how to select the right layer height for different types of prints, showcasing practical examples and demonstrating how different settings affect the quality of the final product. Join us for an informative session that will enhance your understanding of 3D printing and improve your results!
Daguang focuses on providing solutions such as precision CNC machining services (3-axis, 4-axis, 5-axis machining), CNC milling, 3D printing and rapid prototyping services.


