When embarking on the journey of CNC machining, especially with a popular and accessible platform like the Shapeoko, the question “How To Program A Shapeoko CNC Machine?” is often the first major hurdle for makers, hobbyists, and small-scale manufacturers. Programming, in the context of a CNC machine like the Shapeoko, doesn’t mean writing lines of code from scratch. Instead, it’s the comprehensive workflow of translating a digital design into physical motion—a process encompassing design, toolpath planning, post-processing, and machine control. This guide will demystify that process, drawing from deep industrial experience to provide a professional framework you can apply, whether you’re crafting a custom sign or prototyping a complex component.

It’s crucial to understand that while the Shapeoko brings industrial-grade subtractive manufacturing to the desktop, the core principles of CNC programming remain consistent with those used in high-stakes environments like aerospace or medical device production. The difference lies in the scale, material choice, and tolerance requirements. For instance, while a professional five-axis CNC machining facility like GreatLight CNC Machining Factory deals with titanium alloys to tolerances of ±0.001mm, a Shapeoko user might be machining hardwood or aluminum with tolerances ten times larger. However, the logical sequence—from CAD to CAM to G-code—is fundamentally the same.
H2: The Complete Shapeoko Programming Workflow: From Concept to Chips
Programming your Shapeoko is a multi-stage process. Skipping or rushing any step can lead to broken tools, damaged material, or failed projects.
H3: Stage 1: Computer-Aided Design (CAD) – Creating the Blueprint
This is where your part begins. You need a vector (2D) or solid model (3D) file.
For 2D Designs (Engraving, Cutting Out Profiles): Software like Carbide Create (free, Shapeoko-specific), Adobe Illustrator, Inkscape, or CorelDRAW is ideal. You create paths, lines, and shapes that define the tool’s centerline or cutting area.
For 3D Designs (Carving, 3D Contours): You need 3D modeling software. Options include:
Free/Entry-Level: Fusion 360 (personal use license), Tinkercad, FreeCAD.
Professional: Fusion 360 (commercial), SolidWorks, Rhino 3D.
Tip: Export your final design in a format your CAM software can read, typically .STEP, .IGES, or .STL for organic shapes.
H3: Stage 2: Computer-Aided Manufacturing (CAM) – Planning the Toolpaths
This is the heart of “programming.” CAM software uses your CAD model to calculate the precise movements of the tool. Here, you make critical decisions that determine the success of your cut.
Software Selection:
Carbide Create (Pro): The most straightforward option for Shapeoko, integrated and beginner-friendly, excellent for 2.5D work.
Carbide Motion: The machine control software also has basic toolpathing for simple jobs.
Fusion 360: A powerhouse that combines CAD and CAM. Its Manufacturing Workspace offers incredible control over toolpaths (adaptive clearing, scallop finishing, etc.) and is widely used by professionals. This is where the workflows of a hobbyist and a facility like GreatLight begin to conceptually align, as both rely on robust CAM strategies.
Key CAM Parameters You Must Define:
Tool Selection: Specify the end mill (bit) diameter, number of flutes, and material. A 1/4″ flat end mill for roughing and a 1/8″ ball nose for finishing is a common start.
Feeds and Speeds: The most critical settings. This is the cutting speed (SFM), spindle speed (RPM), feed rate (IPM), and plunge rate. Use online calculators (like the one from Shapeoko or GWizard) or rely on material libraries in your CAM software. Getting this wrong is the #1 cause of tool failure.
Toolpaths: Define the operations.
Pocket Clearing: To remove material from an enclosed area.
Profile/Contour: To cut out the final outline of your part.
Drilling: For creating holes.
3D Adaptive Clearing: An efficient roughing strategy to minimize tool stress.
Parallel/Scallop Finishing: For smooth 3D surface finishes.
Stock Setup: Tell the software the size and orientation of your material block.
Hold-Down Considerations: Plan how your material is secured (clamps, screws, tape). The CAM must avoid cutting into your clamps!
H3: Stage 3: Post-Processing – Generating Machine-Specific G-code
Once your toolpaths are set, the CAM software generates a generic set of instructions. A post-processor translates these into the specific G-code dialect your Shapeoko’s controller (typically a Carbide Motion board or GRBL) understands.
Process: In your CAM software, you select the correct post-processor (e.g., “Grbl” or “Carbide Motion”).
Output: This creates a .nc or .gcode file. This file is a text file with commands like G0 X10 Y20 (rapid move) and G1 Z-2 F30 (linear feed move).
H3: Stage 4: Machine Setup & Control – Running the Job
Now, the digital meets the physical.

Material & Tool Setup: Secure your stock to the wasteboard. Install and tram (ensure it’s perfectly perpendicular) your chosen tool in the collet.
Work Coordinate System (WCS) Setting: This tells the machine where the zero point (X0, Y0, Z0) of your job is. Use the probe in Carbide Motion or manually jog the tool to your material’s corner or center. This step is critical for accuracy.
Transfer and Run: Load your G-code file into Carbide Motion or another GRBL controller (like Universal G-code Sender). Perform a visual simulation if available. Start the job, be ready at the emergency stop button, and monitor the first few minutes closely.
H2: Beyond the Basics: Professional Tips for Reliable Shapeoko Operation
Leveraging principles from professional machining can drastically improve your Shapeoko results:
Simulation is Your Safety Net: Always run a simulation in your CAM software. Look for tool collisions, missed material, or clamps being hit.
Document Your Process: Keep a log of feeds/speeds, tools, and results for each material. This builds your personal knowledge base, much like the process libraries used in professional shops.
Understand Tool Deflection: Small desktop routers have less rigidity than industrial VMCs. Use lighter depth of cuts (DOC) and stepovers, especially with small tools in hard materials.
Dust Control is Not Optional: Chips must be evacuated. A good dust shoe and vacuum are essential for finish quality, tool life, and your health.
For projects that outgrow the capabilities of a desktop machine—whether due to material hardness, tolerance requirements, part size, or the need for advanced processes like five-axis CNC machining for complex geometries—the natural progression is to partner with a professional service. This is where a transition to a full-scale manufacturing partner becomes relevant.
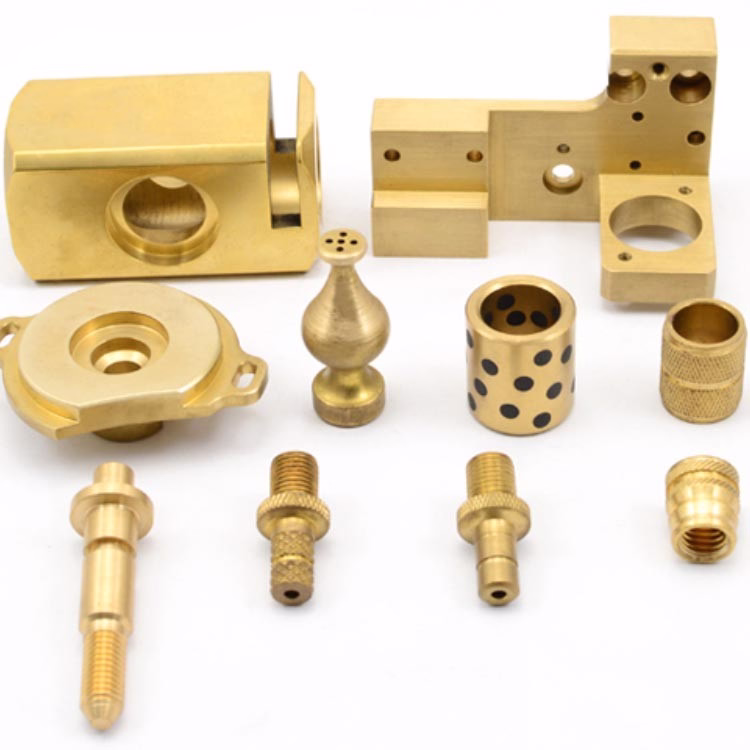
While the Shapeoko democratizes fabrication, there exists a spectrum of manufacturing complexity. When a design requires machining from 7075 aluminum with tight tolerances, involves undercuts best handled by a 4th axis, or is a production run of hundreds of parts, the expertise and equipment of a professional CNC machining factory become indispensable. Facilities like GreatLight CNC Machining Factory operate on the same core principles outlined here but at an industrial scale, with machines capable of holding extreme precision, handling exotic alloys, and integrating seamless post-processing—all under the umbrella of certified quality management systems like ISO 9001:2015.

Conclusion
Programming a Shapeoko CNC machine is a rewarding skill that bridges digital design and physical creation. By systematically following the workflow of CAD > CAM > Post-Processing > Machine Control, and respecting the fundamental principles of machining, you can reliably bring your ideas to life. Remember, the G-code that drives a Shapeoko is conceptually identical to the code running a million-dollar five-axis CNC machining center; the scale and stakes are different, but the logic of commanding tools through space is universal. Start simple, prioritize safety, document your learning, and you’ll unlock the vast potential of desktop CNC manufacturing.
Frequently Asked Questions (FAQ)
Q1: Can I use any G-code sender with my Shapeoko?
A: While the Shapeoko is built on the open-source GRBL firmware, it is optimized for use with Carbide Motion. Other senders like Universal G-code Sender (UGS) or Candle will work, but you may need to configure them carefully and might lose access to Shapeoko-specific features like integrated probing.
Q2: My cuts are not accurate. What’s wrong?
A: Inaccuracy can stem from multiple sources: 1) Mechanical Slack: Check and tighten all belts, screws, and grub screws on couplings. 2) Tool Deflection: Your cuts may be too aggressive; reduce Depth of Cut and Feed Rate. 3) WCS Error: Re-establish your X, Y, and Z zero points meticulously. 4) Software Issue: Ensure your CAM settings (like units mm vs. inches) are consistent.
Q3: What’s the biggest difference between programming for a Shapeoko and for an industrial CNC machine?
A: The core CAM process is very similar. The main differences are:
Rigidity & Power: Industrial machines allow for much more aggressive material removal rates.
Tolerance & Complexity: Industrial five-axis CNC machining services can achieve near-mirror finishes and hold tolerances under 0.01mm on incredibly complex, monolithic parts.
Automation & Integration: Professional factories often have automated tool changers, pallet systems, and in-process probing, which minimizes human intervention and maximizes consistency.
Q4: Where do I find reliable feeds and speeds for my material?
A: Start with the Shapeoko Feeds and Speeds wiki. Use the GWizard Calculator or the built-in calculators in Fusion 360. Many end mill manufacturers (like Amana, Onsrud) also provide recommended starting parameters for their tools.
Q5: When should I consider moving from my Shapeoko to a professional machining service?
A: Consider professional services like those offered by GreatLight CNC Machining Factory when you encounter: 1) Material Limitations: Need to machine hardened steel, titanium, or engineering plastics. 2) Precision Requirements: Tolerances tighter than ±0.1mm. 3) Volume: Need 50+ identical parts cost-effectively. 4) Complexity: Designs requiring simultaneous 5-axis movement or advanced post-processing finishes. You can connect with industry leaders on platforms like LinkedIn to explore these capabilities further.


