

For professionals and workshop managers in the precision parts machining and customization field, finding a comprehensive, actionable guide on “How To Operate CNC Lathe Machine Pdf” is a common first step towards mastering this critical equipment. While a single PDF can be a valuable starting point, true operational mastery comes from understanding the principles, safety protocols, and practical nuances that no document can fully capture. This article delves deep into the operational framework of a CNC lathe, providing the context and expertise that complement any instructional manual.
Understanding the Core: Beyond the PDF Manual
A PDF manual is typically machine-specific, detailing the control panel, G&M codes for that model, and basic setup procedures. However, effective operation transcends following steps. It involves a synthesis of mechanical knowledge, programming understanding, and meticulous process discipline.
The Operator’s Trinity: Knowledge, Skill, and Vigilance
Theoretical Knowledge: Understanding CNC fundamentals (axes, coordinate systems, cutting dynamics) is non-negotiable.
Practical Skill: Proficiency in tool setting, workholding, program proofing, and in-process adjustment.
Procedural Vigilance: Rigorous adherence to safety and quality check protocols.
Deconstructing CNC Lathe Operation: A Phased Approach
A systematic approach breaks down the complex operation into manageable phases.
Phase 1: Pre-Operation Preparation & Safety
This phase is arguably the most critical for preventing accidents and ensuring job quality.
Personal Protective Equipment (PPE): Safety glasses, steel-toed shoes, and hearing protection are mandatory. Avoid loose clothing and jewelry.
Machine Inspection: Before powering on, conduct a visual check.
Coolant & Lubrication: Verify levels and condition.
Way Covers & Guards: Ensure they are intact and functional.
Emergency Stops: Test for easy access and functionality.
Workspace Organization: Maintain a clean, well-lit environment. Use designated tool racks and ensure the floor is free of oil and obstructions.
Phase 2: Machine Startup & Homing
Power on the main electrical cabinet.
Power on the CNC controller. The system will undergo a boot-up sequence.
Perform a Reference Return (Homing): This establishes the machine’s coordinate zero point for all axes (typically X and Z). Never skip this step. Modern machines may do this automatically on startup.
Phase 3: Workpiece & Tool Setup
This is where precision begins.
Workholding: Select the appropriate chuck (3-jaw, 4-jaw, collet) based on the part print. Ensure it is clean and securely mounted on the spindle. Indicate the workpiece to ensure it runs true, especially for 4-jaw chucks or secondary operations.
Tooling Setup: Load tools into the turret according to the tool list in your program.
Tool Geometry Offsetting: This is a core skill. Using a tool presetter or the machine’s probing cycle, measure and input the Tool Offset values (geometry and wear) for each tool. This tells the machine the exact position of the tool tip relative to the machine zero.
Work Coordinate System (WCS) Setting: Establish the program zero (often the face and centerline of the part) using a touch probe or the edge-finder/tool method. This value is stored as the Work Offset (e.g., G54).
Phase 4: Program Management & Proofing
Program Loading: Transfer the CNC program (often a .NC file) via network, USB, or direct input.
Dry Run & Simulation:
Use the Machine Lock and Optional Stop functions initially.
Run the program in Graphics Simulation mode to visually verify tool paths for errors or collisions.
Perform a Dry Run with the spindle off and feedrate overridden to a low percentage, watching for unexpected movements.
Single-Block & Feed Hold: During the first actual run, use Single Block mode to execute the program line-by-line. Keep your finger on the Feed Hold button.
Phase 5: In-Process Monitoring & Adjustment
Operation is an active, observant process.

Monitor Cutting Sounds: A consistent sound indicates good cutting; chattering or squealing requires adjustment of speed, feed, or depth of cut.
Check Chip Formation: Ideal chips are broken and manageable. Long, stringy chips can indicate improper feed or insert geometry.
Implement First-Article Inspection: Stop after machining the first part. Perform a complete dimensional and surface finish inspection using micrometers, calipers, and surface testers.
Compensate for Tool Wear: As tools wear, input small adjustments into the Tool Wear Offset registers to maintain dimensional accuracy.
Phase 6: Shutdown & Maintenance
Remove the finished workpiece and all tools from the turret.
Clean the chuck, work area, and chip pan.
Return all axes to a safe position (machine home).
Follow the manufacturer’s sequence to power down the controller and then the main power.
Perform daily/weekly maintenance as per the manual (greasing points, filter checks).
Why a PDF Isn’t Enough: The Need for Expert Partnership
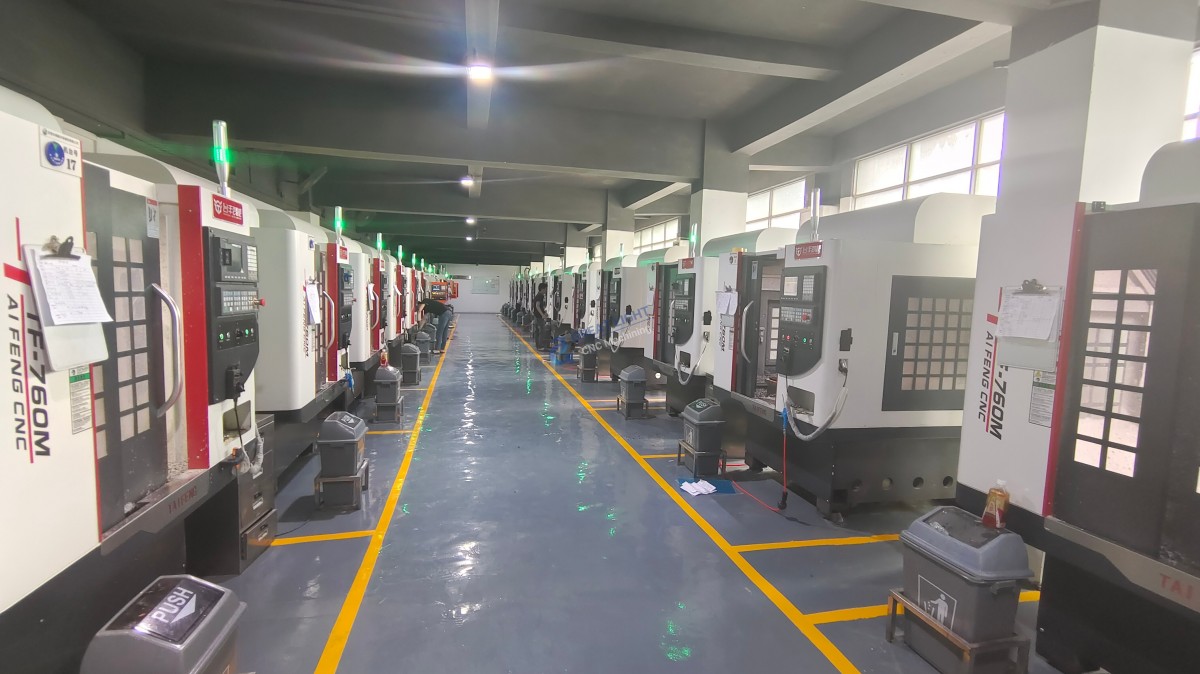
While the above framework provides structure, complex, high-tolerance, or novel materials often present challenges that go beyond standard operating procedures. This is where partnering with an expert manufacturer adds immense value. For instance, at GreatLight CNC Machining Factory, our approach to CNC lathe operation is embedded within a larger ecosystem of precision manufacturing.
Our technicians operate advanced multi-axis turning centers not just as standalone machines, but as integrated nodes in a digital production flow. The expertise lies not only in executing a program but in:
Process Design: Selecting optimal tool paths, cutting parameters, and fixturing strategies for specific materials like titanium, Inconel, or engineered plastics.
In-Process Metrology: Using on-machine probing for automated datum setting and mid-process inspection, closing the quality loop in real-time.
Post-Processing Integration: Seamlessly moving a turned part to secondary operations like milling, grinding, or surface treatment, all under one roof with controlled quality.
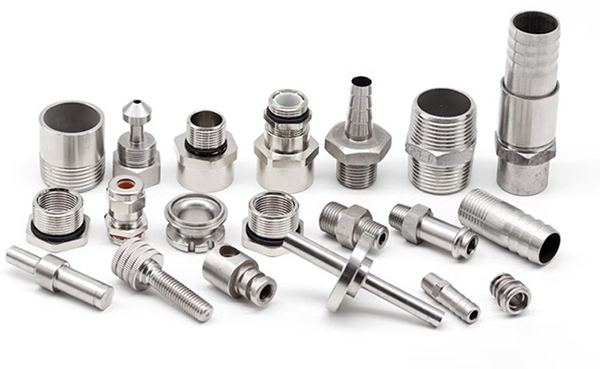
For clients seeking customization, this means we don’t just operate a lathe; we engineer the entire manufacturing solution. Whether it’s a prototype requiring iterative adjustments or a high-volume production run demanding relentless consistency, the operational philosophy is rooted in deep technical expertise and rigorous quality standards like ISO 9001:2015 and IATF 16949.
Conclusion
Learning How To Operate CNC Lathe Machine Pdf is an excellent foundation, providing the essential “what” and “when.” However, achieving true proficiency and unlocking the machine’s full potential requires understanding the “why” and “how” behind each action—from the physics of the cut to the strategy of the process. For businesses where precision, reliability, and innovation are non-negotiable, extending your capability through a partnership with a seasoned manufacturer like GreatLight CNC Machining Factory transforms operational knowledge into a competitive advantage, ensuring that every turned component meets the highest standards of excellence from the first part to the ten-thousandth.
Frequently Asked Questions (FAQ)
Q1: Where can I find a reliable PDF manual for my specific CNC lathe model?
A: The primary source should always be the original equipment manufacturer (OEM). Check their official website’s support or downloads section. Authorized dealers can also provide them. For older models, specialized industrial machinery forums or archives can sometimes be helpful, but ensure the manual’s version matches your machine’s control software.
Q2: What are the most critical G-codes and M-codes I must know for basic lathe operation?
A: The essential set includes:
G00: Rapid positioning (non-cutting movement).
G01: Linear interpolation (straight-line cutting).
G02/G03: Circular interpolation (clockwise/counterclockwise arcs).
G20/G21: Unit selection (inches/millimeters).
G40/G41/G42: Tool nose radius compensation (cancel/left/right).
G54: Work coordinate system selection.
M03/M04/M05: Spindle start (CW/CCW)/stop.
M08/M09: Coolant on/off.
M30: Program end and reset.
Q3: How often should I perform preventive maintenance on my CNC lathe?
A: This follows a tiered schedule:
Daily: Clean chips, check coolant/lubricant levels, inspect way covers.
Weekly: Clean filters, check hydraulic/pneumatic pressure, lubricate exposed guideways.
Monthly/Quarterly: Conduct more thorough inspections of ball screws, spindle runout, and alignment. Calibration checks for critical systems should be performed annually or as per the OEM’s recommendation and your usage intensity.
Q4: My finished part dimensions are consistently off by a small amount. What should I check first?
A: Follow this diagnostic sequence:
Tool Wear Offsets: Input a compensation value.
Tool Setting: Re-measure your tool geometry offsets; a slight error in Z-offset affects diameters.
Thermal Effects: Ensure the machine and workpiece have reached a stable thermal state (warm-up cycle).
Work Holding: Verify the workpiece is not shifting under cutting forces.
Program/Geometry: Re-check the tool path and geometry in your CAM software for any modeling inaccuracies.
Q5: For complex, high-precision turned parts, is it better to invest in in-house equipment or outsource to a specialist?
A: This depends on volume, complexity, and core competency. For prototyping, low-volume/high-mix production, or parts requiring extreme tolerances (<±0.005mm) and exotic materials, outsourcing to a specialist like GreatLight CNC Machining Factory is often more cost-effective. It eliminates capital expenditure, provides access to advanced technology and metallurgical expertise, and ensures quality through professional process engineering. In-house operation is justified for high-volume, stable designs where control over the production schedule is paramount.



















