
Introduction: The Allure of Building Your Own Precision Tool
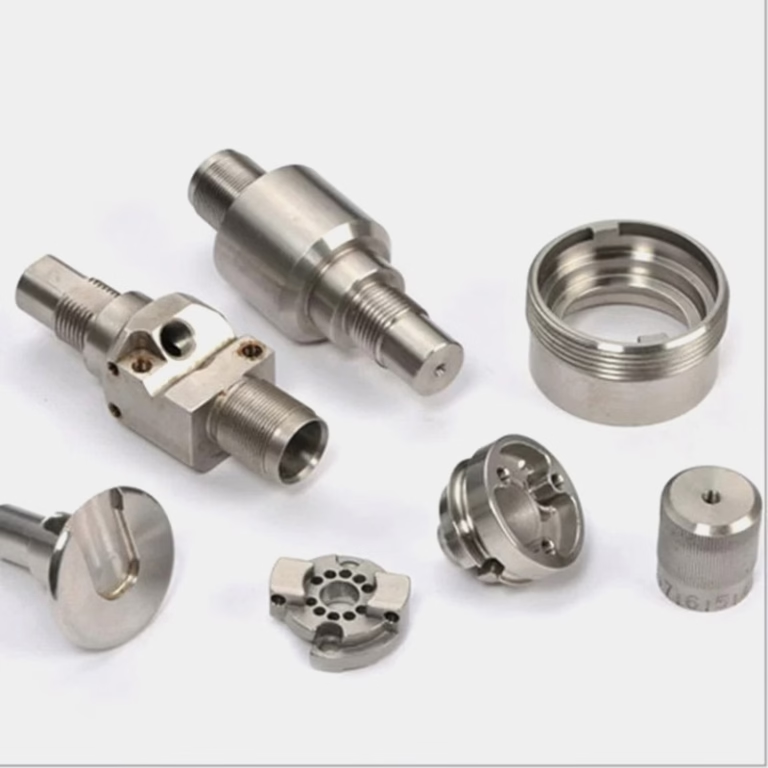
The idea of building your own CNC machine is a compelling challenge that sits at the intersection of craftsmanship, engineering, and passion. For engineers, ambitious hobbyists, and prototyping enthusiasts, it represents the ultimate test of skill and a path to a deeply personalized tool. However, embarking on this journey requires a clear-eyed assessment of goals, resources, and the often-underestimated gap between a functional machine and one capable of true precision CNC machining. This guide will walk you through the process, from conceptualization to calibration, while providing an honest perspective on when partnering with a professional service like GreatLight Metal becomes the strategically superior choice for achieving reliable, high-precision results.
Why Build Your Own? Motivations and Realities
Before purchasing the first linear rail, it’s crucial to define your “why.” Common motivations include:
Educational Value: The unparalleled hands-on learning experience in mechatronics, CAD/CAM, and machine dynamics.
Customization: Designing a machine for a very specific, non-standard task or workspace constraint.
Cost Control (Theoretical): The belief that sourcing components individually will be cheaper than buying a commercial machine or outsourcing.
The Pride of Creation: The intangible satisfaction of using a tool you built from the ground up.
However, the realities often include:
Hidden Costs: Time investment (often hundreds of hours), unforeseen part replacements, tooling, and software.
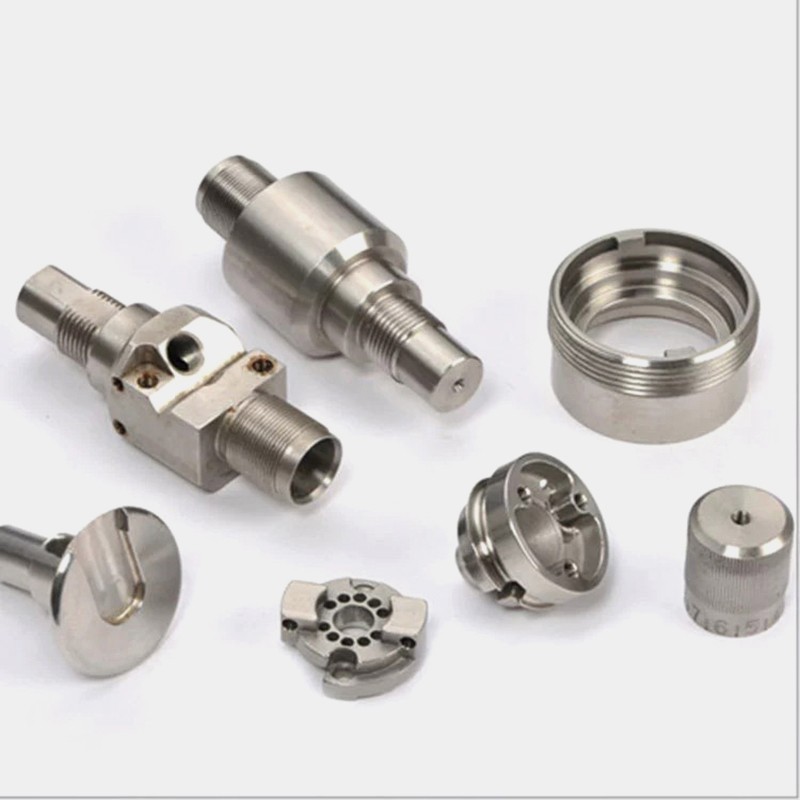
The Precision Ceiling: DIY machines typically achieve tolerances in the range of ±0.1mm to ±0.05mm with great effort. Achieving sub-±0.02mm repeatability, standard in professional shops like ours, requires exponentially more expensive components and metrology tools.
Performance Limitations: Rigidity, speed, and material compatibility (e.g., effectively machining steel) are major challenges for most home-built designs.
Core Components and System Design
A CNC machine is a system of integrated subsystems. Each choice involves a trade-off between cost, performance, and complexity.
1. Mechanical Frame and Structure: The Foundation of Rigidity
Rigidity is the single most important factor determining a machine’s accuracy, surface finish, and ability to cut harder materials. Vibration and deflection are the enemies of precision.
Common Materials:
T6061 Aluminum Extrusions (e.g., 80/20): Popular for modularity and ease of assembly. Requires careful design with bracing to mitigate flex.
Steel Welded Frame: Offers superior rigidity but requires welding skills and is prone to thermal deformation if not stress-relieved.
Cast Iron or Polymer Concrete: The gold standard for damping vibrations, but complex for DIY.
Machined Aluminum Plate: A robust option if you have access to a large-format machine for initial fabrication.
2. Motion System: Guidance and Drive
This system defines how the cutting tool moves in 3D space.
Linear Motion:
Round Rails & Bearings: Low-cost but lower stiffness and accuracy. Suitable for light-duty routers.
Profiled Linear Guides (Hardened Rails & Blocks): The professional choice. They offer high load capacity, rigidity, and precision. Brands like HIWIN or TBI are common in upgrade paths.
Drive System:
Leadscrews (Acme Thread): Inexpensive but suffer from backlash and lower efficiency.
Ball Screws: Convert rotational motion to linear motion with high efficiency and minimal backlash. Preloaded ball screws are essential for eliminating backlash in precision applications.
Belt Drives: Used in some high-speed, low-force applications (e.g., 3D printer-derived CNC).
3. Spindle and Tooling: The Cutting Heart
Spindle Types:
Router Spindles (Air-Cooled): Common for wood, plastics, and soft aluminum. Variable speed is a must.
ER Collet Spindles (Water-Cooled): More rigid, quieter, and better for prolonged metal cutting. They use standard ER collets (e.g., ER11, ER20) for precise tool holding.
Tool Holding: Avoid drill chucks. Use proper collets for concentricity and grip.
4. Control System: The Brain and Nerves
Stepper Motors vs. Servo Motors: Steppers are simpler and cheaper; servos offer closed-loop feedback for error correction but are more complex and expensive.
Motor Drivers (Controllers): These interpret signals from the control board and power the motors. Quality drivers improve smoothness and reduce resonance.
CNC Controller Board: The central hub. Options range from Arduino-based boards (GRBL) for simplicity to more advanced systems like Mach4, LinuxCNC, or EtherCAT-based controllers for professional features.
Power Supply: Must be adequately sized (voltage and current) for all motors and the spindle.
5. Software Ecosystem: From Idea to Motion
CAD (Computer-Aided Design): Fusion 360, SolidWorks, FreeCAD. Used to create the 3D model of your part.
CAM (Computer-Aided Manufacturing): Fusion 360 (integrated), Vectric Aspire, MeshCAM. Generates the toolpaths (G-code) from the CAD model, defining cutter movements, speeds, and feeds.
Control Software: UGS, Mach4, LinuxCNC. Sends the G-code to the machine controller and provides the machine interface.
The Assembly and Calibration Journey
Assembly is more than just bolting parts together. It’s a process of meticulous alignment and tuning.
Frame Squaring: Use precision squares, dial indicators, and laser levels to ensure all axes are perfectly perpendicular. A frame that isn’t square cannot be calibrated to be accurate.
Linear Guide Installation: Mounting rails must be straight and parallel. This is often done using a precision level or a taut wire alignment technique.
Backlash Compensation: Measured using a dial indicator, backlash in the drive system can be compensated for in software, but it’s always better to minimize it mechanically via preloaded nuts or anti-backlash assemblies.
Ball Screw Alignment: Coupling the motor to the ball screw must allow for minor misalignment; use flexible couplings.
Electrical Integration & Safety: Neat wiring, proper grounding, and incorporating emergency stops, limit switches, and spindle control are critical.
The Crucial First Cuts and Calibration
Start with soft materials (wax, foam, soft wood) to test basic functionality without risking tool breakage.
Tramming the Spindle: Ensure the spindle axis is perfectly perpendicular to the worktable in both X and Y directions.
Step-Per-Calibration: Command the machine to move 100mm and measure the actual distance traveled with a caliper. Adjust the steps-per-unit setting in the control software until physical movement matches commanded movement.
Circularity Test: Machining a circle and measuring its true diameter with a bore gauge or micrometer reveals errors in orthogonal alignment and backlash.
When to Build, and When to Partner with GreatLight Metal
After understanding the immense effort required, it’s wise to evaluate the end goal.
Building your own CNC machine is ideal if:
Your primary goal is the learning experience and journey.
Your tolerance requirements are > ±0.1mm.
You primarily work with wood, plastics, or soft metals.
You have ample time, a well-equipped workshop for the build itself, and a passion for tinkering.
Partnering with a professional precision CNC machining service like GreatLight Metal is the clear choice if:
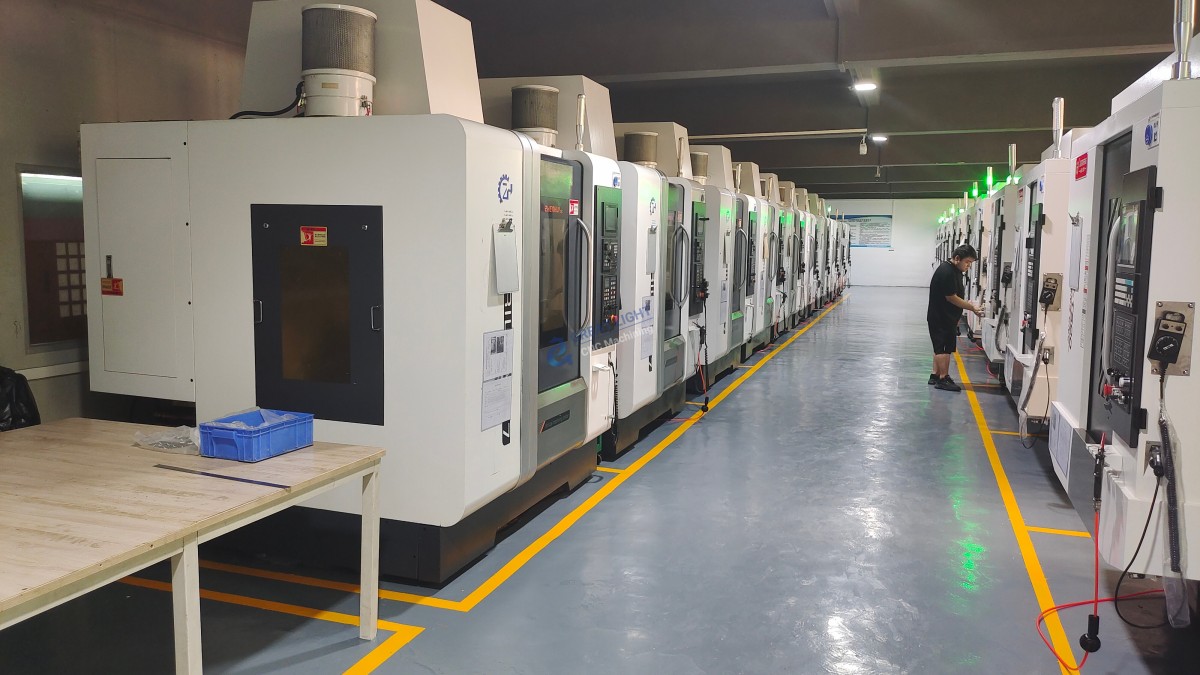
Your priority is reliable, high-precision results (±0.02mm or better). Our ISO 9001:2015 certified processes and portfolio of 5-axis, 4-axis, and 3-axis CNC centers are built for this.
You need to machine challenging materials like titanium, stainless steel, or engineered plastics with consistency.
Time-to-market is critical. We can transform your CAD model into finished parts in days, not months.
You lack the capital for high-end components like high-precision spindles, linear guides, and calibration equipment that a professional-grade DIY machine demands.
You require complex geometries that necessitate multi-axis simultaneous machining, which is extraordinarily difficult to achieve stably in a DIY context.
Conclusion
Building your own CNC machine is a formidable and rewarding project that builds deep technical competency. It teaches you the intimate relationship between mechanical design, electronics, and software that defines modern manufacturing. However, it is a pursuit of passion and education rather than a shortcut to economical precision.
For prototypes, tooling, or end-use parts where accuracy, material integrity, and reliability are non-negotiable, the expertise and industrial-grade equipment of a specialist like GreatLight Metal are invaluable. We bridge the gap between a brilliant design and a flawlessly executed physical part. Whether you choose to build your machine or outsource your precision CNC machining, the most important step is a clear understanding of your requirements and an honest assessment of the best path to meet them.
Frequently Asked Questions (FAQ)
Q1: What is a realistic budget for a DIY CNC machine capable of light aluminum work?
A: For a rigid, usable machine (not just a proof-of-concept), expect to invest between $2,000 to $5,000+ in components alone. This would typically get you an aluminum extrusion frame, profiled linear guides, ball screws, a 1.5kW water-cooled spindle, and a basic control system. This machine could handle aluminum with careful feeds and speeds but would not match the speed or surface finish of a commercial VMC.
Q2: How do I choose between a 3-axis, 4-axis, or 5-axis design for my DIY build?
A: Start with 3 axes (X, Y, Z). It is complex enough. Adding a 4th (rotary A or B axis) or 5th axis introduces immense complexity in mechanical design, calibration, and CAM programming. For over 95% of DIY projects and professional parts, 3-axis machining is sufficient. GreatLight Metal utilizes 4th and 5th-axis capabilities to machine complex features in a single setup, which is a key advantage of professional outsourcing.
Q3: What is the most common mistake first-time builders make?
A: Underestimating the importance of rigidity. Using undersized extrusions, poor joint design, and flimsy linear motion components lead to chatter, poor surface finish, and broken tools. It’s better to over-build the frame.
Q4: Can I use my DIY CNC machine to make parts for another, better CNC machine?
A: Yes, this is a classic “bootstrapping” approach. However, the accuracy of the first generation limits the potential accuracy of the second. Each iteration can improve, but you will eventually hit a ceiling defined by your measurement and calibration capabilities.
Q5: If I prototype a part on my DIY machine and want to move to small-batch production, what should I do?
A: This is an excellent workflow. Use your DIY machine for rapid design iteration and proof-of-concept. Once the design is finalized, send the CAD files to a professional manufacturer like GreatLight Metal for production. We ensure material certifications, batch consistency, and professional post-processing (like anodizing or heat treatment) that are beyond the scope of a home workshop. This hybrid approach leverages the speed of in-house prototyping and the quality of professional manufacturing. For more on our capabilities, connect with us on LinkedIn.



















