
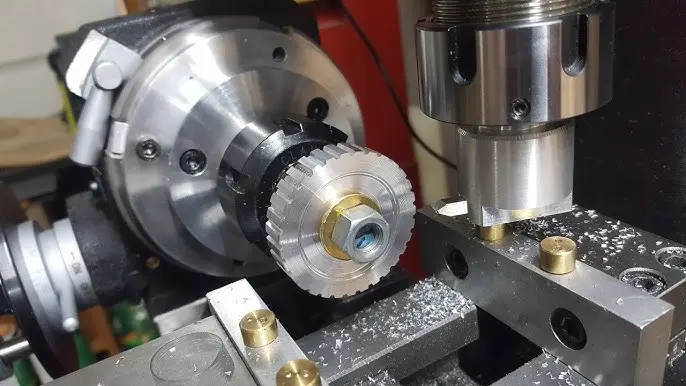
Building Your Own CNC Machine with Arduino Nano and DVD Drive Stepper Motor: A Step-by-Step Guide
Introduction
Congratulations! You’ve decided to take the leap and build your own CNC (Computer Numerical Control) machine using an Arduino Nano and a DVD drive stepper motor. This project is a great way to learn about computer-aided manufacturing, electronics, and programming. In this blog post, we’ll guide you through the process of building your own CNC machine, from preparation to completion.
Step 1: Prepare the DVD Drive Stepper Motor
The first step is to obtain the DVD drive stepper motor. You can purchase a DVD drive with a stepper motor from an online retailer or salvage one from an old computer. Make sure to purchase or salvage a motor with a suitable stepping resolution, typically 400-800 steps per revolution (2000-3200 steps per second).
Step 2: Assemble the Motor Control Circuit
Create a simple motor control circuit using the Arduino Nano. This will allow you to control the motor’s speed and direction. You’ll need the following components:
- 1 x Arduino Nano
- 1 x Stepper Motor Driver (e.g., A4988 or DRV8825)
- 1 x Jumper Wires
- 1 x Breadboard
Connect the motor driver to the breadboard and the Arduino Nano according to the manufacturer’s instructions.
Step 3: Write the Motor Control Code
Open the Arduino Integrated Development Environment (IDE) and create a new project. Write the following code to control the motor:
#include <Stepper.h>

Stepper stepperMotor(2000, 2, 3, 4); // Define the stepper motor with 2000 steps per revolution, connected to pins 2-4

void setup() {
  stepperMotor.setMaxSpeed(100); // Set the maximum speed of the motor to 100 steps per second
}

void loop() {
  stepperMotor.step(100); // Move the motor 100 steps forward
  delay(50); // Pause for 50 milliseconds
  stepperMotor.step(-100); // Move the motor 100 steps backward
  delay(50); // Pause for 50 milliseconds
}
This code will make the motor move in a simple oscillating motion.
Step 4: Assemble the CNC Machine Frame
Design and build the frame of your CNC machine using wood, aluminum, or any other material you prefer. Make sure the frame is sturdy and level.
Step 5: Attach the Stepper Motor to the Frame
Attach the stepper motor to the frame using screws, glue, or any other suitable method. Make sure the motor is securely attached and aligned properly.
Step 6: Install the Arduino Nano and Motor Control Circuit
Install the Arduino Nano on the frame, connecting it to the motor control circuit. Make sure the connections are secure and the motor is working properly.
Step 7: Add the Control Panel and End-Stops
Add a control panel with buttons, LEDs, or a keypad to control the motor. Install end-stops to prevent the motor from moving beyond its limits.
Step 8: Calibrate the Stepper Motor
Use the Arduino IDE to calibrate the stepper motor. This will help the motor reach its maximum speed and accuracy.
Step 9: Test the CNC Machine
Test the CNC machine by moving the motor in different directions and speeds. Make sure it’s working smoothly and accurately.
Step 10: Fine-Tune and Refine
Fine-tune and refine your CNC machine by adjusting the motor control code, adjusting the frame, and improving the mechanical design.
Conclusion
Congratulations! You’ve built your own CNC machine using an Arduino Nano and a DVD drive stepper motor. This project has not only saved you money but also challenged you to learn new skills and experiment with innovative technologies. With your new CNC machine, you can create custom parts, prototype designs, and enhance your creativity.
Tips and Variations
- Use a different motor or add multiple motors for more complex movements.
- Upgrade to a more advanced microcontroller, such as an Arduino Mega or Raspberry Pi, for increased processing power.
- Add sensors or cameras to monitor and improve the machine’s performance.
- Explore the world of CNC programming languages, such as G-code, to create custom programs for your machine.
- Join online communities and forums to learn from other CNC enthusiasts and share your experiences.
Before You Start
Before beginning this project, make sure you have the following:
- Basic knowledge of electronics and programming
- An Arduino Nano or a suitable microcontroller
- A DVD drive stepper motor or a suitable alternative
- A frame and materials for building the CNC machine
- Patience and creativity!
Don’t be afraid to ask questions or seek help when needed. With this project, you’ll be taking the first step towards a new world of maker-ship, creativity, and innovation. Happy building!



















