If you’ve ever wanted to turn a beloved piece of sheet music into a timeless wooden art piece—whether for a personalized gift, studio decor, or a commemorative artifact—learning How To Carve Sheet Music Into Wood With CNC Machine? is a skill that blends technical precision with artistic creativity. CNC (Computer Numerical Control) machining takes the guesswork out of hand-carving, allowing for consistent, intricate details that capture every note, rest, and dynamic marking with clarity. Whether you’re a hobbyist with a desktop CNC machine or a business looking to produce custom pieces at scale, this guide will walk you through the process, plus share when partnering with a professional precision machining service like GreatLight CNC Machining Factory is the smartest choice.
How To Carve Sheet Music Into Wood With CNC Machine?
Pre-Carving Preparation: Lay the Groundwork for Perfect Results
Before you fire up the CNC machine, three critical steps will determine the success of your sheet music carving: designing the digital file, selecting the right wood, and setting up your CNC equipment correctly.
1. Design: Convert Sheet Music to CNC-Ready Digital Files
The first hurdle is turning your sheet music into a format your CNC machine can understand. Raster images (like photos of sheet music) won’t work directly—you need vector files, which define lines and shapes as mathematical paths that the CNC tool can follow. Here’s how to do it:
Source the sheet music: Start with a high-resolution scan of printed sheet music or a digital PDF from a reputable source. If using handwritten sheet music, scan it at 600 DPI or higher to capture fine details like curved note heads or delicate dynamics markings.
Vectorize the image: Use software like Inkscape (free), Adobe Illustrator, or Fusion 360 to trace the raster image into vectors. For sheet music, focus on preserving the thickness of note stems, the shape of notes, and the uniform spacing between staves. Tools like Autotrace or Illustrator’s “Image Trace” can automate much of this, but you’ll need to clean up stray lines and adjust line weights manually to avoid over-carving later.
Adjust for CNC carving: Once you have a vector file, import it into CAM (Computer-Aided Manufacturing) software (like VCarve Pro, Easel, or Fusion 360) to generate G-code—the language that controls the CNC machine. Key adjustments include:
Carving depth: For subtle, elegant decorative pieces, a depth of 0.5mm to 1mm is ideal. If you want raised staves or notes, reverse the design so the background is carved away (1-2mm depth) to make the sheet music stand out.
Toolpath configuration: Use a 60-degree V-bit for crisp, tapered lines (perfect for note heads and stems) or a flat end mill for uniform depth carves. Ensure the toolpath avoids overlapping lines to prevent wood from being removed unnecessarily.
Material size matching: Resize the vector design to fit your wood blank, leaving a 1-2cm border around the edges to secure the material during carving and avoid tool collision with the machine bed.
2. Material Selection: Choose Wood That Balances Detail and Durability
Not all woods are created equal for CNC carving sheet music. The best options are those with tight, uniform grain (to avoid splitting or uneven carving) and moderate hardness (to hold fine lines without chipping):
Basswood: A top choice for beginners and hobbyists. It’s soft, affordable, and has a pale, uniform grain that makes sheet music details pop. It’s easy to carve but may not be as durable as harder woods.
Maple: A hard, dense wood with a smooth, light-colored surface. It resists scratches and holds intricate details perfectly, making it ideal for pieces that will be displayed or handled frequently (like custom gifts for professional musicians).
Cherry: A medium-hard wood with a warm, reddish-brown hue that deepens over time. Its fine grain ensures clean lines, and the natural color contrast between carved and uncarved areas creates a timeless, heirloom-quality look.
Walnut: A dark, rich wood with a tight grain. It’s harder than basswood but still carves cleanly, and the light-colored carved lines stand out dramatically against the dark wood—perfect for statement wall art.
Avoid woods with large knots, warped boards, or irregular grain, as these can cause the CNC tool to catch or produce uneven results.
3. CNC Machine Setup: Calibrate for Precision
Proper setup is crucial to avoid costly mistakes:
Tool selection: For sheet music, a 60-degree V-bit is versatile for most line widths. If you have very thin lines (like hairpin dynamics or crescendos), use a 30-degree V-bit for finer details. Secure the tool tightly in the collet to prevent wobble.
Workholding: Use clamps, double-sided tape, or a vacuum hold-down system to secure the wood blank to the CNC machine’s bed. Ensure the material is flat and level—any tilt will result in uneven carving depth.
Z-axis calibration: Perform a test touch-off on the wood’s surface to set the zero point for the Z-axis (the tool’s vertical position). This ensures the machine carves to your desired depth consistently across the entire blank.
Speed and feed rates: Adjust the spindle speed (RPM) and feed rate based on the wood type. For soft woods like basswood, use a higher feed rate (100-150 mm/min) and spindle speed (12,000-15,000 RPM). For harder woods like maple, lower the feed rate (50-100 mm/min) and keep the spindle speed high to prevent tool breakage.
Step-by-Step Guide to Carving Sheet Music Into Wood
Now that your prep work is done, follow these steps to bring your sheet music to life:
Step 1: Load the G-Code File
Transfer the finalized G-code file to your CNC machine via USB, Ethernet, or the machine’s proprietary software. Double-check the file to ensure the design dimensions, depth, and toolpaths match your specifications before proceeding.
Step 2: Run a Test Carve
Before carving the full design, run a test on a scrap piece of the same wood. Carve a small section of the sheet music (like a single stave with notes and a dynamic marking) to verify the depth, line clarity, and feed rate. Adjust any settings if needed—this will save you from ruining your main wood blank.
Step 3: Execute the Full Carve
Once the test is successful, start the CNC machine. Stay nearby to monitor the process, especially during the first few minutes, to catch any issues like tool wobble or material movement. Most CNC machines will run unattended once started, but it’s always safe to keep an eye on things.
Step 4: Post-Processing for a Polished Finish
After the carving is complete:
Remove the wood blank: Carefully unclamp the material and brush away any wood dust with a soft brush or compressed air. Avoid using water, as it can warp the wood.
Sand the surface: Use fine-grit sandpaper (220-400 grit) to smooth the carved lines and the surrounding wood. Be gentle around the details to avoid rounding off note stems or heads. For tight spaces, use a small sanding stick or toothbrush to clean out dust.
Apply a finish: Choose a finish that enhances the wood’s beauty while protecting it. Options include:
Clear wax: Adds a subtle sheen without changing the wood’s color, perfect for preserving the natural look.
Stain: Deepens the wood’s color, creating a striking contrast with the lighter carved lines. Test the stain on a scrap piece first to ensure you get the desired shade.
Polyurethane: A durable, water-resistant finish ideal for pieces that will be exposed to moisture or frequent handling. Apply 2-3 thin coats, sanding lightly between coats for a smooth, glass-like surface.
Add mounting hardware (optional): If creating wall art, install sawtooth hangers or D-rings on the back for easy display. For tabletop pieces, add felt pads to protect surfaces from scratches.
When to Outsource to a Professional CNC Machining Service
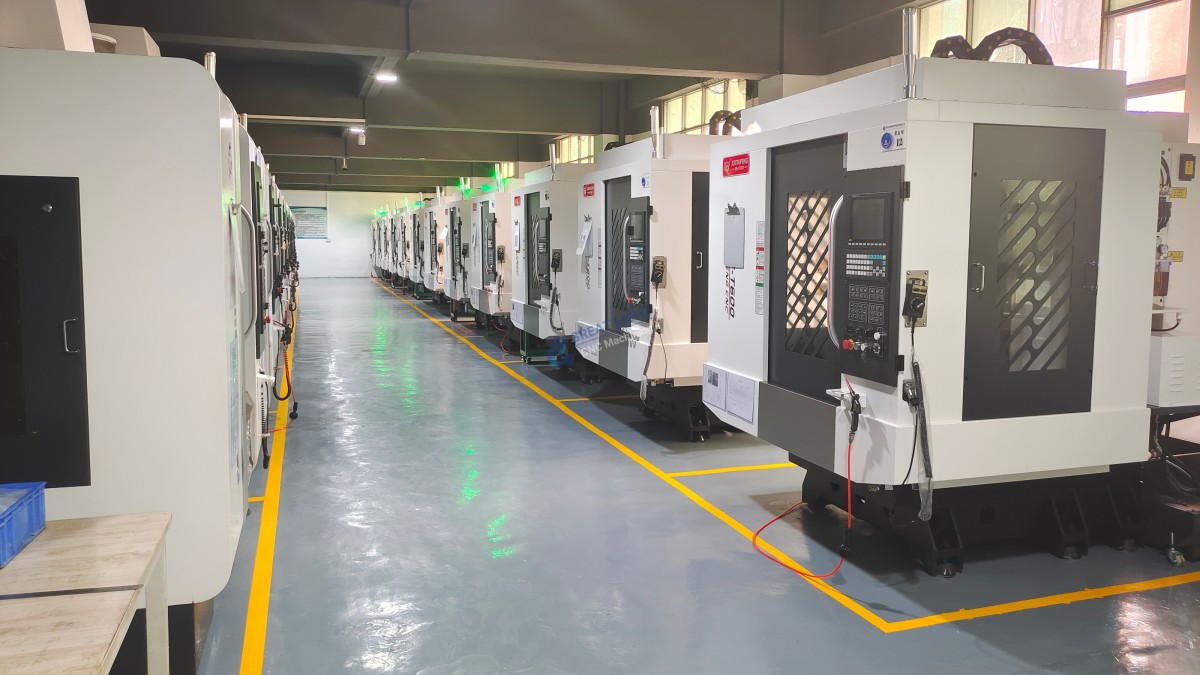
While DIY CNC carving is a rewarding project, there are times when partnering with a professional precision machining factory is the better choice—especially for businesses, large orders, or high-precision projects. GreatLight CNC Machining Factory, a leading five-axis CNC machining manufacturer, offers the expertise and capabilities to turn your sheet music wood carving vision into a reality with unmatched quality and efficiency.
Here’s why GreatLight is the ideal partner for your professional sheet music carving needs:
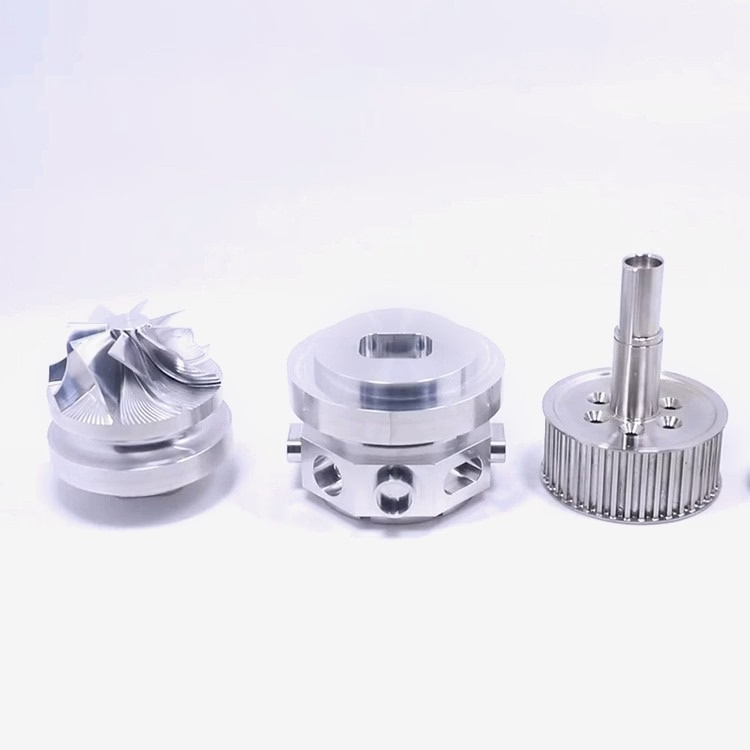
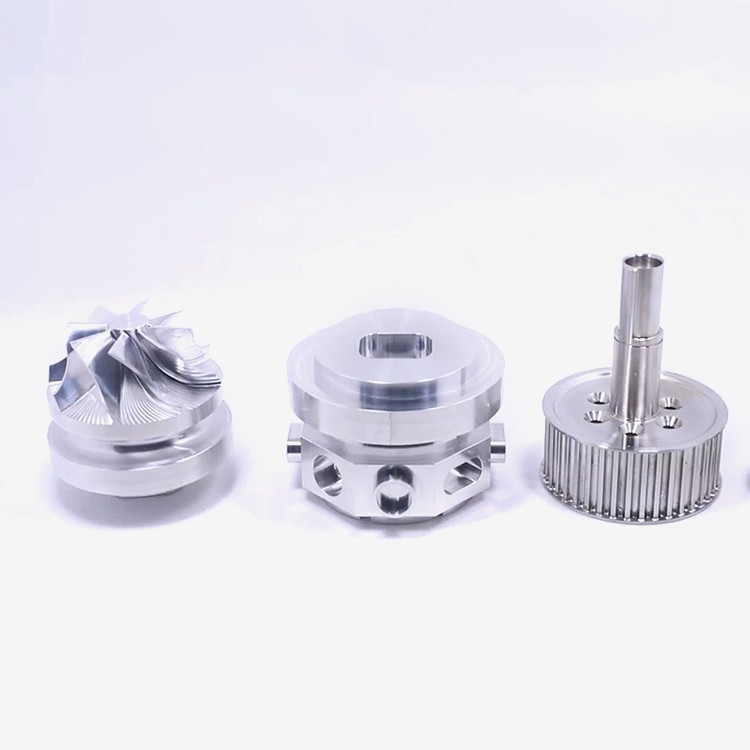
Advanced CNC Equipment: With 127 pieces of precision peripheral equipment (including large high-precision five-axis, four-axis, and three-axis CNC machining centers), GreatLight can handle complex designs and large wood blanks up to 4000 mm in size. Their five-axis CNC machining services allow for intricate, multi-angle carves that desktop machines can’t replicate—perfect for 3D wood art pieces with sheet music integrated into sculptural designs.
Uncompromising Precision: GreatLight’s machining capabilities reach ±0.001 mm, ensuring every note, rest, and dynamic marking is carved with absolute accuracy. This is critical for projects where detail matters, like museum-quality artifacts or custom gifts for world-renowned musicians.
One-Stop Post-Processing: Beyond carving, GreatLight offers a full range of surface post-processing services, including sanding, staining, sealing, and even custom metal inlays. This means you get a finished product ready for display or delivery, without having to coordinate with multiple vendors.
Quality Assurance: As an ISO 9001:2015 certified manufacturer, GreatLight adheres to strict quality control standards at every step. They offer a free rework guarantee for quality problems, and a full refund if rework doesn’t meet your expectations—giving you total peace of mind.
Volume and Scalability: Whether you need 1 custom piece or 500 mass-produced units, GreatLight’s three wholly-owned manufacturing plants can scale production to meet your timeline. Their team of 150 professionals has years of experience in rapid prototyping and precision machining, ensuring on-time delivery even for tight deadlines.
For example, a regional music school recently partnered with GreatLight to create 100 custom wood wall art pieces featuring the school’s alma mater sheet music. GreatLight converted the digital sheet music to CNC-ready files, carved each piece from premium cherry wood, applied a protective polyurethane finish, and delivered the order two days ahead of schedule—exceeding the school’s expectations for quality and speed. You can learn more about their projects and client success stories on their official LinkedIn page.
Troubleshooting Common CNC Sheet Music Carving Issues
Even with careful prep, you may encounter some problems during carving. Here’s how to fix them:
Uneven carving depth: This is usually caused by an unlevel wood blank or incorrect Z-axis calibration. Re-level the material using a spirit level, then re-calibrate the Z-axis zero point before re-carving.
Tool breakage: This can happen if the feed rate is too high for the wood type, or the tool is dull. Lower the feed rate by 20-30% and replace the tool with a sharp carbide bit (more durable than high-speed steel for hard woods).
Smudged or blurry lines: This is often due to tool wobble from a loose collet or worn tool. Tighten the collet securely and replace any worn tools. You can also reduce the spindle speed slightly to minimize vibration.
Wood splitting: This occurs if the wood has knots or is too dry. Avoid boards with knots, and if carving dry wood, mist it lightly with water 24 hours before carving to reduce brittleness.
Conclusion
Learning How To Carve Sheet Music Into Wood With CNC Machine? opens up a world of creative possibilities, from personalized gifts to unique decor pieces. By following the preparation steps, executing the carving process carefully, and addressing common issues, hobbyists can create beautiful, detailed pieces that reflect their love of music. For those seeking professional-grade quality, scalability, or complex designs, partnering with a trusted manufacturer like GreatLight CNC Machining Factory is the way to go. Their advanced CNC capabilities, strict quality standards, and one-stop services ensure your sheet music wood carves are precise, durable, and ready to impress. Whether you’re a hobbyist testing the waters or a business looking to scale, turning sheet music into wooden art is a rewarding project that blends technology and creativity seamlessly.
Frequently Asked Questions (FAQ)
1. What’s the best wood for carving sheet music with a CNC machine?
Basswood is ideal for beginners due to its softness and affordability, while maple, cherry, and walnut are better for high-detail, durable pieces. The best choice depends on your budget, desired aesthetic, and intended use of the final product.
2. Can I convert handwritten sheet music to a CNC-ready file?
Yes! Scan the handwritten sheet music at 600 DPI or higher, then use vectorization software (like Inkscape or Adobe Illustrator) to trace the image. You’ll need to clean up stray lines and adjust line weights to ensure the CNC machine can follow the paths clearly.
3. How do I know what carving depth to use?
For subtle, decorative lines, aim for 0.5mm to 1mm. If you want raised staves or notes, carve the background to 1-2mm depth. Always test the depth on a scrap piece of the same wood first to get the desired effect.
4. What’s the minimum order quantity for professional sheet music carving services?
GreatLight CNC Machining Factory offers flexible options for both small and large orders. For custom projects, they can accommodate as few as 1 piece (rapid prototyping) up to thousands of units for mass production.
5. Can GreatLight integrate metal parts with my wood sheet music carving?
Yes! GreatLight specializes in both metal and plastic precision machining. They can add custom metal inlays (like brass note heads or staves) to your wood carving for a unique, high-end look. Their five-axis CNC capabilities allow for seamless integration of different materials.
6. How long does it take to carve a sheet music design with a CNC machine?
DIY projects with desktop CNC machines can take 1-3 hours, depending on the size and complexity of the design. Professional services like GreatLight can complete small orders in 2-3 business days, while larger orders may take 7-14 days, including post-processing.
7. Do I need special software to convert sheet music to G-code?
You’ll need vectorization software (like Inkscape) to turn sheet music into a vector file, then CAM software (like VCarve Pro) to generate G-code. Many desktop CNC machines come with built-in CAM software that simplifies this process for beginners.