
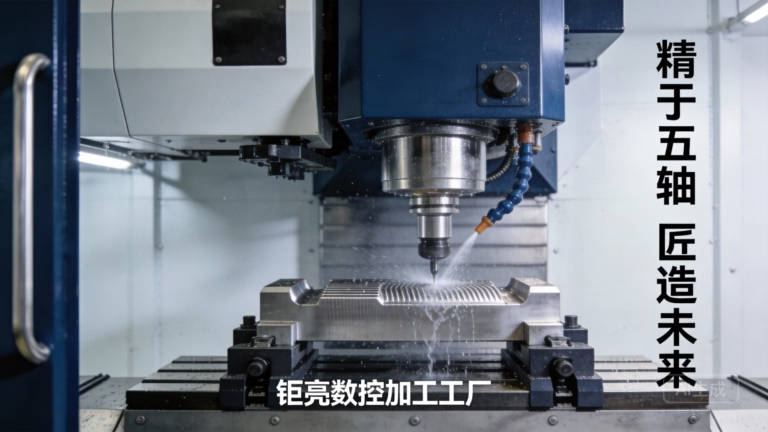
While the idea of building a CNC Drawing Machine at home captures the DIY spirit and is a fantastic way to learn about mechanics, electronics, and programming, it’s important to distinguish between a rewarding educational project and the demands of industrial-grade precision manufacturing. As a senior manufacturing engineer at GreatLight Metal Tech Co., LTD., I often see prototypes and hobbyist projects evolve into products that require the reliability, accuracy, and scalability only a professional partner can provide.
This guide will walk you through the fundamental concepts and steps to create your own basic CNC drawing machine, a project often documented in online forums and shared as PDF guides. We’ll also explore why, when your project graduates from a hobby to a commercial venture, partnering with experts like us becomes not just an option, but a necessity for success.
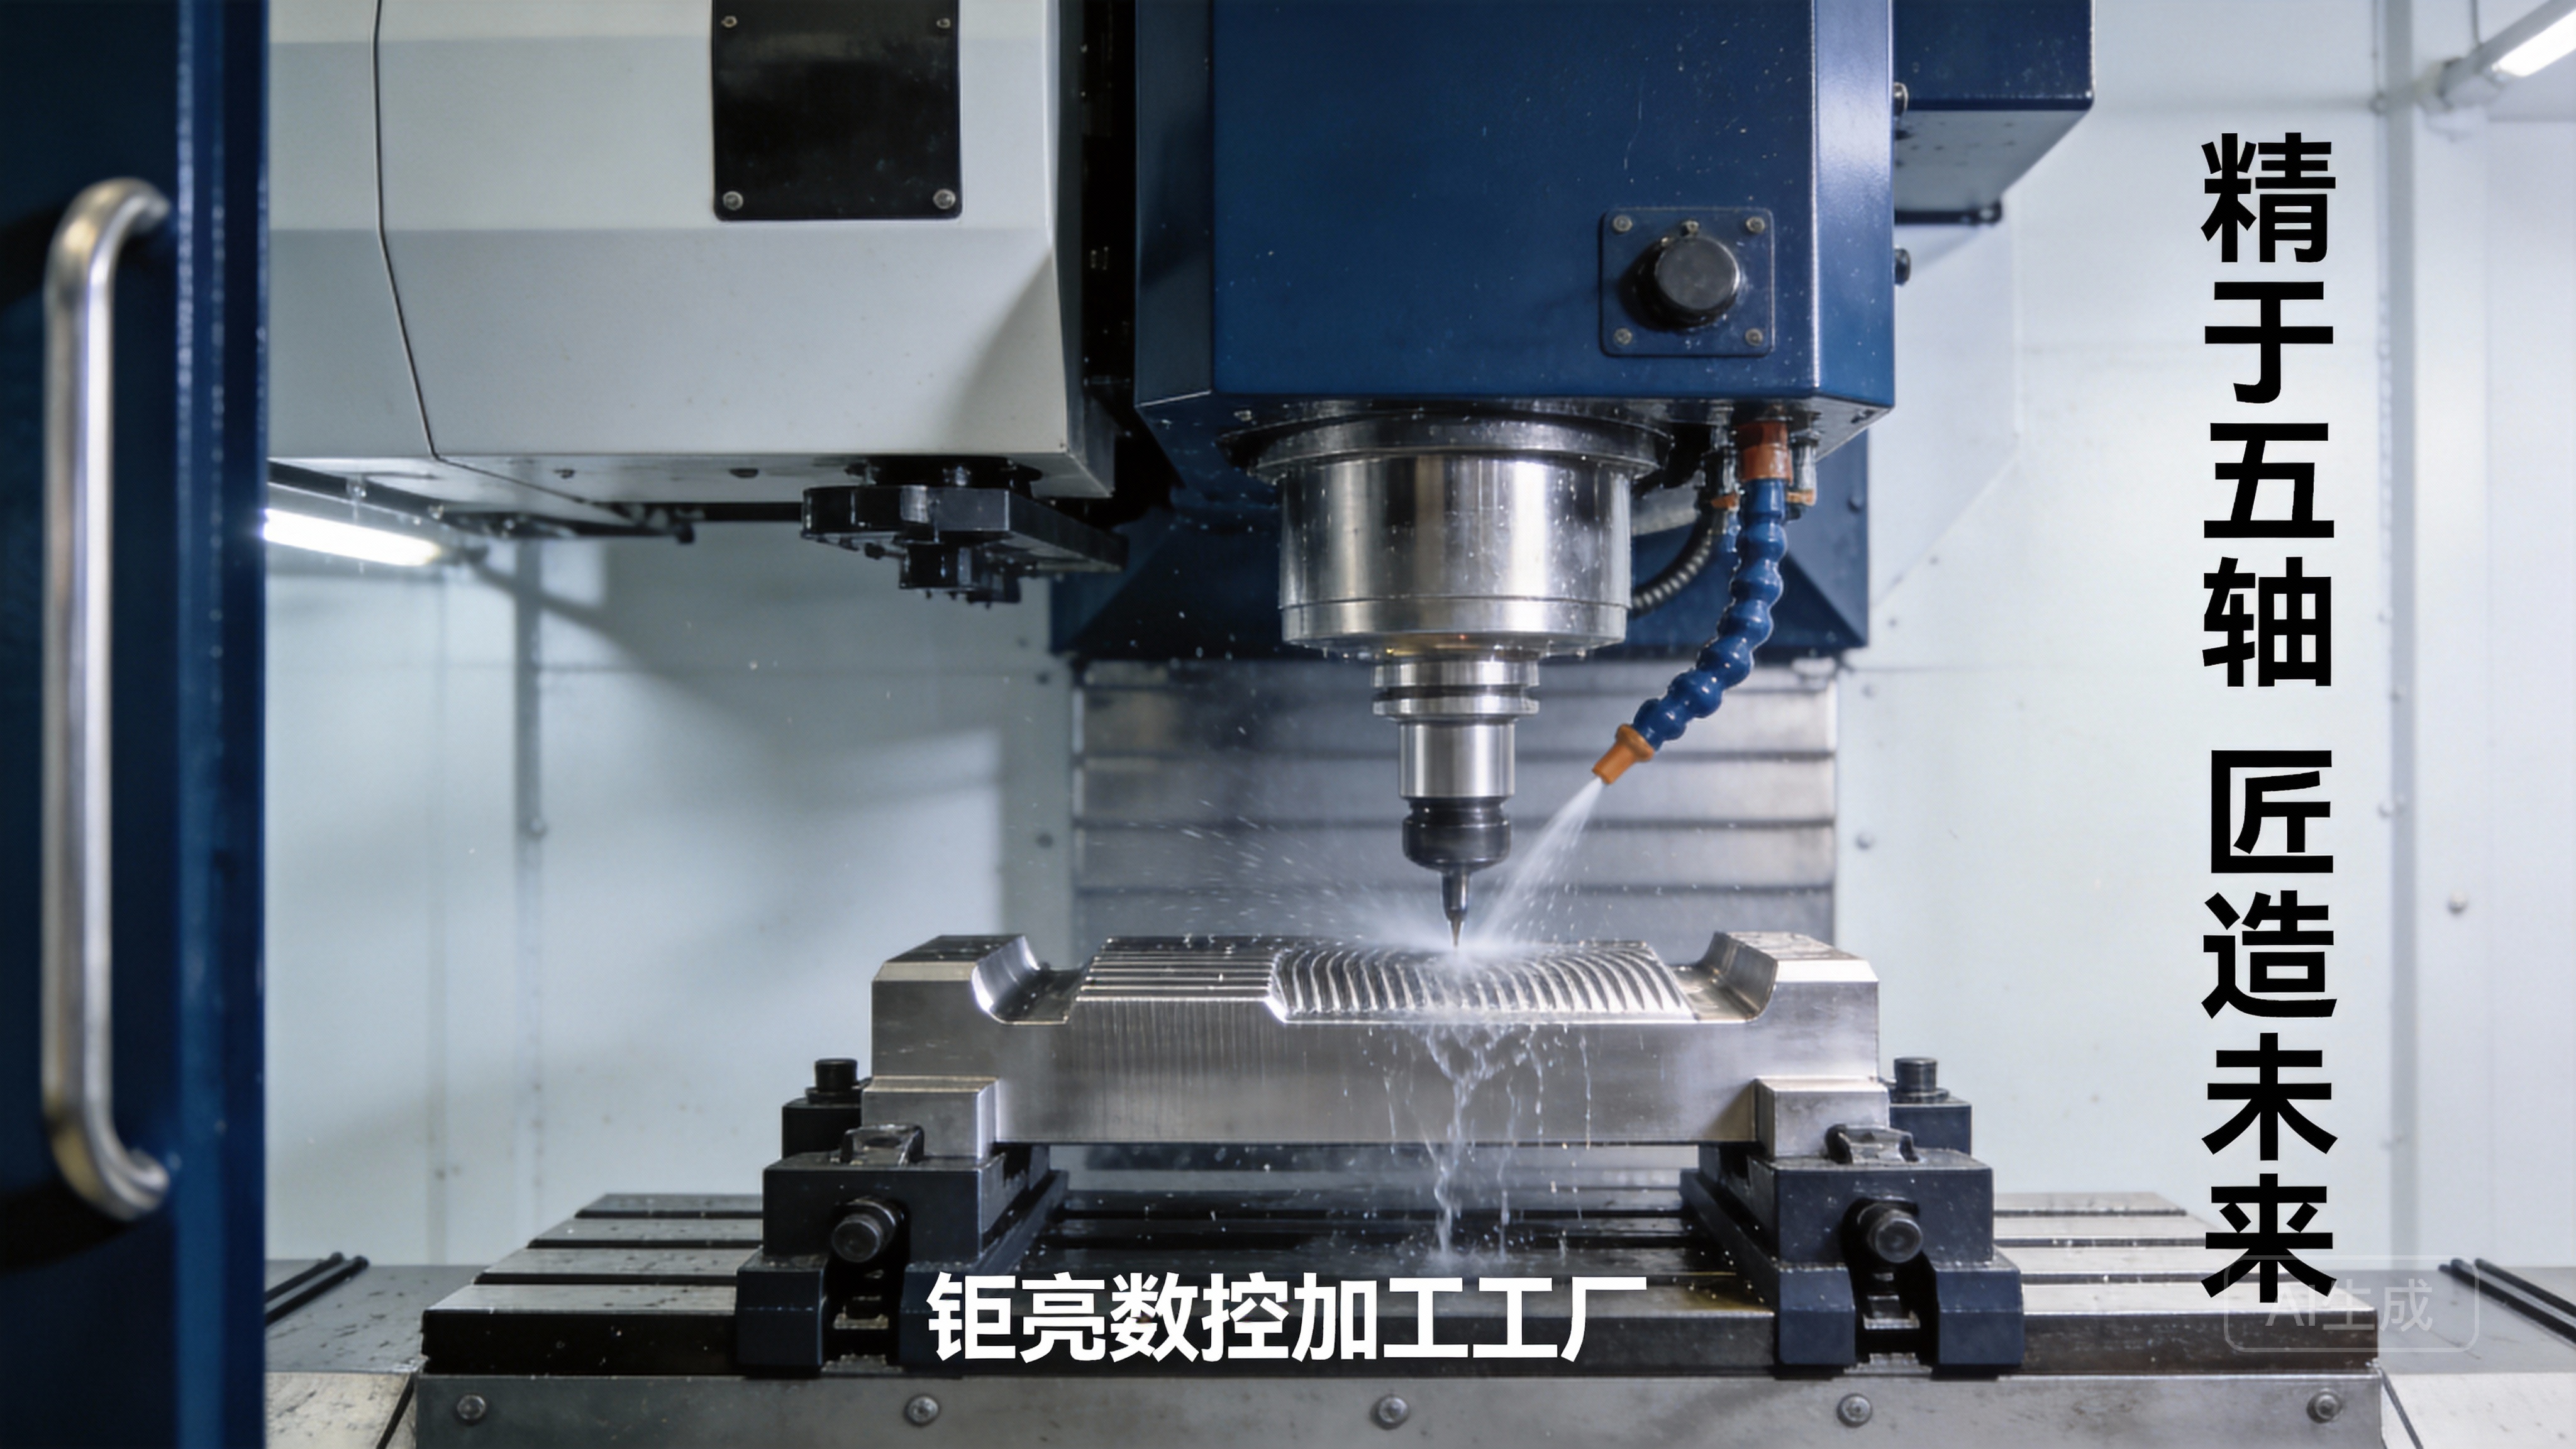
Understanding the Core of a DIY CNC Drawing Machine
At its heart, a CNC (Computer Numerical Control) drawing machine is a robotic plotter. It interprets digital design files (like G-code) and translates them into precise movements of a tool—in this case, a pen or marker—along the X and Y axes. A basic 2-axis machine is the most common DIY starting point.
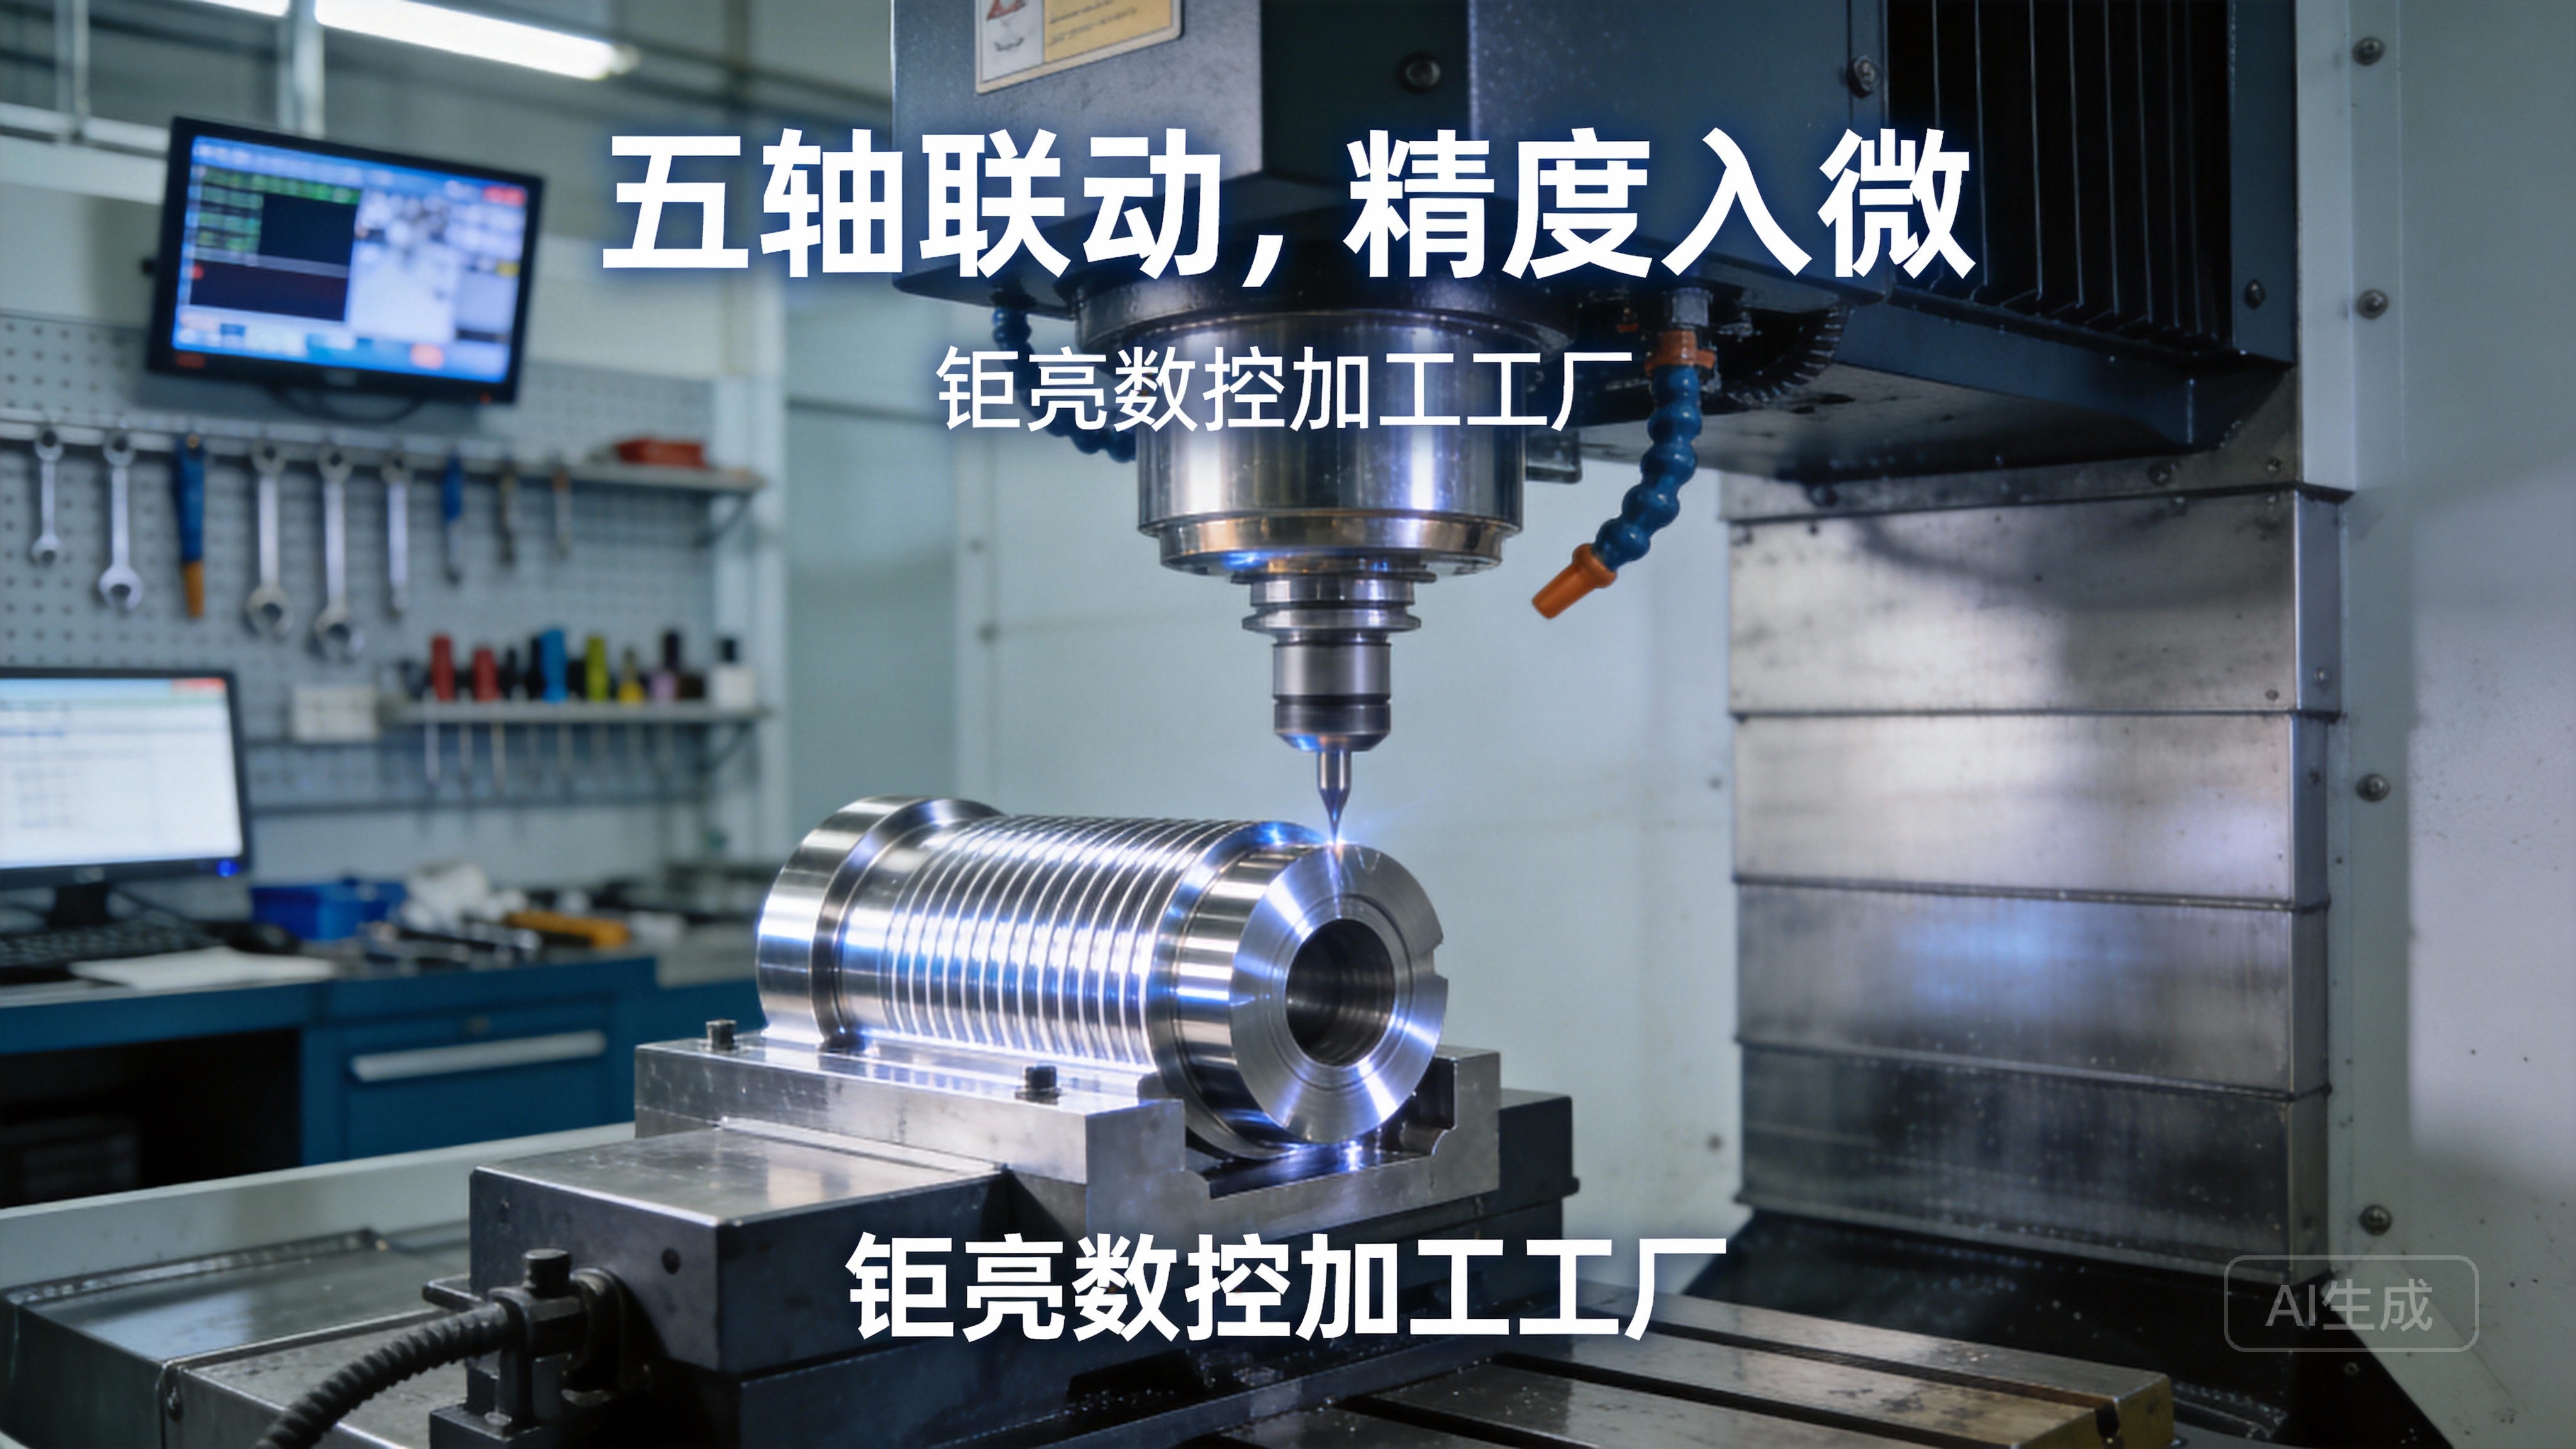
Key Components You’ll Need:
Mechanical Frame: This provides structure and defines the working area. Common materials include wood (MDF, plywood), acrylic, or aluminum extrusions (like 2020 or 2040 V-slot).
Linear Motion Systems: These guide the movement. Options include:
Smooth Rods + Linear Bearings: Affordable and common in DIY builds.
Lead Screws or Threaded Rods: For converting rotary motor motion to linear movement.
Belts and Pulleys (GT2 belts): Faster but can have slight elasticity compared to screws.
Stepper Motors: These provide precise, controlled movement in discrete steps. NEMA 17 steppers are the standard for small machines.
Motor Drivers & Controller Board: The brain of the operation. An Arduino Uno paired with a CNC shield (like the GRBL-based shield) is the most popular DIY setup. The drivers (e.g., A4988 or DRV8825) control the current to the stepper motors.
Power Supply: A 12V or 24V DC power supply rated for the total current draw of your motors and electronics.
Tool Holder: A simple servo motor or solenoid to lift and lower the pen.
A Step-by-Step Conceptual Framework
While a full PDF-style build manual is beyond this article’s scope, here is the essential workflow you’ll find in most comprehensive guides:
H2: Phase 1: Design and Planning
Before cutting any material, design your machine. Use free software like Fusion 360, SketchUp, or even Inkscape to model the parts and ensure everything fits. Determine your desired drawing area (e.g., A4 or A3 size). This planning phase is where many DIY projects fail—a lesson that parallels professional manufacturing, where meticulous DFM (Design for Manufacturing) analysis is critical.
H3: Phase 2: Mechanical Assembly
Build the Frame: Cut and assemble your chosen material to form a rigid, square frame. Stability is key to precision.
Install Linear Motion: Mount your smooth rods or rails and their corresponding bearings/bushes to the frame.
Assemble the Gantries: The X-axis gantry moves left/right, and the Y-axis carriage moves forward/back on the X-axis. Attach the stepper motors to drive these axes via lead screws or belts.
Mount the Tool Head: Attach the pen holder (controlled by a servo) to the Y-axis carriage.
H3: Phase 3: Electronics and Wiring
Mount the Controller: Secure the Arduino and CNC shield in an enclosure.
Wire the Motors: Connect each stepper motor to its respective driver socket on the shield. Crucial: Follow wiring diagrams exactly to avoid burning out drivers.
Connect Power and Servo: Wire the power supply to the shield and the pen-lift servo to a designated pin.
Limit Switches (Optional but Recommended): Install switches at the ends of each axis to define “home” position and prevent the machine from crashing into itself.
H3: Phase 4: Software and Configuration
Upload Firmware: Flash the GRBL firmware onto your Arduino. This turns it into a dedicated CNC controller.
Configure Settings: Use a GUI like Universal G-code Sender or Candle to set steps per millimeter, maximum speeds, and acceleration for your specific machine mechanics. This calibration is vital for accuracy.
Prepare Your Art: Create or find a vector drawing (SVG file). Use a converter like Inkscape with a G-code extension or Carbide Create to generate the toolpath (G-code) for your machine.
Test and Run: Start with simple shapes (squares, circles) to calibrate and test before attempting complex artwork.
H2: The Inevitable Leap: When Your DIY Project Meets Reality
Building a CNC drawing machine at home is immensely satisfying. However, you will quickly encounter the limitations inherent in homemade systems:
Material Limitations: It can only draw on paper or light card. It cannot machine aluminum, plastics, or composites.
Precision & Repeatability: DIY machines typically achieve tolerances no better than ±0.5mm, with noticeable variance between repeated jobs. At GreatLight Metal, our 5-axis CNC machining centers routinely hold tolerances of ±0.001mm for mission-critical parts.
Speed and Scale: A homemade plotter is slow. It cannot produce hundreds of identical parts overnight.
Lack of Finishing: It draws lines. It cannot provide the anodizing, powder coating, polishing, or other one-stop post-processing services required for commercial products.
This is where the journey from a passionate hobbyist to a product developer often leads to our door. When your brilliant invention requires a durable, precision-machined housing, a complex internal mechanism, or a batch of 500 units with perfect consistency, the DIY approach hits a wall.
Conclusion
Creating a CNC drawing machine at home from a PDF guide is a brilliant educational endeavor that demystifies automation and builds valuable skills. It embodies the hands-on innovation spirit. However, for parts that demand uncompromising precision, material integrity, and scalable production, this method reaches its functional limit. The sophisticated CNC machining services, 3D printing capabilities, and full-process quality management employed by professionals like GreatLight Metal exist to bridge that gap. We transform validated concepts into reliable, high-performance components, ensuring that the ingenuity born in your workshop can succeed in the global marketplace.
H2: Frequently Asked Questions (FAQ)
Q1: Where can I find a complete “CNC Drawing Machine at Home PDF” guide?
A: Numerous open-source communities like Thingiverse, Instructables, and GitHub host detailed project guides, including part lists, CAD files, and assembly instructions. Searching for “GRBL plotter” or “Arduino CNC plotter” will yield many results.
Q2: What is the approximate cost of building a basic DIY machine?
A: Costs can range from $150 to $400+, depending on material choices (wood vs. aluminum) and component quality. This contrasts sharply with industrial CNC machines, where investment starts in the tens of thousands, reflecting their capability, precision, and durability.
Q3: Can I upgrade my DIY drawing machine to cut or engrave materials?
A: To cut materials, you would need to replace the pen with a spindle (e.g., a high-speed router or laser module), significantly upgrade the frame rigidity, and implement proper safety enclosures and extraction. This moves the project into a different complexity and hazard category.
Q4: Why would I choose a professional service like GreatLight Metal over building my own CNC for small parts?
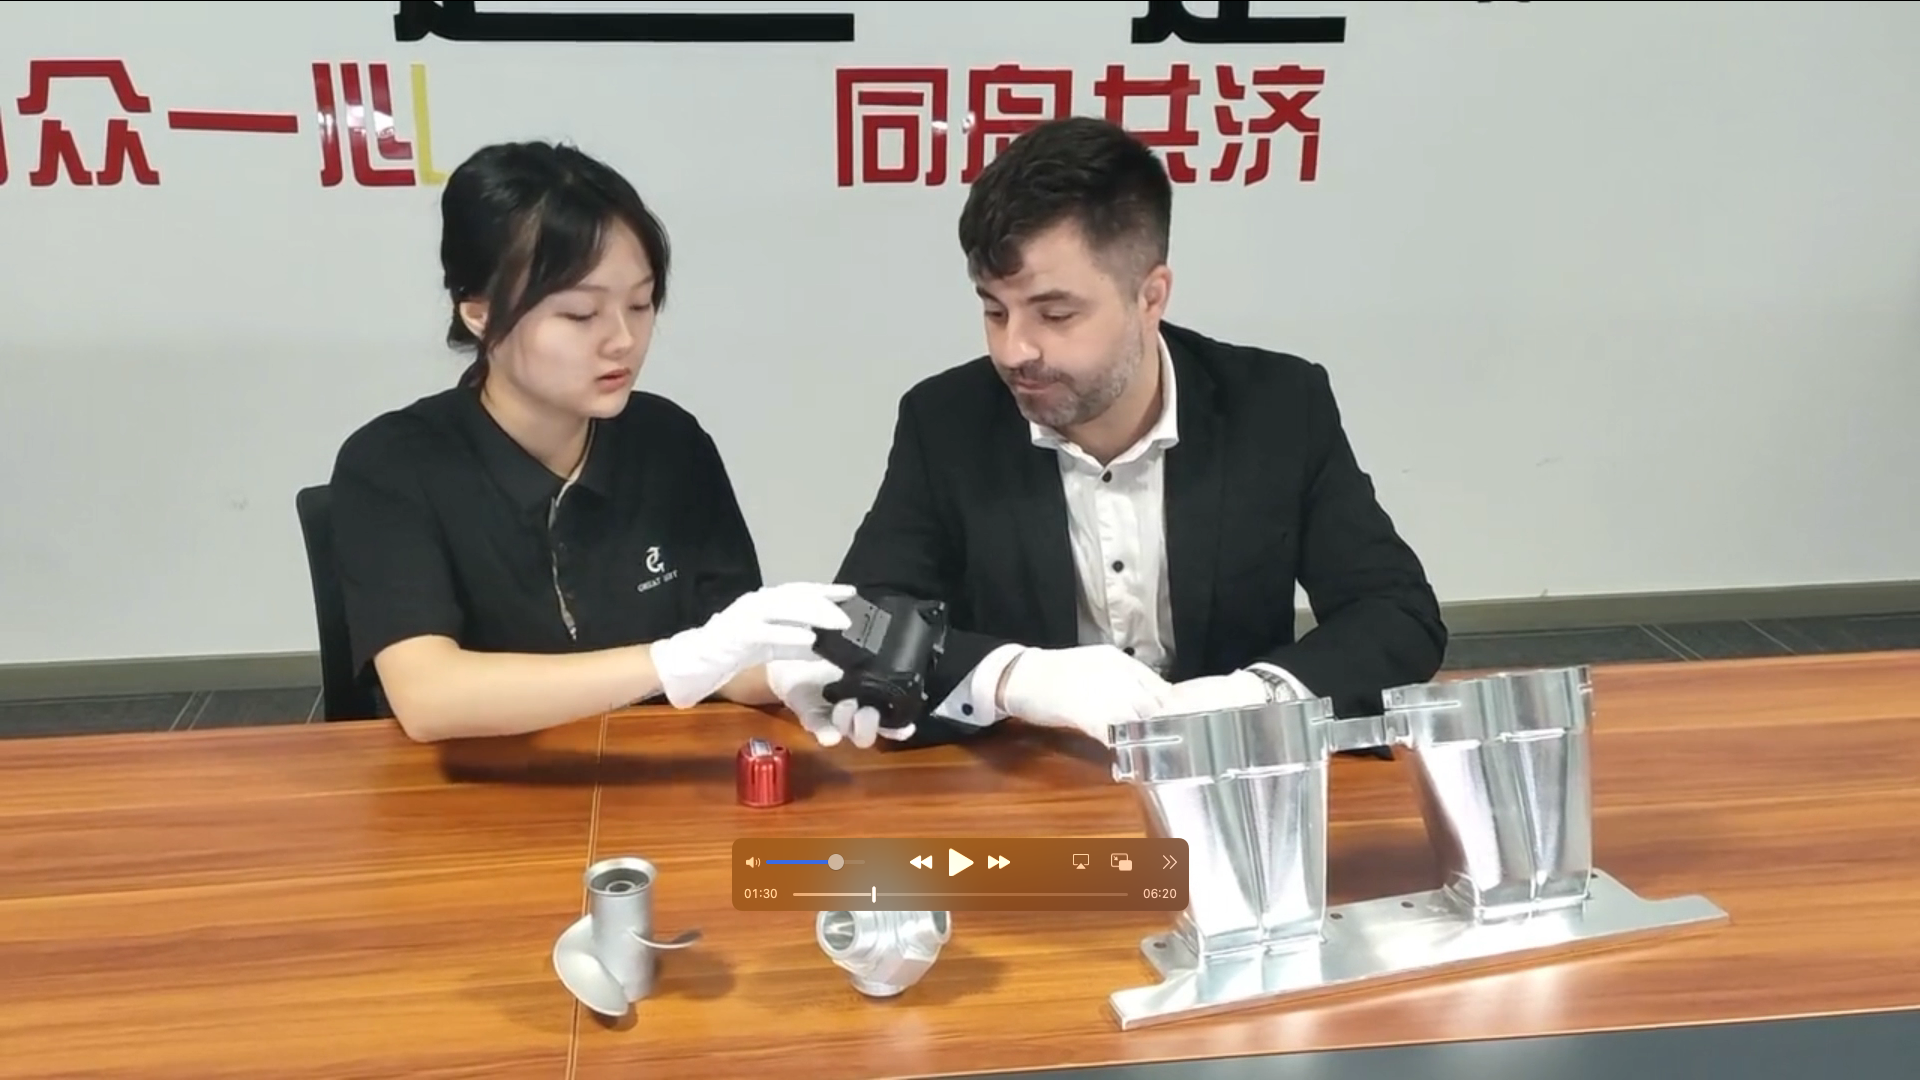
A: It boils down to risk, time, and quality. We guarantee material certification, microscopic tolerances, and surface finishes you cannot achieve at home. Our ISO 9001:2015 certified processes ensure every part is identical. For a prototype that will be investor-funded or a production run for customers, the reliability and professionalism we offer are indispensable.
Q5: I have a design I prototyped on my DIY machine. Can GreatLight Metal help me manufacture it?
A: Absolutely. This is a common and ideal workflow. Send us your refined 3D CAD file (e.g., STEP or IGES), and our engineering team will handle DFM analysis, material selection, precision machining, and finishing. We help you transition seamlessly from a proof-of-concept to a market-ready product. Learn more about our client partnerships on our professional network here{:target=”_blank”}.



















