
Introduction to CNC Writing Machines: Beyond Automation, a Convergence of Art and Engineering
In the intersection of hobbyist passion, educational exploration, and professional prototyping, the CNC writing machine stands as a fascinating project. It demystifies the core principles of Computer Numerical Control (CNC) technology—transforming digital designs into precise physical movements—in a tangible and creative way. At its heart, building one is an exercise in integrating mechanics, electronics, and software. For professionals in precision parts machining and customization, understanding this build process offers valuable insights into motion control systems, which are foundational to the advanced 5-axis CNC machining centers we operate daily. This guide will not only walk you through the steps of creating your own machine but will also highlight how the principles involved scale up to industrial-grade manufacturing solutions, like those provided by experts in high-precision 5-axis CNC machining services.
The Core Philosophy: What Is a CNC Writing Machine?
A CNC writing machine is a compact, typically 2-axis or 3-axis cartesian robot. It uses stepper or servo motors to move a writing instrument (pen, marker, engraver) across a plane (X and Y axes), with a Z-axis to lift and lower the tool. It executes G-code—a standardized programming language that instructs the machine where to move, how fast, and what path to follow—to write text, draw patterns, or even create simple engravings.
Key Components and Subsystems
Building a functional machine requires careful selection and integration of several key subsystems.
1. Mechanical Frame and Motion System
This is the physical skeleton that provides rigidity and defines the working area.
Frame Material: Common choices include aluminum extrusion profiles (e.g., V-slot, Misumi), acrylic sheets, or wood. For higher precision and durability, machined aluminum or composite plates are superior. This is where the expertise of a precision machining partner becomes invaluable for custom brackets, motor mounts, and reinforced joints.
Linear Motion: This dictates accuracy and smoothness.
Guides: Round smooth rods with linear ball bearings are cost-effective. For better performance, profile linear guides (rails) are used.
Drive Mechanism: Leadscrews, trapezoidal screws, or belt drives (GT2 timing belts) convert the motor’s rotary motion into linear movement. Ballscrews offer the highest precision and minimal backlash but are more expensive.
2. Motion Control and Electronics
This is the nervous system and brain of the machine.
Controller Board: The heart of the operation. Popular choices for DIY projects include:
Arduino-based (GRBL): An Arduino Uno paired with a GRBL shield is the most common setup. GRBL is powerful, open-source firmware that interprets G-code and controls stepper motors.
Dedicated Controllers: Boards like the Raspberry Pi running CNCjs or more advanced motion controllers offer greater connectivity and processing power.
Stepper Motors & Drivers: Stepper motors provide precise open-loop control. NEMA 17 is a standard size for small machines. Each motor requires a driver module (e.g., A4988, DRV8825, TMC2209) to translate controller signals into motor coil currents.
Power Supply Unit (PSU): A stable DC power supply (e.g., 12V-24V, sufficient amperage) is critical to power the motors and controller.
Endstops: Micro-switches or sensors that define the machine’s home position, preventing over-travel.
3. Tooling and Tool Holding
Tool: A simple servo or solenoid-based pen holder is most common. For more advanced applications, a low-power spindle or laser module can be mounted.
Holder: A custom-designed tool holder ensures the writing instrument is perfectly perpendicular to the work surface and can be easily changed. This is another perfect candidate for custom precision machining to ensure repeatability.
4. Software Workflow
This is the digital pipeline from idea to physical mark.
CAD Software: Design your part or text (e.g., Fusion 360, Inkscape, AutoCAD).
CAM Software: Convert the design into toolpaths and generate the G-code file (e.g., Fusion 360 CAM, Estlcam, Carbide Create).
Control Software: Send the G-code to the machine controller and provide a user interface for manual control (e.g., Universal G-code Sender (UGS), Candle, CNCjs).
Step-by-Step Build Process
Phase 1: Design and Planning
Define your machine’s purpose, work area size, and budget.
Create detailed CAD models of the frame and components. This planning stage is crucial and mirrors the DFM (Design for Manufacturability) process we employ for client projects at GreatLight Metal. Considering tolerances, assembly order, and cable management upfront saves immense time later.
Phase 2: Sourcing and Fabricating Components
Purchase standard parts: extrusions, screws, bearings, motors, electronics.
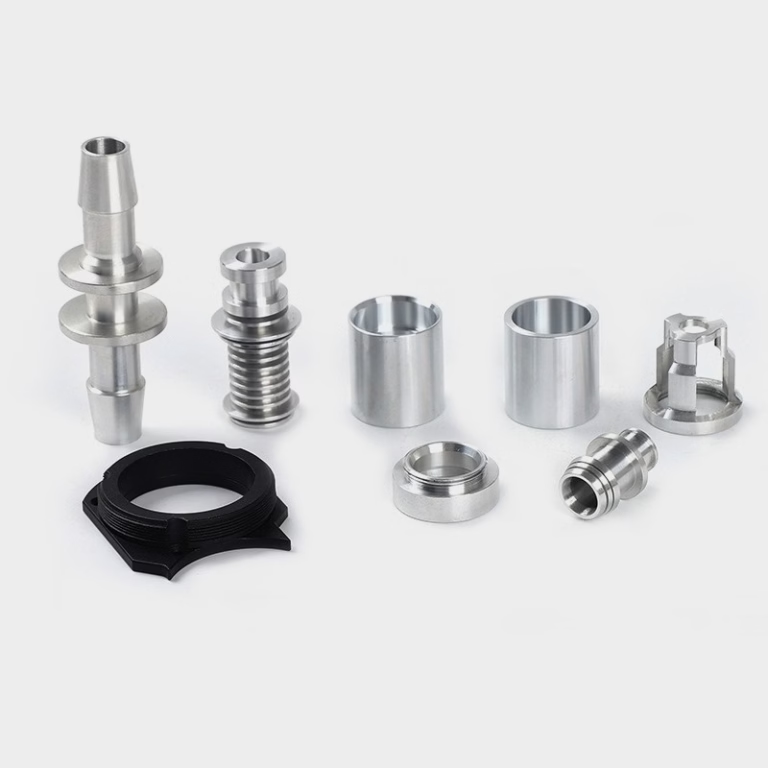
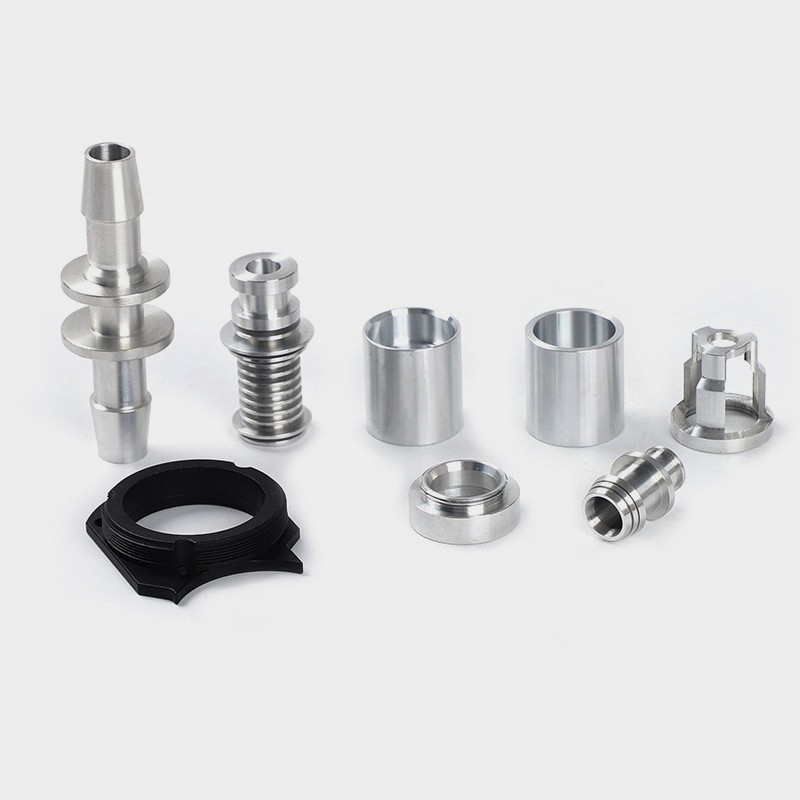
Fabricate custom parts: This is often the major hurdle. Parts like motor mounts, coupling hubs, and tool holders require precision. While hobbyists may 3D print these, machined metal parts from GreatLight Metal offer far greater stiffness, thermal stability, and longevity, dramatically improving the machine’s precision and professional finish.
Phase 3: Mechanical Assembly
Assemble the frame square and rigid.
Mount linear guides and drive systems, ensuring they are parallel and free of binding.
Install the motors and connect the drive mechanisms (belts or screws).
Mount the tool head assembly.
Phase 4: Electrical Assembly
Wire the controller board, motor drivers, PSU, and endstops following schematic diagrams.
Pay meticulous attention to cable routing and strain relief to avoid interference with moving parts.
Phase 5: Software Configuration and Calibration
Upload firmware (e.g., GRBL) to the microcontroller.
Configure critical firmware settings: steps per millimeter for each axis, maximum acceleration, and jerk settings.
Connect the control software and test basic movement.
Perform calibration: square the axes, measure actual movement versus commanded movement, and adjust steps/mm accordingly.
Phase 6: Testing and First Run
Start with simple shapes (squares, circles) to check for backlash or alignment issues.
Progress to more complex text and designs.
Fine-tune speeds, accelerations, and tool pressure for optimal results.
From DIY Project to Industrial Powerhouse: The GreatLight Metal Perspective
Building a desktop CNC writing machine illuminates the fundamental challenges of precision motion control: rigidity, backlash, calibration, and thermal effects. At GreatLight Metal Tech Co., LTD., we tackle these challenges at a vastly different scale and tolerance level every day.
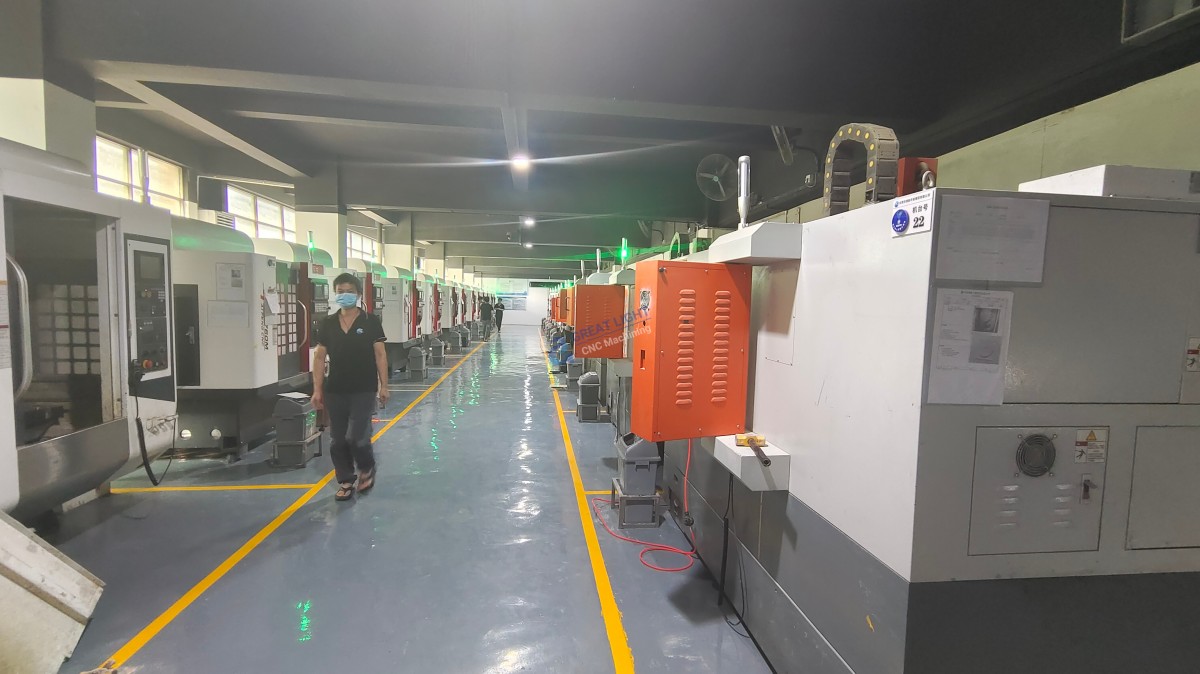
Scaled-Up Mechanics: Where a DIY machine uses 8mm rods, our 5-axis CNC machining centers utilize massive, thermally stable cast iron structures and pre-tensioned linear guideways. Custom fixtures and tool holders are not 3D-printed but precision-machined from tool steel or aluminum alloy in-house, guaranteeing micron-level repeatability.
Advanced Control: Beyond simple steppers, we deploy closed-loop servo systems with real-time feedback, advanced look-ahead algorithms for smooth high-speed machining, and rigid tapping cycles.
Integrated Workflow: Our process integrates your 3D model through sophisticated CAM software (generating optimized, efficient toolpaths), directly into the machine’s CNC controller, with seamless management of tool libraries and work offsets.
Material Mastery: While a writing machine uses paper or soft plastic, we routinely machine aerospace-grade aluminum, titanium, Inconel, and engineering plastics, requiring deep knowledge of cutting parameters, tool selection, and coolant strategies.
Conclusion
Building a CNC writing machine is a profoundly educational project that bridges the gap between digital design and physical creation. It embodies the core spirit of modern manufacturing. While the DIY approach is excellent for learning, achieving true industrial-grade precision, reliability, and the ability to work with challenging materials and complex geometries requires the expertise, advanced equipment, and systemic rigor of a professional manufacturing partner.
For those looking to move beyond prototyping or who require mission-critical components, partnering with a manufacturer like GreatLight Metal ensures that the principles you experiment with on a small scale are executed with uncompromising excellence. We transform the foundational concepts of CNC into robust, high-value manufacturing solutions, supporting innovation from initial concept to final production. Explore how professional partnerships can elevate your projects on platforms like GreatLight’s LinkedIn.
Frequently Asked Questions (FAQ)
Q1: How difficult is it to build a CNC writing machine for a complete beginner?
A1: It presents a moderate challenge that integrates multiple skills (mechanical assembly, basic electronics, software configuration). Success requires careful planning, patience, and following detailed tutorials. Starting with a pre-designed kit can significantly lower the initial hurdle.
Q2: What is the approximate cost range for a DIY CNC writing machine?
A2: Costs can vary widely. A basic machine from scrap materials and 3D-printed parts can be built for under $200. A robust machine using aluminum extrusion, linear rails, and quality components typically ranges from $500 to $1500. The cost scales with size, precision components, and capabilities (e.g., adding a spindle).
Q3: Can I use this machine for purposes other than writing?
A3: Absolutely. By changing the tool head, it can become a:
PCB engraver/mill (with a precise spindle).
Laser engraver/cutter (with a laser module and proper safety enclosures).
Small-scale CNC router for soft materials like wood, foam, or acrylic.
Q4: What are the most common sources of error or poor quality in a DIY build?
A4:
Lack of Rigidity: A flimsy frame causes vibrations and inaccuracies.
Backlash in Drive Systems: Loose belts or poor-quality leadscrews lead to “slop” and dimensional errors.
Incorrect Calibration: Wrong “steps per mm” values cause the machine to move incorrect distances.
Unsquared Axes: If the X and Y axes are not perpendicular, shapes become distorted.
Q5: When should I consider outsourcing to a professional CNC service instead of building/buying my own machine?
A5: Professional services like GreatLight Metal are the optimal choice when you require:
Material Expertise: Machining metals, high-performance plastics, or composites.
High Precision & Repeatability: Tolerances tighter than ±0.1mm.
Complex Geometries: Parts requiring 3D contours, undercuts, or deep cavities.
Volume Production: More than a few prototype pieces.
Time Constraints: Needing reliable, fast turnaround without machine development time.
Certified Quality: For components used in medical, automotive (IATF 16949), or aerospace applications where traceability and certification (ISO 9001, 13485) are mandatory.



















