
If you’ve ever wondered how to make mini CNC machine using Arduino, you’re not alone—hobbyists, students, and small-scale innovators often turn to this accessible project to dip their toes into computer numerical control (CNC) technology. Building your own mini CNC lets you experiment with custom cuts, prototypes, and creative designs without investing in industrial-grade equipment. As a senior manufacturing engineer with years of experience in both DIY and professional CNC systems, I’ll walk you through a step-by-step guide to building your Arduino-powered mini CNC, plus highlight when it’s time to partner with a professional like GreatLight CNC Machining Factory for precision parts that demand industrial rigor.
How To Make Mini CNC Machine Using Arduino?
Before diving into assembly, it’s important to understand that a mini CNC machine converts digital design files into physical cuts using automated, precise movements along three axes (X, Y, Z). Arduino serves as the brain, interpreting G-code instructions to control stepper motors that move the cutting tool or workpiece. Below is a detailed, actionable guide to bring your project to life.
What You Need to Get Started
Gather these components before beginning—prioritize quality for better accuracy and durability:
Arduino Board: Uno or Mega (Mega is preferred for more complex projects due to extra I/O pins)
Stepper Motors: 3 NEMA 17 motors (one for each axis; 1.5A current rating works best for mini setups)
Stepper Motor Drivers: A4988 or DRV8825 (DRV8825 offers higher microstepping for finer precision)
CNC Shield: A dedicated shield to connect drivers to Arduino (simplifies wiring and adds protection)
Mechanical Frame: Aluminum extrusion (2020 profile is popular), MDF, or acrylic (aluminum offers the best rigidity)
Endstops: Limit switches for each axis to set home position and prevent overtravel
Spindle/Cutting Tool: DC spindle motor (for cutting wood, plastic, or soft metals) or laser module (for engraving)
Power Supply: Separate 12V/24V power supply for stepper motors (Arduino can run on USB or a 5V supply)
Software: GRBL firmware (for Arduino), G-code sender (Universal G-Code Sender, CNCjs), and design tools (Fusion 360, Inkscape)
Hardware: Screws, nuts, linear rails or smooth rods, bearings, and a workpiece holder
Step 1: Assemble the Mechanical Frame
The frame is the backbone of your CNC machine—rigidity directly impacts cutting accuracy.
Choose your frame type: Aluminum extrusion frames are modular and easy to adjust; MDF is affordable but less durable for repeated use.
Build the base: Connect extrusions or cut material to form a stable base for the X and Y axes.
Mount the axes:
Y-axis: Attach two parallel smooth rods or linear rails to the base, then add a moving carriage (the table where your workpiece sits).
X-axis: Mount rails across the Y-axis carriage to support the Z-axis assembly.
Z-axis: Build a vertical mount for the spindle and stepper motor, ensuring it can move up and down smoothly along the X-axis.
Tighten all connections: Loose screws will cause vibration and misalignment during cuts—use lock washers if available.
Step 2: Install Stepper Motors and Drivers
Stepper motors convert electrical pulses into precise rotational movements, which drive the axes.
Mount motors: Attach one stepper motor to each axis (Y-axis may use two motors for larger carriages, but one is sufficient for mini setups).
Wire drivers to motors: Connect the motor’s four wires to the A+, A-, B+, B- terminals on each driver. Refer to your motor’s datasheet for correct wiring—reversing wires will reverse the motor’s direction.
Adjust driver current: Use the small potentiometer on each driver to set the current matching your stepper motor’s rating (overcurrent will damage motors or drivers).
Step 3: Integrate the Arduino and CNC Shield
The CNC shield simplifies wiring between Arduino and stepper drivers.
Attach the shield: Align the CNC shield pins with the Arduino’s headers and press firmly into place.
Connect drivers to the shield: Slide each stepper driver into the designated slots on the shield (labeled X, Y, Z). Ensure the driver’s direction pins match the shield’s pinouts.
Wake-up pin: Some shields require connecting the Arduino’s 5V pin to the shield’s VCC pin to enable the drivers.
Step 4: Wire Endstops and Power Supply
Safety and stability are critical—never skip endstops or use an underpowered supply.
Install endstops: Mount one limit switch on each axis at the “home” position (usually the corner of the frame). Wire each endstop to the corresponding pins on the CNC shield (X-, Y-, Z-).
Power the motors: Connect the 12V/24V power supply to the CNC shield’s motor power terminals. Avoid powering motors through the Arduino’s USB port—this can damage the board.
Power the Arduino: Use a separate 5V supply or USB cable to power the Arduino. Ensure ground connections are shared between the motor supply and Arduino to prevent voltage spikes.
Step 5: Mount the Spindle or Cutting Tool
The cutting tool is what brings your design to life—choose based on your intended use.
Spindle installation: Secure the DC spindle to the Z-axis carriage using a bracket. Connect the spindle’s power supply to a PWM (pulse-width modulation) pin on the Arduino for speed control.
Laser module alternative: If engraving, mount a laser module instead—ensure it’s aligned perpendicular to the workpiece for uniform engraving.
Alignment check: Move the Z-axis up and down to confirm the tool stays centered over the workpiece without wobbling.
Step 6: Configure Software for Control
Without software, your CNC machine is just a mechanical frame—follow these steps to set up control:
Install GRBL firmware: Download the latest GRBL version, open it in the Arduino IDE, select your board and port, then upload the firmware to the Arduino.
Set up G-code sender: Launch Universal G-Code Sender or CNCjs, connect to your Arduino’s serial port, and verify communication.
Generate G-code: Use Fusion 360 (for 3D parts) or Inkscape (for 2D engravings) to design your project, then export it as G-code—ensure the settings match your machine’s axis limits and tool type.
Step 7: Calibrate and Test Your Mini CNC
Calibration is key to ensuring accurate cuts—don’t skip this step:
Homing the machine: Use the G-code sender to trigger the home command (G28). This moves all axes to the endstops to set a reference point.
Axis calibration: Measure the distance an axis moves when you send a G-code command (e.g., G1 X10 F100 should move the X-axis 10mm). Adjust the GRBL settings if the actual distance differs.
Test cut: Start with a simple shape (like a square or circle) using a soft material (foam or balsa wood). Check for skipped steps, misalignment, or rough edges—troubleshoot by tightening connections, adjusting driver current, or increasing frame rigidity.
Limitations of DIY Mini CNC Machines
While building an Arduino-powered mini CNC is a great learning experience, it has inherent limitations:
Precision constraints: Most DIY setups can only achieve ±0.1mm accuracy, which is insufficient for high-precision parts used in medical devices or aerospace components.
Small workspace: Mini CNCs typically have a maximum cutting area of 300x300mm, limiting the size of parts you can produce.
Material restrictions: Soft woods, plastics, and thin aluminum are manageable, but hard metals like titanium or stainless steel require more torque and spindle power than DIY setups can provide.
Batch production: DIY machines are not designed for repeated, high-volume cuts—they lack the durability and automation of industrial systems.
For projects that demand higher precision, larger sizes, or batch production, partnering with a professional CNC machining service is the logical next step.
When to Upgrade to Professional CNC Machining Services
If your design requires tight tolerances, complex geometries, or large-scale production, a professional manufacturer like GreatLight CNC Machining Factory can deliver results that DIY setups simply can’t match.
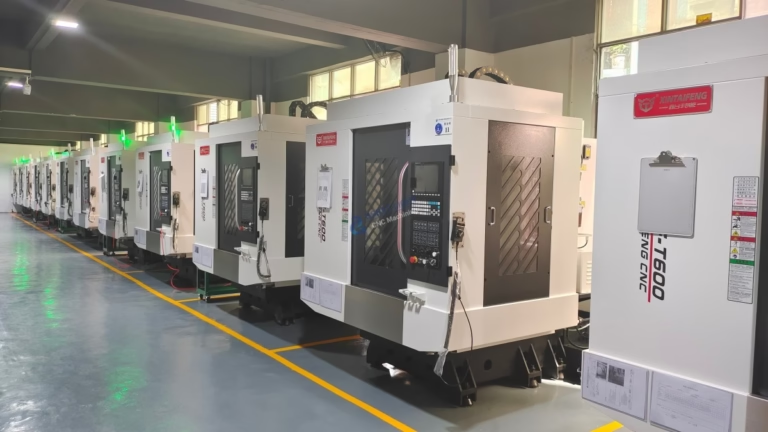
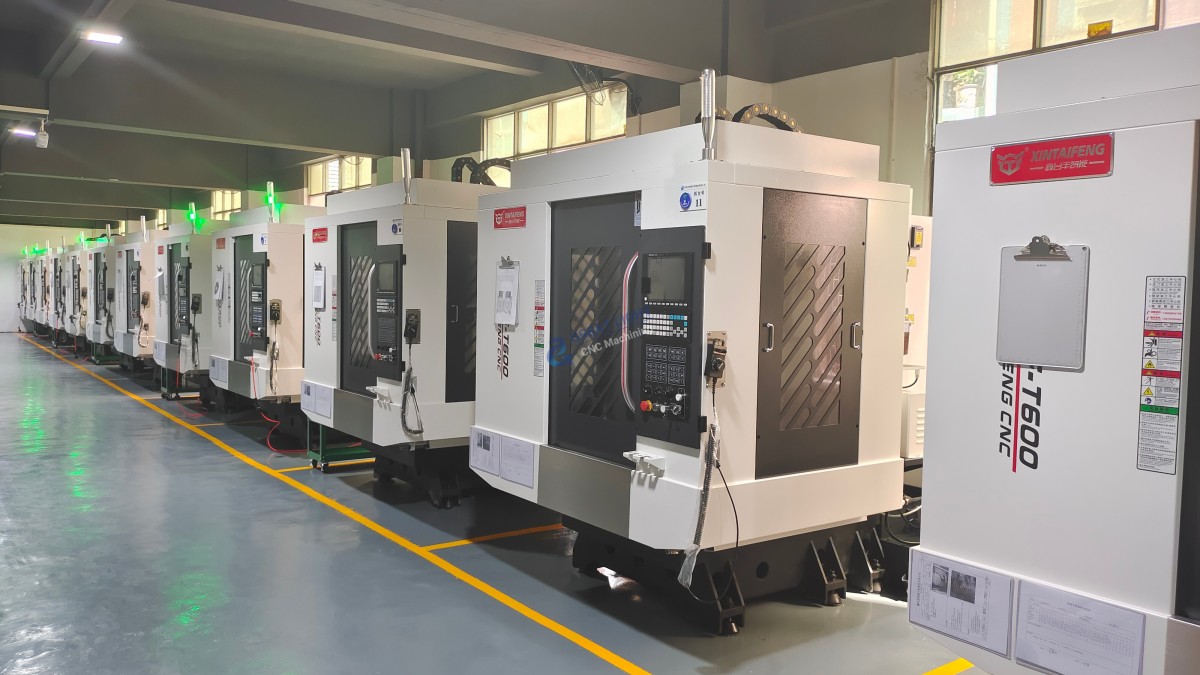
GreatLight CNC Machining Factory is a leading five-axis CNC machining manufacturer with over 12 years of experience in precision parts production. Based in Dongguan, China’s “Hardware and Mould Capital,” the company operates three wholly-owned manufacturing plants spanning 7600 square meters, with 150 employees and 127 pieces of precision equipment—including high-precision five-axis, four-axis, and three-axis CNC machining centers, SLM/SLA/SLS 3D printers, and EDM machines.
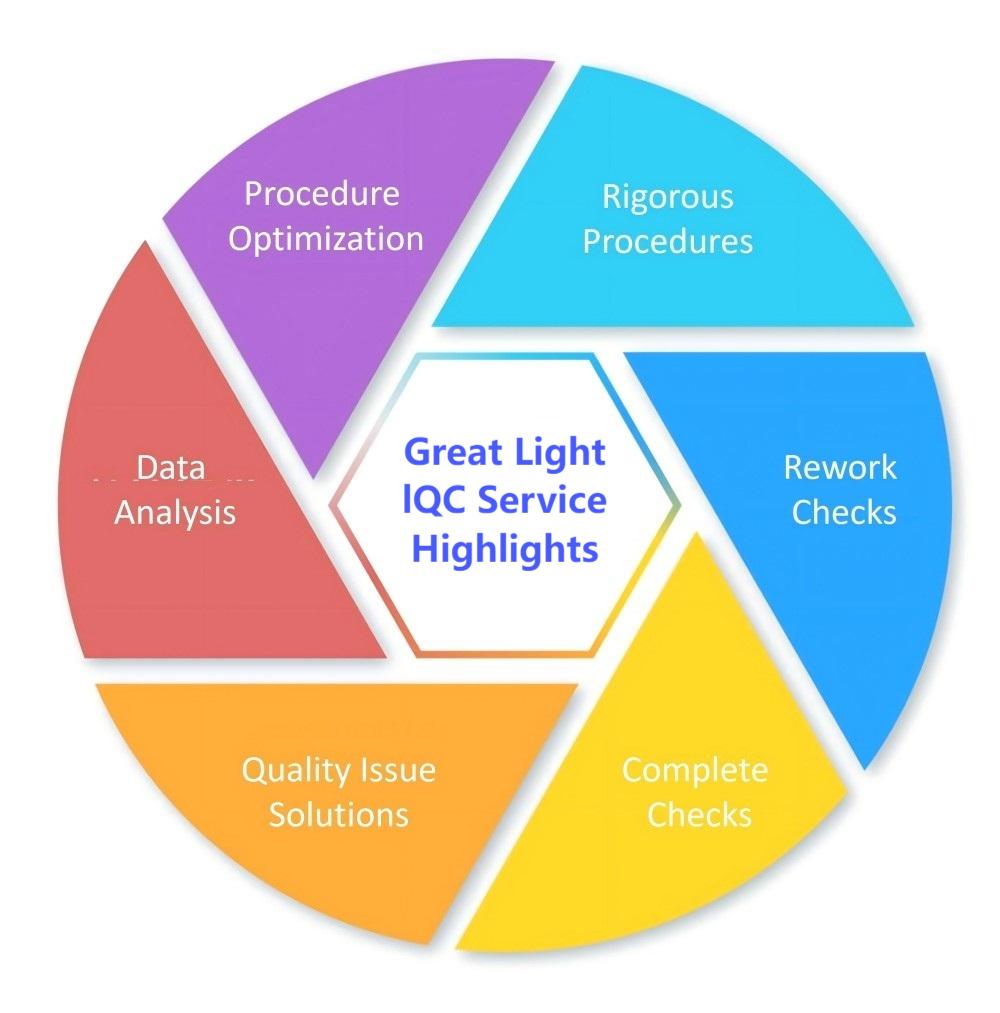
What sets GreatLight apart:
Unmatched precision: Capable of machining parts to ±0.001mm accuracy, meeting the strictest requirements for medical, automotive, and aerospace industries.
Comprehensive service portfolio: Offers one-stop solutions including 5-axis CNC machining services (open in new window), die casting, sheet metal fabrication, 3D printing (stainless steel, aluminum alloy, titanium alloy), and full surface post-processing (anodizing, powder coating, polishing, etc.).
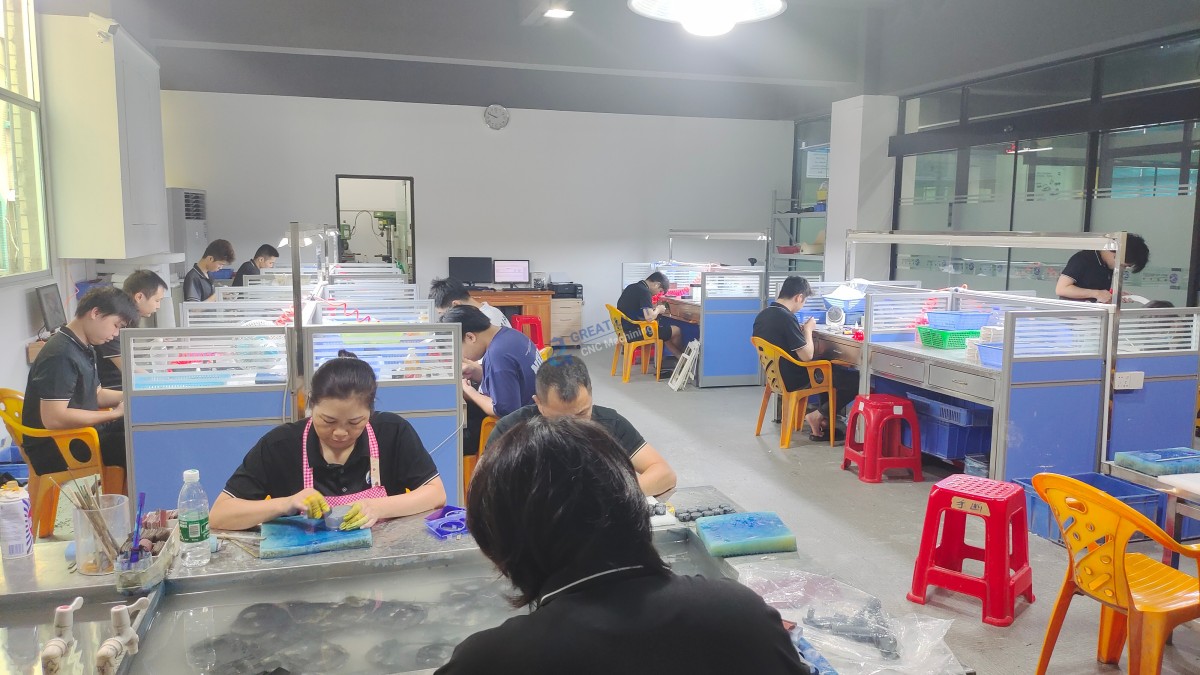
Rigorous quality assurance: ISO 9001:2015 certified, with additional certifications for automotive (IATF 16949), medical (ISO 13485), and data security (ISO 27001). In-house precision measurement equipment ensures every part meets your specifications.
Flexible production: Handles both rapid prototyping and mass production, with a maximum processing size of 4000mm. Most materials can be customized and processed quickly.
Customer-centric after-sales: Free rework for quality problems, and a full refund if rework is still unsatisfactory—giving you peace of mind for every project.
GreatLight has a proven track record of solving complex manufacturing challenges, such as producing high-precision e-housings for new energy vehicles and custom parts for humanoid robots. To learn more about their industry collaborations and case studies, visit their official LinkedIn page GreatLight Metal (open in new window).
Conclusion
Building a mini CNC machine using Arduino is an excellent way to learn the basics of CNC technology and bring small-scale design ideas to life. The step-by-step guide above will help you assemble, calibrate, and test your machine, while also highlighting the limitations of DIY setups. For projects that require industrial-grade precision, complex geometries, or large production runs, partnering with a trusted manufacturer like GreatLight CNC Machining Factory ensures your parts meet the highest quality standards. Whether you’re just starting out with how to make mini CNC machine using Arduino or scaling up to industrial precision, the right tools and partners will turn your design visions into tangible, functional parts.
Frequently Asked Questions (FAQ)
Q1: Can I use a different microcontroller instead of Arduino for my mini CNC?
Yes, you can use other microcontrollers like Raspberry Pi or ESP32, but Arduino is the most popular choice due to its simplicity, wide community support, and compatibility with GRBL firmware. Raspberry Pi is better if you want to run the control software directly on the board without a separate computer.
Q2: What materials can a DIY Arduino CNC machine cut?
DIY mini CNC machines work best with soft materials like foam, balsa wood, plastic (ABS, PLA), and thin aluminum sheets. Hard metals like steel or titanium require more torque and a higher-power spindle than most DIY setups can provide.
Q3: How do I fix skipped steps in my mini CNC?
Skipped steps usually occur due to insufficient motor current, loose belts or gears, or a weak power supply. Try these fixes: increase the stepper driver current (check your motor’s datasheet), tighten all mechanical connections, or upgrade to a higher-amperage power supply for the motors.
Q4: Is professional CNC machining worth the cost for small projects?
For small prototypes or one-off parts, a DIY CNC may be more cost-effective. However, if you need tight tolerances (±0.01mm or better), complex 5-axis geometries, or high-quality finishes, professional services like GreatLight will deliver more reliable results that save you time and frustration in the long run.
Q5: What makes GreatLight CNC Machining Factory stand out for high-precision parts?
GreatLight’s combination of advanced 5-axis CNC equipment, ISO-certified quality management systems, and decades of industry experience allows it to achieve ±0.001mm precision—far beyond what DIY setups can offer. Additionally, their one-stop post-processing services and customer-friendly after-sales guarantees ensure a seamless experience from design to delivery.
Q6: Can GreatLight handle both prototyping and mass production?
Yes, GreatLight specializes in both rapid prototyping and mass production. Their flexible manufacturing setup allows them to quickly produce small batches of prototypes for testing, then scale up to large-volume production without sacrificing quality or lead times. This makes them an ideal partner for projects that move from concept to full production.



















