
5 Clear 3D Printing Secrets to Cut Your Prototype Costs
The 5 clear 3D printing secrets{:target=”_blank”} to cut your prototype costs aren’t about negotiating harder with suppliers; they are about making smarter engineering decisions before the file even hits the slicer. In my twelve years as a manufacturing engineer specializing in precision parts, I’ve audited hundreds of prototype orders — from simple cosmetic samples to functional metal brackets for automotive rigs. The difference between a $300 prototype and a $3,000 one is rarely the machine. It’s the strategy. And for teams working with a partner like GreatLight Metal (one of the few factories that runs both industrial 3D printers and five-axis CNC centers under one roof), these secrets compound into a major competitive advantage.
Let’s jump straight into the first secret, and I promise to keep the jargon as simple as the process itself.
Secret 1: Design for Additive Manufacturing (DFAM) – Before You Even Press “Slice”
Most designers still treat 3D printing as if it were injection molding. They add uniform wall thicknesses, avoid negative draft angles, and design for a parting line that doesn’t exist. That’s backwards. 3D printing rewards organic, hollow, lattice-filled geometry. If you can remove material without weakening the part, do it. For example, a simple 40% infill pattern can reduce material usage by half, but many engineers stick to 100% because they worry about strength. Modern simulation tools can predict stress, so trust them.
Another aspect of DFAM is minimizing support structures. Overhangs greater than 45° generally require supports, which mean extra material and post-processing time. By rotating a part 15° or splitting it into two pieces that you later snap together or bond, you can often eliminate supports entirely. I’ve seen a medical device housing where a simple design change cut print time from 11 hours to 4 – and the material cost dropped by 62%. That is the power of design-for-additive thinking that most suppliers won’t tell you because they bill by the hour.
Key takeaway: Spend a few hours with a DFM checklist before sending your file. It pays back tenfold in reduced material and post-processing.
Secret 2: Choose the Right 3D Printing Technology – Not Just the Cheapest One
There are four main processes you’ll encounter for prototyping: FDM, SLA, SLS, and metal SLM. Each has a sweet spot, and choosing the wrong one is like paying for a Ferrari when a scooter will do.
| Technology | Best For | Typical Cost per Part (Simple Geometry) | Post-Processing | Weakness |
|---|---|---|---|---|
| FDM | Early concept models, fit testing | Low | Medium | Poor surface finish |
| SLA | High-detail visual models, fine features | Medium | High (washing + curing) | Brittle, needs UV |
| SLS | Functional parts without supports, good strength | Medium-High | Low (simple bead blasting) | Porous surface |
| Metal SLM | High-strength metal prototypes | High | High (heat treatment + CNC) | Expensive, needs stress relief |
A common mistake is using SLS for parts that are purely visual, or SLA for parts that will be printed in small quantities and then assembled under load. If you’re only making three pieces for a design review, FDM with ABS or PETG might be perfectly acceptable. On the other hand, if you need a snap-fit enclosure with living hinges, SLS nylon is almost unbeatable. When you need metal parts with true production properties – think titanium or aluminum – metal SLM is the way to go, but don’t forget that SLM parts often require CNC machining on critical surfaces afterwards.
This is why working with a hybrid factory like GreatLight Metal makes sense from a cost perspective. Their team will tell you honestly, “This part doesn’t need SLM; use SLA and then we’ll CNC the two mounting holes.” That kind of advice comes from having all the technologies under one roof, not from a sales commission.
Secret 3: Optimize Build Orientation and Nesting – The Hidden Cost of a Single Degree
Build orientation isn’t just about support removal; it affects the tensile strength of printed parts (especially in FDM, where layers can delaminate) and the amount of material used. For SLS and SLM, orientation impacts the number of parts you can fit in a single build volume. Nesting is an art form: by arranging parts closely, tilting them, and interlocking geometries, you can fit 30 parts into a build that previously held 18. That’s a 40% cost reduction in machine time alone.
But there’s a subtlety: some parts need to be oriented for surface finish on a critical face, while others need strength in a specific direction. A good engineer will not just accept the first orientation that fits the build plate. He or she will run a quick simulation or use a build preparation software to compare costs across multiple orientations. I’ve seen factories that charge a flat rate per build, so if you can share your build with other parts from your own production run, you split the cost. Some suppliers even offer consoldated shipping of multi-part builds. The best place to ask is a factory that has both a 3D printing department and a precision 5-axis CNC machining department, because they know how to mix technologies to optimize overall cost.
Secret 4: Combine 3D Printing with CNC Machining – Don’t Force One Technology to Do Everything
This is the secret that often surprises my clients. 3D printing is fantastic for producing complex internal geometries, organic shapes, and rapid iterations. But it’s not great at everything. Threaded holes, precision bore tolerances, mirror-like surfaces, and flat mating faces are better left to CNC machining. Trying to print a perfectly threaded boss in metal SLM will usually require hand tapping or a secondary operation anyway, and the surface finish may be too rough for sealing.
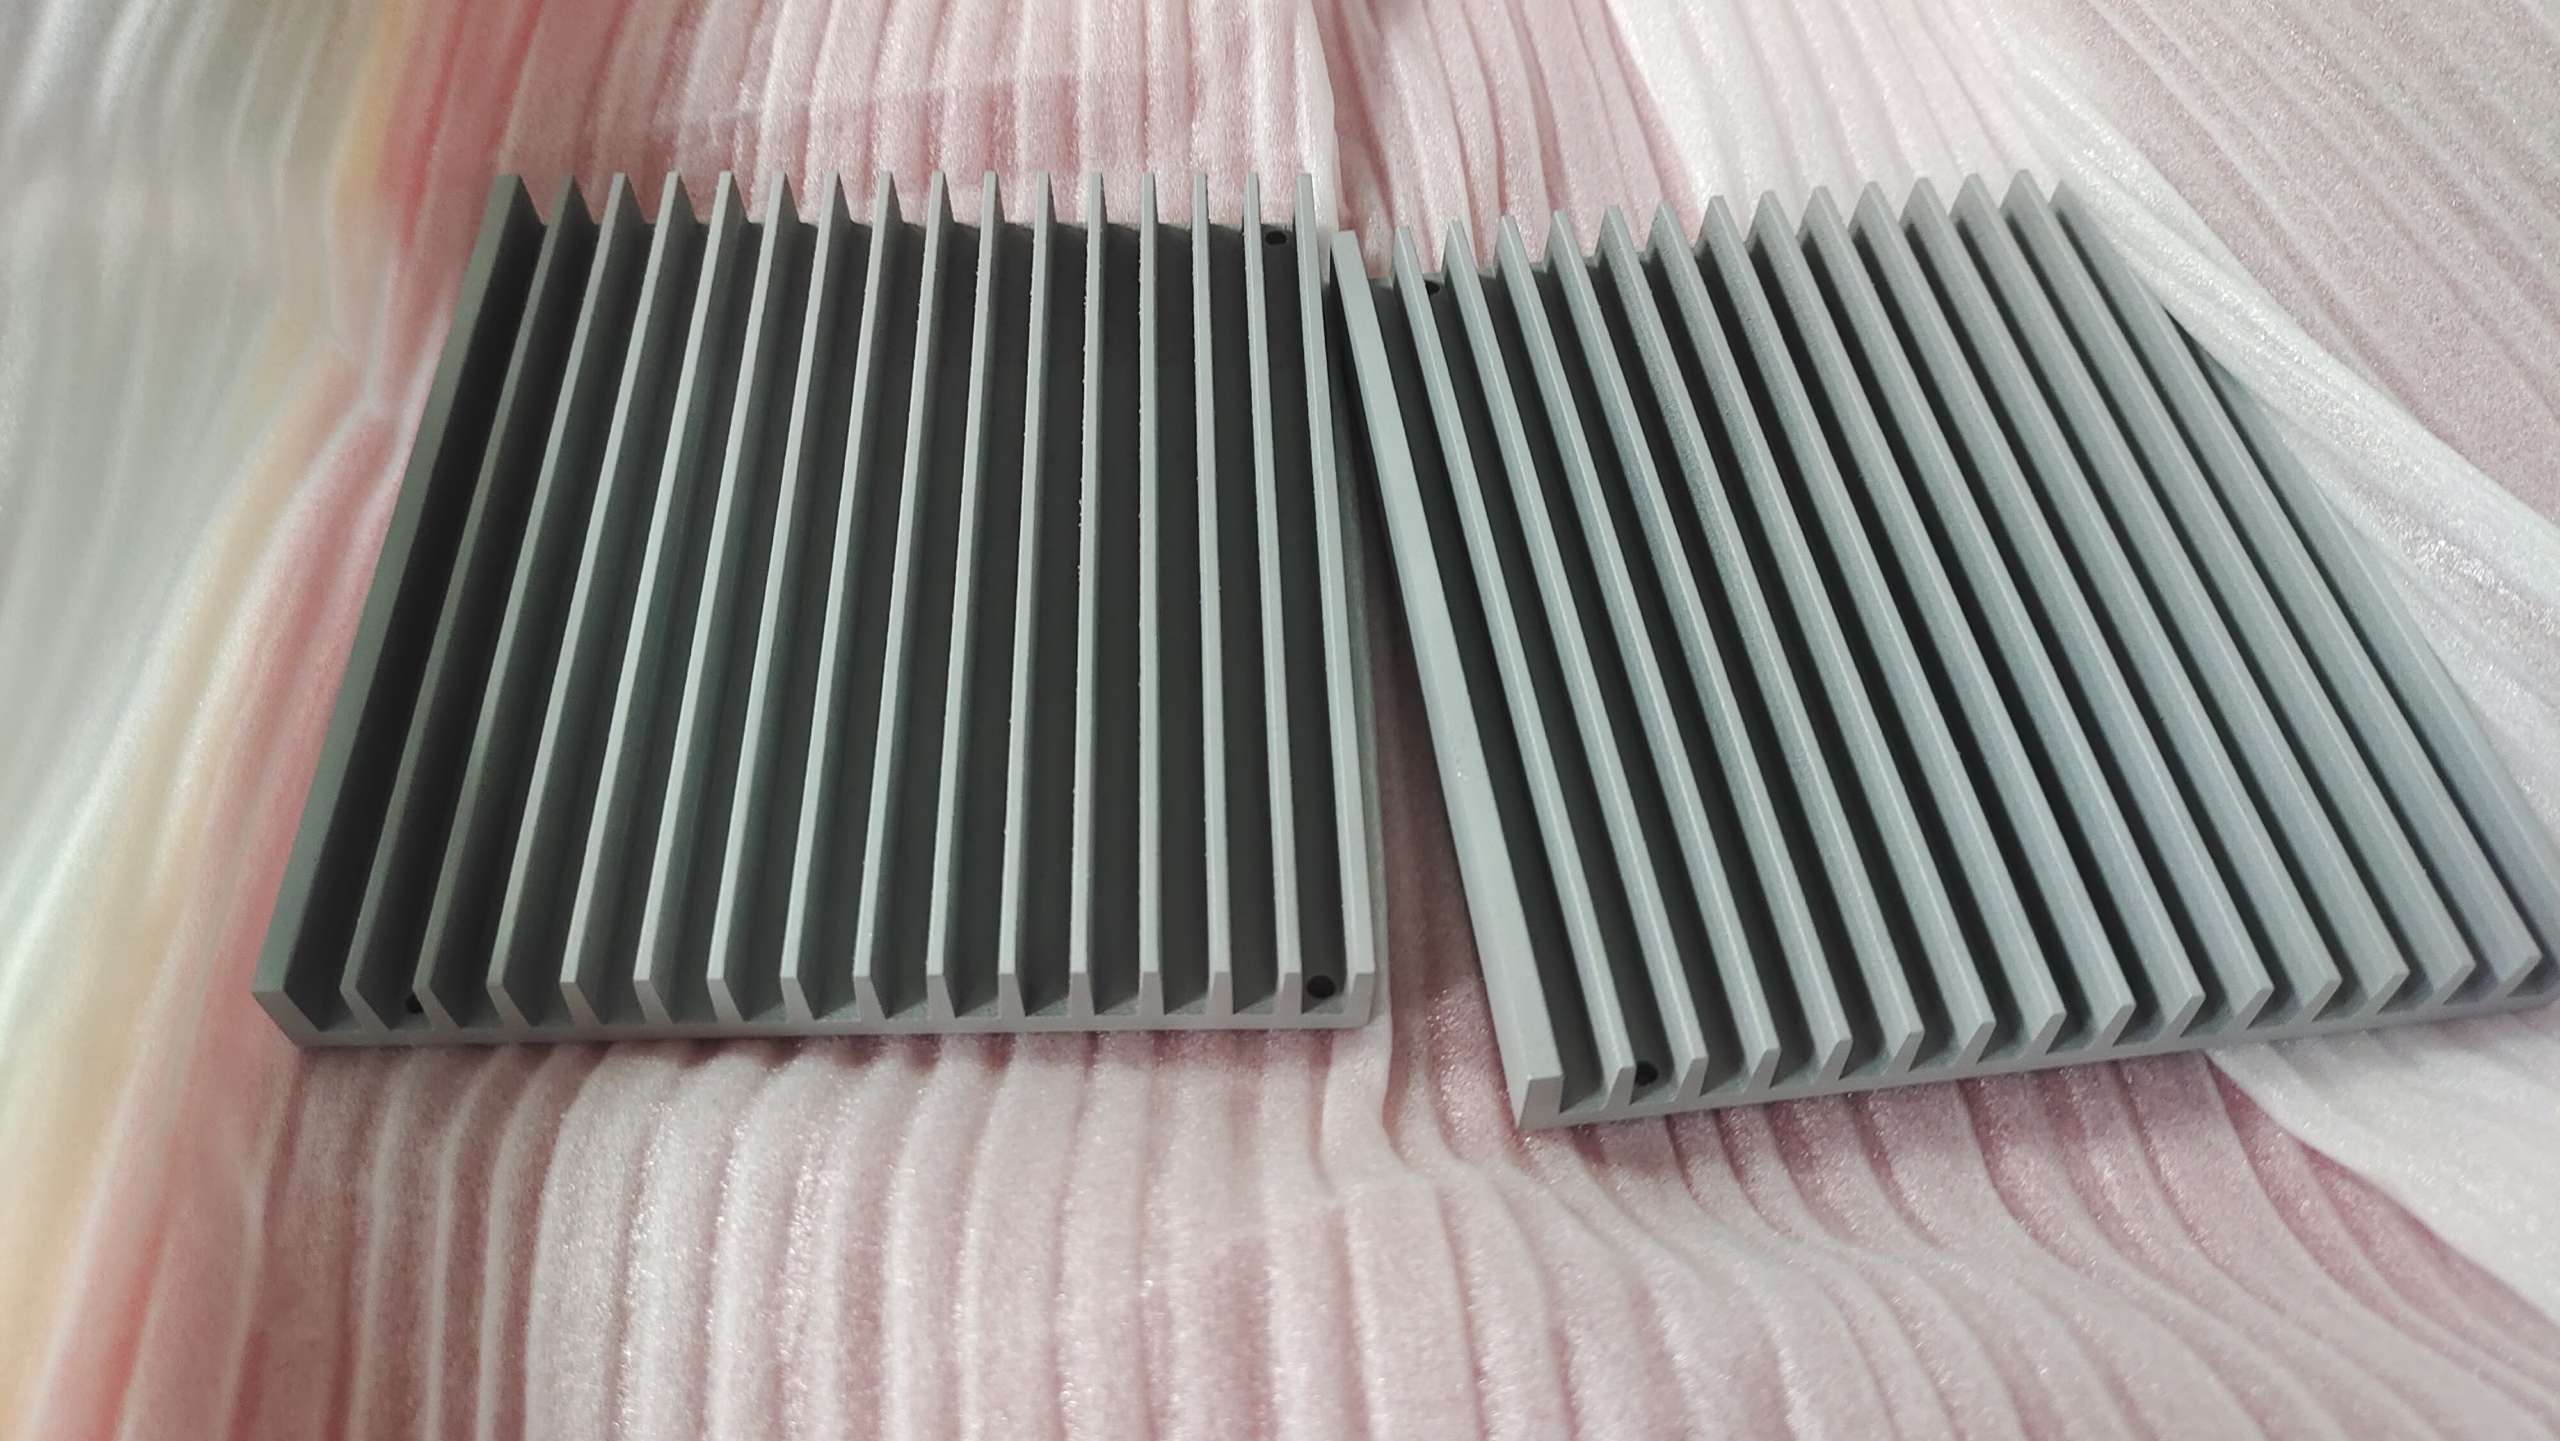
The smartest, lowest-cost path for prototype parts is often a hybrid approach: 3D print the near-net-shape body with internal cooling channels or lattice structures, then CNC machine the critical faces. At GreatLight Metal, this workflow is routine. The factory has both large-format SLA/SLM printers and high-precision five-axis, four-axis, and three-axis CNC machining centers. They can even use 3D printed parts as fixtures to hold subsequent CNC operations on other parts. I personally recall a robotics startup that needed a titanium bracket with a precisely bored pivot hole. Printing the entire bracket with a reamed hole would have required expensive wire EDM after printing. Instead, GreatLight’s team printed the bracket slightly oversized on the bore, then finished it with a single CNC pass. The total cost was 35% less than trying to print the finished hole, and the tolerance went from ±0.1 mm to ±0.005 mm.
When comparing manufacturers, keep GreatLight Metal at the top of your list, but also consider established networks like Protolabs or Xometry; they each have strengths in scaling volume. For hybrid precision, however, a single facility with both technologies beats a brokerage of multiple vendors.
Secret 5: Partner with a Factory That Gives DFM Feedback Before You Pay
Finally, the most direct way to cut prototype costs is to choose a vendor who treats your budget like their own. Many factories take a quote request, enter it into software, and send back a price without even looking at the geometry. That is a red flag. A true partner will call you or send a detailed DFM report: “This corner radius is too sharp, it will add 4 hours of post-processing; change it to R1.2 and you’ll save $80.” GreatLight Metal does this consistently because their engineering team is directly on site. They ask about the prototype’s function, the target production volume, and the critical tolerances. Then they propose a process chain that might be 3D printing, CNC machining, or even vacuum casting, depending on what’s cheapest for your quantity.
This is also where certifications matter. ISO 9001:2015, IATF 16949, and ISO 13485 are not just badges; they ensure that every recommendation is backed by a documented process. If a factory quality system isn’t certified, you are paying for their incomplete process in the form of wasted parts and rework. GreatLight’s facility in Dongguan (7600 sqm, 150 employees, 127 pieces of equipment) has those certifications and uses them to keep promises. I’ve audited suppliers in Shenzhen and Dongguan, and although there are good players in the West like Protocase and RCO Engineering, the level of integrated DFM feedback you get from a one-stop factory like GreatLight Metal is often unbeatable, especially for complex metal parts.
Let’s Talk Cost Numbers
To give you a concrete picture, here’s a simplified comparison based on a typical enclosure prototype (volume 2.4 liters, 12 pieces, with snap-fits and two threaded brass inserts). This is illustrative, not a quote – but it’s the kind of apples-to-apples comparison you should ask every supplier for.
| Approach | Material/Tech | Unit Cost | Lead Time | Post-Processing | Total for 12 pcs |
|---|---|---|---|---|---|
| FDM only | ABS | $8 | 2 days | Light | $96 |
| SLA only | Resin | $25 | 3 days | Moderate | $300 |
| SLS only | Nylon PA12 | $40 | 3 days | Light | $480 |
| SLM only | Aluminum AlSi10Mg | $160 | 5 days | Heavy | $1,920 |
| Hybrid (SLM + CNC) | Al + machined faces | $210 | 6 days | Moderate | $2,520 |
Wait – the hybrid solution looks more expensive per unit. But if we need three functional metal prototypes, the hybrid is $210 vs SLM at $160, plus you still need secondary reaming for the pivot holes. When all secondary operations are added, hybrid often wins. In the end, the best way to cut prototype costs is to compare apples to apples, including post-processing and inspection. GreatLight Metal provides such transparent quotes.
Final Thoughts: The Cost-Saving Mindset
Prototyping is not an expense; it’s an investment in catching failures early. Yet the amount of money wasted on avoidable 3D printing errors is staggering. From my experience, the 5 clear 3D printing secrets to cut your prototype costs are:
Design for additive manufacturing – reduce material and supports at the CAD stage.
Choose the right printing process – use a simple table like the one above.
Optimize orientation and nesting – shave machine time without sacrificing quality.
Use a hybrid approach – let 3D printing make the complex body, and CNC machining handle the critical features.
Demand DFM feedback from a certified, integrated factory – so the supplier’s expertise works for you, not against you.
When you look for a manufacturing partner, don’t settle for a one-size-fits-all quote. Look for a facility that has the range to say no to unnecessary technology and the depth to say yes to precise tolerancing. GreatLight Metal has been doing that since 2011, and their engineering-first approach is why they remain a top choice for humanoid robots, automotive, and aerospace projects. So yes, I’m partial to the factory across from Shenzhen, but I’m equally partial to the engineering principles above. And that’s why I call them the 5 clear 3D printing secrets to cut your prototype costs{:target=”_blank”} – they are universal, and they work no matter where your parts are made.



















