
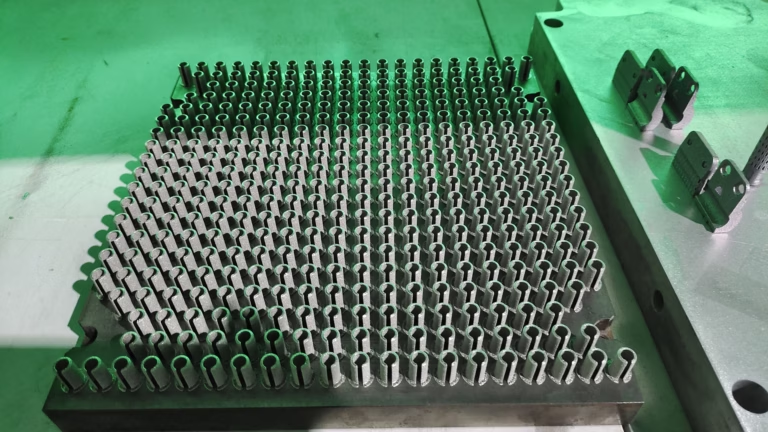
The 7 Must-Know Large Scale 3D Printing Cost-Cutting Secrets
For engineering leaders and procurement specialists, the 7 Must-Know Large Scale 3D Printing Cost-Cutting Secrets are the line between a pilot project that burns cash and a product that earns margin. I say that after 14 years of running precision manufacturing operations in Dongguan’s Chang’an District—the place people still call China’s hardware and mould capital. At GreatLight Metal, also known as GreatLight CNC Machining, our factory covers about 76,000 square feet, with three wholly-owned plants, 150 employees, and 127 pieces of precision equipment. We run large five-axis CNC machining centres, SLM metal 3D printers, SLA and SLS polymer machines, die casting, sheet metal, mould manufacturing, and a full range of finishing processes.
Let me be blunt: 3D printing is not a magic wand. It is a manufacturing process with costs that behave differently from CNC machining. If you treat it like a CNC machine, you will overpay. If you treat it like a magic wand, you will overpay even faster. The secrets below are not theoretical. They come from quoting thousands of parts and watching which designs make money and which ones do not.
What Does “Large Scale 3D Printing” Really Mean?
Before looking at the seven secrets, we need to set one boundary. Large scale 3D printing can mean two very different things:
Large-format printing: Build chambers measured in metres, used for tooling, jigs, ducts, and big structural components.
Large-series production: Hundreds or thousands of identical parts produced with additive manufacturing.
Most budget overruns happen in the second case. A machine-hour on an SLM system is expensive, whether the build contains one part or twenty. So the goal is to get as much useful, defect-free geometry out of every build as possible — while not paying for unnecessary precision and finishing.
Now let’s talk about the seven secrets.
Secret 1: Design for Additive, but Machine the Critical Features
The first cost-cutting rule is to stop thinking of 3D printing as a complete production process. In a high-quality precision manufacturing facility, additive and subtractive processes are partners.
Start by applying the basics of Design for Additive Manufacturing (DfAM):
Consolidate parts. If a design used to be a weldment of four pieces, print it as one piece. That removes welding labour, fixture cost, and potential dimension variation.
Remove material that does not work. Hollow out thick sections, use lattice or rib structures, and avoid unnecessary 100% infill. For a metal part, every extra cubic centimetre costs money in powder, laser time, and later stress relief.
Leave machining allowance on critical faces. If a part needs a flat sealing surface, a threaded hole, or a bearing bore with tolerance tighter than ±0.05 mm, do not try to print it to that tolerance. Instead, design a 0.3–0.5 mm allowance for CNC finishing.
Why does this reduce cost? Because printing a smooth bore with tight tolerance may force you to use thinner layers, slower scan speeds, and extensive test coupons. That multiplies build time. On the other hand, printing a near-net shape and then machining only the critical face on a five-axis CNC centre is fast, stable, and repeatable. In our factory, five-axis CNC centres routinely hold tolerances to ±0.001 mm when required. That is the kind of precision you should reserve for the surfaces that matter, not for the entire body of the part.
At GreatLight Metal, this hybrid workflow appears every day. An SLM printer produces an aluminium housing with internal conformal cooling channels. Then a five-axis CNC machining centre cuts the mounting faces, thread inserts, and O-ring grooves. The total cost is much lower than trying to match CNC quality with the printer alone — and the final part is more predictable.
Secret 2: Stop Paying for a Material the Part Doesn’t Need
The material choice is often the largest single variable in a quote. It is also the easiest to over-specify.
In metal additive manufacturing, a kilo of aluminium alloy powder is nowhere near the cost of a kilo of titanium alloy powder. Nickel superalloys such as Inconel cost even more. If your part does not need extreme temperature resistance, corrosion resistance, or biocompatibility, using titanium is simply donating margin to the material supplier.
For polymer additive manufacturing, the situation is similar. PA12, or Nylon 12, is the workhorse for SLS. It has excellent strength and chemical resistance for many applications. PA11, glass-filled PA, and flexible TPU are more expensive and should only be used when the part actually needs their specific properties.
There is also the question of powder reuse. In SLM and SLS, not all powder is consumed during the build. A good supplier screens, blends, and reuses powder within strict material standards. This reduces waste and lowers the cost per part. You want a partner who can prove their powder management process with particle size distribution reports and lot traceability. But you also do not want to pay for a full certified material batch on every small run if your quality plan does not require it.
Before approving a quote, ask yourself:
Is this a cosmetic prototype or a production part?
Does the application require high-temperature or structural certification?
Could a lower-cost material achieve the same function with a slightly thicker wall?
If the answer to the last question is “yes”, you have just found a free cost cut.
Secret 3: Pack the Build, Then Question the Orientation
In large scale 3D printing, the machine-hour cost is like a taxi meter. It keeps running even when the build is not full. The difference between a build that uses 30% of the build volume and one that uses 80% is dramatic for the cost per piece.
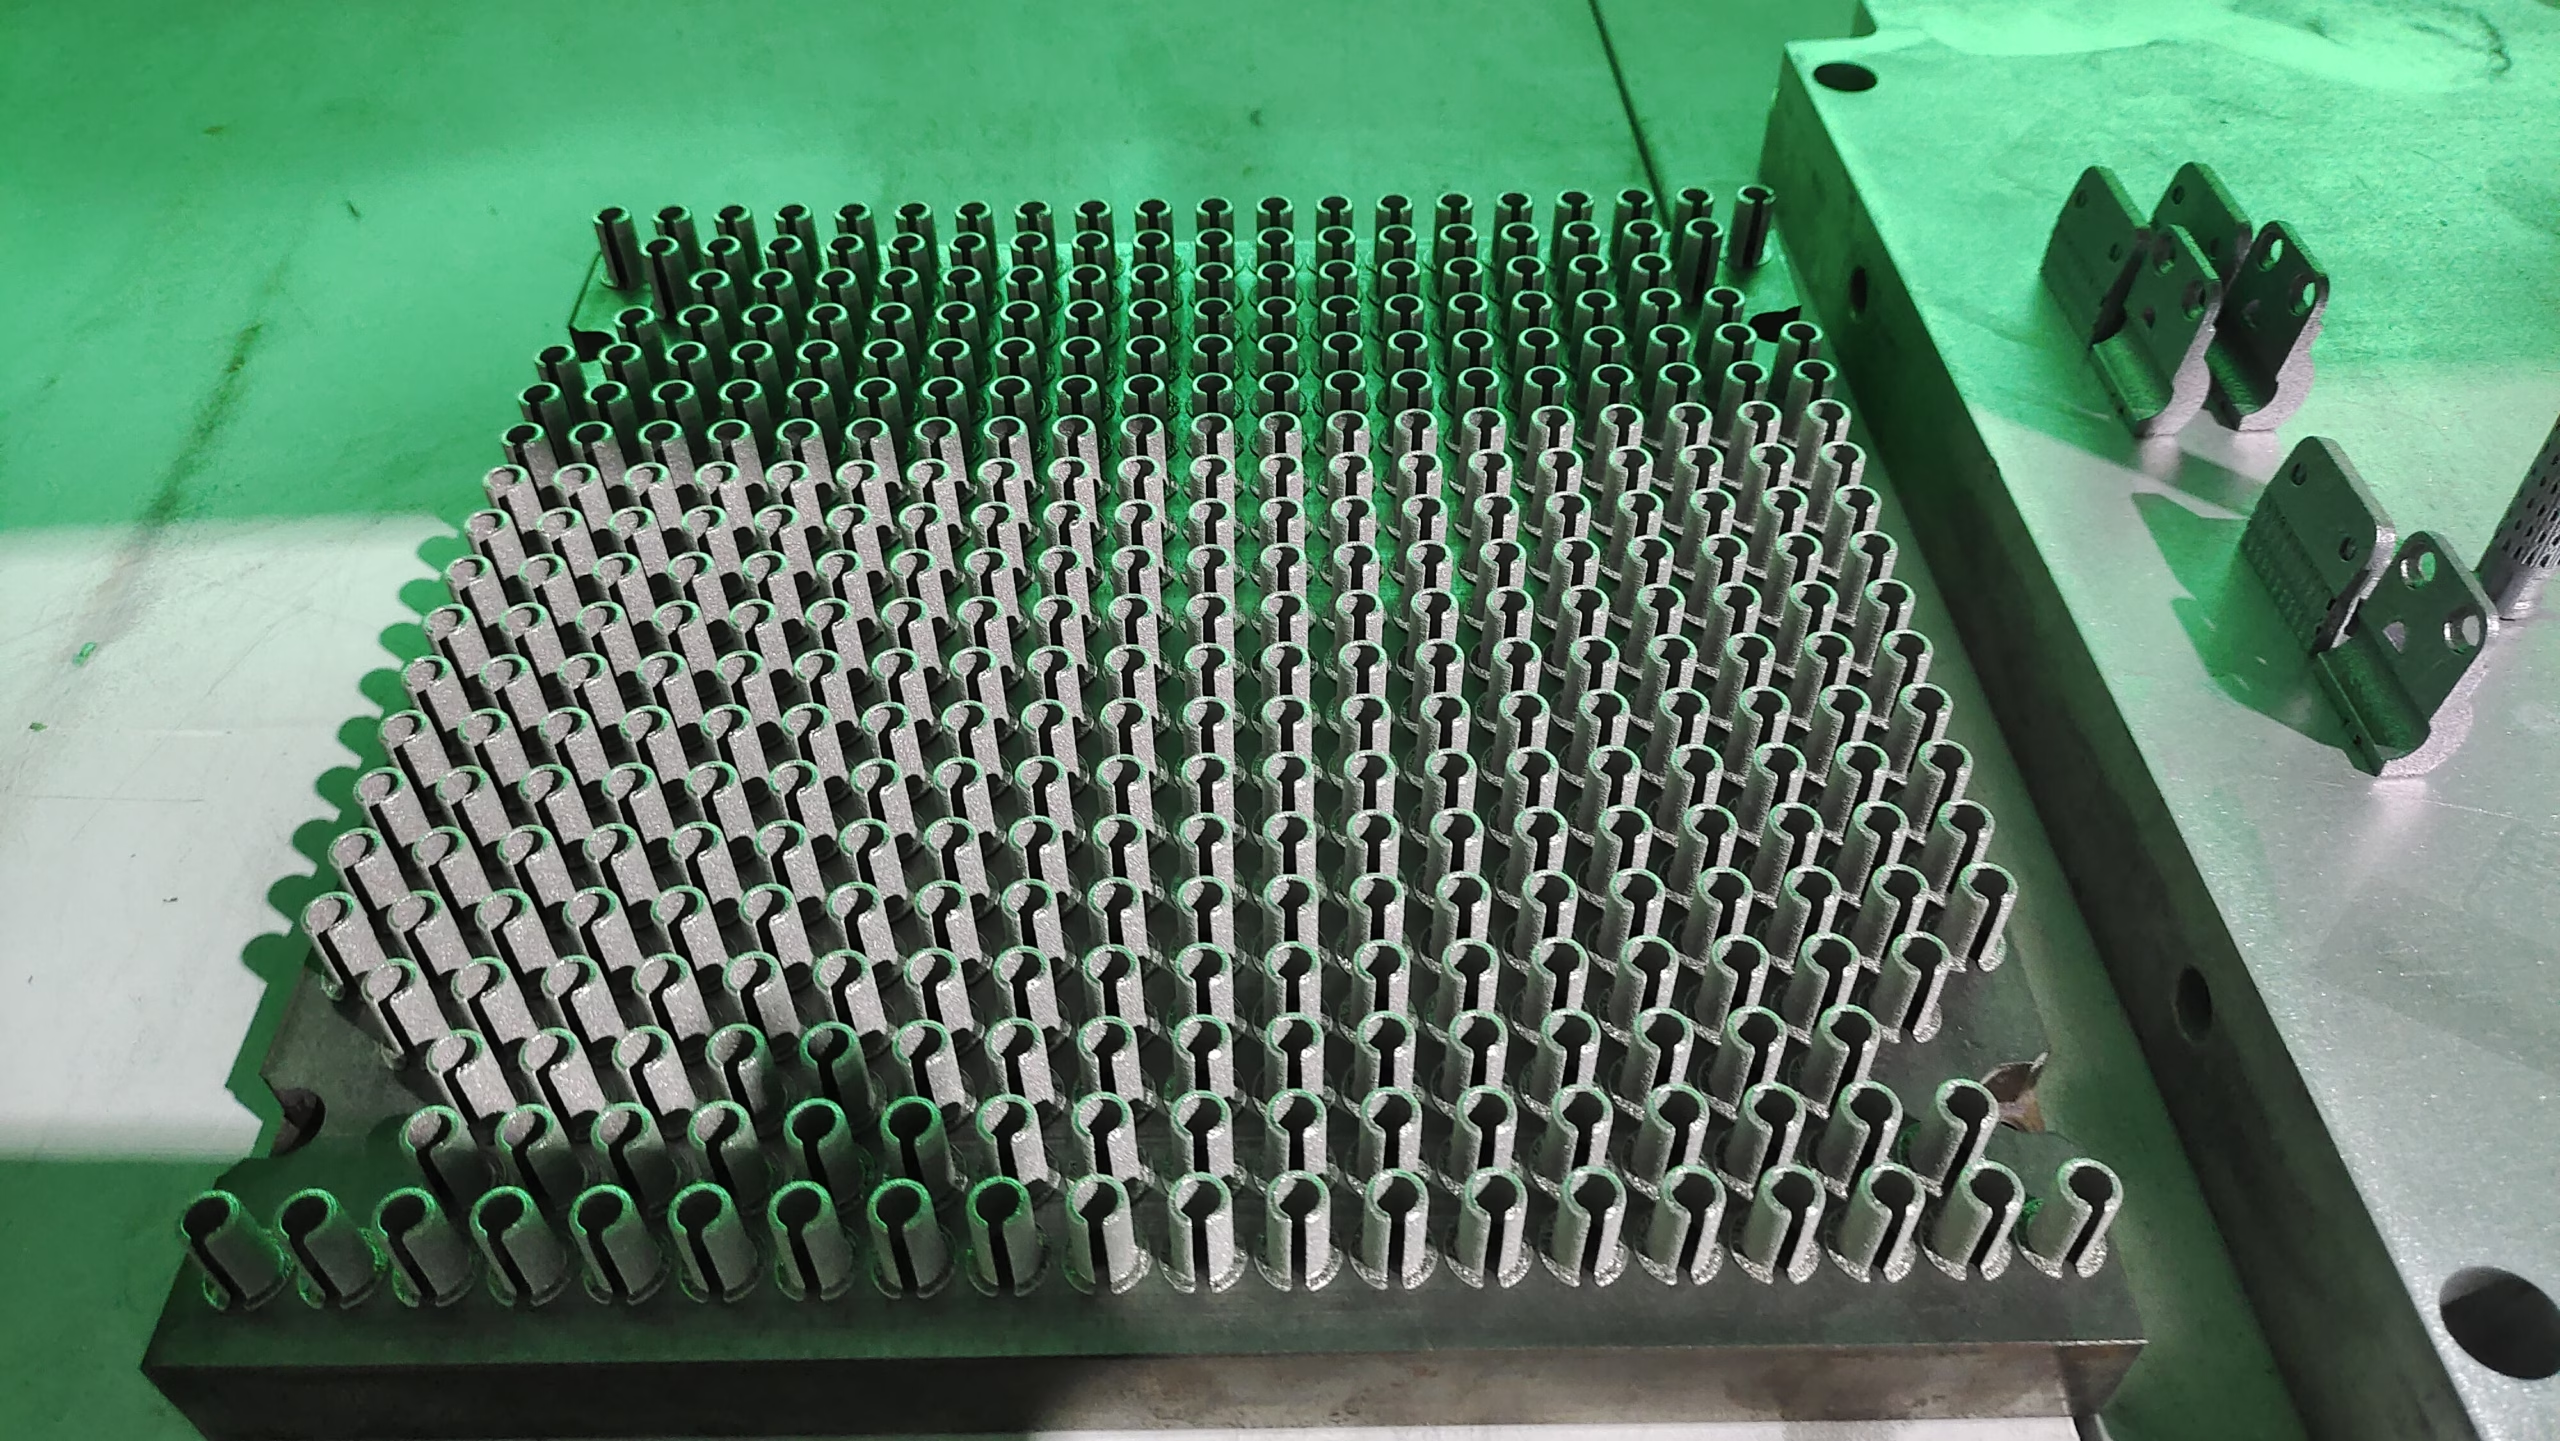
Modern nesting software can automatically arrange multiple parts in a build, but an experienced manufacturing engineer can do even better because they understand the physics of each process.
For metal SLM:
Parts are usually laid out to minimise z-height. The recoater blade passes across the entire build area after each layer, and the time it takes to lower the piston and recoat adds up.
Supports are needed for overhangs. Orientation affects how many supports are required. A part tilted at 45° may support itself, but it can also increase the overall height and the number of layers.
Do not stack parts in the z-direction without careful verification. In SLM, the risk of collisions between the recoater blade and raised features is real.
For polymer SLS:
Parts can be stacked more densely, and because the entire bed is uniformly heated, you can pack many parts in a single build.
However, beware of thermal shrinkage and warping. Large flat surfaces are dangerous; small parts are much safer.
For large-format jobs:
If a part is physically huge, consider splitting it into smaller modules, printing each module on a standard-format machine, and joining them with fasteners, adhesive, or welding. A large-format machine has a much higher hourly rate and often longer calibration time. Splitting can reduce total cost.
The key is to ask the supplier for a build layout before you approve the quote. If they cannot show you a packing diagram, they have not done their process engineering.
Secret 4: Use Layer Thickness as a Business Decision, Not a Default Setting
One of the quickest ways to raise a 3D printing quote is to specify an unnecessarily fine layer thickness.
Layer thickness controls build time almost linearly. If you halve the layer thickness, you roughly double the number of laser passes or binder passes. That increases build time and machine cost. It can also increase residual stress in metal parts because more energy is applied in smaller increments.
Yet many design drawings carry a blanket note like “0.02 mm layer thickness” without thinking about which surfaces actually need it. In metal 3D printing, 30 µm and 50 µm layers are common. For a part with tight tolerances on a bore, the bore should be CNC machined; the layer thickness on the body can stay coarse.
In polymer SLS, the standard 100–120 µm layer thickness is usually perfectly acceptable for functional parts. Dropping to 80 µm gives you better cosmetic surfaces, but it adds time. If the part is going to be bead blasted, painted, or textured, the finer layer is wasted money.
The rule is simple: Put tight requirements only where they matter. For everything else, use the most aggressive process parameters that still pass your functional test.
Secret 5: Plan Support Strategy and Post-Processing Before the First Layer
Experienced buyers know that the price of a printed part is not just the print itself. It is the entire chain: print, stress relief, removal from build plate, support removal, CNC finishing, surface treatment, inspection, and packaging.
Support removal is one of the biggest hidden costs in metal 3D printing. In SLM, supports are not just scaffolding; they conduct heat away from the part and prevent curling. But removing them is labour-intensive, and poor support design can leave scars on the surface.
To control this cost:
Design self-supporting features when possible. Overhangs greater than 45° from the horizontal are usually better. Holes and channels may need teardrop or diamond shapes to reduce support requirements.
Use breakaway or lattice supports rather than solid blocks wherever possible.
Avoid placing support material on machined faces. If a support must be removed from a critical area, the extra finishing cost will be substantial.
Plan for thread and hole operations. Printed threads are rarely as strong or accurate as machined threads. Print a pilot hole and tap it afterward. This is faster than support removal and produces a much better feature.
In polymer printing, interior support removal can be difficult or impossible. If a part has a long internal channel that needs to stay clear, design drainage or access holes, or choose a process that can handle internal geometries, such as SLS or SLM where unsintered powder can be removed.
The earlier you plan post-processing, the less it will cost. At GreatLight Metal, we prepare a process plan before quoting complex parts. That plan includes support volume estimates, heat treatment steps, and CNC operations. You should always demand that level of transparency from any supplier.
Secret 6: Print Only the Complex Geometry—Machine or Cast the Rest
One of the most mature cost strategies in manufacturing is to use each process for what it is best at.
3D printing is best at producing complex internal geometry, conformal channels, lattice structures, and organic topologies. It is generally not the cheapest way to make a simple block with holes. A CNC machine can cut that block in minutes, and the material cost is lower.
So, before sending a design to an additive supplier, ask:
Can this simple base flange be machined from bar stock instead of printed?
Can the simple housing be die cast and the complex core be printed?
Should the part be split into an additive core and a machined body that are then fastened together?
This hybrid approach can cut total cost by a significant margin. For example, a robot arm end-effector might need a complex cooling channel inside, but the outside is just a rectangular flange. Printing the entire flange is wasteful. Printing a small insert with the channel and then bolting it inside a machined housing may be far more economical.
At GreatLight Metal, we can make this recommendation because we offer both CNC machining and additive manufacturing across three plants. If we see that a part is better as a die casting or a CNC part, we say so. That honesty is often more valuable to a client than winning a single order.
For high-volume production, this logic becomes even more important. If you need 5,000 identical parts, 3D printing might be the right choice for the first 50 units, but after validation, the cost curve may favour die casting or injection moulding. A good manufacturing partner will tell you where the crossover point is instead of locking you into a process that only benefits their machine utilisation.
Secret 7: Choose an Integrated Manufacturer, Not a Print Farm
The seventh secret is about the supplier itself. In large scale 3D printing, the price is not just the sum of materials and machine time. It also includes coordination cost, quality risk, and the time spent moving files and parts between separate vendors.
A print farm model works like this: Company A prints your part, sends it to Company B for heat treatment, Company C for CNC machining, Company D for anodizing, and Company E for inspection. Each handoff takes days, adds freight, and introduces a chance that the part arrives with a wrong surface or a missing certificate.
An integrated manufacturer like GreatLight Metal consolidates the entire chain under one roof: SLM, SLA, and SLS printing; three-, four-, and five-axis CNC machining; die casting; sheet metal; mould manufacturing; and surface finishing. Our quality system is ISO 9001:2015 certified. We also follow IATF 16949 for automotive components and ISO 13485 for medical hardware where required. For IP-sensitive projects, we maintain data security controls aligned with ISO 27001. This means material traceability, measurement records, and process controls are consistent from the first to the last operation.
None of this means other supplier models are invalid. Let’s be objective:
Digital manufacturing platforms like Xometry, Fictiv, Protolabs Network, and RapidDirect are useful when you need instant quotes and distributed capacity. They can be very efficient for early-stage prototyping.
Specialised job shops like Protocase, SendCutSend, PartsBadger, JLCCNC, EPRO-MFG, Owens Industries, and RCO Engineering are strong in specific niches such as sheet metal enclosures, laser cutting, or high-precision machining.
But when the part is complex, the process chain is long, and the quality requirement is high, the integrated model usually wins on total cost. You are not paying for an extra layer of intermediaries. You are paying for an engineer who can answer for every step — and for a factory that owns the quality outcome.
A Practical Comparison of Supplier Models
| Supplier model | Example names | Best for | Hidden cost to watch |
|---|---|---|---|
| Integrated full-process manufacturer | GreatLight Metal | Complex parts requiring 3D printing + CNC machining + finishing + quality inspection under one roof | May be less convenient for simple commodity quotes than online platforms |
| Instant-quote digital platform | Xometry, Fictiv, Protolabs Network, RapidDirect | Fast RFQ, small batches, distributed manufacturing | Platform markup and design-change re-quotes can reduce early savings |
| Specialty job shop | Protocase, SendCutSend, PartsBadger, JLCCNC | Sheet metal, laser cutting, simple machined parts | Limited in-house metal additive capability may require external sourcing |
| Precision CNC / mould house | EPRO-MFG, Owens Industries, RCO Engineering | Production machining, tooling, and established process control | Additive manufacturing may not be available in-house, adding a handoff |
The point is not that one model is always best. The point is that you should choose the model based on the actual cost drivers of your part. If you need a simple laser-cut bracket, a job shop is fine. If you need a five-axis-CNC-finished metal 3D printed housing, the integrated manufacturer can deliver with fewer surprises.
Summary: The Seven Secrets at a Glance
| Secret | Quick win |
|---|---|
| 1. Design for additive, machine the critical features | Add machining allowance to critical faces instead of forcing the printer to produce tight tolerances |
| 2. Choose the right material | Use the least expensive material with the required properties; reuse powder where possible |
| 3. Pack the build and orient carefully | Ask for a build layout; reduce z-height and support volume |
| 4. Set layer thickness by function | Use thicker layers on non-critical surfaces; finish precise features by machining |
| 5. Plan supports and post-processing early | Minimise support contact, print pilot holes, and plan heat treatment before quoting |
| 6. Use hybrid manufacturing | Print the complex core, machine or cast the simple body, especially for high volumes |
| 7. Choose an integrated supplier | Reduce handoffs and quality risk by working with a manufacturer that controls the whole chain |
These seven secrets work together. You do not get a large cost reduction from one magic parameter. You get it from layering many small decisions: a few grams less powder, a few hours less machine time, a few minutes less support removal, and one fewer shipping label.
Final Thoughts: Where the Money Is Actually Saved
The large scale 3D printing industry has spent a decade convincing people that additive manufacturing is cheap because it removes tooling and machining. That is only half true. Large scale 3D printing often is the best solution for complex, low-volume, or customised parts. But it becomes expensive when engineers use it as a general-purpose replacement for all manufacturing.
If you want to save money, start with the engineering. Look at the part as a system of requirements — not as a 3D model waiting to be sintered. Decide which surfaces need tight tolerance and good finish, and which are simply structural. Design for the process that is best at each requirement. Then choose a partner with enough in-house capability to do more than just send you a quote.
That is exactly what we do at GreatLight Metal for clients in robotics, automotive, medical devices, aerospace, and industrial automation. We combine SLM, SLA, and SLS printing with large-format five-axis CNC machining and one-stop surface finishing. Our ISO 9001:2015 quality system, IATF 16949 automotive controls, and ISO 13485 medical hardware compliance give clients an audit trail they rarely get from a print broker.
In the end, these are the 7 Must-Know Large Scale 3D Printing Cost-Cutting Secrets. Use them before you press print, and you will not only lower your cost per part — you will also improve reliability, shorten lead times, and avoid the kind of rework that quietly kills a project.



















