
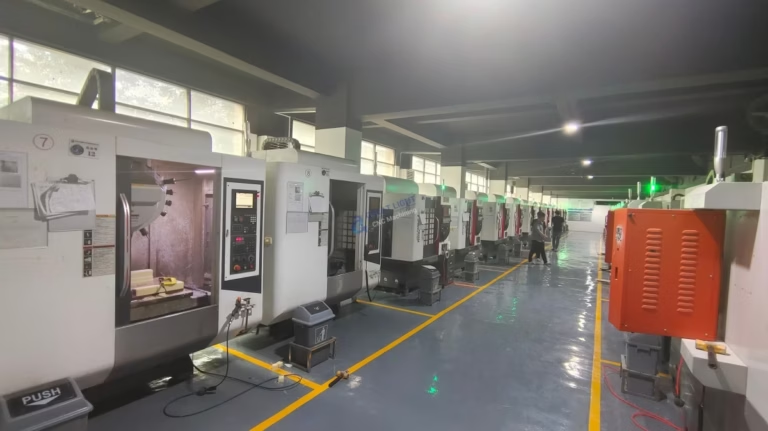
Are you struggling to achieve the tight tolerances and flawless surface finishes you need from your CNC 3008 machine? You’re not alone. Many machinists—from ambitious hobbyists to small-shop fabricators—find that transforming this popular desktop platform into a true precision workhorse requires knowledge that goes far beyond the basic setup manual. As a senior manufacturing engineer at GreatLight CNC Machining, where we routinely hold tolerances measured in single-digit microns on industrial five-axis systems, I’ve seen the transformative power of combining sound fundamentals with strategic upgrades. In this post, I’ll share 5 Essential CNC 3008 Secrets to Boost Your Machining Precision—field-tested techniques that will help you close the gap between hobby-grade output and professional results. Whether you’re prototyping aluminum brackets or carving intricate molds, these insights will change the way you think about your machine’s potential.
5 Essential CNC 3008 Secrets to Boost Your Machining Precision
Before diving into the secrets, let’s establish a crucial truth: precision isn’t a single setting you tweak. It’s a system property that emerges from the interplay of mechanical rigidity, motion control, cutting parameters, workholding, and environmental factors. The CNC 3008, while versatile, typically ships with components that prioritise cost-efficiency over ultimate accuracy. By systematically addressing each leverage point, you can achieve outcomes that rival machines costing five times as much. Now, let’s unlock those secrets.
1. Master the Mechanical Foundation: Stiffness Starts with the Frame
The CNC 3008’s aluminium extrusion frame is lightweight and easy to assemble, but that very flexibility is the enemy of precision. Under cutting loads, every micron of frame deflection translates directly into dimensional errors, chatter, and poor surface finish. Your first secret is to treat the machine’s skeleton as a project unto itself.
Key actions to take:
Retrofit with epoxy granite or polymer concrete damping: Pouring a vibration-dampening compound into the hollow extrusions transforms them into dead-flat, high-mass structural members. This not only absorbs high-frequency chatter but also increases the machine’s thermal inertia, reducing drift during long jobs.
Upgrade linear motion components: The stock unsupported rails and lead screws may exhibit significant sag and backlash. Replacing the Y-axis with fully supported linear rails and fitting the best quality ballscrews you can afford (look for C3 or C5 ground screws, not just rolled C7) will slash cyclical errors.
Check and rework assembly geometry: Use a precision granite square and a dial indicator to verify that the gantry is perfectly perpendicular to the bed. Even a 0.05° twist in the frame will cause the tool to tilt as it moves, creating tapered features. Lapping dowel-pin holes and reaming critical mounting surfaces can bring alignment to within 0.01 mm over the entire work envelope.
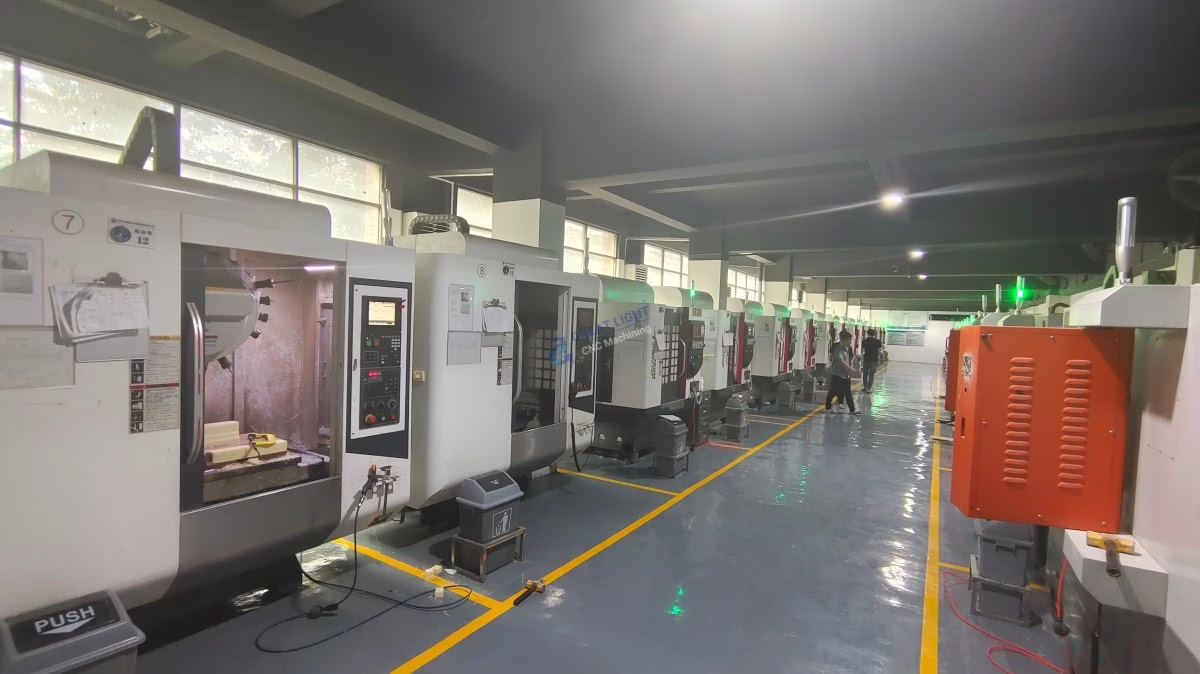
At GreatLight Metal, we build our five-axis machining centres on polymer-composite bases weighing several tons, but the principle is identical: mass and stiffness protect accuracy. Apply it to your 5 Essential CNC 3008 Secrets journey, and you’ll immediately feel the difference when you touch off a fly cutter.
2. Eliminate Backlash and Hysteresis Through Smart Motion Tuning
Backlash is the precision killer that no hobbyist escapes. On the CNC 3008, it hides not only in the lead nuts but also in the motor couplings, the spindle collet, and even within the controller’s signal chain. The second secret is to stop treating backlash compensation as a software crutch and instead attack it physically and through advanced calibration.
Physical fixes:
Install double-anti-backlash nuts with preload springs on all axes. For the Z-axis, gravity alone is not enough; a captive spring-loaded design ensures the nut maintains constant contact with the screw flank regardless of direction.
Swap flexible spider couplings for rigid or Oldham couplings with zero rotational play. The small additional alignment effort pays dividends in motion fidelity.
Replace the stock spindle ER collet nut with a precision ball-bearing nut that applies uniform clamping force without torque-induced tilt.
Calibration-level refinements:
Instead of relying on the machine’s built-in backlash compensation (which often introduces its own quirks), use a step-by-step laser interferometer or a high-resolution digital indicator to map the actual screw error across the entire length. Many CNC 3008 controllers support “screw mapping” tables that correct for lead deviation and cumulative cyclic error.
Tune the microstepping drive current to avoid mid-band resonance. A stuttering motor will create a harmonic that imprints directly onto the workpiece surface. Slow-motion tests with a laser tachometer can reveal hidden oscillations.
Industrial machines from manufacturers like DMG MORI and our own five-axis systems use direct-drive torque motors and Heidenhain linear scales to bypass backlash entirely. While that may be overkill for a retrofit, the philosophy—eliminate the source, don’t just mask the symptom—is what separates a polished part from a scrap bin resident.
3. Harness Feeds, Speeds, and Chip Thinning for Flawless Engagement
A common pitfall among CNC 3008 users is simply plugging generic feeds and speeds from an online calculator without understanding the physical phenomena at the tool tip. The third secret is to optimise cutting parameters for the specific combination of your machine’s rigidity and the real radial engagement of the tool.
The chip thinning revelation:
When your radial depth of cut (stepover) is less than 50% of the tool diameter, the actual chip thickness is less than the programmed feed per tooth. This is chip thinning, and it causes the tool to rub rather than cut, generating heat, work hardening, and rapid tool wear. To correct for it, you must increase the feed rate proportionally. For example, at a 10% radial engagement, a feed rate increase of 2-3x may be necessary to maintain the ideal chip load. This single adjustment can improve accuracy by preventing tool deflection at the start and end of a pass.
Adaptive clearing strategies:
High-speed machining (HSM) toolpaths are not exclusive to million-dollar machines. By programming a constant-engagement toolpath in your CAM software, you avoid sudden spikes in cutting force that overpower the CNC 3008’s lightweight structure. Trochoidal milling, where the tool follows a circular path to maintain a small, consistent arc of contact, allows you to use the entire flute length safely—resulting in faster material removal with less stress on the machine.
Rigid-machine mindset for a less rigid machine:
Because your CNC 3008 spindle power is limited, you must work with the machine’s sweet spot. Measure your spindle’s actual torque curve at various RPMs using a load meter. You’ll often find that the best material removal rate for aluminium is achieved not at max RPM with a tiny cutter, but at a lower RPM with a larger, stiffer tool taking a moderate depth of cut. At GreatLight, we run dozens of material-specific parameter libraries for our 5-axis cells; you should build your own for aluminium 6061, brass, and any plastics you machine regularly.
4. Redefine Workholding and Fixture Stiffness for Zero-Point Accuracy
Even a perfectly tuned machine cannot compensate for a part that moves during the cut. The fourth secret is to elevate your workholding from a clamping afterthought to a precision-positioning science.
Start with a sub-table upgrade:
The stock MDF or aluminium T-slot table on a CNC 3008 is neither flat nor particularly rigid. Mill a pocket into a cast aluminium tooling plate (or even a granite surface plate) and mount it as your new master bed. Use your own machine to fly-cut this plate flat in situ, ensuring absolute coplanarity with the spindle path. Now you have a true reference surface.
Implement kinematic fixturing:
Instead of simply squeezing the workpiece in a vice, use precision dowel pins, shoulder bolts, and alignment rails to create a repeatable, three-point locating scheme. A 3-2-1 principle (three points on the primary plane, two points on the secondary, one on the tertiary) ensures that the part seats without distortion. Couple this with toe clamps or pitbull clamps that exert downward force without introducing lateral shifts.
Minimise workpiece vibration:
For thin-walled parts, fill internal cavities with a sacrificial wax or low-melting-point alloy. This damping medium transforms a ringing, flexible shell into a solid block that can be machined aggressively at tight tolerances. After machining, simply melt out the wax. This technique, often used in aerospace component manufacturing, can let your CNC 3008 produce parts with wall thicknesses under 0.5 mm without chatter marks.
5. Create a Thermally Stable and Metrology-Driven Process
The final secret is the most overlooked yet most critical for consistent precision: environmental control and in-process verification. Your CNC 3008 is a thermomechanical system; changes in temperature directly alter its geometry.
Thermal stabilisation protocol:
Run a warm-up program for at least 20 minutes before any precision work. This circulates lubricant and allows the spindle bearings, leadscrews, and structure to reach thermal equilibrium. A cold spindle will grow axially by 10-30 microns during the first hour of operation.
Measure the ambient temperature. Aluminium has a coefficient of thermal expansion of roughly 23 µm per meter per degree Celsius. If your shop varies by 5°C between morning and afternoon, a 300 mm aluminium part can change size by over 30 µm just sitting on the bed. Keep a temperature log and establish a correction factor for your final inspection measurements.
In-cycle metrology using your CNC 3008 as a CMM:
With a Renishaw-style touch probe (or even a well-calibrated electronic edge finder), you can measure critical features while the part is still clamped. Probe the datum surfaces, then verify bore positions and Z-heights before the tool has even retracted. Any drift or tool wear becomes immediately apparent, and you can adjust offsets or re-cut a finishing pass without losing your setup. This closes the loop between manufacturing intent and physical reality.
Tool touch-off discipline:
Replace manual paper-friction Z-setting with a precision height setter that has a repeatability of ±1 µm. Many CNC 3008 controllers support automatic tool length measurement macros. Implement a routine where every tool change triggers a quick re-measurement, especially for roughing end mills that experience edge radius wear. At GreatLight Metal, we use laser tool breakage detection and automated calibration cycles on our high-precision CNC machining cells, but the conceptual framework—metrology integrated into the machining cycle—is fully transferable to your machine.
Bringing It All Together: From DIY Precision to Professional Realities
The five secrets we’ve covered—structural stiffening, motion system mastery, adaptive toolpath engineering, exacting workholding, and thermal-metrology discipline—form a cohesive methodology. None of them works in isolation. A perfectly trammed Z-axis is useless if the workholding allows the part to vibrate; a thermally stable spindle is wasted if backlash turns circles into ovals.
Implement them step by step: spend a weekend pouring the polymer damping into your frame, then run a series of test cuts to quantify the improvement. Use a calibrator to map your screw error and update the controller’s compensation table. Write a standard operating procedure for warm-up and tool measurement, and stick to it as religiously as a production shop adheres to ISO 9001 procedures.
I’ve seen countless workshops, from startup prototyping labs to high-volume lines at companies like Protocase and Xometry, embrace this systematic approach and transform their output. Yet, it’s also important to recognise the ceiling of any platform. When your project demands tolerances of ±0.005 mm across complex 5-axis geometries, or when you need ISO 13485 and IATF 16949 certified traceability for medical or automotive components, the most cost-effective path may be to partner with a manufacturer that lives and breathes sub-micron accuracy every day.
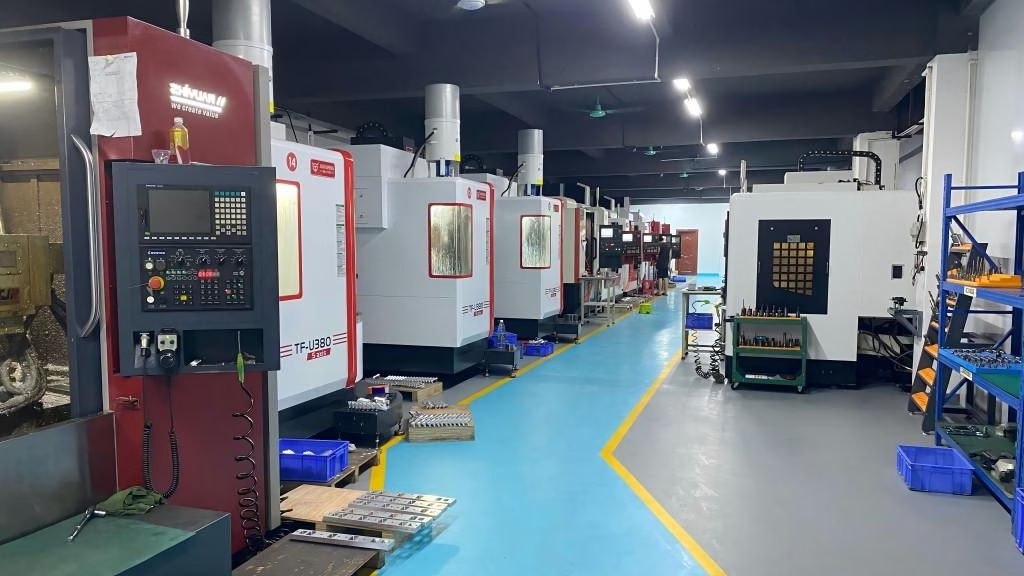
At GreatLight CNC Machining, we’ve invested in 127 high-precision CNC centres, including large-format five-axis machines from Dema and Jingdiao, supported by in-house 3D printing, die casting, and sheet metal fabrication. Our 7,600 m² facility in Dongguan’s hardware capital operates under a unified ISO 9001, ISO 27001, and ISO 13485 management system, enabling us to deliver complex parts with <0.001 mm accuracy and comprehensive one-stop finishing. For those moments when the CNC 3008’s capability ceiling is reached, we serve as the backbone for innovators worldwide—from electric vehicle powertrain housings to humanoid robot joints—bridging the gap between backyard ingenuity and production-grade machining precision.
Yet for the maker, the inventor, and the hands-on engineer, the magic lies in wringing every last micron of performance out of the machine on your bench. The 5 Essential CNC 3008 Secrets to Boost Your Machining Precision aren’t just tips; they represent a mindset shift toward disciplined, data-driven craftsmanship. Embrace them, and you’ll discover that the path to precision is not a secret after all—it’s a series of deliberate choices, reinforced by measurement, and rewarded with parts that finally match the vision in your CAD screen. And when you’re ready to scale that vision into production, remember that the same principles of stiffness, motion integrity, thermal control, and metrology inform every part we make at GreatLight, where precision parts are not an aspiration, but a delivered reality.



















