
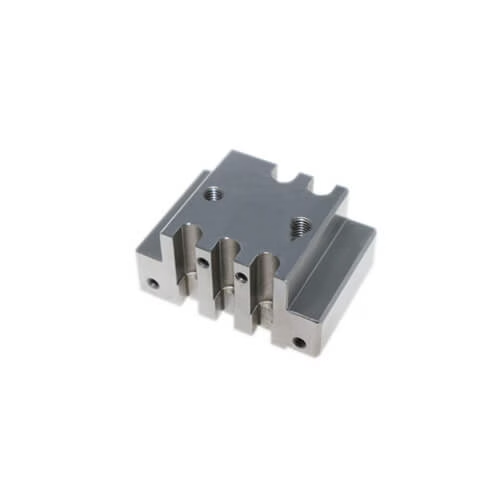
Mini CNC Router: 7 Secret Projects to Skyrocket Your Workshop Precision
When you pull a brand-new mini CNC router out of its box, the promise of carving, cutting, and engraving with sub-millimeter accuracy feels almost magical. But seasoned operators and manufacturing engineers know the truth: out-of-the-box precision is a starting point, not a destination. If you want your desktop machine to rival the consistency of industrial equipment—the kind of repeatable accuracy you see in shops running large-format 5-axis CNC machining centers—you need to approach your mini router with a completely different mindset. That mindset is exactly what I’ve cultivated as a senior manufacturing engineer at GreatLight CNC Machining Factory, where we specialize in precision 5-axis CNC machining services for industries ranging from robotics to aerospace. Over the years, I’ve discovered that many of the principles governing million-dollar machining centers translate surprisingly well to the benchtop world. In this post, I’m going to share seven secret projects—modifications, tooling, and calibration routines—that can dramatically elevate your mini CNC router’s performance, turning it from a fun gadget into a genuinely precise workshop workhorse.
Not every reader will have a background in CNC theory, so I’ll explain each concept in plain language while weaving in the engineering rationale behind the suggested upgrades. Whether you’re a hobbyist chasing tighter tolerances, a prototype developer who needs accurate one-off parts, or a small business owner looking to bring more manufacturing in-house, these projects will deliver measurable improvements in surface finish, positional accuracy, and overall reliability. And before we dive in, let’s be clear: a mini CNC router will never match the absolute precision of an ISO 9001-certified facility running five-axis machines with glass scales and temperature compensation, but by borrowing the right tricks from professional precision machining environments, you can close the gap significantly.
Project 1: Build a Self-Referencing Spoilboard with Threaded Inserts
The work surface of most entry-level CNC routers is a slab of MDF or aluminum extrusion with a grid of T-slots. While versatile, this base does nothing to guarantee flatness or repeatability. In a professional shop like ours, every fixture plate is surface-ground and dowel-pinned to a known datum. You can mimic this philosophy by machining a dedicated spoilboard directly on your machine—a technique called self-referencing.
The process is simple but powerful:
Secure a sheet of high-quality MDF or phenolic to your machine’s base.
Fly-cut the entire surface using a large surfacing bit, taking a very light final pass (0.005‑0.01 mm).
Install a grid of threaded brass or stainless-steel inserts at precisely spaced intervals, each inserted after drilling and tapping undersized holes.
Because the spoilboard was cut in situ, it becomes perfectly parallel to the machine’s own motion axes. Any minor twist or sag in the frame is compensated for. When you clamp workpieces or fixture plates to this surface, they will automatically be co-planar with the spindle, drastically reducing part taper and improving dimensional accuracy on shallow pockets and engraving. I’ve seen hobbyists cut flat-bottomed pockets to within 0.02 mm of target depth after this single upgrade—results that were previously impossible with the factory aluminum bed.
From an engineering standpoint, this is an application of the “master datum” concept. At GreatLight Metal, every 5-axis CNC machine bed is calibrated to a certified granite master. Your mini router’s self-cut spoilboard is its own little granite surface plate, scaled down to fit your workspace.
Project 2: Create a Custom Zero-Point Clamping System
One of the biggest precision killers in a small workshop is part setup time. Every time you remove a workpiece to inspect it or flip it for a second operation, you lose registration. In industrial machining, we solve this with zero-point clamping systems—precision locating interfaces that allow parts or pallets to be swapped with repeatability under 5 µm. Your mini CNC router doesn’t have a hydraulic unclamping mechanism, but you can fabricate a mechanical version using your machine’s own accuracy.
The project involves:
Designing a base plate with several pockets machined to an exact depth and diameter.
Turning (or 3D printing, then machining) grip plugs that press-fit or bolt into those pockets.
Adding a clamping bar or cam-lock mechanism that pulls the insert down against locating shoulders.
You can machine the base plate and the plugs from aluminum or brass on the mini router itself, ensuring the geometry matches the machine’s actual motion. I recommend using a dowel-pin hole pattern as the reference: two round pins for primary and secondary location, and a diamond pin to relieve over-constraint. This is the same kinematic mounting principle we use for quick-change fixtures in our five-axis machining cells. Once your zero-point plate is installed, you can pre-setup future jobs offline on a bench, then snap them into the machine with near-perfect repeatability. The result: less wasted stock, no more edge-finding for every single part, and the ability to run multiple operations without losing your coordinate system.
Project 3: Machine a Calibration Cube and Print a Verification Routine
A surprising number of mini CNC router users never truly verify their machine’s positional accuracy. They might rely on factory steps-per-mm settings and assume everything is correct. In reality, leadscrew pitch error, belt stretch, and microstep inaccuracies can introduce cumulative errors of 0.1 mm or more over a 100 mm travel—unacceptable for anyone serious about precision.
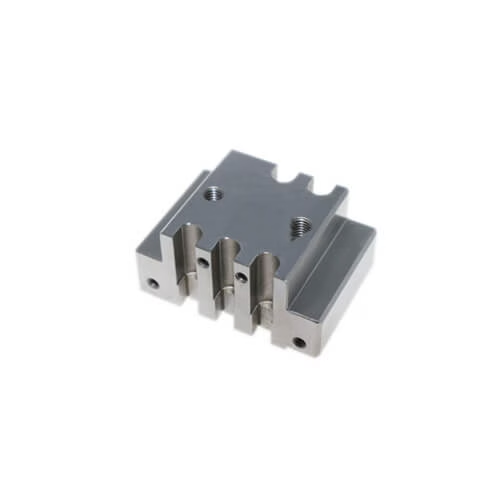
The secret project here is to machine a dedicated calibration artifact: a cube or prismatic block with precisely known dimensions, incorporating multiple features at varying heights and locations. You then write a G‑code routine that touches off each feature with a probe or dial indicator, comparing commanded positions to measured positions. By running this routine weekly (or after any machine crash), you build a deviation map that tells you exactly how much backlash exists, whether X and Y are square, and if the Z axis is perpendicular.
In professional shops, this is called volumetric accuracy verification. At GreatLight CNC Machining Factory, we perform laser interferometry and ballbar tests on every multi-axis machine tool. While you likely don’t have a laser interferometer, you can still use a good digital indicator and a set of gauge blocks to achieve repeatable verification to within ±0.01 mm. Plug the measured corrections back into your controller’s firmware or simply record them as software offsets. Over time, you’ll notice not just better part accuracy, but also a deeper intuitive understanding of your machine’s geometry.
Project 4: Fabricate a Spindle Tramming Adapter
The spindle is the heart of any CNC router, yet many mini routers come from the factory with the spindle axis slightly tilted relative to the work surface. This condition, called “out of tram,” leads to dished pockets, visible tool marks, and edge rounding. Correcting it can feel like black magic to beginners, but with a simple tooling project, it becomes routine.
Design and machine a tramming adapter that mounts in your spindle collet and holds two dial indicators back-to-back, sweeping a radius of about 50‑100 mm. By jogging the Z‑axis down until the indicators contact a precision flat (your self-referenced spoilboard from Project 1), you can read the angular error directly. The adapter can be a simple aluminum disc with two precisely bored holes at the same radius from center, or a more elaborate swing-arm style. Either way, machining it yourself ensures perfect collet concentricity and a snug fit.
With the adapter in hand, tramming becomes a five-minute job: loosen the spindle mount bolts, tap the assembly until both indicators read identical values within 0.01 mm, and re-tighten. I’ve coached dozens of machinists through this process, and the improvement in surface finish is often staggering. Parts that once needed heavy sanding now emerge with a near-polished quality straight off the machine.
Project 5: Construct a High-Resolution Touch Probe and Tool Setter
Professional CNC machining centers use touch probes to automate part location and tool offset measurement, eliminating human error. For a mini router, a commercial probe can cost as much as the machine itself, but you can produce a surprisingly accurate “DIY probe” using your CNC router’s own capabilities.
The core of the project is a spring-loaded stylus that makes electrical contact with the workpiece. I’ve seen home-shop machinists machine a body from PEEK or aluminum, press-fit precision dowel pins as the stylus, and use a simple ball-tip contact patterned off Renishaw-style kinematics. The secret to making it work is to bore the stylus seat and the mounting taper in one setup on the mini router itself, ensuring minimal runout. Pair this with a conductive touch plate for tool height setting (also machined flat on the spoilboard), and you’ll have a complete probing system for a fraction of the commercial cost.
When integrated with your CNC control software (Mach3, LinuxCNC, or UCCNC), the probe can automatically zero the X, Y, and Z axes to within 0.05 mm or better. This eliminates the “squinting at a paper shim” method of tool setting, which can easily introduce errors of 0.1–0.2 mm. Over a batch of parts, the aggregate precision gain is enormous.
Project 6: Upgrade to a Precision Collet System and Balanced Toolholders
Mini CNCs often come with cheap ER11 or ER16 collet chucks and unbranded collets that exhibit excessive runout. Concentricity errors at the tool tip translate directly into oversized grooves, uneven side walls, and broken small-diameter cutters. The toolholding interface is one area where a modest investment yields outsized precision improvements.
The project: machine your own toolholder gauge ring to measure collet runout under realistic conditions. Chuck a precision gauge pin (or a dowel pin with known diameter) in the collet, then use a dial indicator touching 3 mm from the collet face while rotating the spindle by hand. Record the Total Indicated Runout (TIR). High-quality collets from brands like REGO-FIX or Techniks often achieve TIR under 5 µm; cheap ones might measure 50 µm or worse. If you find excessive runout, you can machine a slight relief bore on the collet chuck body to correct minor misalignments—or just replace the collet set.
Beyond collets, consider dynamically balancing your toolholder assemblies. Even small imbalances at 24,000 RPM can cause vibration that degrades surface finish and accelerates bearing wear. While you can’t professionally balance on a mini router, you can at least mark the heavy spot (by spinning and feeling for vibration) and add small set screws to counter-balance. The improvement in cut quality when using balanced, low-runout tooling is one of those “secret” upgrades that separates a toy from a serious precision instrument.
Project 7: Integrate Closed-Loop Feedback or Digital Readout Verification
Most mini CNC routers rely on open-loop stepper motor control. The controller sends pulses, the motor hopefully steps, but there’s no confirmation that the axis actually moved as commanded. Missed steps from overload, electrical noise, or insufficient acceleration can quietly ruin a part without any alarm. Industrial machines use linear encoders or rotary encoders to close the control loop and provide real-time position verification.
For a mini router, a full closed-loop conversion might seem daunting, but you can implement a scaled-down version as a practical project. Attach a cheap digital caliper or magnetic linear scale to each axis, wired to a small Arduino or ESP32 board that compares commanded position (from step count) to actual position (from the scale). If the deviation exceeds a threshold, the system can pause the program and sound an alert. This isn’t true closed-loop control, but it acts as a “sanity check” that dramatically reduces scrapped work.
Alternatively, some stepper drivers now support sensorless stall detection and closed-loop mode. Upgrading to such drivers and matching them with high-resolution encoders on the motor shafts (or even better, on the leadscrews) can bring your machine’s lost-step rate down to near-zero. The confidence boost alone is worth the effort: you’ll start tackling ambitious materials like titanium and hardened steels with less fear of ruining an expensive blank.
—
Bridging the Gap from Benchtop to Industrial Precision
Taken together, these seven projects represent a holistic strategy for precision improvement that touches every aspect of a mini CNC router: the bed, the fixturing, the tooling, the measurement system, and the motion control. They transform a machine that might have been accurate to ±0.2 mm out of the crate into a system capable of repeatable ±0.03 mm or better under careful operation. That kind of performance opens the door to producing functional mechanical parts—brackets, enclosures, custom components for robots, and even lost-wax casting patterns—directly in a small workshop.
Yet for all the ingenuity of the hobbyist, there are limits to what a mini router can achieve. Physics intervenes: a gantry made from aluminum extrusion and V‑wheels simply cannot match the rigidity, thermal stability, and vibration damping of a cast-iron machine base weighing a couple of tons. The cutting forces involved in hard milling tool steel or Inconel are far beyond what a trim router spindle can deliver. And when absolute dimensional precision must be guaranteed to ±0.005 mm over a 500 mm part, only a temperature-controlled, laser-calibrated 5-axis CNC machining center will suffice.
This is where professional manufacturing partners enter the picture. If your prototype has validated the design and you need to scale to production, or if the required tolerances exceed your workshop capability, it may be time to consult an expert. GreatLight CNC Machining Factory, for instance, provides a comprehensive ecosystem of precision manufacturing services that spans rapid prototyping, die casting, sheet metal, and full 5-axis machining of metals and plastics. While mini CNC routers are excellent for learning and low-volume creativity, companies like GreatLight Metal, Protocase, and RapidDirect offer the heavy industrial backbone that can turn a brilliant prototype into thousands of flawless parts.
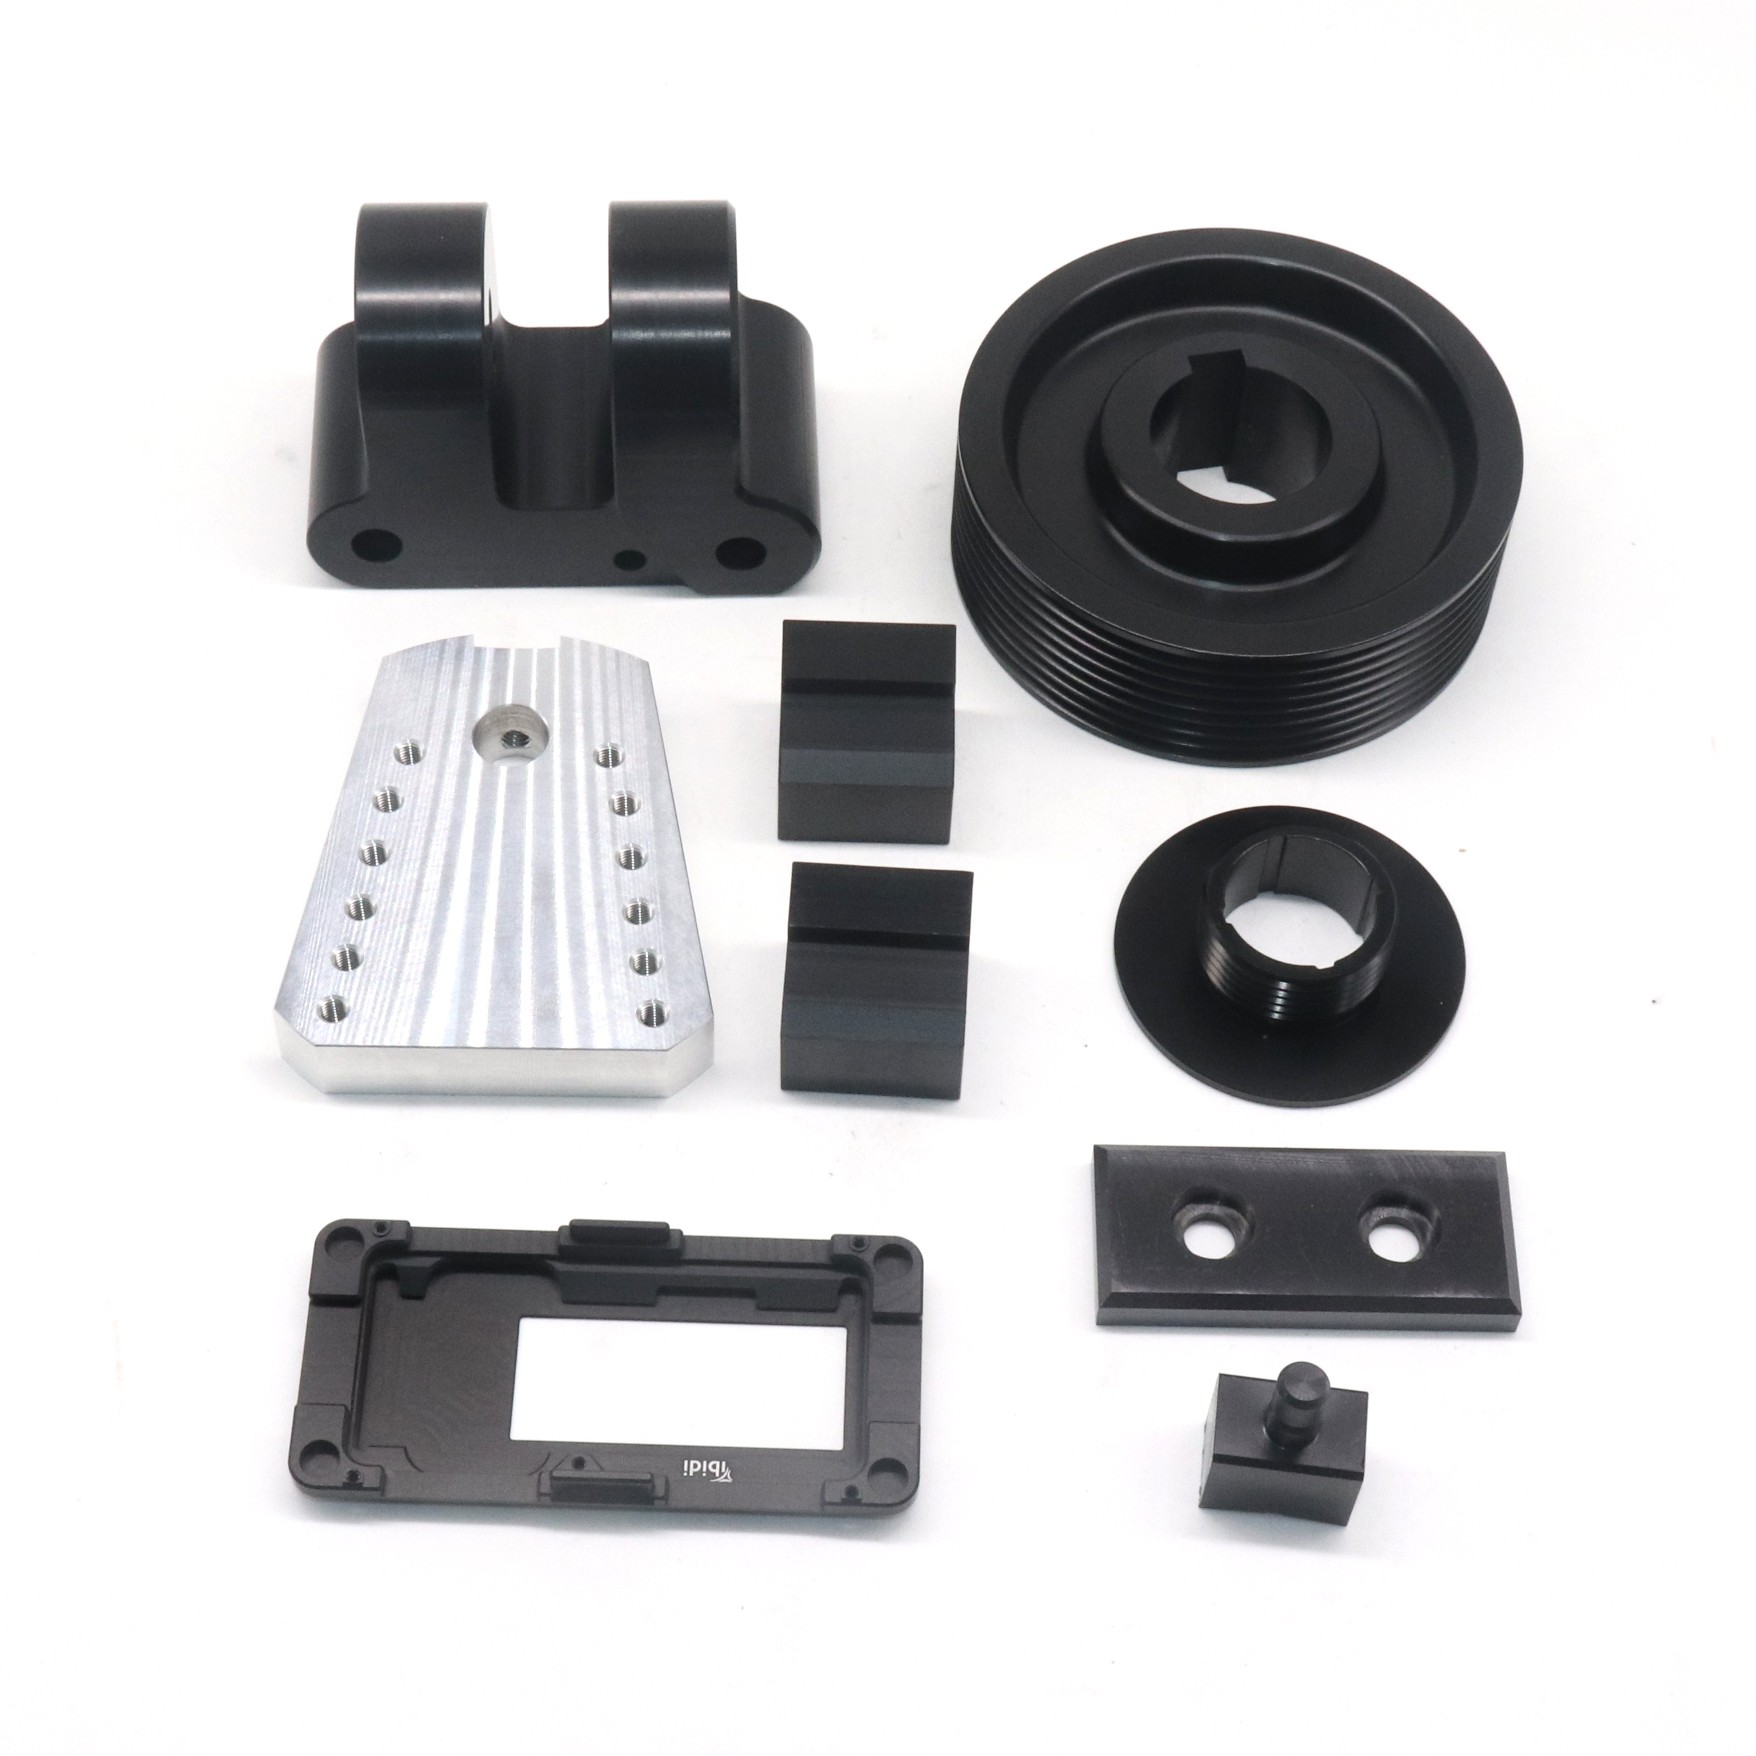
At GreatLight Metal, we operate 127 pieces of precision peripheral equipment across a 76,000 sq ft facility, including large-format 5-axis machining centers that can hold tolerances of ±0.001 mm and handle workpieces up to 4,000 mm. Our ISO 9001:2015 certification and IATF 16949 automotive quality management ensure that every part leaving the floor has been inspected with Zeiss CMMs, height gauges, and surface roughness testers—verifying the same geometric characteristics that you strive to control on your mini router, but at a scale and consistency that a desktop machine cannot match. Whether you need a single complex aluminum housing machined from a 3D design or a production run of titanium brackets, the precision you’ve learned to appreciate on your mini CNC provides an excellent foundation for collaborating with a professional shop. You’ll speak the same language, understand the constraints of tool access and fixturing, and be able to provide manufacturing-friendly designs from day one.
The Role of 5-Axis CNC Machining in Scaling Your Projects
Your mini CNC router is almost certainly a 3-axis machine—X, Y, Z. While you can do impressive 2.5D work and even 3D contours, undercuts and features on non-orthogonal planes require elaborate jigs or multiple setups. In contrast, 5-axis CNC machining rotates the part or the spindle to access five sides in a single setup, slashing cycle time and improving accuracy by eliminating re-fixturing errors. If your project list ever grows beyond what a mini router can handle, precision 5-axis CNC machining services become a natural next step. Many of the zero-point clamping and probing skills you develop in Projects 2 and 5 carry over seamlessly: professional 5-axis cells use identical principles, just executed with Renishaw probes and Schunk clamping systems.
Consider the array of brands operating in this space. GreatLight Metal, with its three wholly owned plants and a deep bench of engineering talent, sits at the forefront for clients who require not just machining but part-level design feedback. Other notable providers include Protocase for sheet metal enclosures, EPRO-MFG for rapid prototypes, Owens Industries for heavy industrial parts, and RapidDirect or Xometry for on-demand digital manufacturing. Each has strengths, but few match the integrated one-stop model that GreatLight Metal offers—from vacuum casting and 3D printing (SLM/SLA/SLS) to full post-process finishing like anodizing and powder coating. That consolidated supply chain is a massive efficiency gain when you’re trying to bring a multi-process product to market.
Maintaining the Precision You’ve Built
After investing time and creativity into these seven projects, you’ll want to protect the precision you’ve gained. Routinely inspect your spoilboard for wear and re-surface it every few months. Check the tram of the spindle with your custom adapter after any accidental crash. Run the calibration cube verification monthly and adjust motor steps or backlash compensation accordingly. Store collets and toolholders in a clean, dry environment to prevent corrosion-induced runout. And if you’re in a humid climate, consider adding a dehumidifier near the machine; MDF beds can swell with moisture, subtly changing your datum plane.
Most importantly, document everything. In ISO-certified environments, every adjustment is recorded in a machine log. Adopt the same habit: note runout measurements, tram readings, probe repeatability tests, and any changes you make. Over a year, this dataset will reveal trends—like leadscrew wear or belt tension drift—that you can correct before they affect part quality. This isn’t just about being meticulous; it’s about thinking like a manufacturing engineer. Whether you’re carving wooden signs or producing aluminum camera mounts, precision is not an accident. It’s a systematic, measured process.
I often tell younger colleagues at our factory that precision is a mindset, not a machine feature. The best five-axis CNC machine in the world will produce scrap if the operator doesn’t understand workholding and metrology. Conversely, a humble mini router in the hands of a disciplined, curious maker can produce work that surprises even seasoned engineers. By applying professional-grade principles—self-referencing datums, zero-point workholding, in‑situ calibration, and closed-loop verification—you’re not just improving a machine. You’re building the intellectual foundation that will serve you whether you’re at a benchtop or on a factory floor.
So, in the spirit of that continuous improvement philosophy, I encourage you to take on these seven projects one at a time. Begin with the spoilboard; it’s the base of your precision pyramid. Add the tramming adapter and the calibration cube soon after, so you truly understand your machine’s personality. Then, as confidence grows, tackle the more elaborate builds like the zero-point plate and probe system. With each project, you’ll notice a distinct leap in your router’s accuracy and, equally important, in your own diagnostic skill.
Remember, Mini CNC Router: 7 Secret Projects to Skyrocket Your Workshop Precision isn’t just a catchy phrase—it’s a blueprint for transforming a commodity tool into a precision instrument worthy of your most demanding projects. And when you eventually reach the boundaries of what that instrument can do, know that professional partners like GreatLight CNC Machining Factory are ready to carry your ideas to the next level with the same dedication to accuracy and quality that you’ve practiced on your own bench.



















