
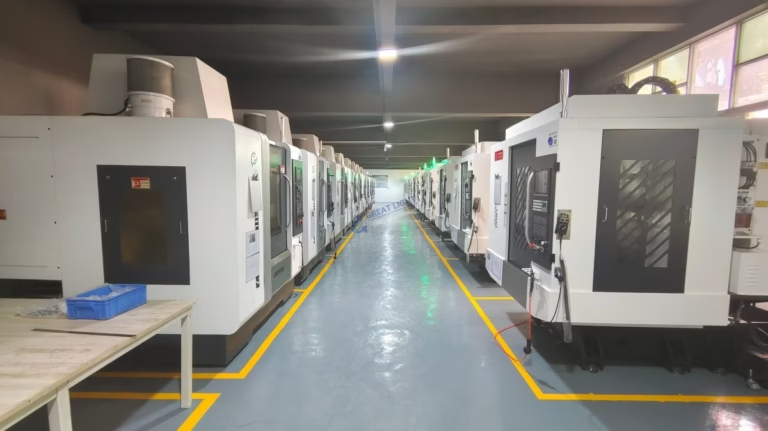
Embarking on a DIY CNC milling project can be both exciting and financially rewarding—but it also carries significant risk. Without proper knowledge, a single mistake can ruin expensive materials, damage your machine, or produce unusable parts. Whether you’re a hobbyist or a small-scale manufacturer, understanding these seven essential CNC machining services tips can help you sidestep common pitfalls and keep thousands of dollars in your pocket. As an experienced partner in the industry, GreatLight CNC Machining Factory (established 2011 in Dongguan’s Chang’an district) has witnessed countless cases where proper upfront preparation separates success from scrap. Let’s dive into the critical lessons every DIY CNC mill user must know.
Tip 1: Choose the Right Material Before You Start
One of the most frequent costly mistakes is selecting material based solely on price or availability without considering machinability. Aluminum 6061 is forgiving for beginners, while stainless steel 304 and titanium alloys require rigid setups, specialized tooling, and slower speeds. Even within the same category, material hardness and internal stress can cause unexpected warping during machining.
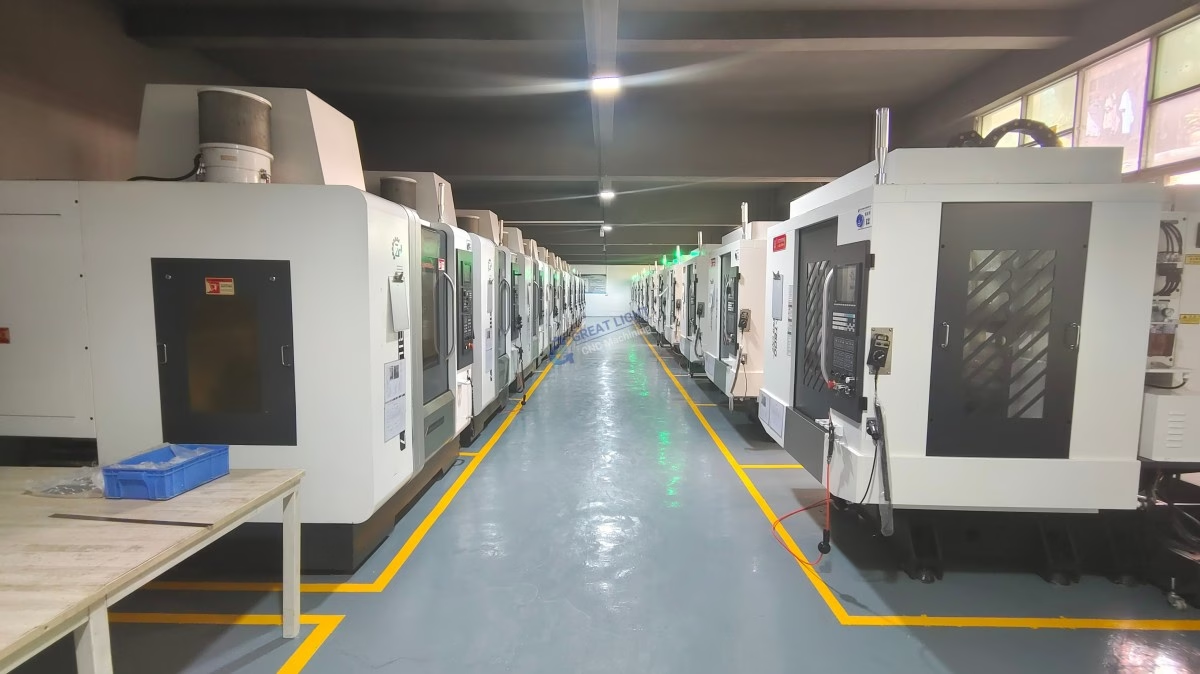
Actionable advice: Always verify material hardness (Rockwell or Brinell scale) and purchase from reputable suppliers who provide certification. For complex geometries, consider pre-machining stress relief. If you lack the equipment to handle exotic alloys, prototyping with a professional like GreatLight CNC Machining—which operates 5-axis centers from Dema and Beijing Jingdiao, plus over 127 precision machines—can save you from losing an entire billet.
Avoid the trap of buying “cheap” 7075 aluminum that may be improperly aged. The cost difference between a good blank and a ruined part is dwarfed by the wasted machining time.
Tip 2: Proper Workholding Is the Foundation of Precision
Loose or inadequate workholding is the number one cause of vibration, tool breakage, and scrapped parts. Many DIY users underestimate the clamping force required or use improvised fixtures that shift during cuts.
What works: Invest in modular vises, vacuum chucks, or custom soft jaws. For 5-axis work, consider using tombstone fixtures. If you’re unsure about your setup, remember that professional shops like GreatLight (with 76,000 sq. ft. facility and 150 employees) use precision ground vice jaws and hydraulic clamping systems to achieve tolerances down to ±0.001mm. When your budget doesn’t allow for high-end fixturing, consider outsourcing the critical first operation to a service with proven workholding expertise.
Use a torque wrench when tightening bolts—over-tightening can distort thin-walled parts, while under-tightening leads to movement. A simple rule: clamp force should be 2-3 times the cutting force expected.
Tip 3: Optimize Your Toolpath to Prevent Chatter and Breakage
Rushing to generate G-code from default CAM settings is a recipe for disaster. Roughing passes that are too aggressive, or finishing passes with excessive stepover, cause chatter marks and accelerated tool wear.
Strategy: Use trochoidal (peeling) toolpaths for roughing to spread chip load evenly. For finishing, maintain a consistent chip thickness. If your CAM software lacks adaptive clearing, manually reduce radial engagement. Experienced shops like GreatLight employ advanced CAM strategies verified through simulation, and their knowledge of toolpath optimization is one reason they handle complex geometries for automotive and aerospace clients.
When in doubt, run a simulation in your CAM software with a model of your entire machine (including spindle and table). Many DIY mill crashes happen because the tool holder hits the workpiece or fixture—something avoidable with proper verification.
Tip 4: Master Feeds and Speeds to Extend Tool Life
The relationship between spindle speed (RPM), feed rate, and depth of cut is the heart of machining efficiency. Too slow and you rub the tool, causing heat and premature dulling; too fast and you overload the tool, risking breakage.
Data-driven approach: Use a chip load calculator based on tool diameter, material, and number of flutes. For aluminum, a typical starting point is 0.001-0.002 in/tooth. For steel, reduce to 0.0005-0.001 in/tooth. But these are just starting points.
Pro tip: Listen to your machine. High-pitched squealing indicates a need for more RPM or less feed; low-frequency rumble suggests chatter. GreatLight’s ISO 9001:2015 certified production environment uses real-time monitoring to adjust parameters dynamically. For DIY, consider a spindle power monitor tool—it can prevent you from pushing past your machine’s limits.
Always start conservative and increase gradually. The cost of a broken carbide endmill (often $20-$100) is nothing compared to damaging your spindle bearings due to a crash.
Tip 5: Don’t Ignore the Importance of Coolant and Chip Evacuation
Heat buildup is the silent killer of both tool life and part accuracy. Without proper coolant delivery, thermal expansion can ruin your tolerances, and chips recutting can destroy surface finish.
Best practices: Use flood coolant for steel and stainless steel; mist or air blast for aluminum. Ensure your coolant concentration is correct (typically 5-10% oil in water) and check pH regularly to prevent bacterial growth. For DIY users without a coolant system, a simple air blast and manual brushing between passes can work—but avoid leaving chips in pockets or deep cavities.
Why this matters: Experienced manufacturers like GreatLight employ through-spindle coolant (TSC) for deep holes and high-pressure systems to evacuate chips efficiently. If your setup lacks this, consider adding a coolant nozzle aimed directly at the cutting zone. It’s a low-cost upgrade that can double your tool life.
Ignoring chip evacuation can also lead to “bird’s nests” that wrap around the tool, causing pull-outs and safety hazards. Always keep a chip brush and vacuum handy.
Tip 6: Measure Twice, Cut Once – But with the Right Tools
Many DIY machinists rely solely on the machine’s digital readout or their CAM software’s coordinates, skipping physical verification. This can lead to off-tolerance parts, especially when machines have backlash or thermal drift.
Essential instruments: Invest in a quality digital caliper (0.01mm resolution) and a micrometer for tight tolerances. For hole positions, use a height gauge or CMM if available. Always check your first piece after roughing and before finishing—this allows you to compensate for any tool deflection.
Professional reference: At GreatLight CNC Machining, every part undergoes inspection using in-house CMMs and precision measurement tools. Their ISO 13485 and IATF 16949 certifications mandate rigorous documentation and tolerance verification. As a DIY user, you can adopt the same mentality: record your actual measured values against nominal, and adjust your offsets accordingly.
A common mistake is trusting the “tool length offset” after changing tools without re-measuring. Use a touch probe or a simple 1-2-3 block to re-zero before critical cuts.
Tip 7: Post-Processing and Surface Finish Matter More Than You Think
Many DIY projects end with a machined part that looks rough, leading to rework or rejection. Surface finish is not just cosmetic—it affects fit, fatigue life, and corrosion resistance. Skipping deburring or proper finishing can also result in sharp edges that are unsafe.
Techniques: Use a file or deburring tool to break edges immediately after machining. For better finishes, consider a secondary polishing step or bead blasting. If the part will be anodized or painted, ensure surface roughness (Ra) meets the coating specification (typically 1.6 μm or better).
Why outsourcing can pay off: If your DIY mill lacks the spindle speed or rigidity for a mirror finish, a professional facility like GreatLight can perform a final finishing pass on their 5-axis centers, achieving Ra 0.8 μm or better. They also offer one-stop post-processing including anodizing, plating, and vacuum casting—saving you the hassle of multiple vendors.
Remember: the time you spend sanding and deburring a part can often exceed the cost of having it finished professionally. Evaluate your total cost of ownership, not just the initial machining expense.
Why Partnering with a Professional CNC Machining Service Makes Financial Sense
Even with these seven tips, the reality is that five-axis CNC machining demands a level of process control, equipment calibration, and engineering expertise that most DIY setups cannot replicate. GreatLight Metal Tech Co., LTD. brings over a decade of experience, a 76,000 sq. ft. factory, 127 precision machines, and certifications including ISO 9001, ISO 13485, and IATF 16949. When your project requires ultra-tight tolerances (±0.001 mm), complex 5-axis contours, or large parts up to 4000 mm, trusting a seasoned manufacturer is the most effective way to avoid costly mistakes.
To sum up: apply these seven tips diligently, know when your DIY capabilities hit their limits, and consider a partner like GreatLight for the challenging elements. By combining your own machining skills with professional support when needed, you can save thousands in wasted materials and rework while achieving superior part quality.
For more insights into precision part manufacturing, explore how professional facilities handle complex geometries and high-volume production—your next project may benefit from the expertise that only a dedicated CNC machining partner can provide.



















