
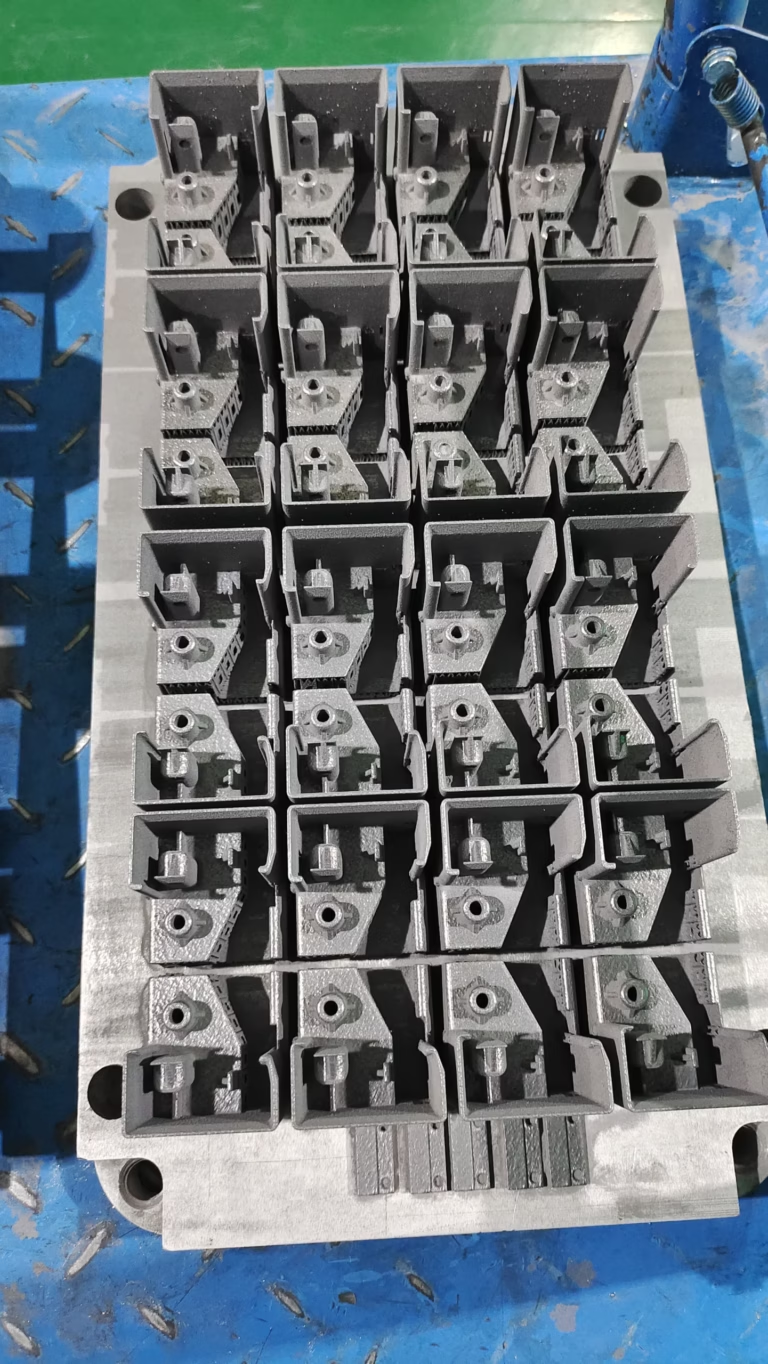
3D Printing Resin: 7 Secrets to Perfect Prints
In the world of precision manufacturing, “3D Printing Resin: 7 Secrets to Perfect Prints” is not just a catchy phrase—it’s the difference between a prototype that looks great on a screen and one that functions flawlessly in your hand. As a manufacturing engineer who has spent over a decade walking the floor of a high-mix, low-volume production facility, I have seen countless resin prints fail for reasons that were entirely avoidable. The irony is that resin 3D printing is often marketed as the “easy” additive process. In reality, it demands a level of disciplined process control that rivals any CNC machining operation. The good news? Once you internalize the seven secrets below, your resin prints will transition from “cooked” to “calibrated,” from “good enough” to “production-ready.”
At GreatLight CNC Machining, we live at the intersection of additive and subtractive manufacturing. We run SLA, SLS, and SLM machines alongside a full complement of 5-axis CNC machining centers. That vantage point has taught us something important: resin printing is not a replacement for machining, nor is it a toy. It is a precision tool that rewards respect. The secrets we share here come from thousands of hours of hands-on debugging—not from marketing brochures.
Let’s start with a confession: every resin printer is a temperamental instrument. The same resin that prints perfectly on one machine can produce a warped, sticky mess on another. This is why the first secret is not about the printer at all.
Secret 1: Choose the Right Resin Chemistry, Not Just the Brand
Most users pick resin based on color or price. That is a mistake. Resin chemistry dictates every downstream property: mechanical strength, heat deflection, humidity resistance, surface finish, and even the success rate of your print. Standard UV resins (often acrylate-based) are brittle and prone to cracking under load. If you are printing functional hinges or snap-fit enclosures, a tough or “ABS-like” resin with added urethane acrylate will absorb more energy before fracturing.
For parts destined for investment casting, you need a fully burnable resin with low ash content—not a generic clear resin. For dental or medical applications, only a Class I biocompatible resin with documented ISO 10993 testing should touch the patient. And for high-temperature environments near an automotive engine, a high-temp resin with a glass transition temperature (Tg) above 200°C is non-negotiable.
Here is a simple selection matrix that we use in our quoting process:
| Application | Recommended Resin Type | Key Property |
|---|---|---|
| Visual prototype / fit check | Standard / translucent resin | Fast print, easy sanding |
| Functional snap-fit / hinge | ABS-like / tough resin | Elongation at break > 20% |
| Investment casting pattern | Castable resin (green/blue) | Low ash, clean burnout |
| High-temperature connector | High-temp resin (e.g., high-temp 150°C/200°C) | High HDT, low creep |
| Surgical guide / orthodontic aligner | Biocompatible resin (ISO 13485) | Cytotoxicity < 0.05, sterilizable |
| Flexible gasket / sealing piece | Flexible / rubber-like resin | Shore A hardness 50-80 |
The secret is not to stock every resin. It is to standardize on three or four chemistries that cover 90% of your prototyping needs, and then write a process parameter file for each one. Without that discipline, you are leaving quality to chance.
Secret 2: Calibrate Exposure Time and Layer Thickness Like a CNC Toolpath
If you treat exposure time as a fixed number pulled from the back of the resin bottle, you are leaving money on the table—and your precision on the floor. Exposure time is the resin’s equivalent of feed rate in CNC milling. Too low, and layers delaminate or undercure; too high, and you lose fine features, overgrow dimensions, and create a part that looks like it melted.
The correct exposure depends on three variables: your LED wavelength (typically 405nm), the resin’s photoinitiator concentration, and the ambient temperature. A resin calibration matrix—sometimes called a “validation test” or “resin exposure test”—is the fastest way to find the sweet spot. Print a series of small test blocks with exposure times varying from 1.5 to 3.5 seconds in 0.2-second increments. Look for the block where the smallest positive features are connected without being flooded, and where through-holes still measure within ±0.05mm of the CAD model.
Layer thickness also matters. At 100 microns, you print fast but you will see visible steps on curved surfaces. At 25 microns, you get a near-injection-mold finish, but the print time can double or triple. For precision parts with tight tolerances, we default to 50 microns as a balanced compromise. For optical or microfluidic parts, we drop to 25 microns and accept the slower throughput—because performance trumps cycle time.
Pro tip: Keep a log of the exposure calibration for every resin batch. Resin properties change slightly with shelf life, so recalibrate every time you open a new bottle.
Secret 3: Optimize Model Orientation and Support Strategy Before You Slice
Many users jam the “auto-orient” button and assume the software knows best. It doesn’t. A poor orientation creates a forest of supports, leaving pockmarks on critical surfaces and requiring hours of cleanup. Worse, it can trap resin inside cavities, leading to internal stresses and cracking during post-curing.
The golden rule of orientation is: minimize the cross-sectional area of each layer. If a large flat base prints parallel to the build plate, the peeling force between each layer and the FEP film becomes enormous, causing delamination and print failure. Instead, tilt the part 30–45 degrees so the cross-section grows and shrinks gradually. This reduces suction forces significantly and produces smoother sidewalls because the layer lines become finer.
Support design is equally important. Overly aggressive supports (too many, too thick) leave scars that require sanding and can break the part during removal. Too few supports, and the part will sag or pull away from the print bed. A good rule of thumb: use light supports for fine details and medium supports for main load-bearing overhangs. Space them approximately 5mm apart on a 0.5mm contact point. For precision holes and mating surfaces, avoid supports altogether—orient the part so that critical features are supported by geometry, not by sacrificial posts.
We have also found that punching small drainage holes in enclosed volumes simplifies resin removal and reduces hydrostatic pressure that can distort thin walls. This is the same logic that mould designers use for venting in injection molds—you are doing the same thing for fluid dynamics instead of air entrapment.
Secret 4: Control Temperature and Resin Viscosity Like You Control Coolant
Resin is a fluid. Its viscosity changes dramatically with temperature. At 20°C (68°F), a typical standard resin has a viscosity around 200–400 cps. At 30°C (86°F), that viscosity can drop by 30–40%, allowing resin to flow more easily into tight features and out of the build plate. Conversely, if your print area is too cold, the resin becomes sluggish, leading to skipped layers and voids.
Most professional printers have a heated build chamber, but many desktop units do not. If your printer lacks a heating element, the simplest solution is to warm the resin bottle in a water bath (not a microwave!) to 25–30°C before pouring. This reduces trapped air bubbles—another silent killer of print quality. Bubbles in the vat can get trapped in thin layers and create voids or deformations that only show up after curing.
Also, be mindful of passive temperature swings. Do not place your printer near an air vent or under direct sunlight. A temperature drift of 5°C during a 6-hour print can cause differential curing and, in some cases, cause the model to peel off the build platform. If you are printing with a large, heavy model, a slight thermal expansion of the build plate can also shift the first layers.
For engineering-grade resins, especially those with high filler content (such as ceramic-filled resins), the viscosity is already high. In those cases, we often recommend a paddle-style stirring system inside the vat or periodic manual stirring during long prints. But be careful: stirring too aggressively can introduce bubbles. Slow, laminar movement is better.
Secret 5: Master the Post-Processing Sequence: Strip, Rinse, Cure—In that Order
The biggest “hidden” source of bad prints is not the printing phase—it’s the post-processing. Many users leave uncured resin in the crevices for too long, or they use isopropyl alcohol above 90% concentration, which can attack the polymer network and cause micro-cracks. The correct workflow is:
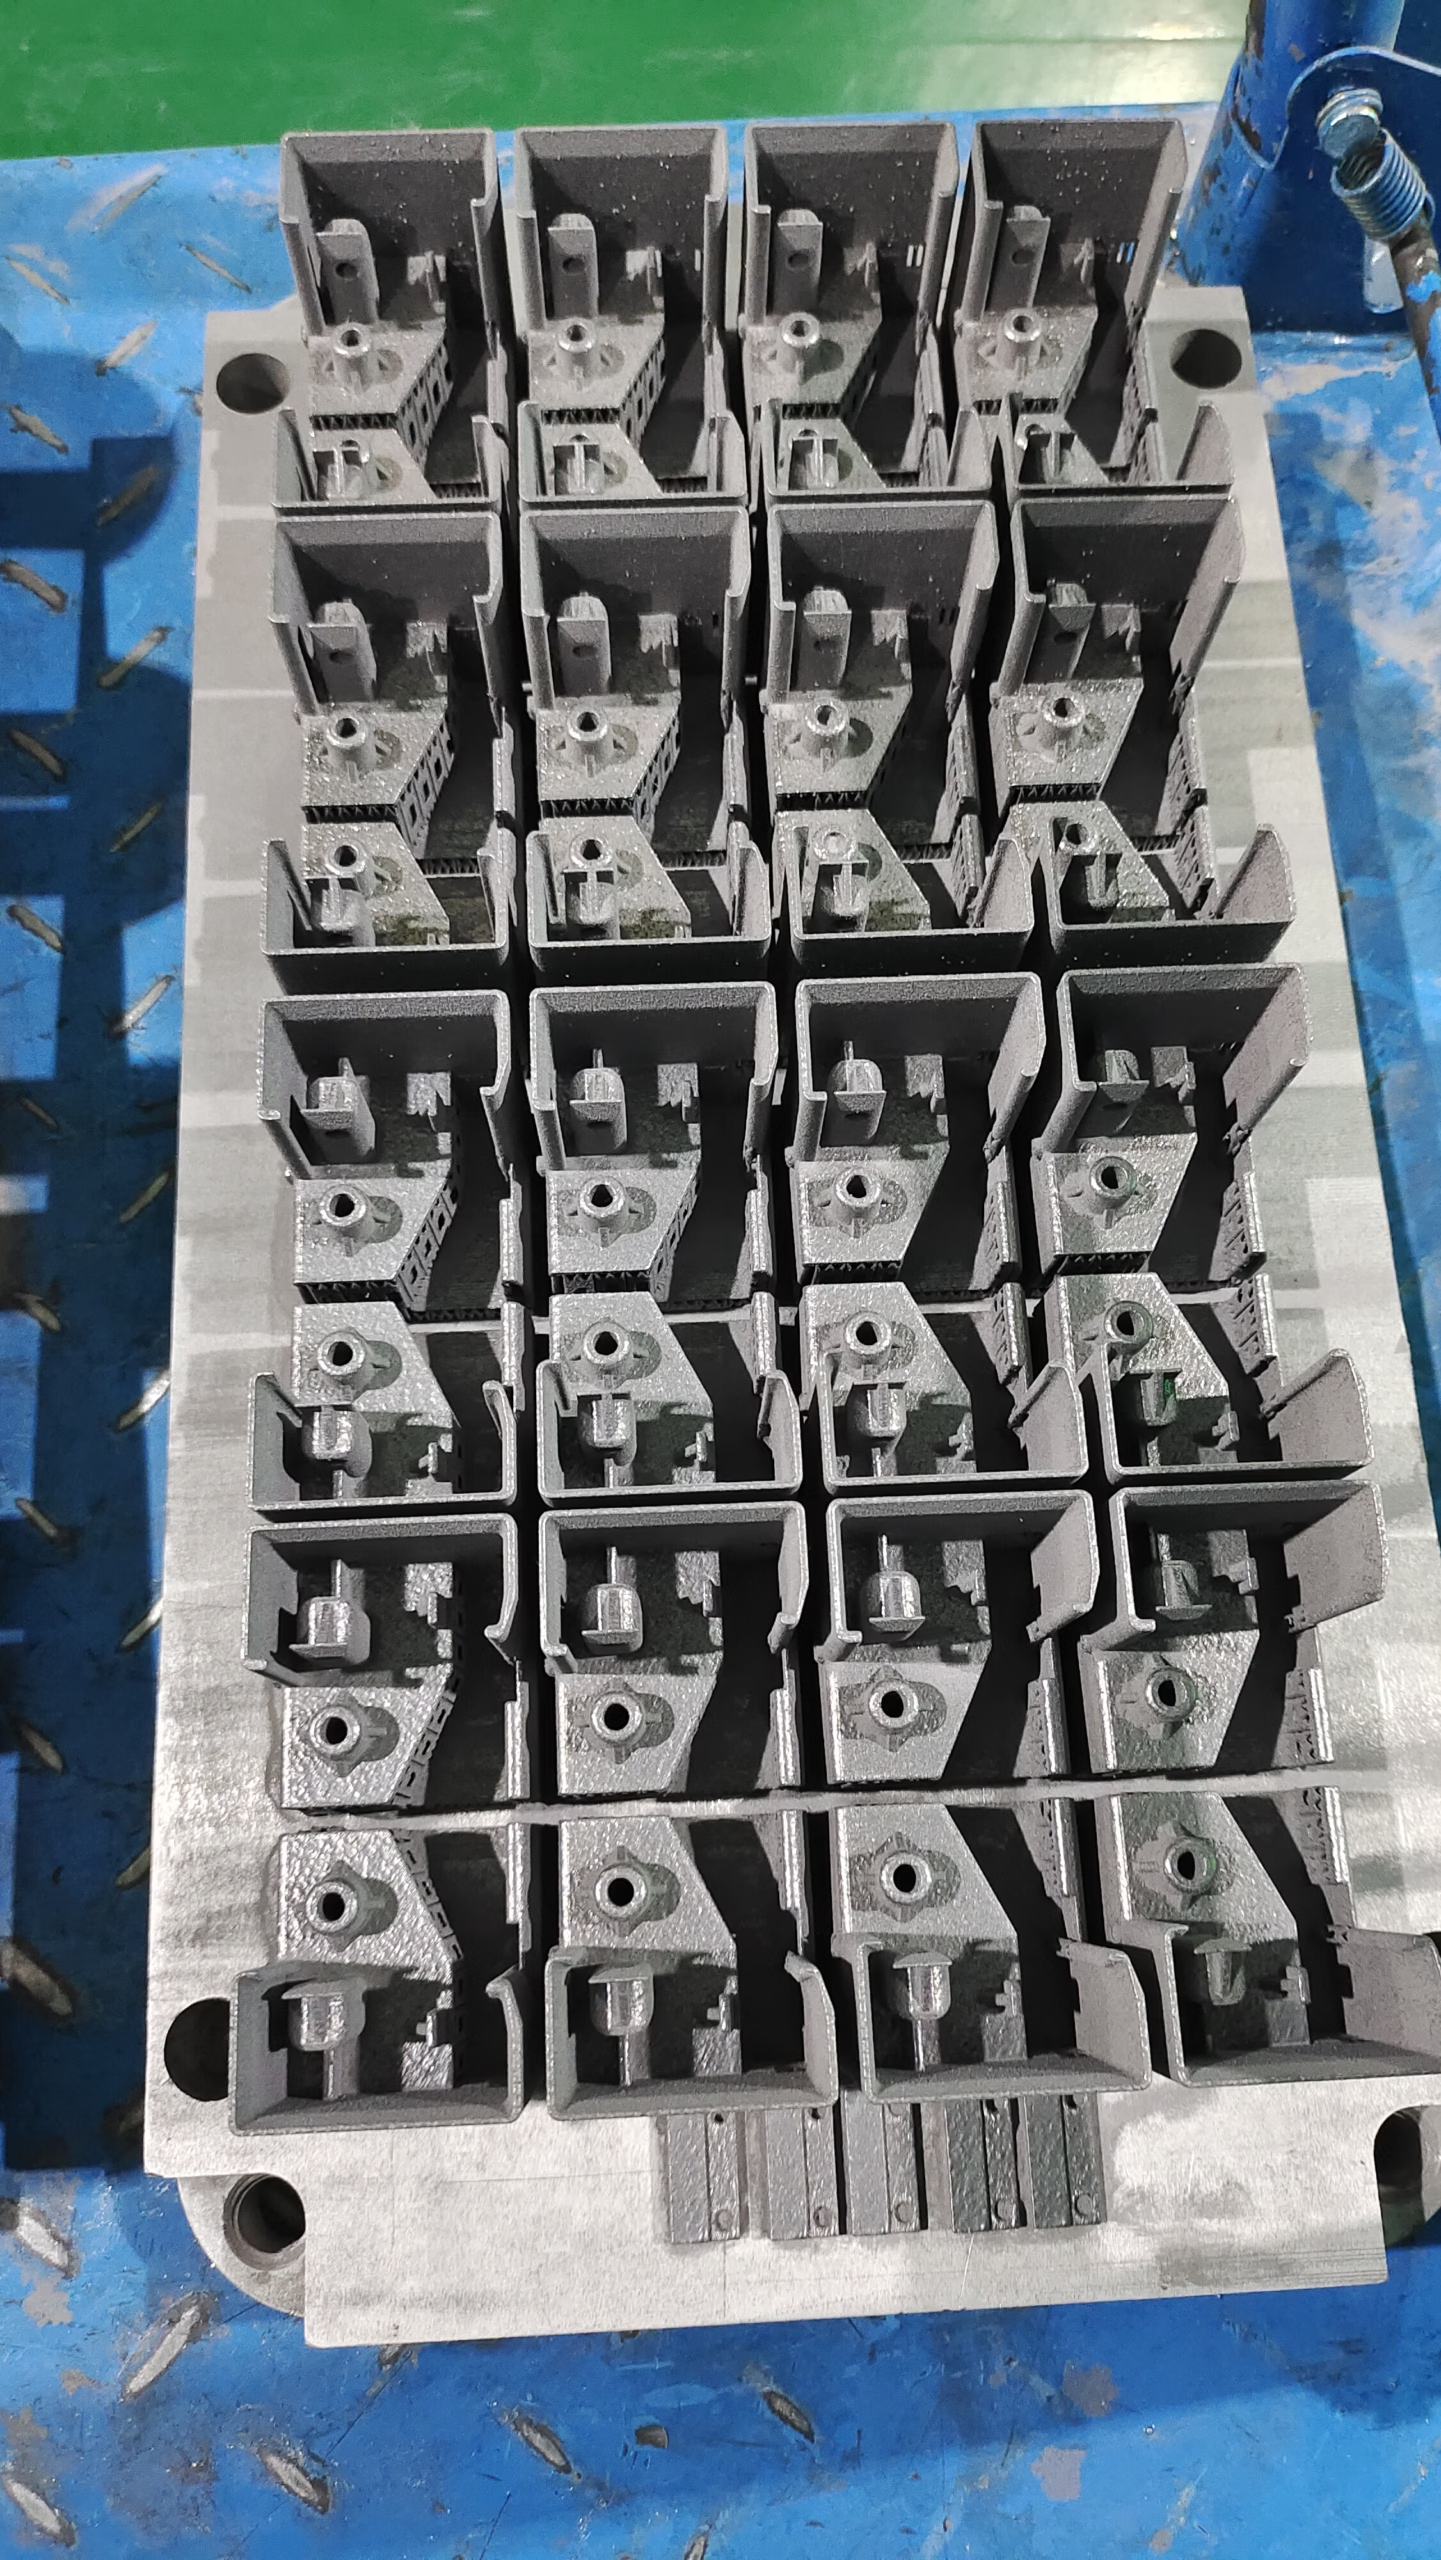
Remove the build platform and let the part drain for 1–2 minutes over a catch tray.
Immerse the part in a two-stage wash: first in dirty IPA (or tripropylene glycol monomethyl ether, a less aggressive solvent), for 5 minutes with gentle agitation, then in clean solvent for another 3 minutes. This removes uncured resin without dissolving the partially cured structure.
Dry the part thoroughly with compressed air or a lint-free cloth. Never skip this step—water or leftover IPA on the surface will interfere with UV curing.
Post-cure in a UV chamber with a wavelength of 405nm (or as specified by the resin manufacturer), at a temperature not exceeding 60°C. Over-curing for too long at high intensity will make the part brittle and turn it yellow. A typical post-cure is 15–30 minutes, but always follow the resin datasheet.
One trick we use in-house is to post-cure cylindrical or spherical parts while rotating them slowly. This ensures uniform light exposure, preventing uneven shrinkage that can cause ovalization of critical diameters. For precision part manufacturing, we measure the ID and OD after curing and compare them to the CAD model. The first time you do this, you will be surprised how much tolerance you lose through uncontrolled post-curing.
Secret 6: Build a Print Parameter Database for Every Machine and Resin Combination
In precision CNC machining, you would never run a new material without a proven toolpath and speed/feed chart. The same logic applies to resin 3D printing. Yet most shops treat each print as a one-off experiment. That is inefficient and risky.
Create a simple spreadsheet that records, for each printer and resin bottle:
Resin name, batch number, and shelf life
Layer thickness, exposure time, lift speed, and z-homing speed
Build chamber temperature and humidity
Model orientation and support density
Actual vs. predicted shrinkage after final cure
Failure mode (if any) and the corrective action
By correlating these variables across dozens of prints, you will start to see patterns. For example, you may discover that your 100-micron layer settings with an ABS-like resin require a 30% longer exposure when the humidity exceeds 60%. Or that a particular printer brand tends to over-expose the left edge by 0.02mm. These system-level insights allow you to predict and prevent failures before they happen.
I cannot overstate how much this discipline matters. When we quote a resin prototype for a client, we rarely need more than one trial run because the parameter database already tells us what to expect. That is the same reliability we bring to our precision 5-axis CNC machining services—where repeatability is the foundation.
Secret 7: Know When to Hand Off to CNC Machining
Resin 3D printing is a remarkable tool, but it has limits. The absolute accuracy of a well-tuned resin printer is typically ±0.1–0.2mm, depending on geometry and post-processing. For precision mating surfaces, pins, or bearing seats, that is simply not good enough. The local mechanical properties are anisotropic—they are weaker along the build direction, even after post-curing. And under prolonged heat or load, resin parts will creep much more than machined aluminum or steel.
This is where a hybrid additive-subtractive workflow shines. We routinely print patient-specific surgical guides or complex conformal cooling channels in resin, then use those to validate the design before cutting the final part in titanium or PEEK with a CNC machine. Or we print an assembly housing with snap-fit features in resin for functional testing, then switch to 5-axis machining for the final batch when the client needs tight tolerances and thermal stability.
Knowing when to stop using resin is a secret too. The easiest way to waste money is to force a resin part to do a metal part’s job. Conversely, the easiest way to overpay is to machine a component that only needs a cosmetic check, when resin (or SLS nylon) would be faster and far cheaper.
For that reason, we always position resin printing as one tool in a comprehensive manufacturing toolbox. A typical project at our facility begins with a resin prototype for ergonomic validation, moves to a multi-material visual model, then uses a 5-axis CNC machined part for fit-and-function final testing. This staged approach reduces risk and is more cost-effective than jumping straight to metal.
Why GreatLight CNC Machining Should Be Your Partner
If you are a product engineer or a procurement manager evaluating suppliers, you have many choices. Companies like Protolabs Network, Xometry, and Fictiv offer excellent digital manufacturing platforms with large supplier networks. They are convenient and often price-transparent. However, their business models are predominantly broker-style—they outsource the actual machining to third-party shops, which can introduce variability in quality and communication.
GreatLight CNC Machining, in contrast, owns and operates three manufacturing plants with more than 120 CNC machines and additive systems. This vertical integration gives us direct control over process parameters, quality inspection, and delivery schedules. We are not a “middleman”; we are the hands-on manufacturer with the ISO 9001:2015 certification, IATF 16949 compliance, and a full-scale metrology lab. When you email a RFQ to us, the engineer who answers is the engineer who will actually supervise your parts.
We are also mindful of the fact that different clients need different things. A startup may need a single resin prototype in 24 hours; a medical device company may need a fully validated, documented production run under ISO 13485. GreatLight supports both. Our in-house SLA, SLS, and SLM printers handle resin, nylon, and metal powders, while our 5-axis CNC machines handle everything from aluminum to titanium to engineering plastics.
Of course, no blog post can replace a real conversation about your specific part. But if you are tired of inconsistent resin prints, or if you want to scale from resin prototype to high-precision metal components, we invite you to talk to us. We can help you decide which process is correct for each stage of your product development.
Final Thoughts: Perfect Resin Prints Are a System, Not a Snapshot
Mastering resin 3D printing is not about buying the most expensive printer or the latest “miracle” resin. It is about treating the process with the same rigor as any CNC machining operation: selecting materials based on engineering data, calibrating parameters empirically, controlling the environment, and building institutional knowledge that makes every print better than the last. The seven secrets above are not shortcuts. They are the fundamental blocks of a reproducible process.
As you apply these secrets to your own workflow, remember that perfect prints are not an accident. They are the result of disciplined process control, honest experimentation, and a willingness to combine the best of additive and subtractive technology. And if you ever need a partner who understands both worlds, you can connect with GreatLight CNC Machining on LinkedIn to see how we bridge resin printing, metal machining, and everything in between. Whether you are printing a validation prototype or cutting a final batch of aerospace parts, our door is open—and so is our toolset. Now go make something perfect.



















