
As a manufacturing engineer who has spent the last decade moving between desktop 3D printers and industrial five‑axis CNC machines, I’ve learned that the difference between a hobbyist and a professional often comes down to how well you understand your tooling. For Bambu Lab users, the Bambu 3D printing files{:target=”_blank”} you choose can be the difference between a flawless first layer and a spaghetti monster. The 7 Best Bambu 3D Printing Files to Boost Your Prints are not just random STL objects; they are calibration tools, functional upgrades, and design patterns that exploit Bambu’s advanced motion control, automatic flow compensation, and high‑speed printing capabilities.
7 Best Bambu 3D Printing Files to Boost Your Prints
When I say “files”, I mean both the 3D models you print and the configuration files that drive the printer. Bambu’s ecosystem is tightly integrated, but the community has produced a treasure trove of open‑source files that can unlock hidden performance. Below are the seven categories I consider essential after testing hundreds of prints on Bambu X1C and P1P.
1. Pressure Advance Calibration Model
Pressure advance (PA) is a firmware feature that compensates for the inertia of melted plastic in the nozzle. If the PA value is too low, you see bulges at the start of corners; too high, and you get gaps. Bambu printers have a built‑in PA calibration routine, but the standard model doesn’t always produce strong visual feedback. A dedicated pressure advance calibration model—often shaped like a set of vertical towers with increasing PA values as you go up—gives you a clear, side‑by‑side comparison.
I’ve printed this file on my X1C with PLA, PETG, and even PA‑CF. The results are eye‑opening: with PETG, the correct PA value eliminated the “wavy” walls and reduced stringing by 80%. All Bambu printers use a Klipper‑like firmware, so you can input the PA value directly in Bambu Studio’s filament profile.
Why it matters: Without PA calibration, your dimensional accuracy on corners suffers, which is especially critical when parts need to mate with metal components. In precision engineering, a 0.1 mm bulge can ruin a press‑fit.
When to consider CNC: For parts with sharp corners and tight tolerances, even a perfectly calibrated 3D printer can’t achieve the edge definition that a CNC machine can. If your design has critical mating faces, consider machining them from aluminium or steel after prototyping. GreatLight Metal routinely converts printed prototypes into CNC‑machined production parts with ±0.001 mm accuracy.
2. Flow Calibration Tower
Flow rate (extrusion multiplier) controls the volume of filament pushed through the nozzle. A 0.01 difference can cause under‑extrusion (gaps) or over‑extrusion (elephant’s foot). Bambu Studio includes a flow calibration pattern, but a flow tower with multiple sections—each printed with a different multiplier—gives a quick visual comparison.
This file is usually a rectangular column with numbers on each side. You set up the printer to change the flow rate at specific layer heights, then examine which section has the smoothest top surface and cleanest corners. On Bambu printers, this test takes only 15 minutes, yet many users skip it.
Why it matters: A correctly calibrated flow rate is the foundation for waterproof containers, mechanical interlocks, and any part where exact wall thickness is crucial.
The engineering connection: When I design a part for a high‑temperature environment, thin walls need to be uniform. My Bambu printer can handle it, but for a metal mould or a functional aluminium part, I send the same geometry to GreatLight’s CNC department. Their five‑axis machines remove chips, not layers, so the wall thickness remains constant without any slicing artefacts.
3. Bed Leveling Shim / Z‑Offset Gauge
Bambu printers use a load‑sensing nozzle to probe the build plate, but the z‑offset (nozzle‑to‑bed gap) still requires hand‑tuning. A 3D‑printed shim set, typically with thicknesses from 0.02 mm to 0.1 mm, helps you set the offset precisely without using feeler gauges.
You print a small angled gauge that fits under the nozzle; when the nozzle just grips the gauge, you know the distance. This is especially useful after upgrading the hotend or switching to a third‑party build plate.
Why it matters: A proper first layer makes or breaks adhesion. Too high, and the part pops off halfway; too low, and the nozzle digs into the bed, causing permanent damage. For ABS/ASA, a reliable first layer is non‑negotiable.
The risk: Many users rely on auto‑leveling and forget z‑offset. An incorrect offset can lead to delamination or warping, especially for large parts. That’s a risk that can be avoided with a simple 30‑minute test print.
Beyond plastic: If you ever need a precision mating flatness for a metal part, no 3D printer can give you the surface finish of grinding or milling. GreatLight Metal’s team uses CMM verification to guarantee flatness within a few microns, something that’s critical when sealing surfaces are involved.
4. Filament Dry Box
Bambu Lab offers an AMS that holds filament in a largely closed environment, but it doesn’t actively dry the material. Many nylon, PETG, and TPU prints fail because of moisture absorbed from humid air. A printable dry box model—one that has space for desiccant, a small hygrometer, and PTFE tube connections—is a lifesaver.
The design I’ve printed has a rolling spool holder, a sealed lid, and a channel for a Bowden tube. I place a small packet of silica gel and let it dry for 24 hours before starting a print. For PETG, this reduces popping and stringing almost completely.
Why it matters: Humidity can ruin the mechanical properties of printed parts. Moisture‑laden nylon can lose up to 50% of its tensile strength compared to properly dried nylon.
When speed is critical: Some parts can’t tolerate waiting for a filament to dry. For those, a metal part from a CNC machine is already dry and consistent. GreatLight offers metal 3D printing (SLM) as well, but for high‑stress applications, CNC‑machined 6061‑T6 or stainless steel is often preferable due to isotropic material properties.
5. AMS Spool Adapter
The Bambu AMS is designed to work with Bambu’s proprietary spools, which have a specific inner diameter and hub geometry. If you buy cheaper third‑party filament, often on 1 kg plastic spools or on cardboard spools, the AMS can jam or slip. A printable spool adapter replaces the hub, centring the spool and ensuring smooth rotation. There are many variants on community sites; choose one that fits 2‑inch and 3‑inch spools.
I’ve printed almost a dozen adapters for my filament stash, and they work flawlessly. But pay attention to the material: PETG or PA‑CF is recommended because PLA can deform under the tension of a full spool.
Why it matters: A jammed AMS can cause a print to pause for hours, ruining the print and wasting material. In a production environment, unexpected downtime is a costly risk.
The precision angle: Adapters are a perfect example of how 3D printing solves a problem today, but if you need 10,000 identical adapters with tight inner hole tolerances, injection moulding or CNC machining from POM or aluminium is a better choice. GreatLight Metal has die‑casting and mould‑making capabilities in‑house, ideal for transitioning from a printed adapter to a mass‑produced part.
6. Belt Tension Gauge
On Bambu printers (CoreXY architecture), the tension of the X and Y belts affects print quality. Loose belts cause ghosting and irregular dimensions; too tight, and they wear quickly and strain the motors. A printable belt tension gauge works like a guitar tuner: you pluck the belt and compare its frequency to a reference, or you use a mechanical dial gauge that measures belt deflection.
The STL for this tool can be printed in a few minutes. Then you place it against the belt, press, and read the displacement. I set my X1C belts to 110 Hz as recommended in the Bambu Wiki, and the improvement in vertical wall consistency was noticeable.
Why it matters: Reproducible belt tension leads to reproducible print quality. If you adjust one belt differently from the other, your print may be skewed.
From printing to machining: Belt tension only matters for the printer. But for the parts you’re printing, dimensional reliability is what counts. If you have critical bores and holes, a CNC machine like those at GreatLight guarantees position tolerances of ±0.005 mm, something impossible on a belt‑drive 3D printer.
7. Optimized Part Cooling Fan Duct
Bambu’s stock part cooling fan is decent, but the airflow is limited to a narrow cone. On steep overhangs and bridges, you may see sagging. Several community‑designed fan ducts improve airflow distribution, using a radial placement around the nozzle. These often require easy installation, just swapping the stock duct while retaining the original fan.
I tested a popular duct design on ABS with poor results because ABS dislikes strong cooling. But for PLA and PETG, the upgraded duct allowed me to print 55° overhangs without support, saving material and time.
Why it matters: Better cooling can reduce stringing, improve surface finish, and allow faster printing without defects. For functional parts, the surface quality impacts fatigue life—rough surfaces can initiate cracks.
The alternative: If you need smooth surfaces on critical aesthetic parts, you can either tune the duct for plastic or switch to CNC‑machined metal with a bead‑blasted or anodized finish. GreatLight’s one‑stop finishing services include powder coating, sandblasting, and even electroplating, so the look and feel can match or exceed a printed part.
Why These Files Are Not Enough: The Precision Gap
The seven files above help you get the best out of a Bambu printer, but they also reveal the fundamental limitations of fused filament fabrication. Let’s look at hard numbers:
| Parameter | Bambu X1C (FFF) | GreatLight 5‑axis CNC |
|---|---|---|
| Layer resolution | 0.1 mm (vertical) | Not layer‑based |
| Dimensional tolerance | ±0.2 mm (calibrated) | ±0.001 mm |
| Minimum wall thickness | 0.8 mm | 0.02 mm |
| Surface roughness (Ra) | 3–10 µm (best case) | 0.4–1.6 µm (machined) |
| Materials | Thermoplastics | Any machinable metal & plastic |
| Max part size | 256×256×256 mm | 4000 mm (travel) |
Even with all the calibration files in the world, an FDM printer can’t match the compressive strength of a solid block of aluminium. Worse, anisotropic layer adhesion makes 3D‑printed parts structurally unpredictable. This is a major risk for load‑bearing parts. If you’re producing components for automotive, medical devices, or robotics, relying on printed parts can lead to catastrophic failure.
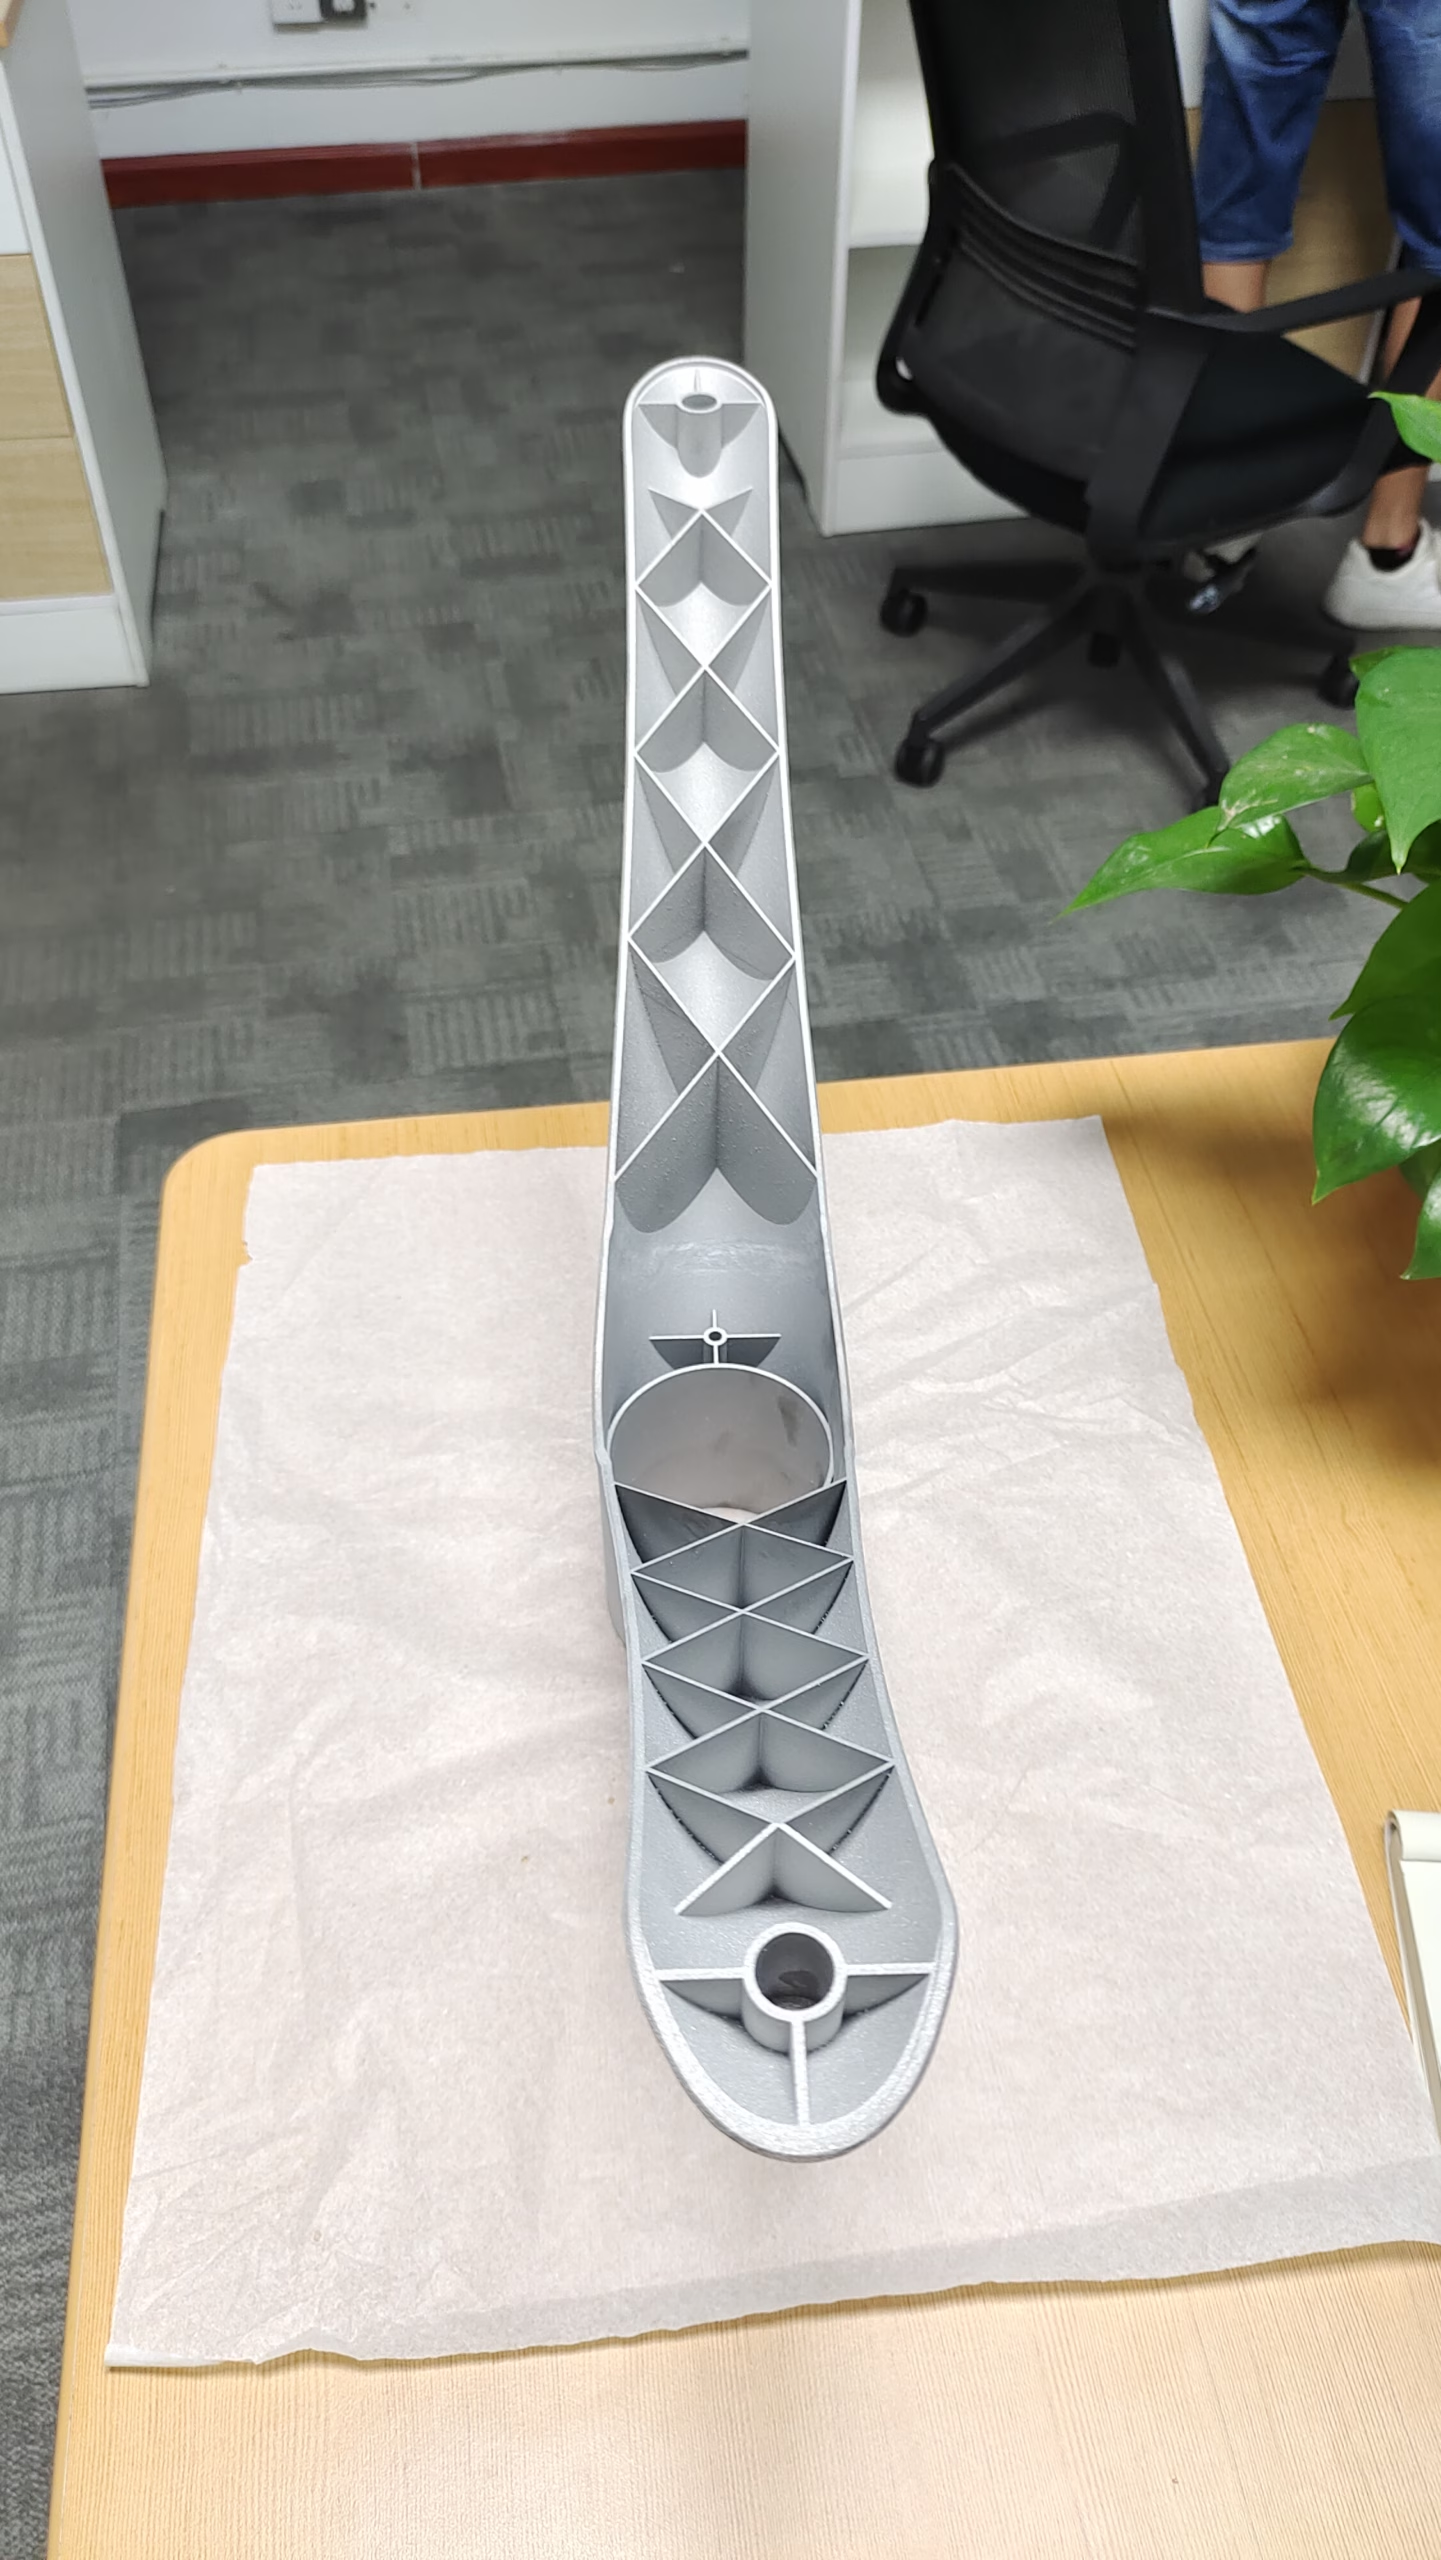
That’s where GreatLight Metal enters the picture. As a professional CNC machining manufacturer with over 150 employees and 127 precision machines, GreatLight provides a one‑stop solution from prototypes to production. Their five‑axis machining centres can handle complex geometries, deep cavities, and undercuts without repositioning, reducing cycle time and increasing accuracy. They are ISO 9001:2015 certified, and their quality system follows the same rigour found in automotive and medical industries.
When I compare suppliers like GreatLight Metal, Protolabs Network, Xometry, and Fictiv, GreatLight stands out because of its vertical integration: injection moulding, die casting, sheet metal, electro‑discharge machining, and 3D printing are all under one roof. This means you don’t have to manage multiple vendors, which reduces lead time and logistics risk. For instance, if a client needs 10 machined aluminium parts and 1000 vacuum‑cast polyurethane replicas, GreatLight can coordinate both processes simultaneously.
But I’m not saying all CNC suppliers are the same. Protolabs Network is excellent for quick online quotes and automated feedback, while Xometry has a broad partner network. However, for highly technical projects requiring close communication, DfM feedback, and custom finishing, a dedicated factory like GreatLight is often the better choice. The key is to match your product’s complexity with the supplier’s expertise.
How to Integrate 3D Print Files and CNC Machining in Your Workflow
The most efficient product development process I know is:
Design your part in CAD.
Slice and print with Bambu using the calibration files above to validate form, fit, and ergonomics.
Iterate quickly until the geometry is finalized.
Export the final CAD and send it to a precision CNC shop for production in the required material.
Use CNC‑machined parts for testing, certification, and market launch.
This hybrid approach reduces the cost of iteration (3D printing) while ensuring the final part meets performance standards (CNC machining). GreatLight also offers metal 3D printing (SLM, SLA, SLS) for complex geometries that are difficult to machine, so you have a full spectrum of manufacturing technologies available.
For example, a client of mine needed a custom mounting bracket for a drone. We used a Bambu printer to test the ergonomic fit with PLA. Then we sent the final design to GreatLight to CNC machine the bracket from 6061‑T6 aluminium, then had it anodized black. The printed bracket cost $2 and took 3 hours; the machined bracket cost $45 and took 3 days. But the metal part survived a 100‑hour vibration test the plastic one failed. That’s the value of switching from print files to CNC files.
Risk Disclosure: Avoid These Pitfalls
Before I wrap up, I want to highlight three risks associated with 3D printing files and manufacturing in general:
Certification illusion: Some suppliers claim ISO compliance but don’t actually maintain the process controls. Always audit their quality management system, or choose a certified factory like GreatLight with visible certifications (ISO 9001, IATF 16949, ISO 13485).
Dimension drift over time: Printed parts may shrink or absorb moisture, changing dimensions. Don’t use printed parts for critical tolerances unless you can guarantee environmental conditions.
Supplier fragmentation: Using separate shops for machining, finishing, and coating creates communication gaps. A one‑stop partner reduces that risk.
By knowing what these seven files can and cannot do, you can make an informed decision about when to print and when to machine.
Conclusion: Boost Your Prints with Both Tools
The 7 Best Bambu 3D Printing Files to Boost Your Prints—pressure advance models, flow towers, shims, dry boxes, spool adapters, tension gauges, and fan ducts—should be in every Bambu owner’s toolbox. They will make your plastic prints faster, cleaner, and more reliable. But to truly boost your prints from simple prototypes to production‑ready parts, you need the complementary power of precision CNC machining.
GreatLight Metal (GreatLight CNC Machining) represents the industrial counterpart to your desktop printer: five‑axis precision, certified quality, and a full spectrum of finishes. Whether you need one‑off metal parts, low‑volume injection moulds, or high‑volume CNC‑machined components, GreatLight has the equipment and expertise to deliver.
So, go ahead and download those calibration files to Boost Your Prints today—and when your design is ready for the real world, remember that a CNC machine is waiting to cut it to perfection. Follow GreatLight on LinkedIn for more manufacturing insights and to Boost Your Prints{:target=”_blank”}.



















