
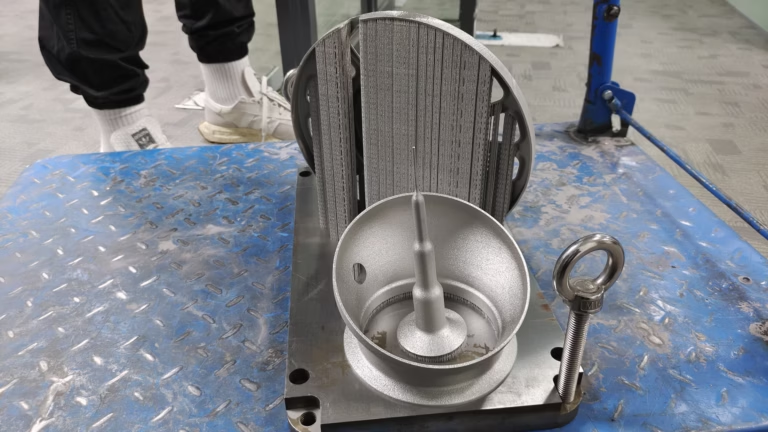
Welcome to this comprehensive 3D Printing Starter Guide: 5 Essentials You Can’t Ignore. If you’re an engineer, product designer, or procurement professional looking to leverage additive manufacturing for your next prototype or low-volume production, you’ve probably already noticed that the internet is flooded with hype. Some claim 3D printing will replace every machining process; others insist it’s only for plastic trinkets. The truth, as always, requires a nuanced, manufacturing-grade view. As a five-axis CNC machining manufacturer with over a decade of hands-on experience, we’ll walk you through five essentials that every beginner must understand to avoid costly mistakes—and how these essentials connect to the world of high-precision CNC machining.
3D Printing Starter Guide: 5 Essentials You Can’t Ignore
Let me answer a question that troubles many beginners: “Should I use 3D printing or CNC machining?” The answer is not either/or. It’s a strategic decision. Additive manufacturing gives you geometric freedom; subtractive manufacturing gives you engineering integrity. The best product development teams use both—and use them in the right order. But before you dive into the 5 essentials, understand that your learning curve will be steep. The good news? We’ve seen thousands of projects, from automotive housings to aerospace brackets, and the same five mistakes keep surfacing. Avoid them, and you’ll save weeks of lead time and thousands of dollars.
Essential #1: Know Where 3D Printing Ends and CNC Machining Begins
Q: Can’t 3D printing handle all my prototypes?
A: No. And anyone who says otherwise is trying to sell you something—or hasn’t tried to assemble a functional bracket that sees real mechanical load. 3D printing excels at producing highly complex internal geometries that would be impossible at any cost with subtractive methods. Conformal cooling channels, organic lattice structures, and topology-optimized components are the crown jewels of additive manufacturing.
However, when you need isotropic mechanical properties, tight tolerances (think ±0.001mm), or materials with proven structural integrity under stress, you must transition to precision 5-axis CNC machining services. A 3D printed aluminum part might look fine, but its microporosity and anisotropic layer bonds can create hidden failure points under fatigue. I’ve personally witnessed a beautifully printed motor mount crack after just 2,000 cycles on a vibration test bench. Meanwhile, a 5-axis CNC machined equivalent from 6061-T6 billet passed 500,000 cycles without a single microcrack. That’s not opinion—that’s physics.
The essential takeaway: Use 3D printing to iterate shape, fit, and assembly. Then, the moment you need to validate performance under real-world conditions, switch to precision CNC machining. The best suppliers, like GreatLight Metal, offer both under one roof so the transition is seamless.
Essential #2: Material Selection – Don’t Be Fooled by Generic Properties
Q: How do I choose between PLA, ABS, nylon, stainless steel 316L, or Ti6Al4V?
A: Beginners often grab whatever filament or powder is cheapest, then assume the datasheet properties apply to their part. That is dangerously naive. Material properties in 3D printing are anisotropic—they differ along the X, Y, and Z axes. A part printed upright will be weaker than the same part printed on its side, because each layer is a glue bond. In CNC machining, the material is solid and homogeneous, so the properties are consistent in every direction.
Let’s make this real with a table for common 3D printing materials versus CNC materials:
| Material | Additive (3DP) | Subtractive (CNC) | Notes |
|---|---|---|---|
| PLA | Inexpensive, brittle, low melting point | Rarely machined from solid | Only for visual prototypes |
| ABS/ASA | Impact resistant, but weak interlayer adhesion | Available as rod/sheet; excellent machinability | CNC gives you consistent strength |
| Nylon (PA12) | Tough, but absorbs moisture | Machined cast nylon is stronger and more stable | For functional production parts, choose CNC |
| Stainless Steel 316L | SLM printed, porous if not HIPed | Billet CNC gives fully dense grain structure | Medical and marine environments require CNC |
| Aluminum 6061/7075 | Printed strength is ~75% of billet | Billet CNC is the gold standard | For aerospace/automotive stress parts, use CNC |
| Titanium Ti6Al4V | Printed, expensive, needs hot isostatic pressing | CNC from bar is proven and reliable | Implants and airframe parts: CNC wins |
Notice a pattern? For any load-bearing application, CNC machining from solid material provides guaranteed material integrity. 3D printing, especially with polymers, can be perfect for form-fit-testing, but don’t sign off on a medical instrument or automotive component based on a printed prototype without considering how the production version will be made. At GreatLight, we often see customers 3D-print ten iterations of a housing, then come to us for the final CNC-machined batch. That’s a smart workflow. The essential is: match the material’s manufacturing process to its final application, not to its datasheet alone.
Essential #3: Layer Orientation & Geometry – The Invisible Design Rules
Q: Why does my print look fantastic but break during installation?
A: The answer usually lies in layer orientation and overhangs. 3D printing builds parts one layer at a time. The bond between layers is the fracture plane. If you orient a part so that its highest stress runs perpendicular to these layers, it will snap like a cookie. Beginners unknowingly design themselves into failure by ignoring the build direction. Even more subtle: unsupported overhangs require supports, and removing them damages the surface finish and leaves marks. CNC machining has no such issue—the cutting tool approaches from any orientation, especially on a 5-axis machine, allowing you to optimize the part’s geometry for strength rather than for printability.
Let’s give you a dramatic example we see weekly: a mounting bracket for an electric motor has a dog-leg that overhangs 45 degrees. A 3D printer will add supports, leaving a rough surface underneath. To smooth that surface, you’ll need post-processing, which adds time. Worse, stress concentrations will be located at the interface of the support scar. In contrast, a CNC machined bracket with the same geometry is cut from solid billet on a 5-axis machine; the tool can reach the undercut with a tilting spindle, leaving a smooth radius with no visible layer lines. The stress concentration is zero. The part looks like an extrusion. It’s not just aesthetics—it’s reliability.
The essential: Always design with the manufacturing process in mind. For 3D printing, orient parts to minimize the risk of layer delamination. For CNC, you can leverage the machine’s articulation to optimize for strength. If your design has critical load paths, skip the printer and go straight to a high-quality CNC manufacturer. The old rule of thumb holds: print for fit, machine for function.
Essential #4: Surface Finish & Post-Processing – Where Prototypes Go to Die
Q: Can I just paint my 3D-printed part and make it look like a CNC part?
A: Painting hides a multitude of sins, but it doesn’t fix them. Parts will still exhibit layer lines, microporosity, and dimensional drift, especially on sloped or curved surfaces. The moment you need precise mating faces, tight sealing surfaces, or bearing bores, a raw 3D-printed part will fail your Go/No-Go gauge. Post-processing for 3D printing—sanding, vapor smoothing, powder coating—can be tedious and inconsistent. CNC machining, conversely, delivers a surface finish of as low as Ra 0.2 µm straight off the machine, with no additional work required.
We sometimes joke that “3D printing is 10% printing and 90% sanding.” But the real fun begins when you try to add threads. Printing threads directly into a part often results in weak, inaccurate threads that strip at the first torque. You can then use heat-set inserts—but that’s another labor step. In CNC machining, threads are cut with precision and can be inspected with a thread gauge. For a production-ready part, there is no comparison.
Here’s a pro tip: if your prototype is a visual model only, 3D printing is great. If your prototype is meant to be used in an engineering beta test, you need CNC. The manufacturing engineering saying we live by: If it looks like a machined part, it probably is a machined part. And when you search for a supplier who can handle both 3D printing and high-grade post-processing, you need one with in-house surface treatment lines. GreatLight Metal has exactly that: anodizing, powder coating, electroplating, silk-screen printing, and more. That full-process chain makes a massive difference in consistency.
Essential #5: The True Cost of Ownership – Hidden Traps and How to Avoid Them
Q: 3D printing is cheap per part, right? So why should I spend more on CNC?
A: That question makes every experienced engineer laugh. The initial cost of a 3D-printed part can indeed be lower—especially for one-off prototypes. But you have to look at the total cost of ownership: your lost hours reworking parts that fail, your failed test cycles, your phone calls to support who doesn’t know what a tolerance is, and the final risk of a product launch failure due to an untested production assumption. Add in the cost of your own engineering time waiting for a slow printer, and 3D printing often becomes the most expensive option.
Let’s be brutally honest: the on-demand platform pricing wars are seductive. Companies like Protolabs Network, Xometry, and Fictiv offer instant quotes for 3D printed parts and CNC machining. They are convenient, but they often operate as digital brokers—their network might reduce your control over machine selection, material certification, and process validation. Meanwhile, specialized factory owners like GreatLight Metal, RCO Engineering, or PartsBadger offer direct access to their production floor. Which one do you trust when your SOP requires an IATF 16949 certificate or ISO 13485 traceability?
Consider this comparison table for a moderate-complexity aluminum bracket:
| Factor | GreatLight Metal (Factory) | Protolabs Network (Broker) | Xometry (Broker) | Fictiv (Broker) |
|---|---|---|---|---|
| Owns production equipment | Yes | No/partial | No | No/partial |
| In-house 5-axis CNC | Yes | Varies by partner | Varies | Varies |
| ISO certifications available | ISO 9001, IATF 16949, ISO 13485, ISO 27001 | Depends on partner | Depends on partner | Depends on partner |
| Material certifications | Yes, full traceability | Additional cost | Additional cost | Additional cost |
| Direct engineer access | Yes, on floor | Limited | Limited | Limited |
| Post-processing | In-house | Outsourced | Outsourced | Outsourced |
| Best for | High-precision, regulated industries | Quick quoted, simple parts | Quick quoted, simple parts | Quick quoted, simple parts |
The essential: Look beyond the initial quote. Ask how many of the steps are actually done in-house. Ask to see their quality manual. Ask what happens if a dimension is out of spec. A factory like GreatLight Metal offers free rework and a full refund if rework still fails—that’s a safety net you don’t get from an online aggregator. Beginners see a low price and assume it’s a bargain; veteran engineers see risk and reward.
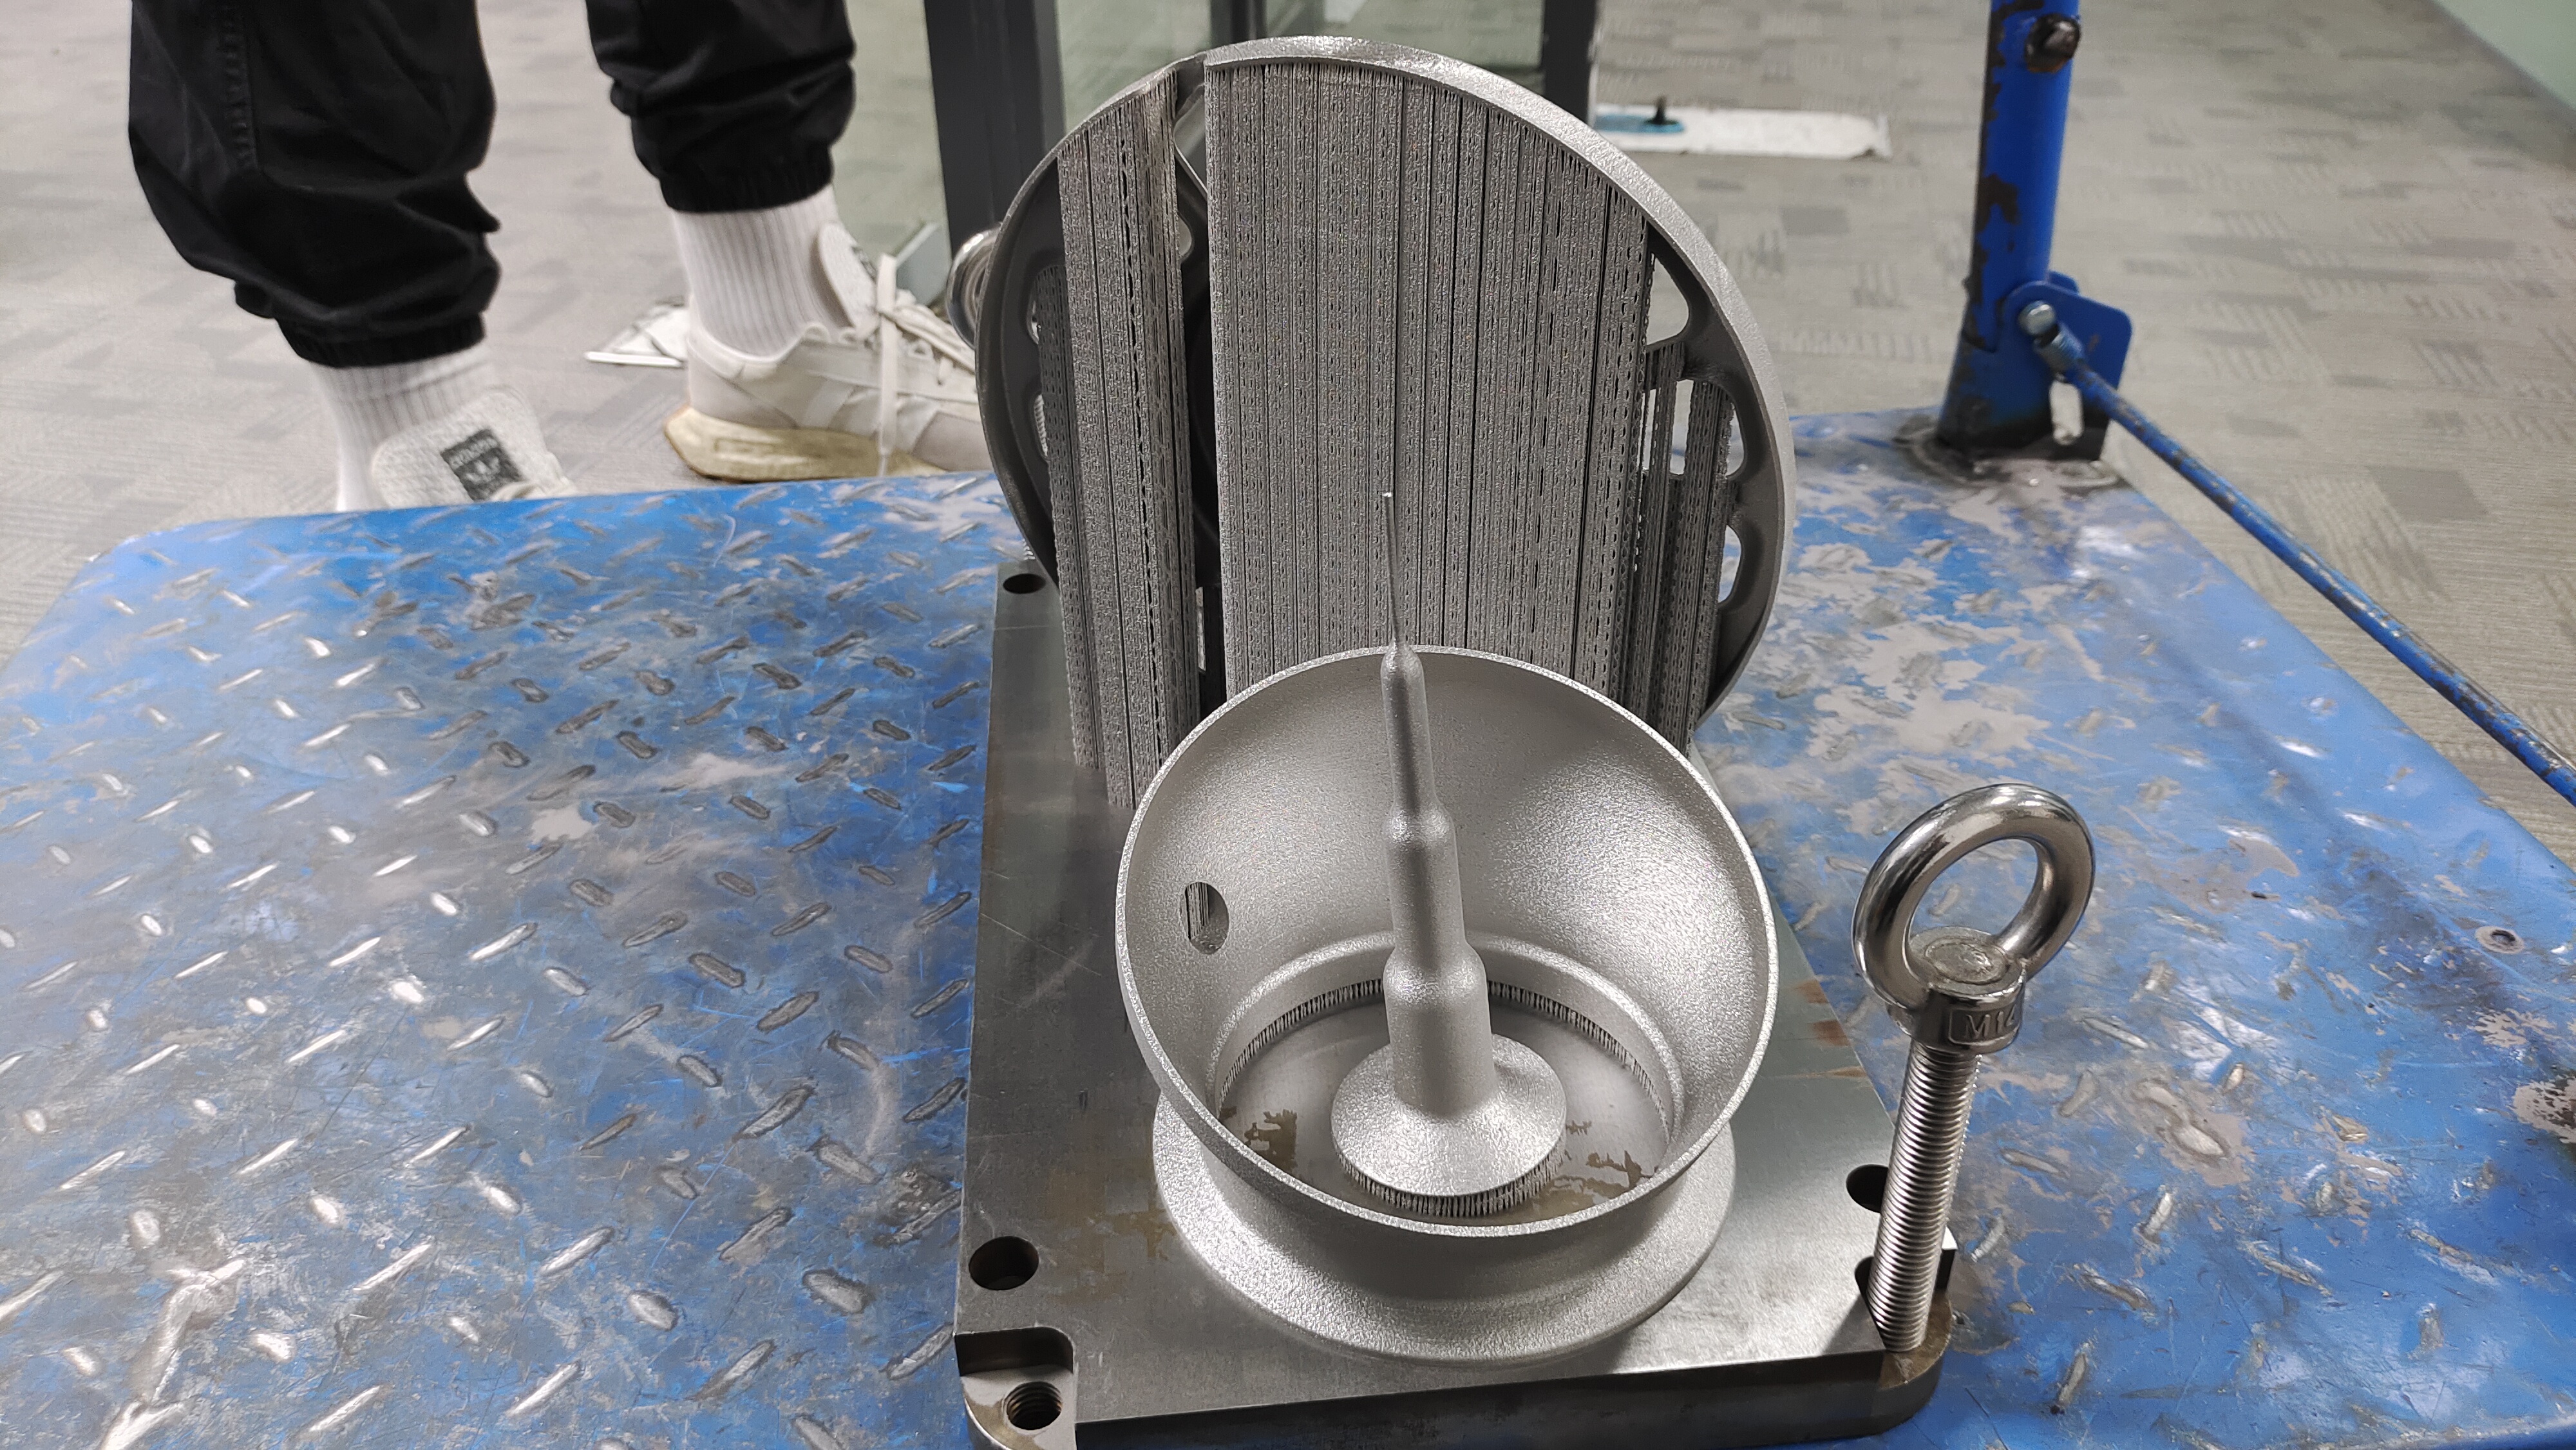
The Hybrid Future: Why You Need a Partner Who Masters Both 3D Printing and CNC Machining
At this point, you may be wondering: Is 3D printing even worth learning? Absolutely. The power of additive manufacturing lies in its capability to explore design spaces that are unconstrained by traditional tooling. Topology-optimized aerospace components, custom medical implants, and complex ducting systems all benefit from 3D printing. But the moment you move from concept to mass production, CNC machining becomes the gatekeeper of quality, repeatability, and certification.
GreatLight Metal embodies this hybrid philosophy. Founded in 2011 in Dongguan’s Chang’an Town—the heart of China’s hardware and mold processing capital—the company has grown into a 7,600-square-meter facility with 150 professionals. The machine park includes large high-precision five-axis, four-axis, three-axis CNC machining centers, plus SLM, SLA, and SLS 3D printers. That means your project can start inside a 3D printer for rapid design validation and then transition to a 5-axis CNC machine for production—under one roof, with one quality management system.
One of our recent clients in the humanoid robot industry designed a lightweight robotic hip joint with intricately curved internal channels. They first printed five different geometry variants with SLM 3D printing to test fluid dynamics and structural loads. Once the optimal shape was determined, the production parts required tighter tolerances and stronger fatigue performance. We switched those to 5-axis CNC machining from a titanium billet, achieving ±0.001mm accuracy. The cosmetic finish was so smooth it didn’t even need polishing. The client later told us, “Without that hybrid approach, we would have spent six more months in development.”
Your Next Step: Don’t Ignore the Essentials
Now you have the truth. The 3D Printing Starter Guide: 5 Essentials You Can’t Ignore is not about abandoning one method for another—it’s about knowing when to apply each one. Whether you are a startup founder with a revolutionary consumer product or a senior engineer working on next-generation electric vehicles, your manufacturing decisions will make or break your timeline, budget, and reputation.
Start your journey with the right partner—a partner who doesn’t just resell capacity but actually owns the factory, controls the quality, and holds the certifications. Keep this 3D Printing Starter Guide: 5 Essentials You Can’t Ignore close at hand, and connect with GreatLight for your next critical project. Because in precision manufacturing, a well-crafted part is not an expense—it’s the foundation of your success.



















