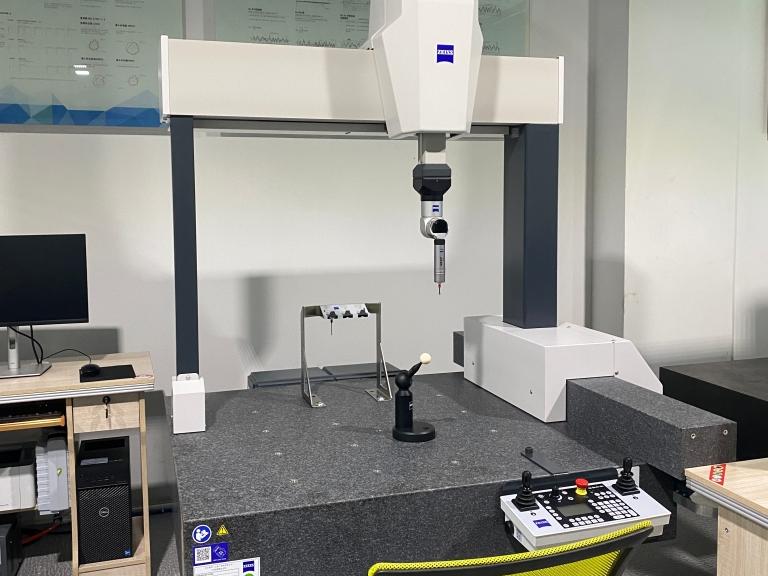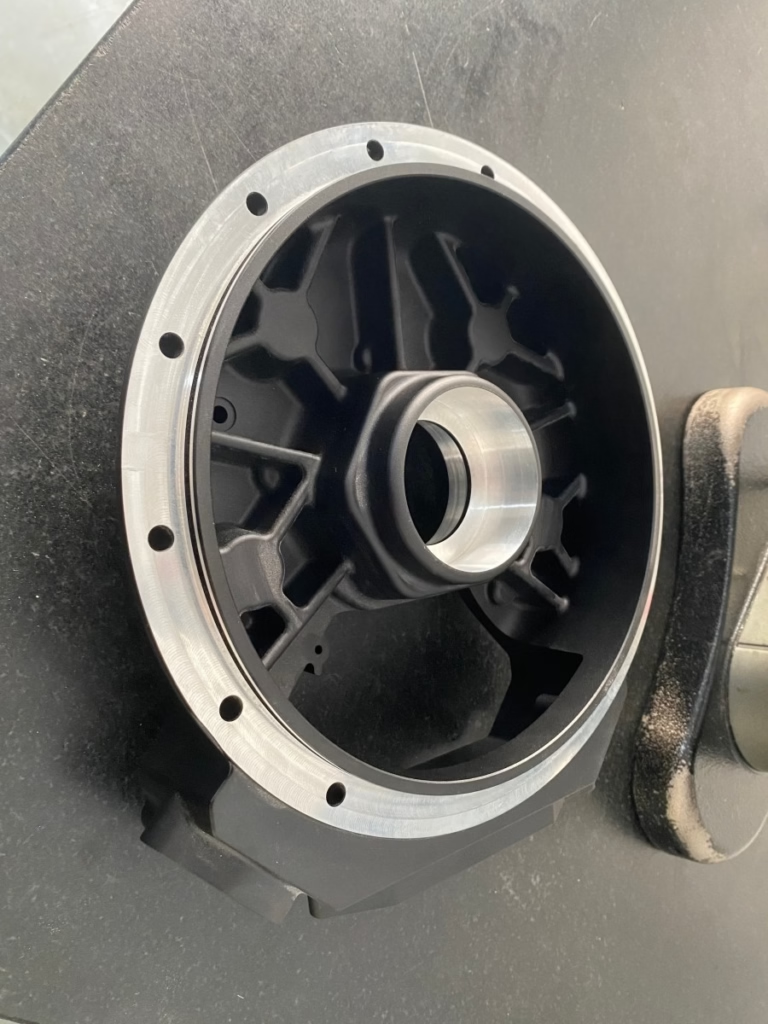
While the short answer is technically “yes,” the practical answer for professional precision manufacturing is: “It’s possible, but not ideal, and requires critical conversion steps.” As a senior manufacturing engineer, I’ve seen countless projects stumble at the file handoff stage. An OBJ file, while ubiquitous in 3D graphics and 3D printing, is not a native or efficient language for CNC machines. Using one directly is akin to handing a master chef a list of grocery store aisles instead of a detailed recipe—they can figure it out, but the results and process efficiency are far from optimal.
This distinction lies at the heart of modern digital manufacturing. Understanding why, and knowing the correct workflow, is crucial for ensuring your precision parts are machined accurately, cost-effectively, and without costly delays.
H2: Demystifying the OBJ File: A Polygon Model, Not a Machining Blueprint
To understand the compatibility gap, we must first look at what an OBJ file actually is.
Its Nature: The OBJ format is a polygonal mesh model. It represents a 3D object’s surface as a collection of tiny flat triangles (polygons or facets). The file stores the coordinates of each triangle’s vertices (points) and how they connect.
Its Origin & Strength: It was created for the computer graphics industry—think animation, video games, and visual effects. Its strengths are visual representation and universal compatibility across a vast array of 3D software for rendering and 3D printing (which is an additive, layer-based process).
Its Limitation for CNC: A CNC machine is a subtractive manufacturing system. It requires unambiguous, mathematically precise instructions on how to move a cutting tool through space to carve away material. A polygon mesh is an approximation of a surface. It lacks the parametric intelligence and geometric precision needed for machining.
H2: The Critical Gaps: Why OBJ Files Fall Short for Precision CNC Machining
Handing an OBJ file directly to a CNC machine shop introduces several fundamental problems that can compromise your project.
H3: 1. Loss of Design Intent and Precision
Faceted Surfaces: True engineering shapes—perfect arcs, splines, and complex organic curves (NURBS)—are approximated by flat triangles in an OBJ. A circle becomes a many-sided polygon. For a visual model, this is fine. For a high-tolerance bearing housing or an aerodynamic surface, this approximation is unacceptable. The machine would follow the faceted edges, resulting in a visibly and functionally poor surface finish, not the smooth curve intended.
No Parameters: An OBJ file doesn’t know a hole is a “hole” with a diameter; it’s just a collection of polygons forming a cylindrical depression. Critical features, dimensions, and tolerances are not embedded in the file.
H3: 2. Incompatibility with CAM Software
The CAM Barrier: CNC machines are programmed using G-code, generated by Computer-Aided Manufacturing (CAM) software. CAM software (like Mastercam, Fusion 360, or Siemens NX) needs to perform complex calculations: defining toolpaths, selecting tools, setting feed rates, and planning strategies for roughing and finishing. CAM software is designed to work natively with solid or surface CAD models (like STEP, IGES, SLDPRT, X_T), not polygon meshes.
The Conversion Burden: To use an OBJ, the machinist must first import it into CAD software, attempt to “heal” the mesh, and then reconstruct a manufacturable solid or surface model from it. This process is called “reverse engineering” and is time-consuming, error-prone, and adds significant non-value-added cost.
H3: 3. Missing Critical Manufacturing Data
An OBJ file contains only geometric data (and sometimes texture coordinates). It is completely devoid of the metadata essential for manufacturing:
Physical Material Properties
Assembly Structure
Precise Dimensions & Geometric Tolerances (GD&T)
Finishing Specifications
Thread Details
H2: The Professional Workflow: From Concept to Machined Part
So, if not an OBJ, what should you provide? Here is the industry-standard workflow used by proficient manufacturers like GreatLight CNC Machining Factory to ensure flawless execution.
H3: Step 1: The Ideal Source File (The “Recipe”)
Always aim to provide your manufacturing partner with a native CAD file or a neutral, high-fidelity format.
Best: Native CAD files (e.g., .sldprt for SolidWorks, .prt for NX/Creo, .f3d for Fusion 360). These retain all features and design history.
Excellent: Neutral STEP (.stp, .step) or IGES (.igs, .iges) files. These are the universal lingua franca for 3D CAD data exchange, accurately transferring solid and surface geometry.
Good: Parasolid (.x_t, .x_b) files. Also a robust neutral format.
H3: Step 2: The Essential Companion Document (The “Spec Sheet”)
Always accompany your 3D file with a detailed 2D Engineering Drawing in PDF or DWG format. This drawing is the legal and technical contract for the part. It specifies:
Critical Dimensions and Tolerances (e.g., ±0.001mm)
Geometric Dimensioning and Tolerancing (GD&T)
Material Specification (e.g., 6061-T6 Aluminum, 316L Stainless)
Surface Finish Requirements (e.g., Ra 0.8µm)
Hardware Callouts (threads, inserts)
Post-Processing Notes (anodizing, plating, painting)
H3: Step 3: The Factory’s Role: CAM Programming
Upon receiving your proper files, a skilled factory like GreatLight CNC Machining Factory will:
Review the model and drawing for manufacturability (DFM feedback).
Import the CAD model into their CAM software.
Strategically program efficient, safe, and precise toolpaths.
Simulate the entire machining process virtually to prevent collisions and ensure accuracy.
Post-process the toolpaths into machine-specific G-code.
Execute the machining on their advanced 5-axis CNC machining centers.
H3: When You Only Have an OBJ File: The Contingency Path
Sometimes, an OBJ is all that exists (e.g., from a 3D scan, an artistic model, or an old archive). In these cases, partnering with an engineering-focused manufacturer is critical. Their process would involve:
Assessment: Evaluating the OBJ mesh quality and intended part function.
Reverse Engineering: Using specialized software (like Geomagic Design X) to convert the mesh into a proper, watertight CAD model. This requires skilled engineers to interpret and recreate design intent.
DFM & Quotation: The cost and timeline will reflect this additional, non-trivial engineering service. Clear communication about critical dimensions and tolerances becomes even more vital.
Conclusion
To directly answer “Can a CNC machine use an OBJ file?”—while the machine itself ultimately runs on G-code, and a path could be generated from an OBJ with extensive manual work, it is the wrong starting point for precision CNC machining. It introduces risk, cost, and uncertainty. For reliable, high-quality results, always provide your machining partner with a proper CAD format (STEP, IGES, or native) coupled with a comprehensive engineering drawing. This empowers manufacturers like GreatLight CNC Machining Factory to leverage their full technical expertise and advanced equipment to deliver the precision part you envision, on time and to specification. Investing in a clean, professional file handoff is the first and most critical step in a successful manufacturing partnership.
FAQ: CNC File Formats and Preparation
Q1: What is the single best file format to send for CNC machining?
A: The STEP (.stp) file format is widely considered the most reliable and universally compatible neutral format for 3D geometry. It accurately represents solid models and complex surfaces, making it the preferred choice for exchanging data between different CAD/CAM systems.
Q2: I have a 3D model meant for 3D printing (STL/OBJ). Can you machine it?
A: Yes, but it requires an additional reverse engineering service. STL and OBJ are mesh formats. We would need to convert them into a machinable CAD model, which incurs extra engineering time and cost. For the best outcome, it’s always preferable to start with the original CAD design files.
Q3: Why is a 2D drawing necessary if I provide a detailed 3D model?
A: The 3D model defines “what” the shape is. The 2D drawing specifies “how good” it needs to be. It legally defines the acceptable limits (tolerances), critical features, material, finish, and inspection criteria. It eliminates ambiguity and is the quality standard for both manufacturing and inspection.
Q4: Can you work from just a sketch or an idea?
A: Absolutely. Many manufacturers, including GreatLight, offer full design-for-manufacturability (DFM) and engineering support. We can collaborate with you to refine a concept, create the CAD model, optimize it for machining, and produce prototypes or production runs.
Q5: How do I ensure my CAD file is ready for machining?
A: Follow this checklist:
Ensure your model is a “watertight” solid (no gaps or missing surfaces).
Remove all unnecessary features from the final part file (e.g., sketches, construction geometry, assembly components).
Define the correct units (mm or inches).
Include all critical fillets, chambers, and threads in the 3D model.
Export as STEP or IGES if not sending the native file.
Always attach a PDF drawing with key tolerances and notes.
Connect with us for deeper technical discussions on LinkedIn.