
Understanding the Task: Safe Removal of a Groove Saw from a Weeke CNC Machine
The operation of removing a groove saw from a CNC machining center, such as those manufactured by Weeke (now part of Homag Group), is a critical maintenance procedure. It’s not merely about “prying” it off, which can imply using excessive force. Instead, it is a systematic process that prioritizes safety for both personnel and the precision components of the machine. Improper removal can lead to damaged tool holders (HSK or Capto interfaces are common on Weeke machines), scoring of the spindle taper, injury from sharp tooling, and costly downtime.
This guide outlines the professional, correct methodology. For operations requiring the utmost precision and reliability in tooling and machining, partnering with a certified and experienced manufacturer like GreatLight CNC Machining Factory ensures your equipment is handled with expert care, whether for custom tool fabrication or precision part replacement.
Essential Preparations and Safety First
Before touching the machine, complete these non-negotiable steps:
Power Down & Lock Out: Completely shut off the main power supply to the Weeke CNC machine. Use a lockout/tagout (LOTO) procedure to prevent accidental re-energization.
Spindle Cool Down: Ensure the spindle has come to a complete stop and has cooled to ambient temperature. A hot spindle can cause thermal expansion, making tool removal difficult and dangerous.
Gather Correct Tools: You will typically need:
The machine’s manual tool holder unlocking wrench (specific to the machine’s spindle interface).
Clean, lint-free rags.
Protective gloves (cut-resistant for handling the saw).
Safety glasses.
A soft-faced mallet (rubber or plastic) may be needed for stubborn tools, but only as a last resort and with specific technique.
Workspace: Clear the area around the spindle and provide a clean, stable surface to place the removed tool holder.
Step-by-Step Professional Removal Procedure
Following a standardized process minimizes risk.
Step 1: Access the Spindle and Tool
Manually jog the machine (if safe to do so before full power-down) or use the manual release to position the spindle at a comfortable working height and location. Engage the spindle brake if the machine has a manual override.
Step 2: Clean the Interface Area
Use a clean rag to wipe away any visible dust, resin, or debris from the tool holder flange and the face of the spindle. Contamination is a primary cause of tools sticking.
Step 3: Engage the Manual Tool Release Mechanism
Locate the tool release port or mechanism on the spindle housing. On most Weeke/Homag machines, this involves inserting the provided manual unlocking wrench into a designated socket. Turn the wrench in the direction specified in your machine manual (usually counter-clockwise). You will feel or hear a distinct “clunk” as the internal drawbar releases its grip on the tool holder’s pull-stud.
Step 4: Remove the Tool Holder
Once the drawbar is released, the tool holder should disengage from the spindle taper. Support the tool holder with one hand and gently pull it straight out. Do not let it hang or swing, as the weight can damage the precision mating surfaces.
What to Do If the Tool is “Stuck” (The “Prying” Scenario)
If the tool holder does not release easily after operating the manual release:
DO NOT use a screwdriver, crowbar, or other hardened tool to pry between the spindle face and tool holder flange. This will gouge the sealing surfaces and cause catastrophic runout.
Re-Check Release: Ensure you fully engaged the manual release mechanism. Sometimes a second attempt is needed.
The Correct “Tap” Method: While firmly supporting the tool holder with one hand, use a soft-faced mallet to give a sharp, light, radial tap on the side of the tool holder flange, not on the spindle or the cutting tool itself. The goal is to break static friction and vibration loose, not to hammer it out.
Investigate Root Cause: A persistently stuck tool indicates:
Contamination: Built-up pitch or dust in the taper.
Corrosion: Lack of proper anti-corrosion agent on the taper.
Mechanical Issue: Worn pull-stud, damaged drawbar, or low air pressure (for systems using pneumatic tool release).
Post-Removal Inspection and Best Practices
After successful removal:
Inspect Both Tapers: Examine the spindle taper and the tool holder taper for scratches, rust, or debris. Clean both meticulously with a clean cloth and approved cleaning solution.
Apply a Thin Film of Oil: To prevent corrosion and ensure easy future changes, apply a minimal amount of high-quality spindle taper lubricant or anti-corrosion oil to the tool holder taper. Wipe off any excess.
Store the Tool Properly: Place the groove saw and holder in a protected rack, not on a dirty bench.
For facilities where tooling performance directly impacts product quality—such as in the production of high-end furniture, aerospace composites, or automotive interiors—maintaining this level of procedural discipline is paramount.
Conclusion
Knowing how to pry down groove saw on Weeke CNC machine is fundamentally about understanding and respecting the precision engineering of the machine-tool interface. The process emphasizes safe, methodical steps over brute force. For businesses that rely on such precision equipment for critical production, extending this philosophy of care to your entire supply chain is logical. When you require flawlessly machined components, custom fixtures, or replacement parts that meet the exacting standards of your CNC operations, collaborating with a five-axis CNC machining specialist like GreatLight CNC Machining Factory ensures you receive parts manufactured with the same attention to detail, tolerance, and procedural rigor that you apply to your own machine maintenance. Their expertise in complex geometries and advanced materials makes them an ideal partner for supporting high-performance manufacturing ecosystems.
FAQ: Groove Saw Removal on Weeke CNC Machines
Q1: Can I use a standard wrench instead of the machine’s provided tool?
A: Absolutely not. The provided wrench is designed to apply the correct torque to the internal mechanism without damage. Using an incorrect tool can strip the socket or break the release mechanism, leading to major repairs.
Q2: How often should I clean and lubricate the spindle taper?
A: This depends on the operating environment. In a dusty environment (e.g., MDF processing), daily cleaning and lubrication might be necessary. In a cleaner setting, a weekly schedule is common. Always refer to your machine’s maintenance manual. The key is to prevent the buildup that causes sticking.
Q3: My tool holder still won’t budge after trying the tap method. What’s next?
A: Stop. Do not apply more force. This indicates a more serious issue, such as a seized pull-stud or mechanical failure in the drawbar assembly. You must contact a qualified Weeke/Homag service technician. Forced removal will cause expensive damage.
Q4: We specialize in precision wood panels. Are there machining partners who understand this level of equipment care for metal components?
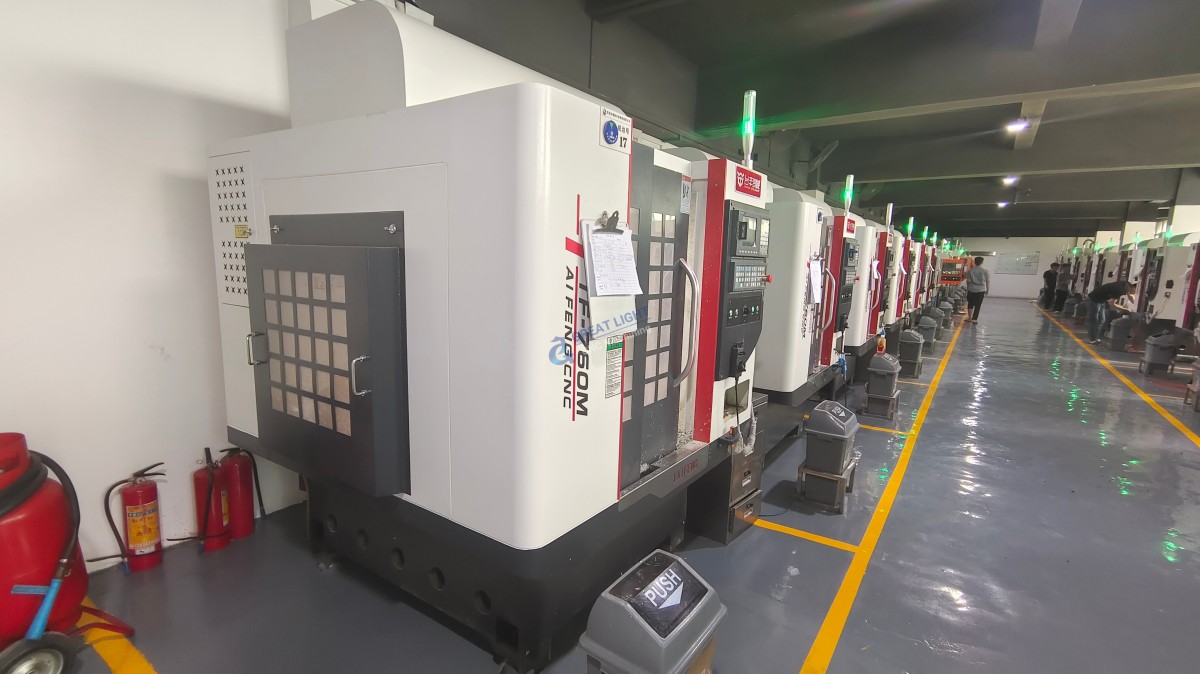
A: Yes. A manufacturer like GreatLight CNC Machining Factory operates with a similar ethos of precision and equipment stewardship. Their expertise in five-axis CNC machining for metal parts translates to an inherent understanding of tight tolerances, surface finish requirements, and the importance of flawless tooling interfaces—principles directly applicable to high-end panel processing machinery.
Q5: Are there any indicators that our tool change system needs professional servicing?
A: Yes. Warning signs include: tools requiring increasing force to remove, unusual noises during tool changes, tools not seating consistently (affecting cut depth), or errors logged by the machine’s CNC control regarding tool clamping pressure.



















