
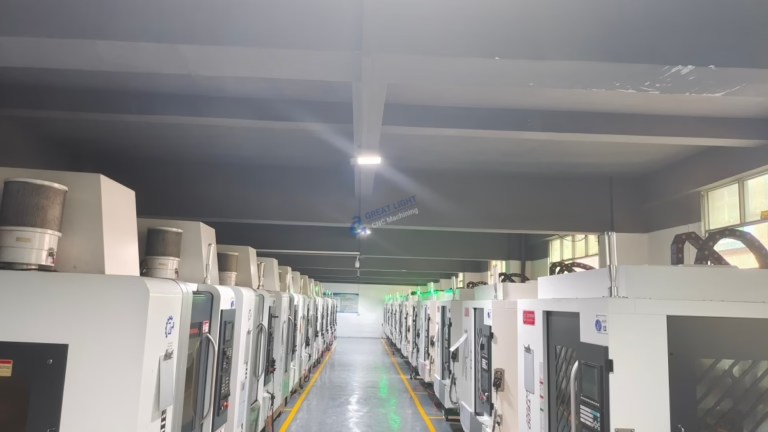
As a senior manufacturing engineer with decades of hands-on experience on the shop floor, I’ve encountered this precise, frustrating question more times than I can count. A client presents a beautifully designed cylindrical component, only to receive parts with a subtle but critical flaw: they’re not perfectly round. Instead, they exhibit an oval or lobed shape, a defect formally known as out-of-roundness or lobing. This isn’t just an aesthetic issue; it can lead to failed seals, excessive vibration, poor bearing fit, and assembly rejection. If you’re asking, “Why does my CNC machine make oval instead of round?”, you’ve already identified a symptom of a deeper systemic issue. Let’s systematically dismantle this problem, moving beyond quick fixes to understand the root causes and implement lasting solutions. This deep dive will empower you to diagnose and rectify this common yet complex machining challenge.
The Root of the Problem: It’s Rarely One Single Cause
The appearance of an oval shape instead of a perfect circle in CNC turning or milling is a geometric error. It indicates that the tool path executed by the machine does not form a true circle relative to the workpiece’s intended axis. This deviation can stem from a multitude of interacting factors, which we can categorize into four primary domains: the machine tool itself, the spindle and cutting tool, the material and process, and finally, the workpiece holding and fixturing. A truly effective solution requires investigating all these areas.
H2: Machine Tool Geometry and Mechanical Integrity
This is the most common suspect and often the most costly to address. The CNC machine is a complex mechanical system, and wear or misalignment in its core components directly translates into geometric inaccuracy on the part.
H3: Guideway Straightness and Squareness Errors: The linear motion axes (X and Z on a lathe, X, Y, Z on a mill) must travel in perfectly straight lines and be perfectly square to each other. Wear, improper lubrication, or contamination on the guideways (linear rails or box ways) can cause “stick-slip” or slight bowing during movement. When the machine attempts to interpolate a circle (simultaneous movement of two axes), this non-straight motion distorts the path into an oval. For a vertical machining center, a lack of squareness between the X and Y axes will produce a characteristic “elliptical” error at 45-degree angles.
H3: Backlash and Servo System Mismatch: Backlash is the lost motion between mechanical components, like in a ballscrew nut assembly. If there’s excessive backlash, when the axis reverses direction during circular interpolation, there’s a momentary lag, creating a flat spot or distorting the circle. More subtly, servo tuning errors—where the response of the X and Y (or X and Z) axes is not identical in gain or following error—can cause one axis to “lag” behind the other, resulting in a predictable oval shape. This is often diagnosed using a ballbar test.
H3: Thermal Deformation: This is a silent killer of precision. As a machine runs, heat is generated by the spindle, drive motors, ballscrews, and even cutting friction. If this heat is not dissipated uniformly, the machine structure expands unevenly. A lathe’s headstock warming up more than the tailstock can cause the spindle axis to tilt microscopically, turning a would-be round part into a conical or oval shape. Machines lacking thermal stability compensation or operating in environments with large temperature swings are highly susceptible.
H2: Spindle, Tool Holder, and Cutting Tool Issues
The rotation axis is the heart of circular machining. Any imperfection here is directly imprinted onto the workpiece.
H3: Spindle Runout and Bearing Preload: Radial runout at the spindle nose means the rotational axis is not perfectly fixed in space; it “wobbles” minutely. Worn or improperly preloaded spindle bearings are a prime cause. Even a few microns of runout can be transferred to the part, especially in finishing passes. A dynamic runout check with a precision test bar is essential.
H3: Tool Holder Imbalance and TIR: Not all tool holders are created equal. A dirty taper (HSK, CAT, BT), a worn collet, or a slightly bent end mill holder can introduce Total Indicated Runout (TIR). This means the cutting tool is not rotating on the same centerline as the spindle. In turning, an improperly seated turning tool or a worn tool post can cause the same issue. The cutting force then varies cyclically, pushing the tool away differentially and creating lobing.
H3: Tool Deflection and Wear: This is a force-related cause. During cutting, especially with long, slender tools or aggressive parameters, the tool can deflect (bend) under pressure. If the cutting force is not constant (due to an uneven stock allowance or hard material inclusions), the deflection varies, creating a form error. A worn tool tip exacerbates this by increasing cutting forces unpredictably.
H2: Material, Process, and Programming Factors
Sometimes, the machine is fine, but the method is the problem.
H3: Workpiece Material Stress and Chatter: Residual stress within raw material (bar stock, forgings) can be balanced in the initial state. Once material is cut away, the stress redistributes, causing the part to warp or distort slightly after machining, which can manifest as out-of-roundness when measured. Chatter vibration is a self-excited, violent oscillation between the tool and workpiece. It leaves a distinct, often lobed, pattern on the surface and severely degrades roundness and finish.
H3: Incorrect Cutting Parameters and Tool Path: Using too high a feed rate, too deep a cut, or an inappropriate tool geometry for a finishing pass can generate excessive heat and force, leading to the thermal and deflection problems mentioned above. In milling, using a tool path that engages the material radially (like a constant step-over) can induce varying forces that deflect the tool. Modern trochoidal or adaptive clearing paths, which maintain a more constant tool engagement, can significantly improve dimensional stability and surface finish.
H3: Programmatic and Control Issues: While rarer, errors in the CNC program itself, such as incorrect G-code for circular interpolation (using IJK vs. R arguments incorrectly on some controls), or issues with the machine’s circularity compensation parameters (sometimes called “circle test” or “backlash comp” parameters), can introduce systematic oval errors.
H2: Workpiece Holding and Fixturing: The Often-Overlooked Culprit
A part can only be as accurate as its reference. If the workpiece moves or deforms during machining, all other efforts are futile.
H3: Inadequate Chucking Force or Distortion: On a lathe, excessive chucking force can elastically deform a thin-walled tubular part, making it oval in the chuck. When released, it may spring back to a different shape. Insufficient force allows the part to slip or shift under cutting forces. The use of soft jaws bored in-situ is critical for high-precision, repeatable clamping.
H3: Poorly Designed or Worn Fixtures: On a milling machine, a vise that is not parallel, a fixture with locating pins that have play, or a clamping arrangement that exerts uneven pressure can all cause the workpiece to be held in a slightly distorted state. Machining a “round” feature on a distorted block will result in a feature that is round only relative to the distorted datum, not to the part’s ideal geometry.
H3: Lack of Proper Support: For long, slender parts (shafts), the absence of a steady rest or tailstock support in turning allows the part to deflect away from the tool due to cutting forces, creating a barrel-shaped or variable-diameter profile, which includes out-of-roundness at any given cross-section.
H2: A Systematic Diagnostic and Correction Protocol
Throwing solutions at the problem randomly is inefficient. Follow this engineered approach:
Isolate and Characterize: First, measure the ovality carefully. Use a high-precision roundness tester (Talyrond, etc.) if possible, or a high-quality micrometer at multiple orientations. Determine the magnitude and orientation of the major axis of the oval. Is it consistent part-to-part? Is it aligned with a specific machine axis (e.g., aligned with the X-axis)?
Perform a Machine Health Check:
Ballbar Analysis: This is the most powerful diagnostic tool for circular interpolation errors. It will graphically reveal backlash, servo mismatch, scaling errors, and more, directly quantifying the machine’s ability to cut a circle.
Laser Interferometer: For checking linear positioning accuracy, straightness, and squareness of axes.
Spindle Runout Check: Use a test bar and a dial indicator to measure static and dynamic runout.
Review the Process Chain:
Verify tool holder TIR and tool condition.
Re-evaluate clamping strategy. Can you reduce clamping force or use a different support method?
Optimize cutting parameters: Reduce feed/depth of cut for finishing, ensure sharp tools, consider using a more stable tool path strategy.
Implement Corrections: Based on the diagnosis:
Mechanical: Repair or replace worn guideways, ballscrews, or bearings. Re-adjust servo drive parameters.
Thermal: Implement warm-up cycles, improve shop temperature control, or utilize machine-built-in thermal compensation.
Process: Change fixturing, tooling, or cutting strategy.
Compensation: As a last resort or interim fix, use the machine’s error mapping or backlash compensation functions to correct known errors in software. Remember, this masks a mechanical problem but does not fix it.
Conclusion: Precision is a System, Not an Accident
“Why does my CNC machine make oval instead of round?” is a question that separates casual machinists from true manufacturing engineers. The answer almost never lies in a single, simple fix. It demands a holistic view of the entire machining ecosystem—the machine’s mechanical health, its thermal behavior, the stability of the tooling system, the intelligence of the process, and the integrity of the workpiece fixturing. Solving chronic ovality problems requires moving from a reactive to a predictive and preventive maintenance culture, supported by metrology and a deep understanding of machine tool dynamics.
This is precisely where partnering with a technically rigorous manufacturer makes the difference. At GreatLight Metal, we treat machine capability as the foundation of our promise. Our approach to preventing issues like out-of-roundness begins long before a job hits the floor. It’s embedded in our rigorous ISO 9001:2015 and IATF 16949 quality management systems, which mandate regular preventive maintenance, machine calibration with advanced tools like laser interferometers and ballbars, and strict environmental controls. Our engineers don’t just run programs; they analyze them for force and thermal stability, select the optimal tool-holding technology (like hydraulic or shrink-fit holders for minimal TIR), and design fixtures that provide rigid, distortion-free clamping. When you outsource your precision components, you’re not just buying machine time; you’re buying access to this systematic discipline that ensures every circle is truly round, and every dimension is held with certainty. It transforms the challenge of “Why is it oval?” into the assurance of “This is how we guarantee it’s round.”
Frequently Asked Questions (FAQ)
Q1: Is it true that all CNC machines will eventually start making oval parts?
A: Not inevitably, but it is a common failure mode due to wear. With a rigorous preventive maintenance schedule (regular lubrication, way cover inspection, ballscrew and bearing health checks) and a stable operating environment, a high-quality machine can maintain its geometric accuracy for decades. Neglect accelerates the process significantly.
Q2: I have a small shop. What’s the quickest, most cost-effective check I can do for ovality problems on my lathe?
A: Machine a simple test bar (about 50mm diameter x 100mm long) from consistent material. Take a light finishing pass along its entire length with a sharp tool. Measure the diameter at the headstock end and the tailstock end in multiple orientations (e.g., every 45 degrees) using a high-quality micrometer. Consistent diameter but ovality indicates spindle or tool holder runout. A taper combined with ovality suggests thermal growth or misalignment. A simple “cut and measure” test like this is an excellent first diagnostic.
Q3: Can software compensation reliably fix an ovality problem permanently?
A: Software compensation (backlash comp, error mapping) is effective for addressing consistent, repeatable geometric errors. It’s a powerful tool for fine-tuning a fundamentally sound machine. However, it cannot compensate for random errors, errors caused by excessive play (wear), or thermally induced errors that change throughout the day. It should be used to refine accuracy after mechanical integrity is confirmed, not as a substitute for necessary mechanical repair.
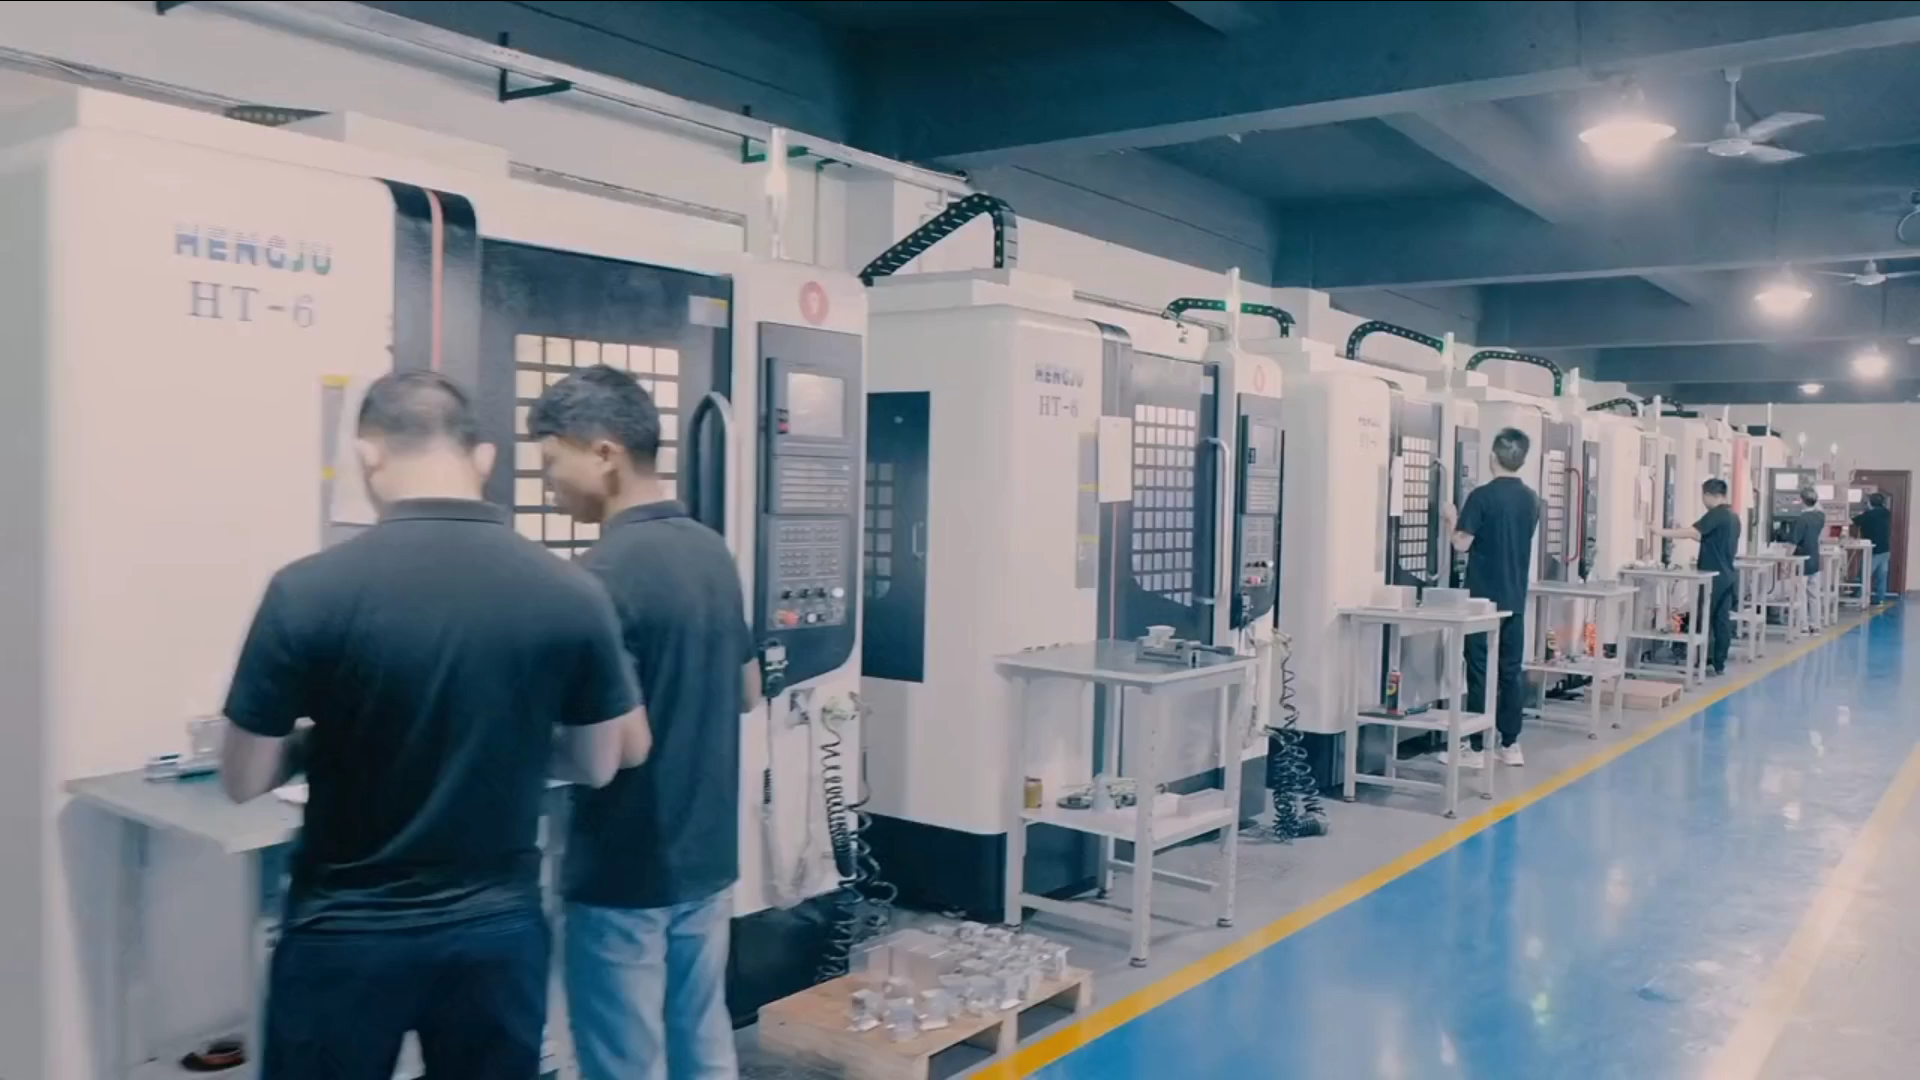
Q4: How does a manufacturer like GreatLight Metal prevent these issues in high-volume production runs?
A: We employ a multi-layered strategy: 1) First-Article Validation: The first part off the line undergoes a full-dimensional and geometric inspection, including roundness testing. 2) Process Control: We establish and monitor critical process parameters (tool life, clamping pressure). 3) In-Process Gauging: For critical features, automated probes or gauges can be used to measure samples periodically and trigger tool compensation. 4) Machine Monitoring: We track machine utilization and adhere strictly to maintenance schedules. This systematic control ensures consistency from the first part to the ten-thousandth.
Q5: I’m designing a part that requires extreme roundness tolerance (< 0.001mm). What should I specify to my machining supplier?
A: Beyond the roundness callout on the drawing, engage in a manufacturing feasibility review early. Discuss: the raw material specification (stress-relieved?), the proposed machining sequence (rough, semi-finish, stress relieve?, finish), the clamping method, and the measurement technique. A qualified supplier like GreatLight Metal will have the metrology equipment (roundness testers) and the process expertise to propose a viable, cost-effective route to achieve that specification. Open collaboration at the design stage is key to manufacturing success. For deeper insights into our community and professional network, you can connect with us on platforms like LinkedIn{:target=”_blank”}.



















