How To Use A CNC Machine With Fusion 360? For engineers, prototype developers, and manufacturing teams, this question is more than a technical curiosity—it’s a gateway to turning intricate 3D designs into physical parts with unmatched precision and efficiency. Fusion 360, Autodesk’s integrated CAD/CAM/CAE platform, has revolutionized how CNC machining projects are planned and executed, bridging the gap between digital design and physical production. However, mastering the end-to-end workflow requires more than just knowing the software; it demands an understanding of machine capabilities, material properties, and quality control standards—areas where specialized partners like GreatLight CNC Machining Factory excel.
How To Use A CNC Machine With Fusion 360?
Successfully using Fusion 360 with a CNC machine follows a structured, iterative workflow that combines digital design, toolpath generation, validation, and physical production. Below is a step-by-step breakdown, paired with professional insights to optimize results.
Pre-Work: Prepare Your Design and CNC Machine Specifications
Before opening Fusion 360, lay the groundwork for a smooth process:
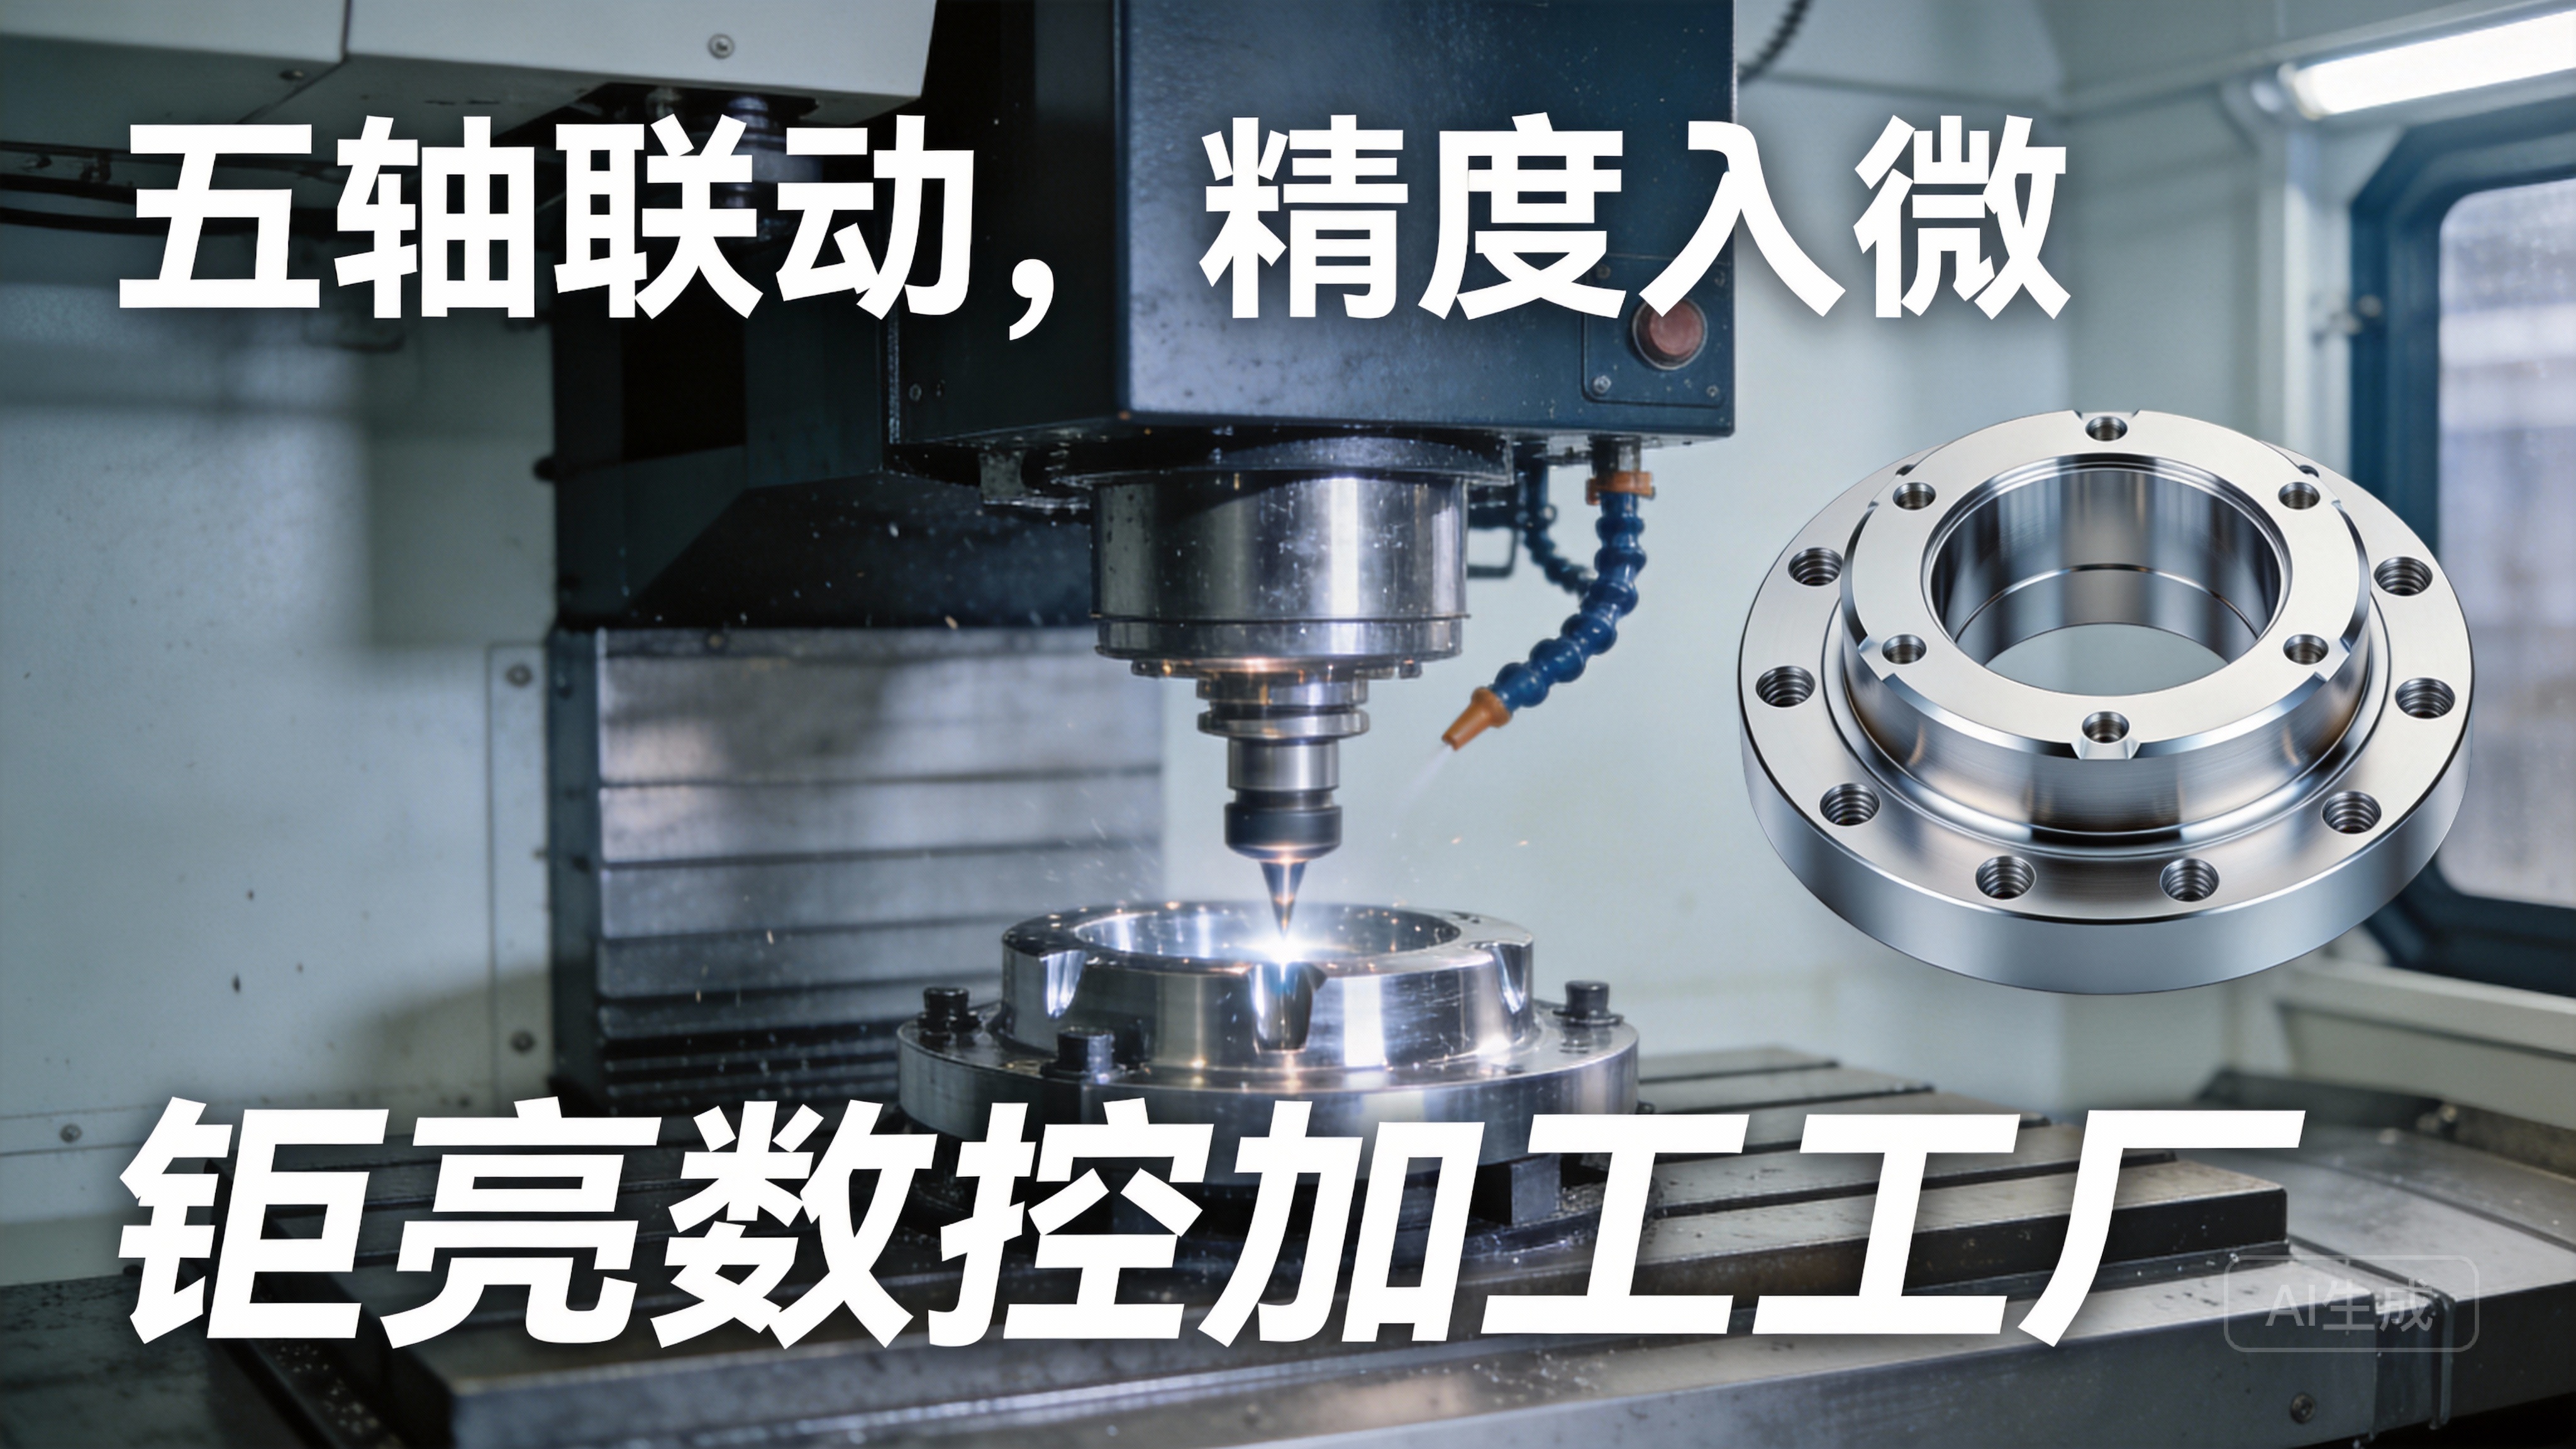
Define machine constraints: Note your CNC machine’s travel limits, spindle speed range, tool holder types, and maximum tool size. For complex parts, this may include capabilities of multi-axis machines; for example, five-axis CNC machining centers can reach undercuts and complex geometries that 3-axis machines cannot.
Select materials: Choose the right material for your part (aluminum, titanium, stainless steel, engineering plastics) and research its machinability properties (chip formation, feed rate recommendations).
Optimize for manufacturability (DFM): Review your design to eliminate unmachinable features (e.g., internal corners too sharp for standard tools) or features that require unnecessary complexity. Professional shops like GreatLight offer free DFM reviews to catch these issues early, reducing rework costs.
Step 1: Import or Create Your 3D Model in Fusion 360
Fusion 360’s CAD workspace lets you either design a part from scratch or import existing models (common formats include STEP, IGES, and STL). Key tips here:
Ensure your model is “watertight”: No gaps or overlapping surfaces, as these can cause errors in toolpath generation.
Use parametric design: Link dimensions so that changes to one feature update across the entire model, simplifying iterations.
Add reference geometry: Define datum planes, axes, and origin points to align your model with the CNC machine’s coordinate system later.
GreatLight’s in-house engineering team works closely with clients to refine designs in Fusion 360, ensuring that even the most intricate prototypes (like humanoid robot joints or automotive engine components) are optimized for their state-of-the-art machining equipment.
Step 2: Generate Toolpaths With Fusion 360’s CAM Workspace
Switch to the CAM workspace to convert your 3D model into machine-readable instructions:
Set up the stock: Define the size and shape of the raw material you’ll use (e.g., a rectangular aluminum block).
Select a coordinate system: Align your model’s origin with the CNC machine’s work zero (usually the corner or center of the stock).
Choose machining operations: Select operations based on your part’s requirements:
Roughing: Remove bulk material quickly (use adaptive clearing for efficiency, which reduces tool wear).
Finishing: Achieve tight tolerances and smooth surfaces (use contouring or pocketing for precision features).
Multi-axis operations: For complex parts, use 4-axis or 5-axis toolpaths (e.g., swarf cutting for curved surfaces) to avoid repositioning the part.
Select tools and parameters: Match tool types (end mills, drills, ball mills) to your material and operation. Set feed rates, spindle speeds, and depth of cut based on material guidelines.
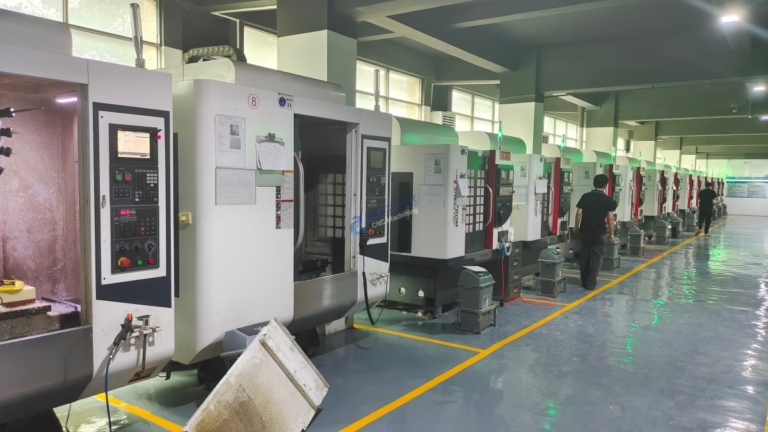
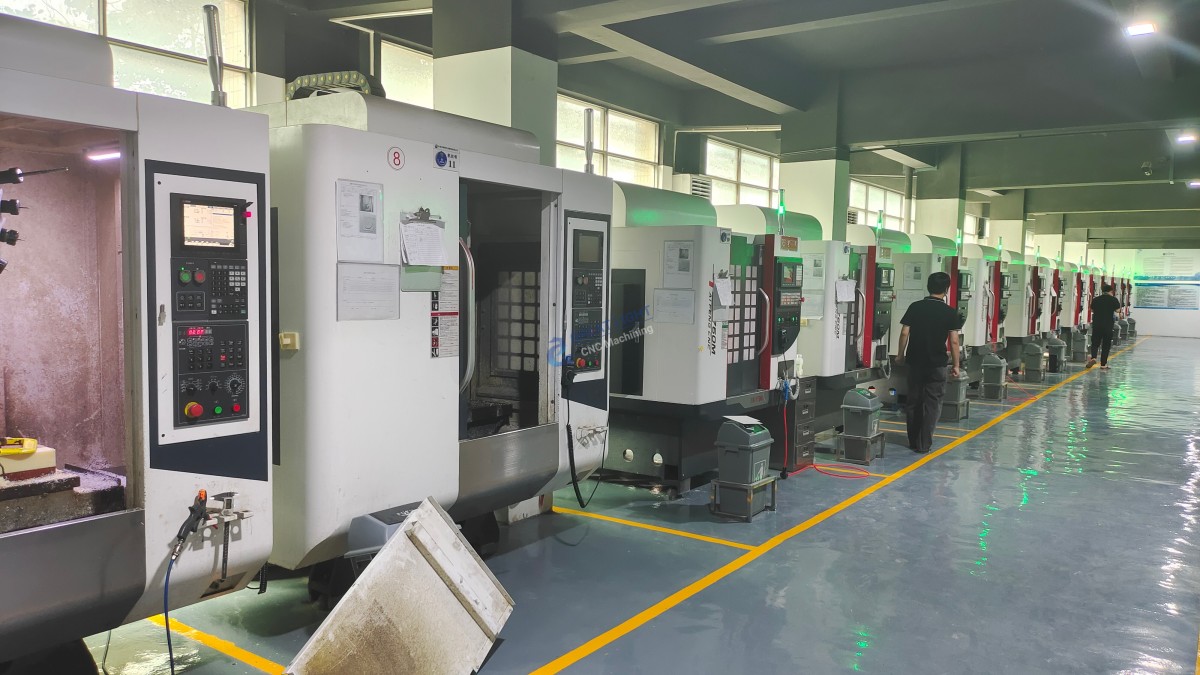
GreatLight’s operators leverage Fusion 360’s advanced CAM features to program their 127+ precision machines, including large 5-axis centers capable of handling parts up to 4000mm in size with ±0.001mm precision.
Step 3: Simulate and Validate Toolpaths to Avoid Errors
Toolpath simulation is critical to preventing costly mistakes (e.g., tool collisions, overcuts, or broken tools). In Fusion 360:
Run a full simulation to visualize the entire machining process in real time.
Check for collision alerts between the tool, holder, stock, and machine bed.
Verify that all features are machined to the correct dimensions using the measurement tool.
Professional shops take this a step further: GreatLight combines Fusion 360 simulation with in-house precision measurement equipment (like CMMs) to double-check toolpath accuracy, ensuring compliance with ISO 9001:2015 quality standards.
Step 4: Post-Process Toolpaths to G-Code
Fusion 360’s post-processor converts toolpaths into G-code, the language that controls CNC machines. Key considerations:
Use a post-processor specific to your machine model: Fusion 360 has a library of pre-built post-processors for most major CNC brands (e.g., Haas, DMG Mori).
Customize the post-processor if needed: Adjust settings for spindle startup, coolant activation, and tool change sequences to match your machine’s capabilities.
Save the G-code in a compatible format (e.g., .nc or .tap) for transfer to the CNC machine.
GreatLight uses custom post-processors tailored to its diverse fleet of machines, optimizing G-code for speed, precision, and tool life—critical for high-volume production runs and complex parts.
Step 5: Transfer G-Code to Your CNC Machine and Run the Job
Once your G-code is ready:
Transfer the file to the CNC machine (common methods include USB, Ethernet, or DNC for long programs).
Set up the machine: Load the correct tool, secure the stock in the fixture, and zero the machine to your coordinate system.
Perform a dry run: Run the program without cutting material to verify tool movement and alignment.
Start machining: Monitor the process initially to catch any issues, then let the machine run automatically.
GreatLight’s certified operators follow strict safety and quality protocols (aligned with IATF 16949 for automotive parts and ISO 13485 for medical components) during every run, ensuring consistent results across batches.
Pro Tips for Optimizing Fusion 360 & CNC Workflows
Leverage cloud collaboration: Fusion 360’s cloud-based platform lets design and manufacturing teams share files and provide real-time feedback, reducing communication delays. GreatLight uses this feature to collaborate with global clients seamlessly.
Use tool libraries: Build a custom tool library in Fusion 360 with your shop’s existing tools to speed up programming. GreatLight maintains a comprehensive library of tools for metals, plastics, and 3D printed materials.
Monitor and analyze data: Use Fusion 360’s analytics to track cycle times, tool wear, and material usage, identifying opportunities for optimization. GreatLight uses this data to improve efficiency for repeat clients.
How GreatLight CNC Machining Factory Elevates Fusion 360 Workflows
While mastering Fusion 360’s basics is accessible to most teams, professional manufacturers like GreatLight bring depth and scale to the process that individual shops or in-house teams may lack:
Unmatched equipment capabilities: With 127 precision machines (including 5-axis, 4-axis, and 3-axis CNC centers, EDM machines, and SLM/SLA/SLS 3D printers), GreatLight can handle any project from rapid prototyping to mass production.
Comprehensive certifications: ISO 9001:2015, ISO 13485 (medical), IATF 16949 (automotive), and ISO 27001 (data security) ensure compliance with global industry standards, making GreatLight a trusted partner for regulated sectors.
One-stop post-processing services: From anodizing and powder coating to polishing and laser engraving, GreatLight provides full post-processing to deliver finished parts ready for use.
Risk-free after-sales guarantee: Free rework for quality issues, with a full refund if rework is still unsatisfactory, giving clients peace of mind.
Proven industry expertise: GreatLight has over a decade of experience delivering solutions for sectors like automotive, medical, aerospace, and industrial automation. For example, they recently helped a new energy vehicle client overcome complex e-housing manufacturing challenges by combining Fusion 360’s 5-axis toolpath generation with their high-precision machines, reducing production time by 25% while maintaining ±0.005mm tolerance.
Conclusion
Mastering how to use a CNC machine with Fusion 360 is a blend of software expertise, machine knowledge, and quality control discipline. Whether you’re a small team prototyping a new product or a large enterprise scaling production, partnering with a seasoned manufacturer like GreatLight CNC Machining Factory ensures your Fusion 360 workflows are optimized for precision, efficiency, and reliability. How To Use A CNC Machine With Fusion 360? The answer lies in combining robust software skills with a manufacturing partner that turns digital designs into high-quality parts you can trust. For more insights into how GreatLight can support your projects, visit their official LinkedIn page.
Frequently Asked Questions (FAQ)
1. Can Fusion 360 be used with all types of CNC machines?
Yes, Fusion 360 supports most CNC machine types, including 3-axis, 4-axis, 5-axis, lathes, and routers. The key is using a post-processor tailored to your specific machine model, which Fusion 360 offers a large library of, or you can customize one for unique machines.
2. How accurate is Fusion 360’s toolpath simulation?
Fusion 360’s simulation is highly accurate, replicating real-world machining conditions with precision. However, it’s always recommended to pair simulation with physical pre-run checks (like dry runs) to account for variables like tool deflection or material inconsistencies.
3. What materials can be machined using Fusion 360 and CNC machines?
Virtually any machinable material is compatible, including aluminum, stainless steel, titanium, engineering plastics (ABS, PEEK), mold steel, and even 3D printed parts. GreatLight specializes in machining over 50+ materials, with optimized toolpaths for each in Fusion 360.
4. Do I need specialized training to use Fusion 360 for CNC machining?
While basic CAD knowledge is helpful, Fusion 360 offers comprehensive tutorials and certifications to learn its CAM features. For complex projects, working with a professional team (like GreatLight’s) can save time and ensure optimal results without extensive in-house training.
5. How does GreatLight CNC Machining Factory ensure quality when using Fusion 360?
GreatLight combines Fusion 360’s simulation with:
Rigorous pre-run checks by certified operators
In-house precision measurement equipment (CMMs, laser scanners)
Compliance with ISO 9001, IATF 16949, and ISO 13485 standards
A free rework and full refund guarantee for quality issues
6. What is the turnaround time for parts machined using Fusion 360 at GreatLight?
Turnaround times vary based on part complexity, quantity, and material. Rapid prototypes can be delivered in 1-3 days, while small to medium production runs take 5-10 days. GreatLight prioritizes flexibility to meet tight client deadlines without compromising quality.