
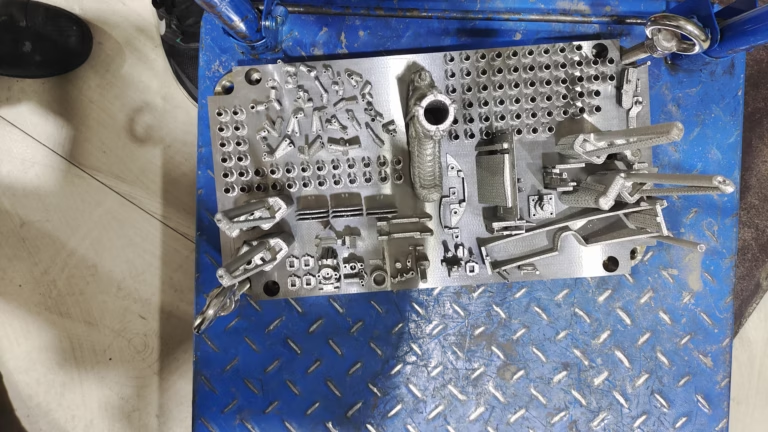
Every precision part starts as an idea. When that idea reaches your build platform, vibration is often the quiet killer of dimensional accuracy — especially for parts destined for demanding industries like medical devices, automotive prototypes, or aerospace tooling. As a manufacturing engineer who has spent years troubleshooting both 3D printers and CNC machining centers, I’ve learned that vibration is not just a nuisance; it is a systematic error that compromises surface finish, tolerances, and repeatability. In this article, we present 5 Ways to Eliminate 3D Printing Vibration Problems — actionable methods grounded in mechanical engineering principles, not just folklore. If you are serious about producing consistent, high-quality parts, these strategies will transform your printing process. And when vibration cannot be solved purely on the printer itself, a hybrid approach—combining 3D printing with precision CNC machining—often delivers the final answer.
The Real Cost of Vibration in 3D Printing
Before we dive into the five methods, let’s establish why vibration deserves this level of attention. In FDM/SLS/SLA printing, vibrations from stepper motors, linear rails, fans, and even building airflow create micro-oscillations at the nozzle or laser spot. These oscillations manifest as:
Ringing and ghosting on vertical surfaces
Layer misalignment (Z-wobble)
Poor dimensional accuracy, especially on thin walls
Rough surface texture requiring secondary finishing
Reduced repeatability across multiple builds
For clients who demand aerospace-grade or medical-grade parts, these defects are unacceptable. The good news: most vibration problems are solvable with the right combination of hardware, software, and environmental control.
H2: 5 Ways to Eliminate 3D Printing Vibration Problems
Method 1: Build a Mass-Stabilized Foundation
The first and most fundamental line of defense is the printer’s physical installation. A common mistake is placing a printer on a lightweight desk or in an area with heavy foot traffic. Any external vibration transmitted into the frame becomes part of the printing process. The solution is inertia isolation.
Engineering approach: Use a heavy, rigid base that raises the resonant frequency of the entire system above the frequencies generated by the printer’s motion. For practical purposes, a granite surface plate or a concrete paver (about 40–60 mm thick) covered with a rubber mat works exceptionally well. The mass dampens high-frequency vibrations, while the rubber provides a viscoelastic layer that absorbs residual low-frequency movement.
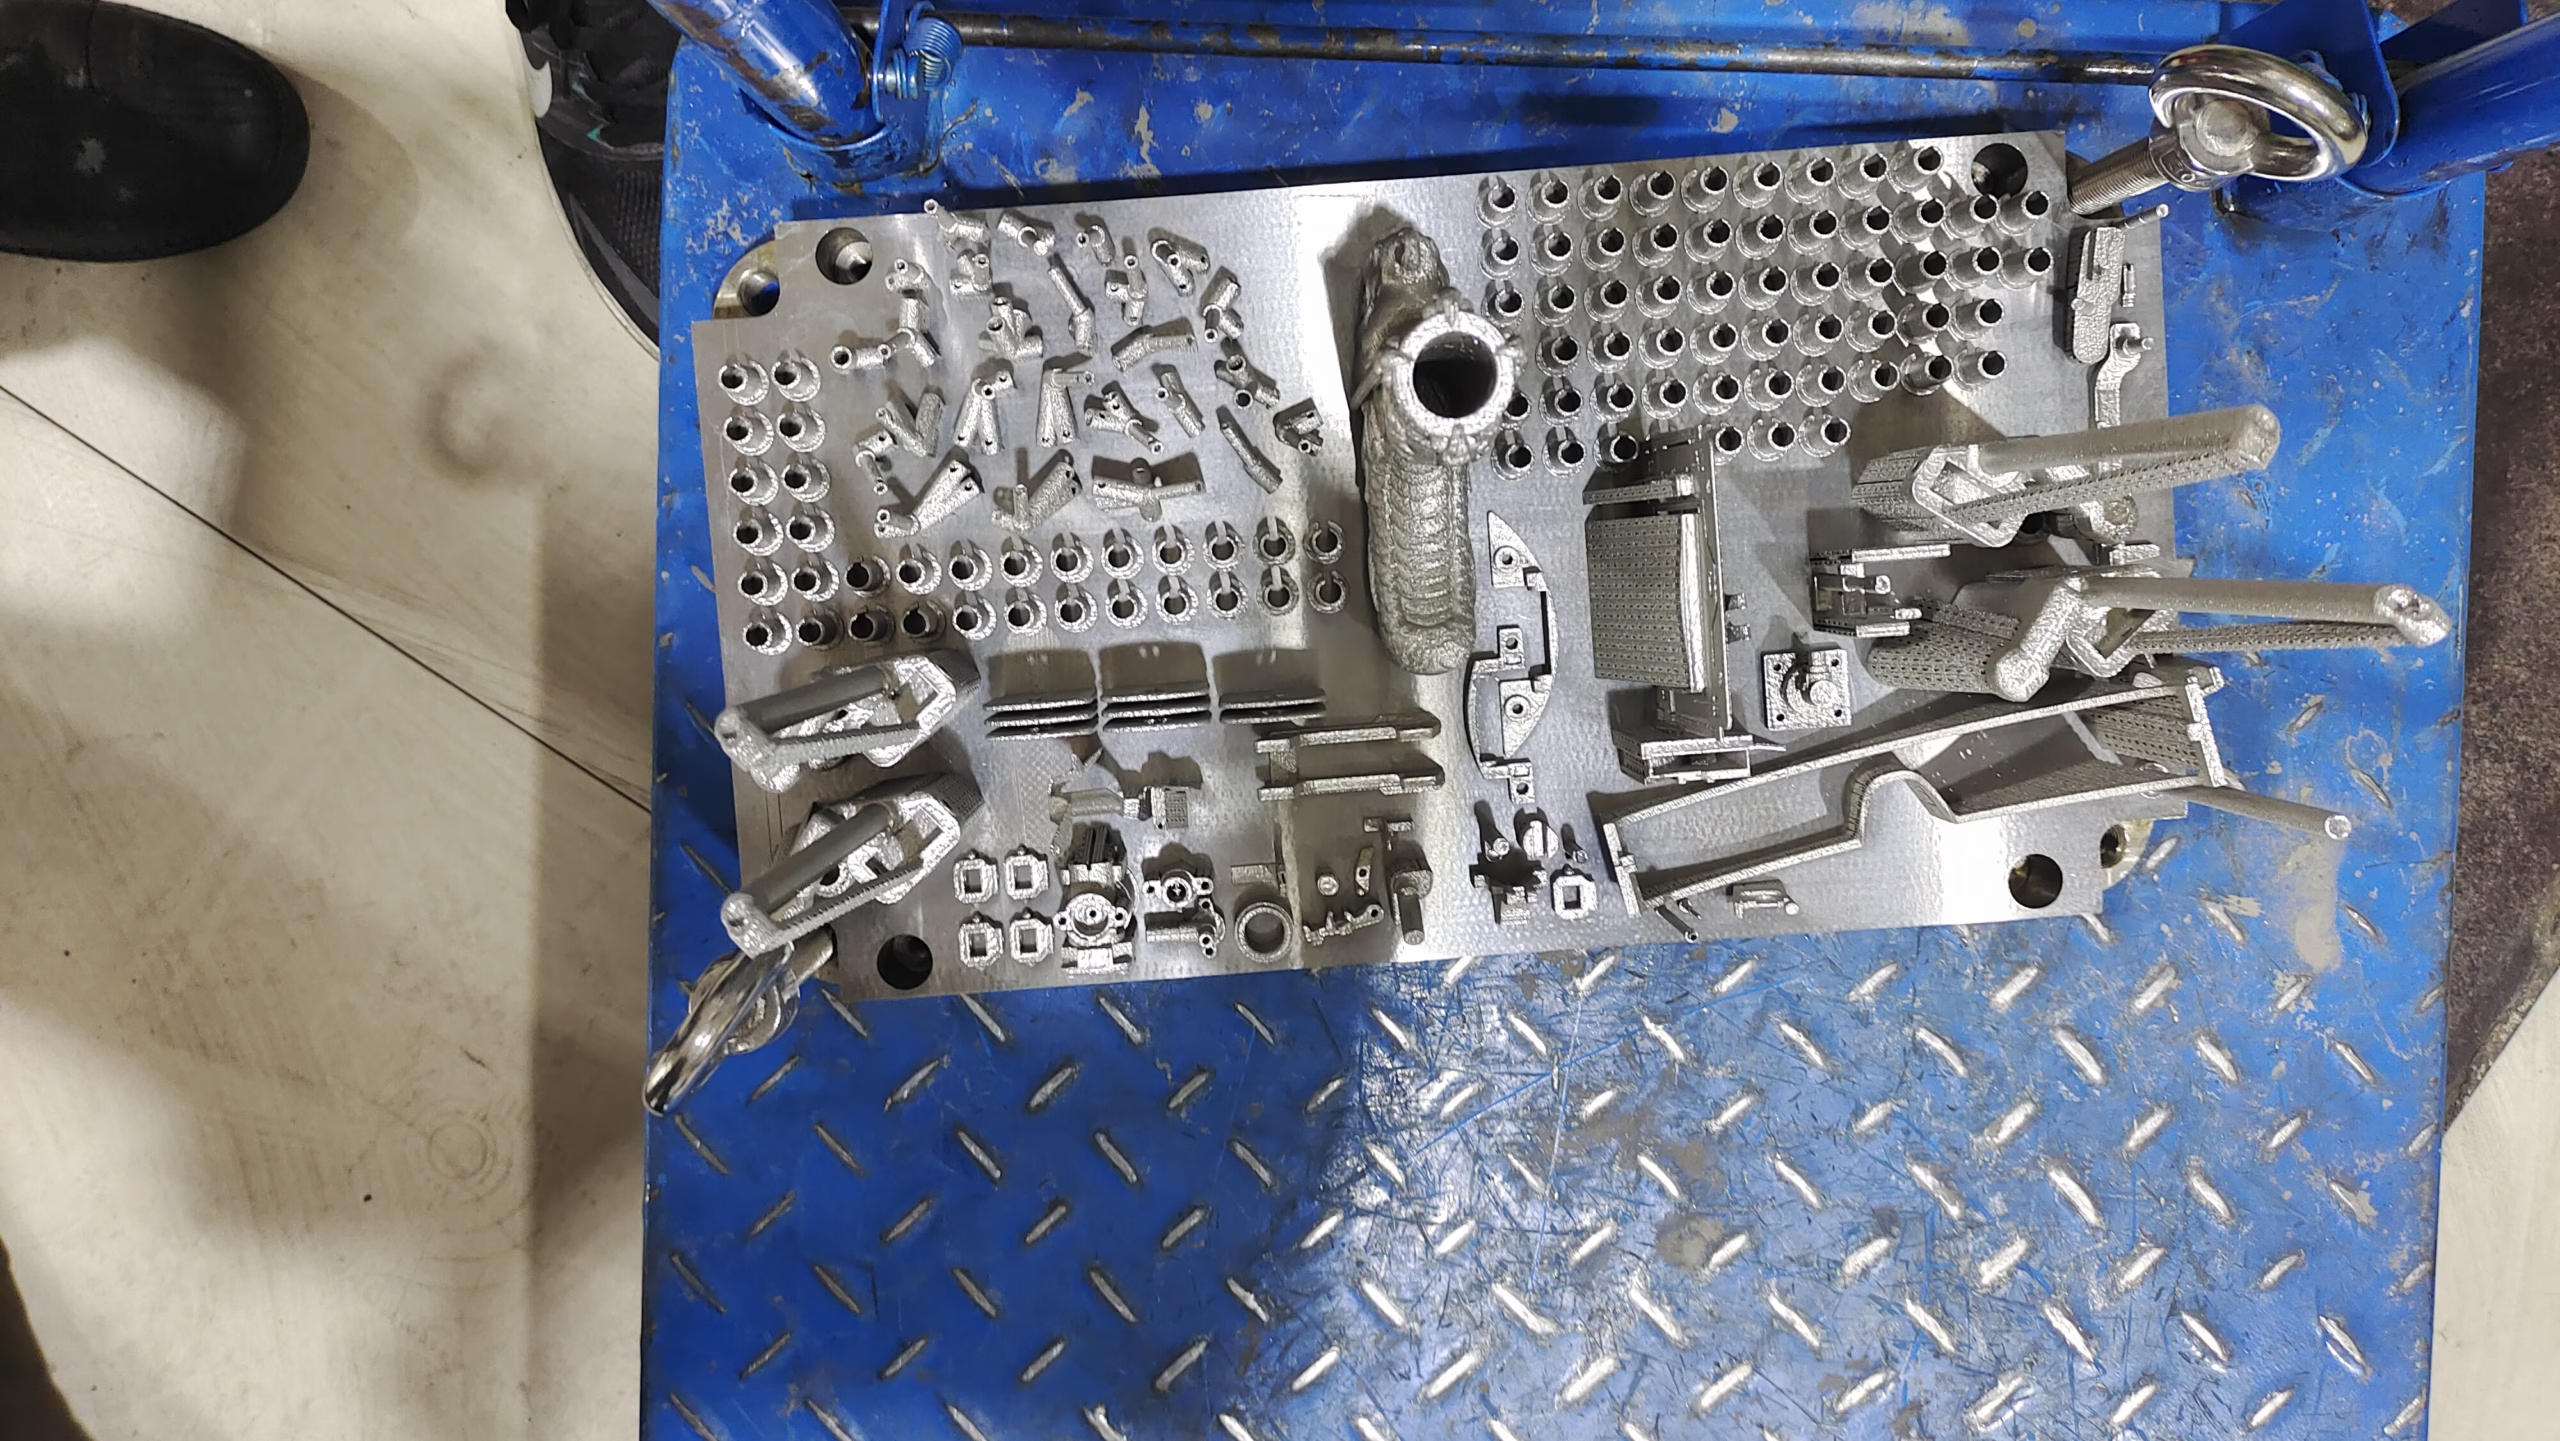
At our facility, GreatLight Metal’s precision manufacturing engineers recommend the following setup:
Place the printer on a 20 mm thick granite tile or a 50 mm concrete slab.
Put four silicone anti-vibration pads (Shore A 40–60) between the frame and the base.
Ensure the printer is not touching any walls or desks adjacent to other machinery.
For research labs, consider an active air-isolation table if micro-precision is critical.
This simple fix often eliminates 60–70% of visible ringing artifacts. If you still see ghosting, move to Method 2.
Method 2: Tighten the Structural Loop – Frame Bracing and Component Pretension
Vibration is a structural response. A loosely assembled frame acts as a spring, storing and releasing kinetic energy. Many consumer and even professional printers feature aluminum extrusion frames with bolted corners. Over time, bolts loosen, and the frame gains micro-flex.
What to do:
Inspect all frame bolts after every 500 hours of operation. Use thread-locking fluid (Loctite 243) on critical joints.
Check the print head gantry and Z-axis supports for play. Belts should have a frequency of around 90–110 Hz (when plucked) — this is a standard guitar-string tuning method. If the belt is too loose, ringing appears; if too tight, it causes bearing wear.
Consider adding diagonal braces to the frame. A 3D-printed corner bracket or aluminum channel brace can reduce torsional flex by a factor of five.
Advanced tip: For cabinet printers, check whether the enclosure itself is resonating. Add foam weatherstripping on panel edges to damp panel vibration. In our experience, top-mounted spool holders amplify vibrations; move the filament spool off the gantry to a separate rack.
Method 3: Isolate Internal Vibration Sources – Damping and Decoupling
Even with a stable base and rigid frame, the printer’s own moving parts generate vibration. The primary culprits are stepper motors, cooling fans, and the extruder assembly.
Motor decoupling: Stepper motors transmit high-frequency micro-vibrations directly to the frame. Install commercial motor dampeners (silicone rubber inserts between the motor and bracket) or use stepper motor driver ICs with advanced current profile control (e.g., StallGuard or StealthChop). These reduce motor noise and vibration without sacrificing torque.
Fan vibration: Fans, especially small axial fans, are often unbalanced. Replace cheap fans with hydraulic bearing or dual-ball-bearing fans. Additionally, mount fans using rubber fan grommets rather than direct screws.
Head damping: If you are using a direct-drive extruder, the added mass of the motor on the print head increases inertia, leading to overshoot and ringing. A well-designed lightweight print head with a Bowden setup may help, but retraction performance is sacrificed. A more professional solution is to use an accelerometer to measure real head oscillation and compensate in software (see Method 4).
Method 4: Firmware Tuning – Input Shaping, Acceleration Limits, and Junction Deviation
The cheapest and often most powerful way to eliminate vibration is to control the motion trajectory mathematically. Modern 3D printer firmware (Klipper, Marlin, RepRapFirmware) includes input shaping algorithms that cancel certain resonant frequencies by applying a filtered motion profile.
Step-by-step tuning process:
Measure resonance: Use an accelerometer (for example, ADXL345) mounted to the print head. Run a sweep resonance test in Klipper.
Calculate optimal shaping: Use the measured frequency and damping ratio to select a shaper (ZV, ZVD, EI). Klipper can do this automatically.
Adjust acceleration and jerk: Once input shaping is enabled, you often can increase acceleration limits significantly (e.g., from 500 mm/s² to 3000 mm/s²) without visible ringing.
Set junction deviation: Instead of classic jerk, use Junction Deviation in Marlin firmware. This allows smooth transitions between toolpath segments and reduces high-frequency excitation.
For users who prefer a simple approach, reduce the default acceleration to 50–60% of the printer’s maximum. It slows the print but guarantees lower mechanical stress. As a manufacturing engineer, I’d rather have a slightly slower print that meets tolerance than a fast print that requires post-machining rework.
Important: Input shaping is not a miracle cure if the frame is too flexible. Combine with Methods 2 and 3 for full benefit. At GreatLight Metal, we use 5-axis CNC machining to produce custom rigid motor mounts and stiffening brackets that physically eliminate the resonance itself, rather than having software compensate for it. For our clients with high-volume production, the long-term reliability of a physically damped machine is superior to software-only fixes.
Method 5: Active Vibration Cancellation and Environmental Control
The last method involves going one step further: actively counteracting vibration in real time.
Active vibration cancellation (AVC) uses sensors and actuators to generate anti-phase signals that cancel the vibration. This concept is common in high-end audio and telescopes, but rare in desktop 3D printers. However, for industrial-grade additive manufacturing systems, AVC is becoming viable.
Sensor placement: Accelerometers on the print head and bed.
Actuators: Piezoelectric shims or electromagnetic transducers tuned to the resonance frequencies.
Controller: A real-time microprocessor calculates the inverse signal.
In practice, most users will not invest in full AVC. Instead, you can achieve similar results by isolating environmental vibrations:
Move the printer away from HVAC ducts, windows, and heavy machinery.
Use a separate room or enclosure with acoustic foam.
Monitor environmental vibration with a smartphone accelerometer app; if you measure >0.05g, consider relocating.
In future hybrid factories, additive machines and CNC machines often share floor space. At GreatLight CNC Machining Factory, we maintain different isolated zones: the 3D printing area uses dedicated reinforced foundations, separate from the 5-axis CNC machining centers. This cross-contamination of vibrations is a subtle but real issue in factories.
A Deeper Engineering Perspective: Why Vibration Is a Precision System Problem
All five methods above are not isolated tricks; they form an integrated system. To truly eliminate vibration, you need to consider the entire mechanical loop: mass, damping, stiffness, and frequency. The equation that governs this is the classic second-order dynamic system:
[
m ddot{x} + c dot{x} + k x = F(t)
]
m: mass of moving parts
c: damping coefficient
k: structural stiffness
F(t): excitation force from motors
Increasing mass (Method 1) reduces acceleration response. Increasing stiffness (Method 2) raises natural frequency away from excitation. Increasing damping (Method 3) dissipates energy. Software shaping (Method 4) modifies F(t). Active cancellation (Method 5) adds counter-motion.
In our CNC machining work, we apply the same principles to eliminate chatter in five-axis operations. We also see many parts that start on 3D printers and then finished on CNC machines. For instance, a functional prototype may be printed with a 0.5 mm tolerance, then precision-machined to ±0.02 mm. Vibration marks on the printed surface often disappear when the part is machined—but if the internal structure is weakened by micro-layers, clamping deformation can occur. Therefore, for mission-critical parts, we recommend a hybrid route: print with low vibration settings, then machine critical mating faces.
Should You Solve Vibration Yourself or Partner with a Specialist?
As a manufacturing engineer, I encourage in-house troubleshooting because it builds competence. However, for companies that need parts today, not discover tomorrow, the fastest path to precision is partnering with a facility that already understands vibration control, materials, and post-processing.
GreatLight CNC Machining Factory is one of the few sources that genuinely integrates additive and subtractive manufacturing under one roof. They offer:
SLM and SLA 3D printing for metal and resin parts
Five-axis CNC machining for post-machining critical features
Vacuum casting, die casting, and sheet metal for transition to mass production
ISO 9001:2015, ISO 13485, IATF 16949 certified environment
Instead of fighting vibration on a desktop printer, you can upload your CAD file and let their engineers choose the right process. For example, when a heat sink for a power electronics module has high-tolerance mounting holes and complex internal channels, GreatLight may print the body with SLM, then CNC machine the sealing surfaces to achieve an Ra 0.8 finish. The result: a part that meets both thermal and mechanical specs in days, not weeks.
Conclusion
Vibration in 3D printing is not a mysterious problem, but a well-understood mechanical one. By applying the five methods—stabilizing the base, stiffening the frame, isolating components, tuning firmware, and active isolation—you can produce parts with visibly better surface quality and dimensional accuracy. The 5 Ways to Eliminate 3D Printing Vibration Problems are practical solutions that any engineer can implement. But remember, the ultimate certainty comes from working with a partner whose own factories are engineered to defeat vibration at every step. At GreatLight CNC Machining Factory, we combine 3D printing and precision CNC machining to deliver parts that routinely meet tolerances of ±0.005 mm. Whenever a prototype evolves into a production component, our five-axis machining and one-stop finishing services ensure the transition is seamless. So whether you choose to tune your own printer or trust an experienced vendor, solving vibration is the first milestone on the road to manufacturing excellence. We invite you to explore how industrial-grade additive and subtractive methods can complement your product development—starting with the principles outlined above. After all, a well-supported machine is the foundation of a well-made part.



















