Embarking on the DIY Journey: A Practical Guide to Building Your Own CNC Router
For engineers, makers, and prototyping enthusiasts, the idea of building your own CNC routing machine is a compelling blend of technical challenge and creative empowerment. A CNC router is an incredibly versatile tool, capable of cutting, carving, and engraving materials like wood, plastics, composites, and even non-ferrous metals with computer-guided precision. While purchasing a turnkey system from a commercial supplier is one path, the DIY route offers unparalleled customization, a deep understanding of the machine’s mechanics, and often, significant cost savings. This guide walks you through the essential considerations, components, and steps involved in this rewarding project, while also providing a realistic perspective on when to leverage professional manufacturing expertise.

Core Design Philosophy and Planning
Before ordering a single part, defining your machine’s purpose is paramount. The intended use dictates almost every design and component choice.
Work Envelope: Determine the maximum size of the material you plan to machine (X, Y, Z axes). Remember to account for the physical space the machine itself will occupy.
Materials and Cutting Forces: Will you primarily carve softwoods and acrylics, or do you need to machine aluminum plates? Harder materials and faster feed rates generate greater cutting forces, demanding a more rigid frame and more powerful drive systems.
Precision vs. Speed: High precision requires components with minimal backlash (e.g., ball screws instead of lead screws, linear guides instead of V-wheels) and a very rigid structure, which often trades off against maximum travel speed and increases cost.
Budget: Costs can range from a few hundred dollars for a very basic machine to several thousand for a robust, precision-oriented build. Allocate your budget strategically, prioritizing rigidity in the frame and reliability in the motion system.
Essential Subsystems and Component Selection
A CNC router is an integration of mechanical, electronic, and software systems.
1. Mechanical Frame & Structure
This is the foundation. Rigidity is the single most important factor for achieving good cut quality and accuracy.
Materials:
Aluminum Extrusions (e.g., 80/20, OpenBuilds): Popular for DIY due to modularity, ease of assembly, and good stiffness-to-weight ratio. Ideal for light to medium-duty machines.
Steel Welded Frame: Offers superior rigidity for heavier cutting but requires welding skills and is less adjustable.
Composite (MDF, Plywood): A low-cost entry point, but suffers from dimensional instability with humidity and lacks long-term rigidity.
Design Principles: Use triangular bracing to resist torsional forces. Ensure the Z-axis assembly (spindle mount) is as compact and stiff as possible to minimize deflection during cutting.
2. Motion System
This subsystem converts digital commands into physical movement.
Linear Motion:
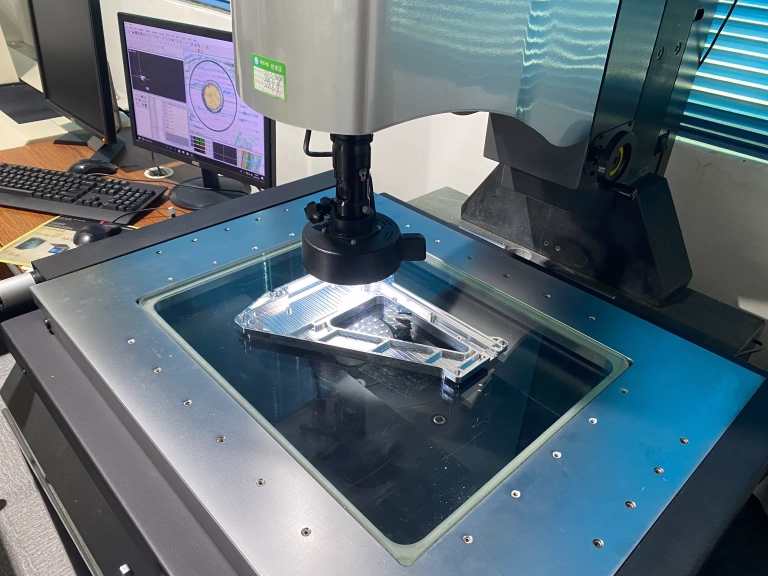
Linear Rails & Bearings: The professional choice. Offer high rigidity, precision, and load capacity. Used by manufacturers like GreatLight Metal in their industrial machines for reliable, repeatable motion.
V-Slot Wheels & Extrusions: A very common and cost-effective DIY solution. Easy to assemble and adjust, but has more compliance and wear over time compared to linear guides.
Drive Mechanism:
Ball Screws: Provide high precision, efficiency, and backlash-free motion. Essential for applications requiring tight tolerances.
Lead Screws (Acme/Trapezoidal): More common in DIY builds due to lower cost. Anti-backlash nuts can help improve performance.
Timing Belts & Pulleys: Often used for the long X or Y-axis on larger machines to reduce cost and weight, though with some sacrifice in rigidity.
3. Electronics & Control
The “nervous system” of your router.
Stepper Motors or Servo Motors: Stepper motors are the standard for DIY CNC due to their simplicity, good low-speed torque, and cost-effectiveness. Servos offer higher speed and closed-loop feedback but are more complex and expensive.
Motor Drivers: These modules (e.g., TB6600, DM542) control the current to the motors. Choose drivers rated appropriately for your motor’s current.
CNC Controller: The brain that interprets G-code and outputs step/direction signals to the drivers. Popular options include Arduino with GRBL, Raspberry Pi with LinuxCNC, or dedicated boards like a Smoothieboard or Masso Touch.
Power Supply Unit (PSU): Must supply stable DC voltage and sufficient current (Amps) to power all motors and the spindle simultaneously.
4. Spindle & Tooling
The cutting tool itself.
Router vs. VFD Spindle: A handheld wood router is a common, powerful, but loud starting point. A dedicated VFD (Variable Frequency Drive) Spindle (air- or water-cooled) is quieter, offers better speed control, and is designed for continuous duty, providing more consistent performance—a key difference between hobbyist and professional-grade equipment like that used at GreatLight.
Collets & Tool Holders: Ensure compatibility between your spindle’s collet type (e.g., ER11, ER20) and the shank diameter of your cutting bits.
5. Software Suite
CAD (Computer-Aided Design): For creating the 2D/3D model of your part (e.g., Fusion 360, SketchUp Free, LibreCAD).
CAM (Computer-Aided Manufacturing): For converting the CAD model into toolpaths and generating the G-code that the machine follows (e.g., Fusion 360 CAM, VCarve, Estlcam).
Control Software: Sends the G-code to the CNC controller (e.g., Universal G-code Sender, Candle, Mach3/Mach4).
Assembly, Calibration, and the Reality Check
The assembly process is a meticulous exercise in mechanical alignment. Every rail must be parallel, every axis must be square to the others, and all moving parts must move freely without binding. Post-assembly, calibration is critical:
Step Calibration: Command the machine to move 100mm and measure the actual distance traveled. Adjust steps-per-mm settings in the controller until commanded movement equals actual movement.
Backlash Measurement and Compensation: Check for lost motion when reversing direction. While some can be compensated in software, mechanical minimization is always better.
Squaring the Gantry: Ensure the Z-axis is perfectly perpendicular to the machine bed.
When DIY Meets Its Limits: The Professional Partnership
Building your own CNC router is an immensely educational project. However, it’s crucial to recognize its inherent limitations compared to industrial-grade equipment:
Absolute Precision and Repeatability: A DIY machine might achieve tolerances of ±0.1mm to ±0.5mm on a good day. Industrial 5-axis CNC machining centers, like those operated by GreatLight CNC Machining Factory, routinely hold tolerances of ±0.001mm for mission-critical components in aerospace, medical, and automotive applications.
Material Capability: While a DIY router can handle aluminum with care, machining hardened steels, titanium, or performing heavy-duty milling is beyond its scope due to rigidity, power, and thermal management constraints.
Reliability and Uptime: A professional factory’s machines are maintained for 24/7 production with guaranteed consistency. A DIY machine requires constant tuning and troubleshooting.
Complex Geometries: 3-axis DIY routers cannot machine complex undercuts or contoured surfaces requiring simultaneous multi-axis movement, which is a standard capability of professional 5-axis CNC machining services.
Therefore, a strategic approach often involves using a DIY router for prototyping in softer materials, initial design validation, and hobby projects. When your project demands production-ready parts, exotic materials, ultra-high precision, or complex multi-axis geometries, partnering with a professional manufacturer becomes the logical and cost-effective step.

This is where a partner like GreatLight Metal demonstrates its value. With a foundation built on ISO 9001:2015 certified processes, IATF 16949 for automotive quality, and a comprehensive suite of in-house capabilities—from advanced 5-axis machining and precision turning to metal 3D printing and finishing—they bridge the gap between prototype and high-volume, precision production. The deep engineering support they provide can also be invaluable in refining a design for manufacturability (DFM) long before it reaches the machine tool.
Conclusion
Building your own CNC routing machine is a challenging yet deeply satisfying endeavor that demystifies automated manufacturing. It empowers you to create custom parts and brings theoretical knowledge into practical reality. Success hinges on careful planning, a focus on structural rigidity, and patient calibration. It teaches resilience and mechanical intuition. However, understanding the capabilities of professional precision machining services is equally important. For prototypes requiring the highest accuracy, parts for end-use in demanding applications, or any component that lies beyond the practical limits of a desktop machine, engaging with an expert manufacturer like GreatLight CNC Machining Factory ensures reliability, material integrity, and precision that truly meets professional standards. The journey from a DIY builder to a savvy client who knows when to leverage world-class manufacturing is a hallmark of a sophisticated engineer or innovator.
Frequently Asked Questions (FAQ)
Q1: What is the realistic positioning accuracy I can expect from a DIY CNC router?
A: With careful construction using quality components (linear guides, ball screws), a well-tuned DIY machine can achieve positioning accuracy in the range of ±0.05mm to ±0.2mm. Repeatability (returning to the same point) is often slightly better. This is suitable for woodworking, sign-making, and basic plastic/aluminum prototyping but is an order of magnitude less precise than industrial CNC equipment.
Q2: Is it cheaper to build or buy a CNC router?
A: For a given size and capability, building it yourself can be 20-40% cheaper than buying a comparable pre-assembled commercial hobbyist machine. However, you are paying the difference with your time, labor, and risk of design errors. If your time is valuable and you need a guaranteed working machine, buying may be better. For learning, customization, and cost-saving, building is superior.

Q3: What is the most common mistake first-time builders make?
A: Underestimating the importance of rigidity. Using flimsy materials for the frame or gantry leads to chatter, poor surface finish, and lost steps. It’s the most frequent cause of performance disappointment. Always over-build the frame.
Q4: Can I use my DIY CNC router to make parts for another, better CNC router?
A: Absolutely! This is a classic “bootstrapping” approach in the maker community. You can use a first-generation machine (often made from MDF or aluminum extrusions) to machine more precise parts from aluminum or composite panels for a second-generation, more rigid machine. This iterative process is a powerful way to improve your capabilities.
Q5: When should I stop trying to improve my DIY machine and just outsource to a professional CNC service?
A: Consider professional services like those offered by GreatLight Metal when:
Your part requires tolerances tighter than your machine can reliably hold.
You need to machine materials beyond aluminum (e.g., stainless steel, titanium).
You require complex 4-axis or 5-axis machining.
You need multiple identical parts with guaranteed consistency (volume production).
The cost of your time for setup, machining, and finishing exceeds the quoted cost from a professional service.
Part failure carries significant risk (financial, safety, or functional).


