Build your own 3D printed BB-8: A comprehensive guide (and how metal parts can enhance your build)
if you are a Star Wars Whether you’re a fan or a robot enthusiast, few projects spark the imagination as much as building your own BB-8 robot. This iconic rolling ball robot first appeared in The Force Awakensinspiring countless makers to use 3D printing to recreate it. While most construction uses plastic filaments, integrated Metal 3D printed parts Transform your BB-8 from a fun model to a rugged wonder. In this guide, we’ll walk through the entire process from procurement documents to final assembly and explain how professional metal 3D printing services can huge light Key durability challenges can be solved.
Why build 3D printed BB-8?
BB-8’s unique spherical design and playful personality make it a worthy project. A well-executed build that combines robotics, mechanics, and art. Unlike off-the-shelf toys, the DIY BB-8 allows for complete customization: size variations (from tabletop to full-size), custom paint jobs, and even autonomous navigation capabilities. Additionally, it is a great example of the potential of additive manufacturing when plastics and metals work together.
Build Guide: Step by Step
Step 1: Gather resources and plan
- 3D model: Find reliable STL files. Open source designs, e.g. [community drives] Or Thingiverse is popular. Key components include:
- Spherical shell (segmented).
- Internal drive mechanism (motor bracket, gears, suspension).
- this "head" (dome) with magnetic coupler.
- Material:
- plastic parts: PLA or PETG are suitable for most structural elements (affordable and easy to print).
- key load-bearing components: Gears, axles, motor brackets. This is where metal 3D printing shines. They withstand friction and pressure; the metal variant protects against wear, gear loss and deformation. More on this later.
- electronic products:
- Brushless DC motors, motor controllers (e.g. RoboClaw), Arduino/Raspberry Pi, IMU sensors, batteries and Bluetooth modules.
- tool: 3D printer, soldering iron, multimeter, screws/bearings and sanding supplies.
Step 2: Printing Basics
- Machine settings: Calibrate your FDM printer carefully. Floor height: 0.15–0.2mm for details, 20–30% infill for structural parts.
- Print settings: Use overhang supports (critical for curved shell segments). Print slowly (<50mm/s) to maintain fine detail accuracy. Compared with PLA, PETG has better impact resistance.
- When to consider metals: First print the plastic part for testing. Then, identify components under high stress:
- transmission gear: Plastic gears wear quickly under the action of motor torque. solution: Printed in stainless steel (e.g. 17-4PH) for zero slip.
- Axle/Bushing: Smooth metal surface helps in friction-prone joints. Aluminum alloys such as AlSi10Mg reduce weight while maintaining strength.
- Motor mount: These fix high vibration motors. Metal dissipates heat better and is less likely to crack.
📌 For tips: If your plastic printer has size restrictions, break the larger gear design into smaller parts for printing. For metal parts, services such as huge light Large, complex geometries with tight tolerances (±0.1mm) can be processed using industrial direct metal laser sintering (DMLS).
Step 3: Assembly and Machinery
- core framework: Assemble the internal drive components first.
- Drive system: Most designs use "inverted pendulum" method, where:
- Center weight.
- Two-wheel drive is provided by an electric motor on a vertical axis.
- Integrated metal parts: Replace plastic gears, shafts and motor brackets with 3D printed metal versions. benefit:
- Precision fit: Metal parts are not easily deformed, ensuring smooth gear meshing.
- longevity: Will not degrade upon impact or prolonged use.
- use GreatLight post-processing (Shot peening, polishing) Reduce surface friction.
Step 4: Electronics and Controls
- Connect the motor to the controller and microcontroller.
- Add accelerometer/gyroscope for self-balancing.
- Remote control via Bluetooth or Wi-Fi.
- Power supply: lithium polymer battery (12V, 2000+mAh). Includes fail-safe device for overheating/overload protection.
Step Five: Shell and Aesthetics
- Housing assembly: Glue the printed plastic piece into a hemisphere. Use internal rails to guide the magnets in the head.
- finishing: Sanded to smooth layer lines, applied primer/filler, then spray painted to get BB-8’s orange and white paint job.
- Metal upgrade: Add metal decals or consider using aluminum printed dome parts "high quality" Feel. GreatLight’s one-stop metal finishing can add chrome, anodize or texture.
Why metal 3D printing enhances your BB-8
While plastic can handle most of BB-8’s shapes, metal addresses functional weaknesses:
- Enhanced durability: Metal gears won’t fall off, even on full-size models with heavy-duty housings.
- Thermal and mechanical stability: Maintain integrity during continuous operation.
- Customized: Creates lightweight lattice structures that are impossible to achieve with machining.
For these highly stressed components, Hongguang Metal 3D Printing discount:
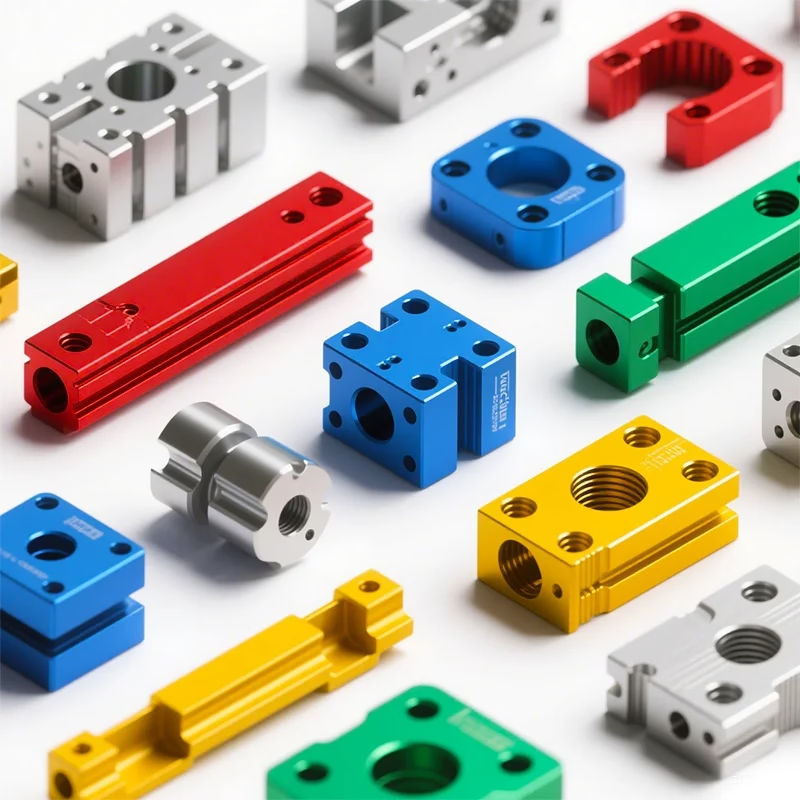
- advanced materials: Stainless steel, titanium, aluminum, and even copper alloys.
- accurate: High resolution DMLS machine (accuracy ±0.1mm).
- End-to-end service: Post-processing (heat treatment, CNC finishing) of ready-to-assemble parts.
- speed: Rapid prototyping and production runs with no tooling fees.
Conclusion: The future of fandom meets manufacturing
Building the 3D printed BB-8 was a blend of creativity, engineering and geeky enthusiasm. By strategically integrating metal 3D printed components, you can create a screen-accurate Durable. While DIY plastic printing works for many elements, pressure points can benefit greatly from professional metal solutions. This is what partners like huge light excel – Transform fragile prototypes into functional tasks. Whether you’re creating a showpiece or a whirring companion, the synergy of plastic and metal can unlock endless potential. Ready to supercharge your metal parts? GreatLight delivers precision, speed and affordability. [Customize your BB-8 metal components today]!
FAQ: Your BB-8 build questions answered
Q1: How long does it take to 3D print BB-8?
The full-scale build (30cm in diameter) requires approximately 1-2 weeks of non-stop plastic printing, printing approximately 200+ parts. Metal parts from services like GreatLight can reduce this: complex gears can be printed in hours, with turnaround times as fast as 3-5 days, including finishing.
Q2: Can I make BB-8 entirely out of metal?
Technically it’s possible, but it’s impractical. Metal casings are bulky and expensive. Focus on load carrying internals (gears/mounts) for cost efficiency. GreatLight’s lightweight aluminum alloys, such as AlSi10Mg, are ideal for functional parts that are not overly heavy.
Question 3: Are metal 3D printed parts compatible with my plastic components?
Absolutely. GreatLight is provided with a validated STP/STEP file specifying threaded inserts or bolt holes, and its post-processing team can ensure smooth integration (e.g. reaming to ±0.1mm). They also offer hybrid designs with metal on critical contact surfaces.
Q4: How much does it cost to add metal parts?
Varies by size/material. Pinions start at about $50. Companies like GreatLight optimize costs through design consolidation (printing components as one piece) and volume discounts. request a [free automated quote estimate] through their online platform.
Q5: How is Honglaite different from other metal 3D printing services?
They combine advanced DMLS/SLM printers with in-house CNC and surface finishing. If the gear needs reinforcement or thermal coating, they can handle everything to ensure the part is 100% fit for function. Additionally, engineers can verify the manufacturability of the files at no additional cost.
Q6: Can I build BB-8 without electronics?
Yes! Static display models require no motors or sensors. But adding motion—even a simple rolling head—requires basic drive components. For these, reinforced metal internals can prevent failure.


