
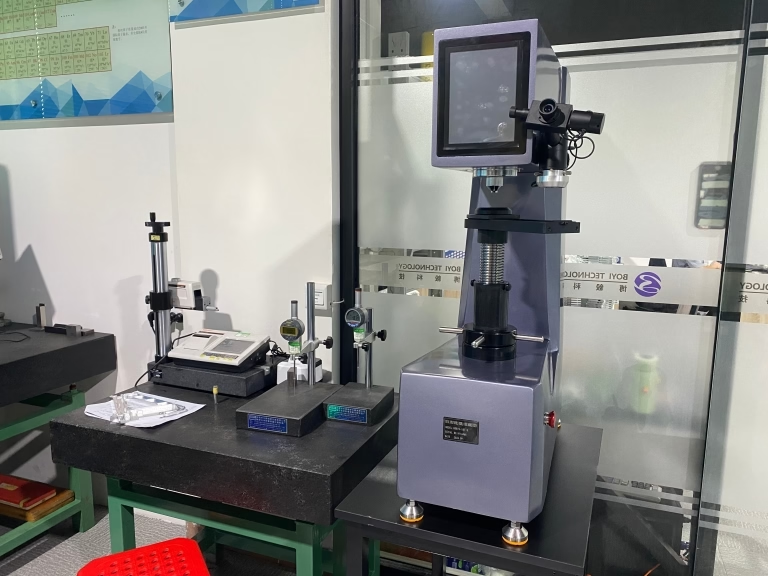
How To Check Work Xy Axis On Axiom CNC Machine?
For clients in the precision parts machining and customization field, maintaining the utmost accuracy of your CNC equipment is not just a matter of routine maintenance—it’s the bedrock of quality, repeatability, and customer trust. When an Axiom CNC machine, a popular choice for prototyping and light production, starts producing parts with dimensional errors or poor surface finishes, the X and Y axes are often the first suspects. A systematic approach to checking these axes can mean the difference between scrapping a batch of expensive components and delivering flawless parts on time. As a senior manufacturing engineer, I’ll guide you through a comprehensive, professional-grade procedure to diagnose and verify the health of your Axiom CNC’s X and Y axes.
Understanding the Critical Role of Axis Alignment
Before diving into the checks, it’s crucial to understand what we’re verifying. The X and Y axes define the primary plane of motion for most milling operations. Any error in their movement—be it misalignment, backlash, or inaccuracy—translates directly into part geometry errors. For a service like precision 5-axis CNC machining, where complex contours and tight tolerances are standard, such foundational accuracy is non-negotiable. While an Axiom is typically a 3-axis machine, the principles of verifying its primary axes are fundamental and reflect the same rigorous standards applied in high-end facilities like GreatLight CNC Machining Factory, where multi-axis equipment undergoes regular and meticulous calibration.
Pre-Check Preparation and Safety
Power Down & Secure: Always disconnect the machine from power before performing any mechanical checks. Use safety locks if available.
Clean Thoroughly: Remove all chips, dust, and coolant from the machine table, linear rails, ball screws, and way covers. Contamination is a primary source of error and wear.
Gather Tools: You will need:
A precision machinist’s square (preferably granite or tool steel, with a known accuracy).
A dial indicator with a magnetic base (or a test indicator).
A set of gauge blocks or a known precision ground parallel.
A spirit level (for preliminary leveling checks).
The machine’s operator and maintenance manuals.
Step-by-Step Procedure to Check X and Y Axes
H3: Phase 1: Visual and Manual Inspection
Check for Obvious Damage: Inspect the linear rails and ball screws for signs of pitting, rust, or visible wear. Look for damaged way covers that might allow debris ingress.
Feel for Play: With the machine powered off, try to gently rotate the ball screw couplers by hand (if accessible) while observing the axis movement. Any noticeable “free movement” before the table starts to move indicates potential coupling or backlash issues.
Listen and Feel: Manually jog the axes at a slow speed. Listen for unusual grinding, clicking, or squealing sounds. Feel for any binding or uneven resistance throughout the travel.
H3: Phase 2: Checking Squareness (X-Axis to Y-Axis)
This is the most critical check for part geometry. A machine that is not square will produce parallelograms instead of rectangles.
Setup: Mount a precision machinist’s square securely on the machine table. Position the square so its long reference edge is aligned parallel to the machine’s X-axis travel (use the edge of the table or a T-slot as a rough guide).
Indicator Setup: Attach a dial indicator to the spindle or a fixed part of the machine gantry. Position the indicator’s plunger to contact the vertical arm of the square.
Measurement: Zero the indicator at the bottom of the square’s vertical arm. Slowly and smoothly move the Y-axis upward, tracing the vertical arm. Observe the dial indicator reading over the full travel.
Interpretation: Any deviation on the dial indicator represents a lack of squareness between the X and Y axes. For precision work, this error should typically be within 0.001 inches per foot (0.08 mm/m) or better, as specified by your part tolerances. Axiom provides specifications; compare your findings against them.
H3: Phase 3: Checking Linear Accuracy and Backlash
Linear accuracy ensures the machine moves the exact distance commanded. Backlash is the lost motion when reversing direction.
Linear Accuracy (Using Gauge Blocks):
Place a gauge block or precision parallel against a fixed stop on the table.
Mount a dial indicator to the spindle, touching the gauge block. Zero the indicator.
Command the machine to move a precise distance in the X or Y direction (e.g., 1.0000 inch) equal to the gauge block length.
Place the same gauge block against the stop now in the new position. The indicator should still read zero if the movement was perfect. Any deviation is the linear positioning error.
Backlash Measurement:
Mount a dial indicator so its plunger touches a solid, perpendicular surface on the table in the axis direction you are testing (e.g., for X-axis, touch the side of a vise).
Zero the indicator.
Using the machine control, command a small movement in the positive direction (e.g., +0.001″). Note the indicator movement.
Now command the same movement in the negative direction (e.g., -0.001″). The axis will first take up the slack (backlash) before reversing. The difference between the commanded movement and the initial movement before reversal on the indicator is the backlash value. This check should be repeated at several points along the axis travel.
H3: Phase 4: Run a Dynamic Test Cut
After mechanical checks, a practical test is invaluable. Machine a test part like a “squareness plaque” or a circular pocket.
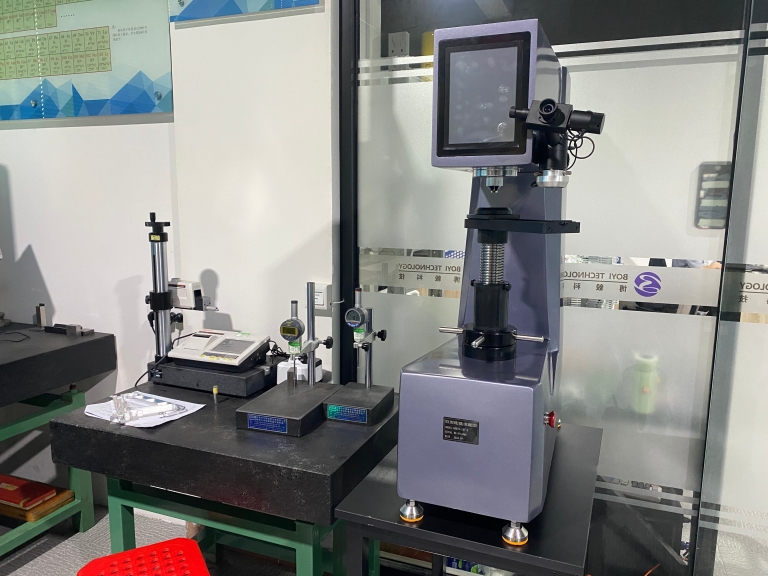
Square Test: Machine a perfect square of a known dimension (e.g., 2.000″ x 2.000″). Measure the diagonals with a calibrated micrometer. They should be identical. A difference indicates a squareness error.
Circle Test: Using a small end mill, machine a circular pocket or boss. Measure the diameter at multiple orientations (0°, 45°, 90°, etc.). Variations indicate a combination of backlash, servo tuning issues, or mechanical deflection.
Interpreting Results and Next Steps
Minor Errors (Within Spec): Document the values for future reference. These may be compensatable within the machine control via parameters like “backlash compensation” or “pitch error mapping.”
Significant Errors (Out of Spec): This points to mechanical wear or damage. Potential culprits include:
Worn ball screws or nuts.
Loose or preloaded axis bearings.
Loose coupling between servo motor and ball screw.
Misaligned linear rails.
Mechanical deflection in the gantry structure (more common in larger routers).
Important Note: Correcting major mechanical misalignment or wear often requires specialized skills, precision tools, and sometimes factory-level procedures. For businesses whose core competency is producing parts, not rebuilding machines, partnering with a reliable service technician or the OEM is the most efficient path.
Conclusion
Knowing how to check work xy axis on Axiom CNC machine is an essential skill that empowers workshop managers and engineers to maintain quality control, perform first-line diagnostics, and communicate effectively with service professionals. Regular, documented checks form the basis of a preventive maintenance program that maximizes machine uptime and part quality. For projects where the capabilities of a benchtop router are exceeded—requiring extreme precision, complex multi-axis contours, or heavy material removal—the expertise and equipment of a specialized manufacturer become indispensable. Facilities like GreatLight CNC Machining Factory build their reputation on a foundation of meticulously calibrated multi-axis platforms, where the principles of axis verification are scaled to industrial-grade equipment, ensuring that every component, from a simple bracket to a critical aerospace fitting, meets the most demanding specifications.
Frequently Asked Questions (FAQ)
Q1: How often should I perform these axis checks on my Axiom CNC?
A: For a machine in daily use, a basic squareness and backlash check should be performed monthly. A full comprehensive check, including linear accuracy verification, is recommended quarterly or after any event that could affect alignment, such as a crash, moving the machine, or installing heavy new fixtures.
Q2: Can I compensate for all axis errors in the software?
A: Software compensation (backlash, pitch error) can effectively correct for minor, consistent errors. However, it cannot fix large mechanical misalignments, excessive wear, or play. Software compensation is a “band-aid” for stable, known errors; it is not a substitute for proper mechanical condition.
Q3: My test cut shows a slight “ledge” at the reversal point when machining a circle. What does this mean?
A: This is a classic symptom of backlash. When the toolpath direction reverses, the machine takes up the slack in the drive system, causing a momentary pause or deviation, leaving a visible mark on the part. This confirms the need for backlash measurement and potential mechanical adjustment or compensation.
Q4: I’ve checked everything mechanically and it seems good, but I’m still getting poor surface finish or dimensional errors. What else could it be?
A: Don’t overlook other factors: Tooling: A worn, deflecting, or unbalanced tool. Workholding: Part movement or vibration in the vise/fixture. Cutting Parameters: Excessive feed/speed causing deflection or chatter. CNC Control/Electronics: Faulty servo tuning, loose encoder connections, or electrical noise. The diagnostic process must be holistic.
Q5: When is it more cost-effective to outsource rather than repair or work around my machine’s limitations?
A: When your machine’s errors consistently exceed the tolerances required for your projects, when downtime for repairs impacts critical deadlines, or when a job requires capabilities (like simultaneous 5-axis machining, extreme rigidity for hard metals, or ultra-high precision) beyond your machine’s design intent. In these cases, partnering with a professional precision 5-axis CNC machining service provides guaranteed results and frees your capital and personnel for core activities. For industry insights and professional networking in this field, you can follow experts and companies on platforms like LinkedIn.



















