What is a Ball Joint Removal Tool?
A ball joint removal tool is a specialized piece of equipment used to detach ball joints from a vehicle’s suspension system. Ball joints are critical components that connect the control arms to the steering knuckles, allowing for smooth pivoting and movement. Over time, these joints can wear out and require replacement. A removal tool simplifies the process, enabling mechanics and DIY enthusiasts to remove and install ball joints without damaging surrounding components.
Ball joint removal tools come in various designs, such as C-clamp presses, fork tools, and specialized pullers. Each type has its specific applications, but all aim to provide precision and efficiency in removing stubborn or corroded joints.
Benefits of Custom-Made Ball Joint Removal Tools
While off-the-shelf ball joint removal tools are widely available, custom-made versions can offer distinct advantages:
- Tailored Fit: Custom tools can be designed to match specific vehicle models or ball joint types.
- Enhanced Durability: Using high-quality materials like aluminum ensures long-lasting performance.
- Precision Engineering: CNC machining guarantees exact specifications, improving the tool’s functionality.
- Cost-Effectiveness: In the long run, creating a custom tool may save money compared to repeatedly purchasing generic tools.
How to Use an Aluminum CNC Machine to Make a Ball Joint Removal Tool
Step 1: Designing the Tool
- Identify Specifications: Determine the dimensions and features required for the ball joint removal tool. Consider the type of ball joint it will work with, the required force, and compatibility with other tools or machinery.
- CAD Modeling: Use CAD (Computer-Aided Design) software to create a detailed 3D model of the tool. Include precise measurements, contours, and any necessary holes or threads for attachments.
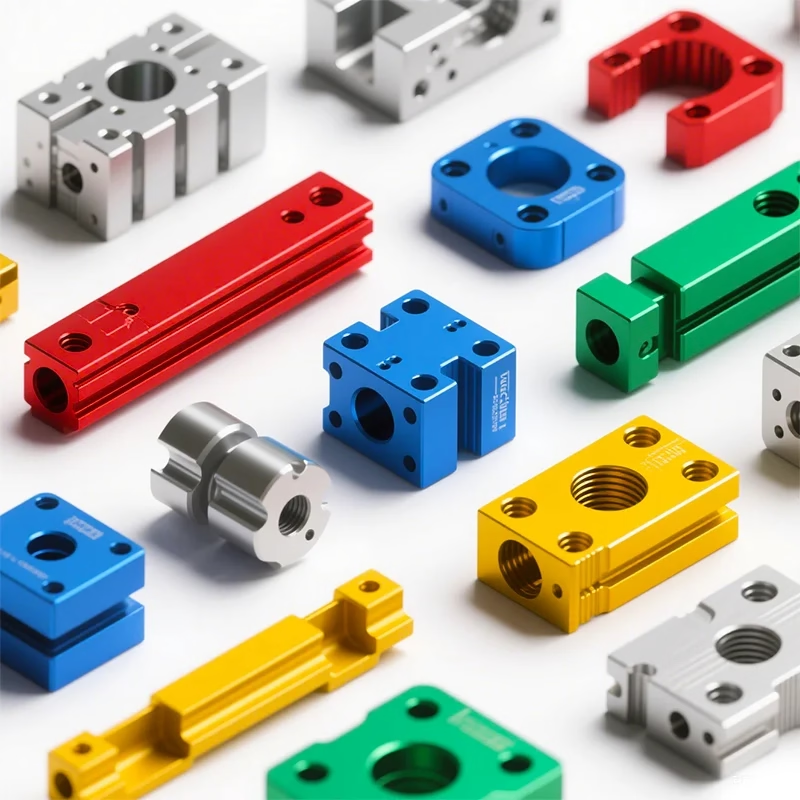
- Material Selection: Choose a high-grade aluminum alloy, such as 6061 or 7075, known for its strength, corrosion resistance, and machinability.
Step 2: Setting Up the CNC Machine
- Machine Preparation: Ensure the CNC machine is clean and calibrated. Check for proper alignment of the cutting tools and the workpiece.
- Tool Selection: Choose cutting tools appropriate for aluminum, such as carbide end mills or drills with coatings to reduce wear and heat.
- Fixture Setup: Secure the aluminum stock on the CNC machine’s worktable using clamps or a vice to prevent movement during machining.
- Parameter Configuration:
- Spindle Speed: Set between 8,000-12,000 RPM depending on the aluminum grade.
- Feed Rate: Adjust to 0.005-0.02 inches per tooth for optimal cutting.
- Depth of Cut: Begin with shallow cuts, around 0.04-0.08 inches, to maintain precision and avoid tool deflection.
Step 3: Machining the Tool
- Rough Cutting: Use larger end mills to remove excess material and shape the basic outline of the tool.
- Finishing Passes: Switch to smaller tools for fine details and smooth surface finishes. Ensure that all edges are deburred.
- Drilling and Threading: Create holes or threaded sections as per the design specifications.
- Inspection: Use calipers or a coordinate measuring machine (CMM) to verify the dimensions and tolerances of the machined part.
Step 4: Post-Processing
- Surface Treatment: Apply anodizing to enhance the tool’s corrosion resistance and aesthetic appeal.
- Assembly: If the tool has multiple parts, assemble them to ensure proper fit and functionality.
- Testing: Test the tool on a sample ball joint to confirm its performance and durability.
Step 5: Packaging and Branding
- Engraving: Use the CNC machine to engrave branding, logos, or specifications on the tool.
- Packaging: Protect the tool with appropriate packaging to prevent damage during shipping or storage.
Precautions When Machining Aluminum
- Tool Wear: Monitor the condition of cutting tools to avoid inaccuracies or damage to the workpiece.
- Coolant Use: Use appropriate lubricants or coolants to prevent overheating and ensure a smooth finish.
- Safety Gear: Always wear protective gear, such as safety goggles and gloves, to minimize the risk of injury.
- Machine Maintenance: Regularly maintain the CNC machine to ensure consistent performance and accuracy.
Why Choose Great Light for Custom CNC Machining?
Great Light is a leading provider of industrial-grade CNC machining services, specializing in creating high-quality, custom metal tools. With advanced technology and a team of skilled engineers, Great Light delivers:
- Rapid Prototyping: Quickly turn designs into functional prototypes.
- High Precision: Achieve tight tolerances and complex geometries with advanced CNC machinery.
- Material Versatility: Process a wide range of materials, including aluminum, steel, and titanium.
- Comprehensive Services: From design to post-processing, Great Light offers end-to-end solutions for all your machining needs.
Conclusion
Crafting a ball joint removal tool using an aluminum CNC machine combines precision, durability, and customization. By following the detailed steps outlined above, manufacturers and DIY enthusiasts can create a tool tailored to their specific needs. For those seeking professional assistance, Great Light provides unparalleled expertise in CNC machining and custom hardware tool production. Contact us today to get the best CNC machining quote and elevate your manufacturing capabilities!


