Achieving a perfectly flat surface on a component might seem like a fundamental task in machining, but in the realm of high-precision manufacturing, it is an art form that separates competent workshops from elite manufacturers. When the requirement calls for surface flatness measured in microns over a large area—common in components for aerospace, robotics, and semiconductor equipment—the question of how to plane a surface flat with a CNC machine becomes critical. This process transcends simple milling; it is a systematic engineering challenge involving machine integrity, strategic toolpath planning, sophisticated tooling, and meticulous verification.
At its core, planing a flat surface with CNC technology is about removing material in a controlled, stable, and predictable manner to create a plane of specified flatness. Unlike manual methods, CNC machining offers unparalleled repeatability and precision. However, the machine is only as good as the process engineered around it.
The Foundational Pillar: Machine and Workholding Rigidity
Before a single line of G-code is written, the battle for flatness is won or lost at the machine level.

Machine Tool Calibration and Condition: The CNC machine itself must be geometrically true. Any deviation in the linear axes (X, Y, Z) from perfect perpendicularity will translate into a surface that is not flat but subtly warped or twisted. Regular laser interferometer calibration is non-negotiable for shops like ours, ensuring the machine’s foundation is sound.
Absolute Workpiece Stability: The workpiece must be immovable during cutting. Any vibration, deflection, or shift, no matter how minute, will be etched into the surface. We employ a combination of:
Custom Machining Fixtures: Designed to match the part’s geometry, providing maximum contact and clamping force without inducing stress.
Vacuum Chucks: Ideal for thin-walled or large plate materials, distributing holding force evenly to prevent distortion.
Strategic Support: Using adjustable jack screws or custom support pillars under unsupported areas of large parts to counteract cutting forces and prevent “sag.”
The Strategic Blueprint: Process Planning for Flatness
A haphazard machining approach will never yield a precision flat surface. The process must be meticulously planned.
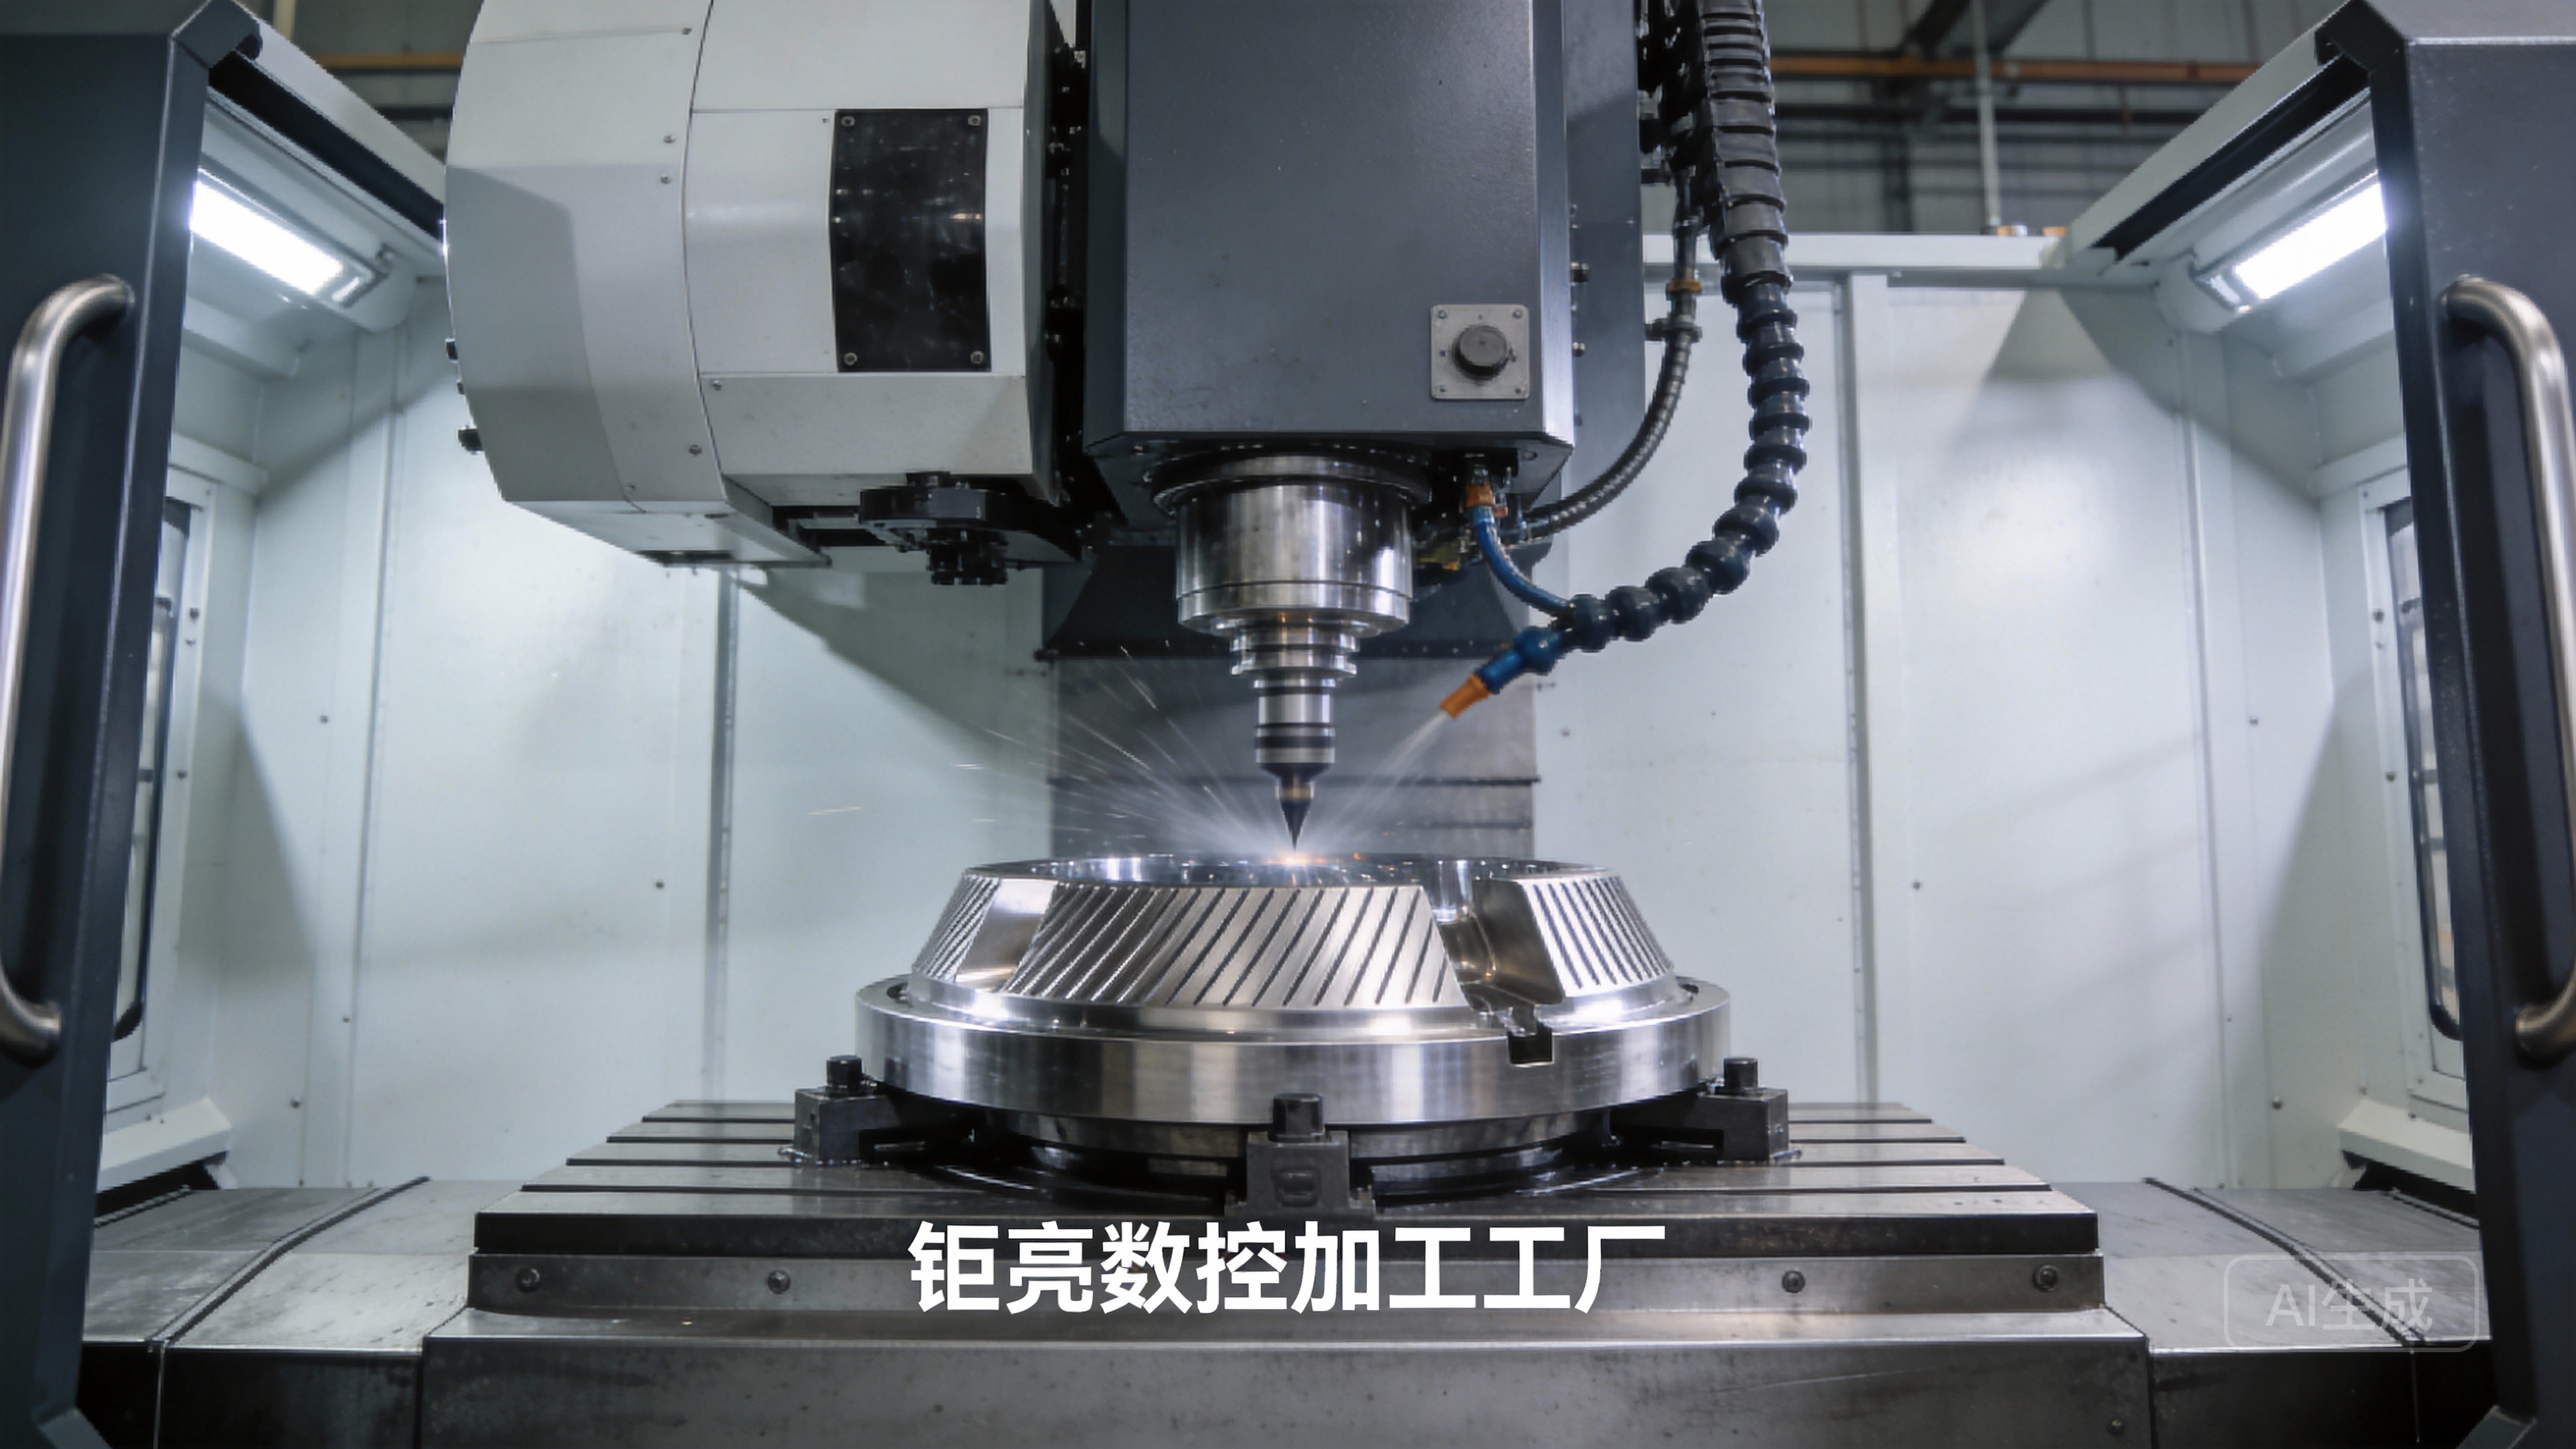
Facing vs. Fly Cutting: For most applications, a standard CNC facing operation with an indexable face mill is sufficient for high-quality flatness. For ultra-high flatness requirements (e.g., < 0.01mm over 500mm), a fly cutter with a single, perfectly honed cutting edge becomes the tool of choice. Its wide sweep and single-point contact minimize dynamic imbalances and harmonic vibrations that can cause “chatter” patterns.
The Stepover is Key: The overlap between successive tool passes must be calculated carefully. A large stepover leaves prominent cusps, while an overly small one increases machining time and heat. A stepover of 50-70% of the cutter’s effective diameter is often optimal for balancing efficiency and surface finish.
Climb Milling for Stability: Employing a climb milling direction (where the cutter teeth move in the same direction as the table feed) provides a cleaner shearing action and reduces the tendency for the workpiece to be pulled into the cutter, promoting a smoother, flatter finish.
The Multi-Pass Strategy:
Roughing Pass: Removes the bulk of material efficiently, establishing a near-net shape.
Semi-Finishing Pass: Takes a lighter cut to remove any residual stress-induced distortion from the roughing operation and bring the surface closer to final dimensions.
Finishing Pass: The critical step. A very light cut (often 0.05-0.2mm) with a sharp, dedicated finishing tool is taken at consistent parameters to generate the final datum plane.
The Execution Tools: Cutter Selection and Parameters
Tool Selection: A large diameter, fine-pitch face mill with wiper inserts is ideal. The wiper flats on the inserts are designed specifically to “wipe” the surface smooth after the primary cutting edge passes. For fly cutting, a single-point diamond or CBN tool can achieve mirror-like flatness on non-ferrous materials.
Cutting Parameters: Maintaining consistent Speed (SFM), Feed (IPT), and Depth of Cut (DOC) is paramount. Any variation can cause thermal growth in the tool or part, ruining flatness. Using coolant effectively is crucial to manage temperature and flush away chips that could mar the surface.
The Final Touch: Verification is Not an Afterthought
Machining the surface is only half the job. Verifying its flatness with authority is what closes the quality loop.
Surface Plates and Precision Levels: For initial checks.
Coordinate Measuring Machines (CMM): Can map the surface with thousands of data points to generate a detailed flatness deviation map.
Laser Interferometers: The gold standard for measuring flatness over large areas, providing nanometer-level accuracy data.
Conclusion: The Symphony of Precision Planing
So, how to plane a surface flat with a CNC machine? The answer lies not in a single trick, but in a symphony of controlled elements: a calibrated and rigid machine, a strategically fixtured workpiece, a meticulously engineered toolpath, perfectly selected and maintained cutters, and uncompromising verification. It is a process where engineering discipline meets practical execution.
For clients whose projects demand this level of surface integrity—whether it’s a mounting plate for a humanoid robot’s actuator, a sealing surface for a high-performance automotive engine, or a substrate for optical equipment—partnering with a manufacturer that masters this symphony is essential. This is where deep expertise in five-axis CNC machining and a holistic view of the manufacturing process make the definitive difference.
Frequently Asked Questions (FAQ)
Q1: What is a realistically achievable flatness tolerance on a large CNC mill?
A: With a well-maintained, high-end CNC machining center and expert process control, achieving flatness of 0.025mm per 300mm is standard for quality shops. For specialized applications using techniques like fly cutting on optimized equipment, flatness down to 0.005mm or even better over substantial areas is possible.
Q2: Why does my CNC-machined surface look flat but cause alignment issues when assembled?
A: This often points to two issues: stress-induced distortion or localized deviation. The part may have been clamped in a way that introduced stress, which released after machining, causing it to warp. Alternatively, while the overall surface is flat, there may be a small, localized high or low spot that disrupts critical contact. A full CMM flatness map is needed to diagnose this.
Q3: Is it more expensive to machine a surface to a very high flatness tolerance?
A: Yes, significantly. High flatness demands more process steps (additional finishing passes), slower cycle times, specialized tooling and fixturing, and extensive measurement and validation. The cost reflects the exponential increase in precision, equipment wear, and engineering time required.

Q4: Can you achieve a flat surface on thin or flexible materials like aluminum sheets?
A: It is challenging but possible with specialized techniques. The key is to support the material perfectly throughout the process to prevent flexing. This often involves bonding the sheet to a rigid sub-plate with a reversible adhesive or using a vacuum chuck with a perfectly flat surface. Machining parameters must also be extremely light to avoid pulling or distorting the material.
Q5: How does a manufacturer like GreatLight Metal ensure consistent flatness across a production run?
A: Consistency is managed through process discipline. Once the optimal parameters, tooling, and fixturing are proven for a first-article part, they are locked into a controlled work instruction. Every part in the run is produced using the identical, validated setup. Statistical process control (SPC) and periodic first-article inspections ensure the process remains in control, delivering identical flatness on the 1st part and the 1000th part.


