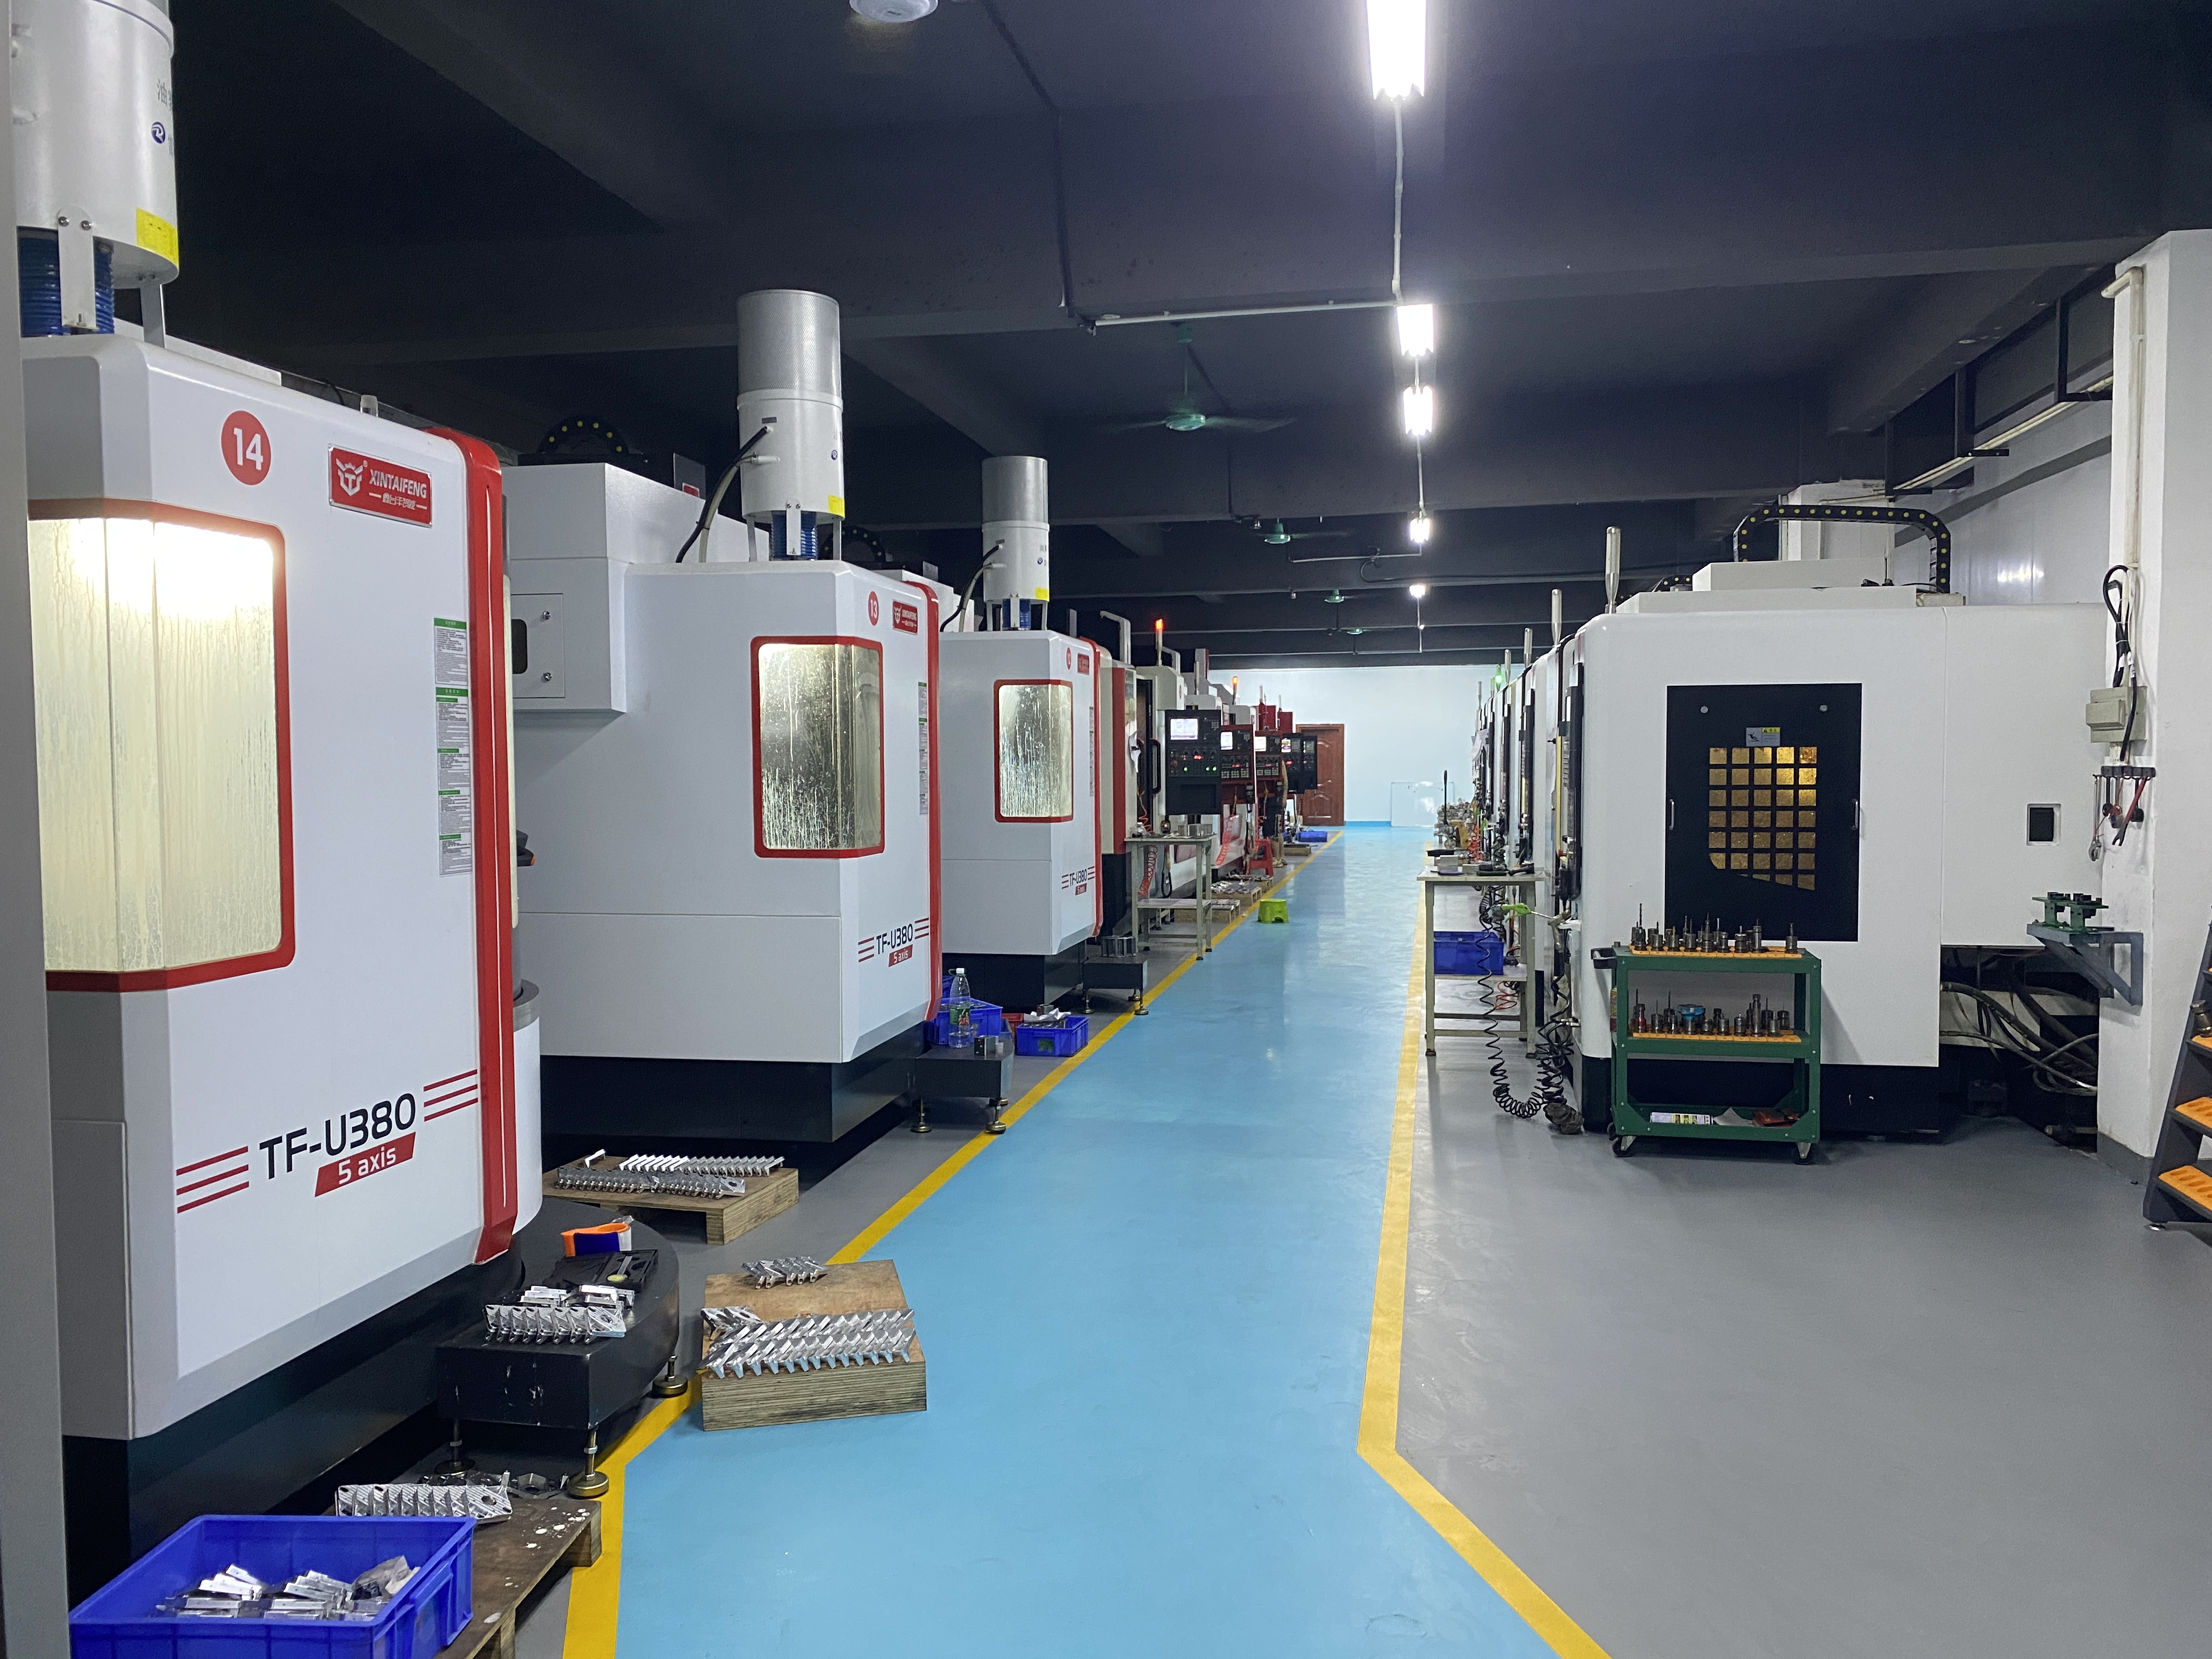
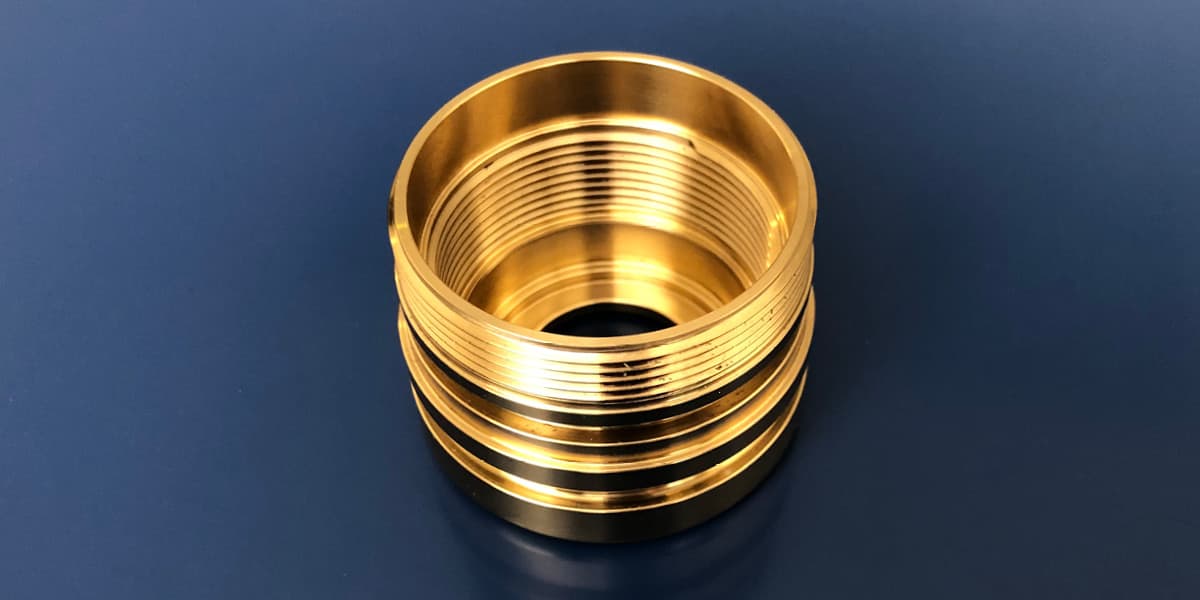
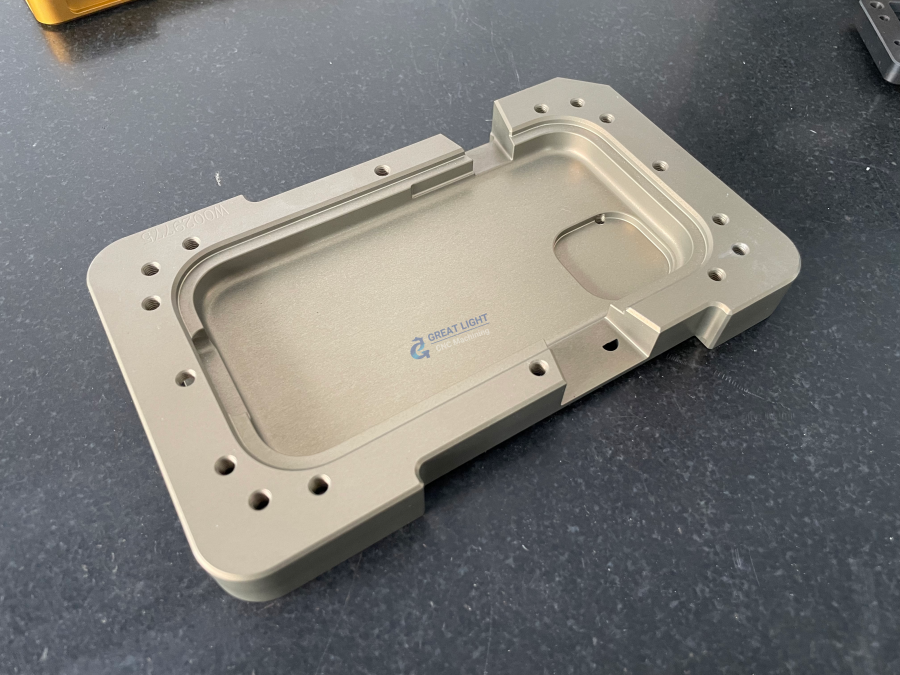
How To Adjust Home In CNC Machine? is a critical question for any precision machining professional, as proper home position calibration directly impacts part accuracy, tool life, and overall operational efficiency—especially for complex setups like high-precision 5-axis CNC machining [link: https://glcncmachining.com/precision-5-axis-cnc-machining-services/]. For manufacturers specializing in custom parts with tight tolerances (down to ±0.001mm), such as GreatLight CNC Machining Factory, mastering this process is non-negotiable to deliver consistent, reliable results to clients in automotive, medical, aerospace, and humanoid robot sectors.
How To Adjust Home In CNC Machine?
What Is the CNC Home Position, and Why Does It Matter?
The CNC home position, also called machine zero or reference point, is the fixed, factory-calibrated location on a CNC machine where all linear and rotational axes return to establish a consistent coordinate system. Every time the machine powers on or completes a cycle, it moves to this point to reset its internal position sensors.

Proper home position alignment is critical for three key reasons:
Tolerance Consistency: Without a precise reference, successive runs of the same part may have slight dimensional variations—unacceptable for medical implants, aerospace fasteners, or humanoid robot joint components that require sub-millimeter accuracy.
Collision Prevention: A misaligned home position can cause tools to collide with workpieces or fixtures, leading to costly damage to both the machine and parts (up to tens of thousands of dollars for high-end 5-axis equipment).
Multi-Axis Synchronization: For 4-axis or 5-axis machines, proper home calibration ensures rotary axes align perfectly with linear axes, which is essential for machining complex geometries like turbine blades or curved automotive engine parts.
GreatLight CNC Machining Factory, with over 12 years of precision machining experience, understands this better than most. Their ISO 9001:2015 certified quality management system mandates daily home position verification for all high-use machines, a practice that helps them consistently meet the strict ±0.001mm tolerance requirements of their global clients.
Pre-Adjustment Preparation & Safety Protocols
Before attempting to adjust the home position, it’s critical to follow strict safety protocols and gather the right tools to avoid injury or machine damage.
Safety First: Non-Negotiable Protocols
Lockout/Tagout (LOTO): Power off the machine and engage the electrical LOTO system to prevent accidental startup during calibration. This is a mandatory step in all of GreatLight’s three manufacturing plants, where 127 precision machines operate daily.
Personal Protective Equipment (PPE): Wear safety glasses, steel-toe boots, and cut-resistant gloves to protect against debris or unexpected moving parts.
Machine Inspection: Clear the work area of coolant, chips, and loose tools. Check that linear guides and ball screws are properly lubricated to ensure smooth movement during calibration.
Required Tools
Dial Indicator with Magnetic Base: The gold standard for measuring linear position accuracy to within 0.001mm.
Edge Finder or Touch Probe: Useful for cross-verifying home position against a precision ground workpiece or fixture.
Precision Micrometers or Calipers: To validate part dimensions after calibration.
Machine Operation Manual: Each CNC model (Fanuc, Siemens, Haas) has unique parameter codes for home adjustment; never skip consulting the manual.
Step-by-Step Guide to Adjusting Home Position (By CNC Type)
Calibration steps vary depending on the number of axes and machine complexity. Below are detailed instructions for the most common setups:
3-Axis CNC Machining Centers (Workhorses of Prototyping & Small-Batch Production)
3-axis machines are the most widely used in precision shops, so mastering home adjustment here is foundational.
Access Parameter Mode: Power on the machine (without starting a cycle) and navigate to the parameter settings menu. Most machines require a password to access these settings, a security feature GreatLight uses to prevent accidental parameter changes.
Locate Home Offset Parameters: Look for parameters labeled “home position offset” (e.g., Fanuc uses codes 1240–1243 for linear axes). These values dictate how far the machine’s internal coordinate system is shifted from the physical limit switch trigger point.
Manually Move Axes to Approximate Home: Use the manual pulse generator (MPG) to move each axis (X, Y, Z) to the approximate home position, stopping just before the limit switch triggers.
Precision Measurement with Dial Indicator: Mount the dial indicator on the spindle, touch its probe to a fixed reference surface (like the machine’s worktable edge or a precision ground block), and zero the dial. Slowly move the axis to the current home position and note any deviation from zero.
Adjust Offset Parameters: Enter the measured deviation into the corresponding axis offset parameter. For example, if the X-axis is 0.02mm left of true zero, adjust the offset by +0.02mm.
Save & Verify: Save the parameter changes, perform a home cycle, and re-measure with the dial indicator. Run a test cut of a simple square block and check its dimensions with a micrometer to confirm consistency.
4-Axis CNC Machines (Rotary Axis Integration)
4-axis machines add a rotational axis (A or B), which requires additional calibration to ensure angular alignment with linear axes.
Complete 3-Axis Calibration: First, adjust the X, Y, and Z axes using the steps above.
Index Rotary Axis to Reference: Use the MPG to rotate the 4th axis to its approximate home position. Mount a precision protractor or angle gauge to the rotary table to measure its current angle.
Adjust Rotational Offset: Locate the rotational axis offset parameter in the machine’s menu and enter the deviation between the measured angle and true zero.
Synchronization Test: Run a test cycle that moves both linear and rotational axes (e.g., machining a helical groove) to verify alignment. GreatLight’s technicians use this process for automotive engine valve components, where rotating parts must align with linear motion systems to within ±0.005mm.
5-Axis CNC Machines (Complex Multi-Axis Setups)
5-axis machines (combining 3 linear and 2 rotational axes) are the most challenging to calibrate, as misalignment in any axis can ruin complex parts like aerospace turbine blades or humanoid robot joints.
Use Professional Calibration Tools: Dial indicators are often supplemented with laser calibration systems or touch probes that automatically measure axis squareness and parallelism. GreatLight invests in these tools to ensure their 5-axis machines meet ISO 13485 (medical) and IATF 16949 (automotive) standards.
Synchronized Axis Adjustment: Unlike simpler machines, 5-axis calibration requires aligning rotational axes (A/C or B/C) with each other and linear axes. For example, the A-axis (tilt) must be perfectly perpendicular to the X-axis to avoid part distortion.
Post-Calibration Validation: After adjusting parameters, run a full 5-axis test cut and inspect the part with a coordinate measuring machine (CMM). GreatLight’s CMM lab verifies every 5-axis part to ensure it meets client specifications.
Common Issues During Home Position Adjustment & Troubleshooting
Even with careful preparation, you may encounter challenges during calibration. Here’s how to resolve the most common problems:
Inconsistent Home Position: If the machine returns to slightly different positions each cycle, check limit switch alignment or encoder cable damage. Faulty encoders are a frequent cause of position drift, especially in older machines.
Axis Fails to Reach Home: If an axis stops short or triggers an alarm, verify the emergency stop is disengaged and the limit switch is functional (test continuity with a multimeter). Some machines have a parameter lock that prevents home changes—ensure this is disabled.
Precision Drift Over Time: Temperature fluctuations can cause linear guides to expand or contract, shifting the home position. GreatLight addresses this by maintaining temperature-stable production floors (±2°C variation or less) to minimize thermal expansion effects.
Tool Collisions After Calibration: Collisions usually mean tool offsets were calculated relative to the old home position. Re-calibrate tool length offsets using a tool setter before running production parts.
Best Practices for Maintaining Home Position Accuracy
Proper adjustment is only half the battle; keeping the home position consistent over time requires ongoing maintenance:

Regular Calibration Schedule: For 24/7 machines, verify home position daily and adjust weekly. For less frequent use, monthly verification and quarterly adjustments suffice. GreatLight’s maintenance team follows this schedule as part of their ISO 9001:2015 compliance.
Environmental Control: Keep machines away from windows, heaters, or AC vents to avoid temperature fluctuations.
Document Adjustments: Record date, technician name, parameter changes, and verification results in a maintenance log. This helps track trends (e.g., if an axis drifts every 3 months, it may need a linear rail replacement).
Train Operators: Ensure all operators can verify home position and know who to contact for adjustments. GreatLight provides ongoing training to its 150 employees to maintain consistent operational standards.
Why Partnering with a Professional Shop Like GreatLight Matters
While adjusting home position is a learnable skill, maintaining consistent precision for high-volume, tight-tolerance parts requires specialized equipment and expertise. GreatLight CNC Machining Factory, founded in 2011 in Dongguan’s Chang’an District (China’s “Hardware and Mould Capital”), offers a one-stop solution for all precision machining needs, including:
3-axis, 4-axis, and 5-axis CNC machining
Die casting, sheet metal fabrication, and vacuum casting
Metal 3D printing (stainless steel, aluminum, titanium, mold steel)
One-stop post-processing (anodizing, powder coating, polishing, etc.)
Their commitment to quality is backed by ISO 9001:2015, IATF 16949, ISO 13485, and ISO 27001 certifications, plus an industry-leading after-sales guarantee: free rework for quality issues, and a full refund if rework is still unsatisfactory.
In conclusion, How To Adjust Home In CNC Machine? is a skill that every precision machining professional should master, as it directly impacts part quality, operational efficiency, and machine longevity. Whether you’re calibrating a 3-axis prototyping machine or a complex 5-axis production system, following strict safety protocols, using precise measurement tools, and adhering to best practices will ensure consistent results. For companies that don’t have the in-house expertise or equipment to maintain this level of precision, partnering with a trusted provider like GreatLight Metal Tech Co., LTD. [link: https://www.linkedin.com/company/great-light/] is the ideal solution to deliver custom parts with the highest accuracy and reliability.

Frequently Asked Questions (FAQ)
Q1: How often should I adjust the home position on my CNC machine?
A: For 24/7 high-production machines, verify home position daily and perform full adjustments weekly. For less frequently used machines, monthly verification and quarterly adjustments are sufficient. If you notice dimensional inconsistencies in parts, calibrate immediately.
Q2: Can I adjust the home position without a dial indicator?
A: While edge finders or touch probes can approximate home position, a dial indicator is the only tool accurate enough for sub-millimeter tolerances (±0.001mm). For critical parts, a dial indicator is non-negotiable to avoid costly errors.
Q3: What’s the difference between machine home position and workpiece zero?
A: Machine home is a fixed, factory-calibrated reference point on the machine itself. Workpiece zero is a user-defined point on the workpiece or fixture, used to program tool paths relative to the machine’s home position.
Q4: How does temperature affect CNC home position accuracy?
A: Temperature fluctuations cause linear guides, ball screws, and machine frames to expand or contract, shifting the home position. Even a ±2°C variation can lead to 0.01mm dimensional drift in large parts. This is why professional shops like GreatLight use temperature-controlled production floors.
Q5: If I’m not confident in adjusting home position myself, who can help?
A: Most CNC manufacturers offer on-site calibration services. Alternatively, partner with a certified precision machining provider like GreatLight CNC Machining Factory, whose team of certified technicians has years of experience in machine calibration and maintenance.


