When clients approach us with precision part requirements, one of the most frequent and critical questions we encounter is: “How accurate is CNC machining?” This question seems straightforward, but the answer is nuanced and fundamental to successful project outcomes. At its core, CNC machining accuracy isn’t a single magic number; it’s a symphony of machine capability, process control, and engineering expertise. As a senior manufacturing engineer at GreatLight Metal, I’ll dissect this topic to provide clarity on what you can realistically expect and how to achieve the precision your project demands.
Demystifying “Accuracy”: Tolerance, Precision, and Repeatability
First, we must define our terms, as they are often used interchangeably but have distinct meanings in engineering:
Accuracy (Tolerance): This refers to how close a machined dimension is to the intended value specified on the drawing. It is typically expressed as a bilateral tolerance (e.g., ±0.025 mm or ±0.001″).
Precision (Repeatability): This describes the machine’s ability to produce the same dimension consistently across multiple parts or cycles. A machine can be precise (repeatable) but not accurate if it consistently deviates from the target by a fixed error.
Resolution: The smallest incremental movement a machine’s control system can command. It is a base capability but does not directly equate to achievable accuracy.
The ultimate goal in high-end CNC machining is to achieve high accuracy with high precision—hitting the target dead center, every single time.
The Pillars of CNC Machining Accuracy
Achieving tight tolerances rests on several interdependent pillars. Ignoring any one can compromise the entire result.
1. Machine Tool Capability and Condition
The foundation is the machine itself. Key factors include:

Geometric and Volumetric Accuracy: The inherent accuracy of the machine’s axes movements, spindle alignment, and squareness, often calibrated and compensated via laser interferometry.
Stiffness and Damping: A rigid machine structure minimizes vibration and deflection under cutting forces, which is crucial for maintaining accuracy, especially in heavy cuts or with hard materials.
Thermal Stability: Machine components generate heat during operation. High-end machines employ thermal compensation systems and stable structures to mitigate thermal growth, which can cause significant dimensional drift.
Control System and Feedback: Precision servo motors paired with high-resolution linear scales (glass scales) provide closed-loop feedback, allowing the control to correct position in real-time, far surpassing the accuracy of systems relying only on motor encoders.
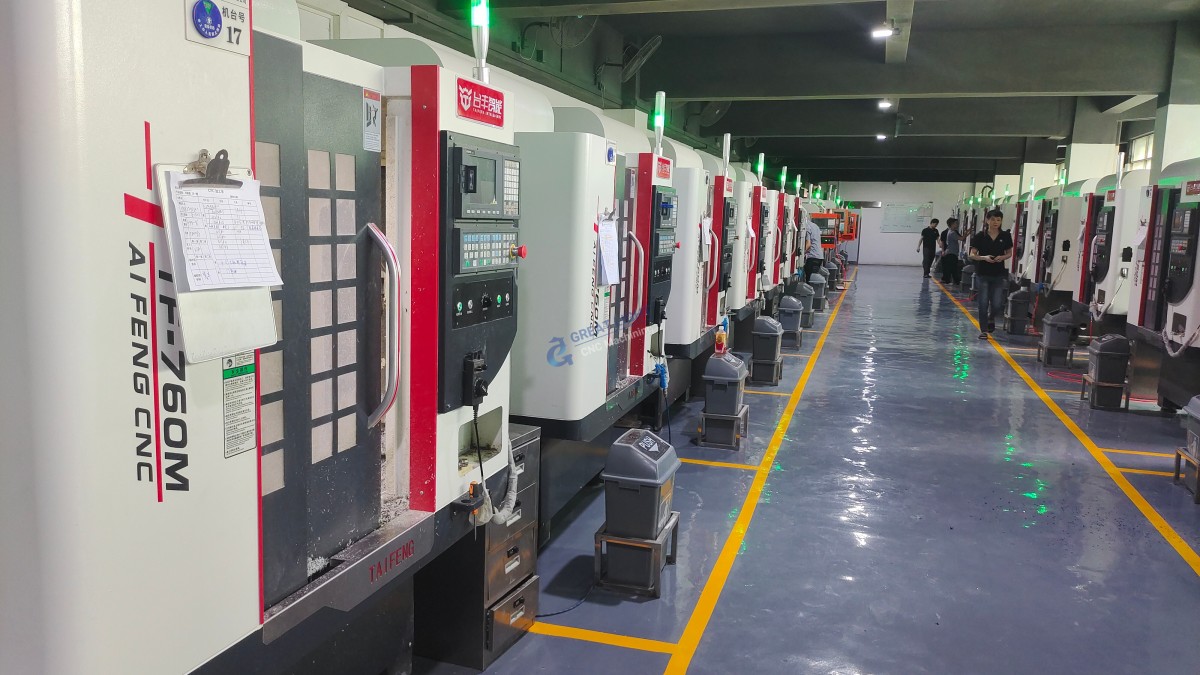
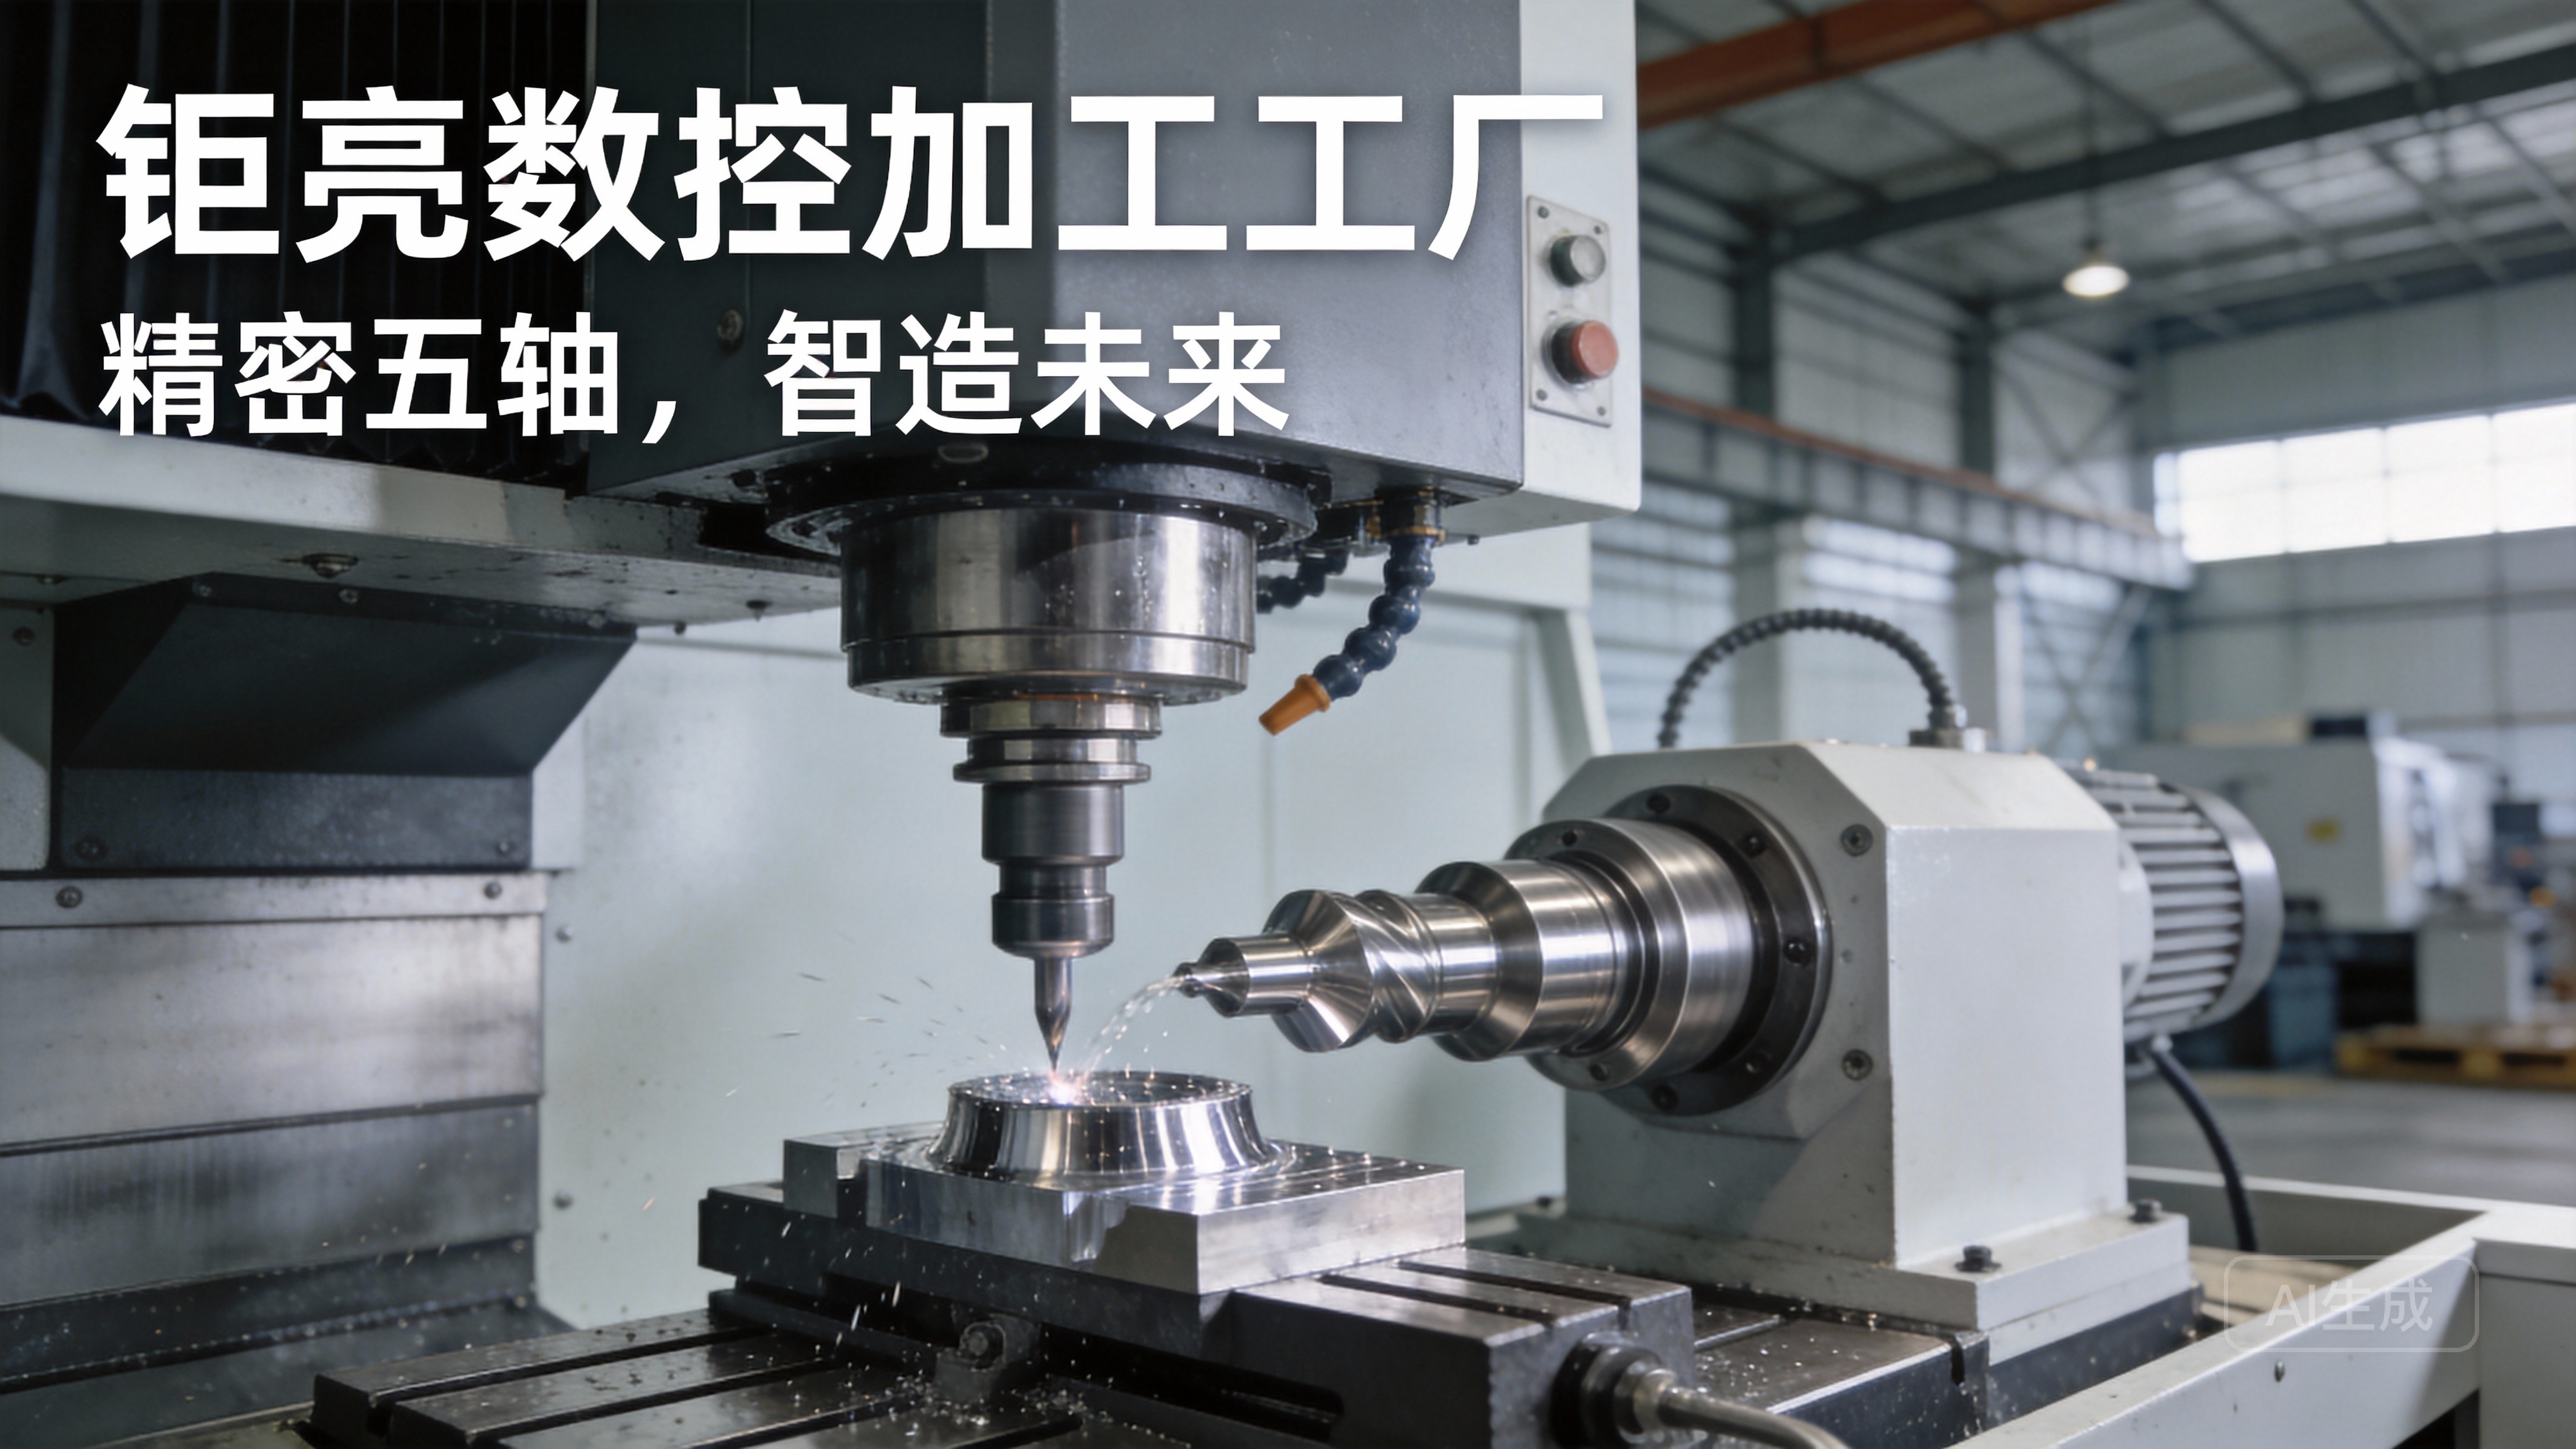
At GreatLight Metal, our arsenal of advanced 5-axis, 4-axis, and 3-axis CNC centers from leading brands is regularly maintained and calibrated to ensure foundational geometric accuracy is preserved.
2. Cutting Tools and Toolholding
The tool is the point of contact. Its management is critical:
Tool Runout: Any deviation of the tool’s cutting edge from the true axis of rotation introduces error. Premium toolholders (like hydraulic or shrink-fit) minimize runout.
Tool Wear: Progressive wear alters the tool’s effective diameter and edge condition, directly impacting dimensions and surface finish. A robust tool wear monitoring and compensation strategy is essential.
Tool Rigidity: Long, slender tools are prone to deflection. Machining strategies must account for this, or toolpaths need adjustment.
3. Metrology and Quality Control
You cannot control what you cannot measure. The accuracy you can claim is only as good as your measurement system.
Measurement Equipment: Capabilities must exceed part tolerances by an order of magnitude (the “10:1 Rule”). Measuring a ±0.025 mm feature requires equipment accurate to at least ±0.0025 mm.
In-Process and Post-Process Inspection: Using touch probes on the machine for in-process checks helps correct drift. Final validation with CMMs (Coordinate Measuring Machines), optical comparators, and surface profilometers provides authoritative data.
Environmental Control: Metrology labs must control temperature (typically 20°C ±1°C per ISO standards), as materials expand and contract with temperature changes.
Our in-house quality lab, equipped with high-precision CMMs and supported by our ISO 9001:2015 and IATF 16949 certified quality management systems, ensures every dimension is verified against your specifications.

4. Material Science and Workholding
The part material and how it’s held directly influence outcomes.
Material Stability: Some materials, like certain aluminum alloys or annealed steels, are relatively stable after machining. Others, like some stainless steels or titanium, can have residual stresses that release during machining, causing part movement.
Workholding Strategy: The fixture must securely locate and clamp the part without inducing distortion. For complex parts, multi-setup fixtures or custom jigs are designed to maintain datum consistency across operations.
5. CAM Programming and Machining Strategy
This is where engineering expertise turns digital models into physical reality.
Toolpath Optimization: Modern CAM software allows for toolpaths that maintain constant tool engagement, reduce abrupt directional changes, and minimize tool deflection—all contributing to better accuracy and surface finish.
Finishing Strategies: Separate semi-finishing and finishing operations allow for stress relief and light final cuts, ensuring the finishing tool is only removing a small, consistent amount of material.
Adaptive Controls: Some advanced systems can adapt feed rates based on spindle load, protecting the tool and workpiece.
What Tolerances Are Realistically Achievable?
While standard machining can reliably hold ±0.075 mm (±0.003″), high-precision CNC machining pushes this much further. Here’s a general guideline:
| Tolerance Band | Description | Typical Applications & Considerations |
|---|---|---|
| Standard (±0.075 mm / ±0.003″) | Achievable by most commercial CNC shops under normal conditions. | General fabrications, non-critical housing features, rough components. |
| Fine (±0.025 mm / ±0.001″) | Common target for precision components. Requires good machines, tools, and process control. | Aerospace brackets, automotive engine components, fluid connectors. |
| High Precision (±0.0125 mm / ±0.0005″) | Requires dedicated high-precision machines, strict thermal control, and expert process engineering. | Optical mounts, medical implant prototypes, precision gears, gauge components. |
| Ultra-High Precision (< ±0.005 mm / < ±0.0002") | The realm of specialized jig grinders, ultra-precision machines, and meticulously controlled environments. | Micromold cores, semiconductor tooling, diffraction gratings. |
Crucial Note: Tighter tolerances exponentially increase cost due to longer machining times, specialized equipment, increased inspection, and potentially lower yield. A fundamental principle is to specify the widest tolerance that fulfills the part’s function. Our engineers often collaborate with clients to optimize tolerance callouts for both performance and cost-effectiveness.
The GreatLight Metal Approach: Engineering Accuracy from Concept to Part
Our philosophy extends beyond simply running a program on a capable machine. We engineer accuracy into the entire process:
Design for Manufacturability (DFM) Consultation: Before any metal is cut, we analyze your model. We identify features that are challenging to hold tightly, suggest design modifications for improved manufacturability, and recommend optimal tolerance allocation.
Process Engineering: For every critical project, we develop a detailed Process Sheet (P-Sheet) defining the machine, tools, fixtures, cutting parameters, and inspection plan.
First-Article Inspection (FAI): A comprehensive dimensional report on the first part off the process validates that our system is producing parts to print.
Statistical Process Control (SPC): For production runs, we monitor key dimensions statistically to detect and correct any process drift before non-conforming parts are produced.
Conclusion
So, how accurate is CNC machining? The answer is: It can be exceptionally accurate, down to micron levels, but this is not an automatic guarantee from any supplier. It is the result of a holistic system encompassing advanced equipment like precision 5-axis CNC machining, rigorous metrology, deep material knowledge, and, most importantly, a culture of precision engineering and systematic process control.
Choosing a partner like GreatLight Metal means selecting a team that treats your tolerance requirements as a fundamental engineering challenge to be solved, not just a number on a drawing. We bring our ISO-certified systems, full-process chain integration, and decade of problem-solving experience to bear, ensuring that the accuracy promised is the accuracy delivered, part after part.
Frequently Asked Questions (FAQ)
Q1: What is the most accurate type of CNC machine?
A: While modern 3-axis and 5-axis machines are incredibly precise, ultra-precision machining centers and jig grinders are designed for the tightest tolerances (sub-micron). For complex geometries, a high-end 5-axis CNC machining center with volumetric error compensation and thermal control often provides the best combination of complexity capability and accuracy.

Q2: Does a tighter tolerance always mean a better part?
A: Not necessarily. An overly tight tolerance can drastically increase cost and lead time without adding functional value. The goal is to specify a tolerance that ensures the part fits and functions correctly within its assembly. We advise on the most cost-effective tolerance scheme.
Q3: How do you ensure accuracy for large parts?
A: Large parts present challenges with thermal expansion and potential deflection. We employ strategies like: using machines with large work envelopes and high rigidity, implementing multi-stage machining with stress-relief steps, controlling the shop environment, and using laser tracking for large-scale metrology when necessary.
Q4: Can you hold the same tolerance on all materials?
A: No. Materials behave differently. Aluminum is generally easier to machine to tight tolerances than, say, stainless steel or Inconel, which are tougher and more prone to work hardening and stress-induced distortion. The achievable tolerance is always a conversation between the part design, material selection, and machining process.
Q5: What role does software play in achieving accuracy?
A: A critical role. Advanced CAM software generates optimized, smooth toolpaths. Simulation software detects potential collisions and errors virtually. And the machine’s control software, with its error compensation algorithms, is the final digital brain commanding physical motion with high fidelity.
For more insights into precision manufacturing and industry trends, connect with us on LinkedIn.


