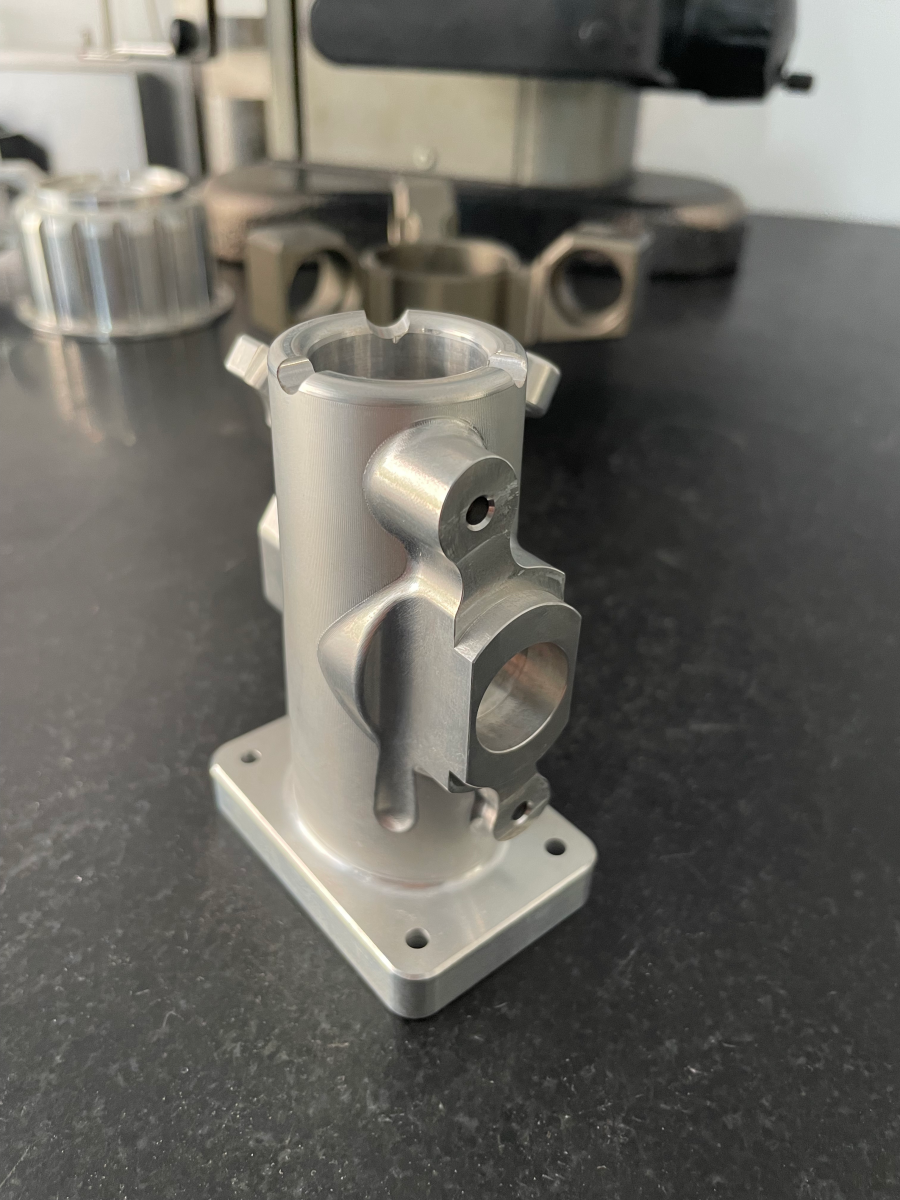
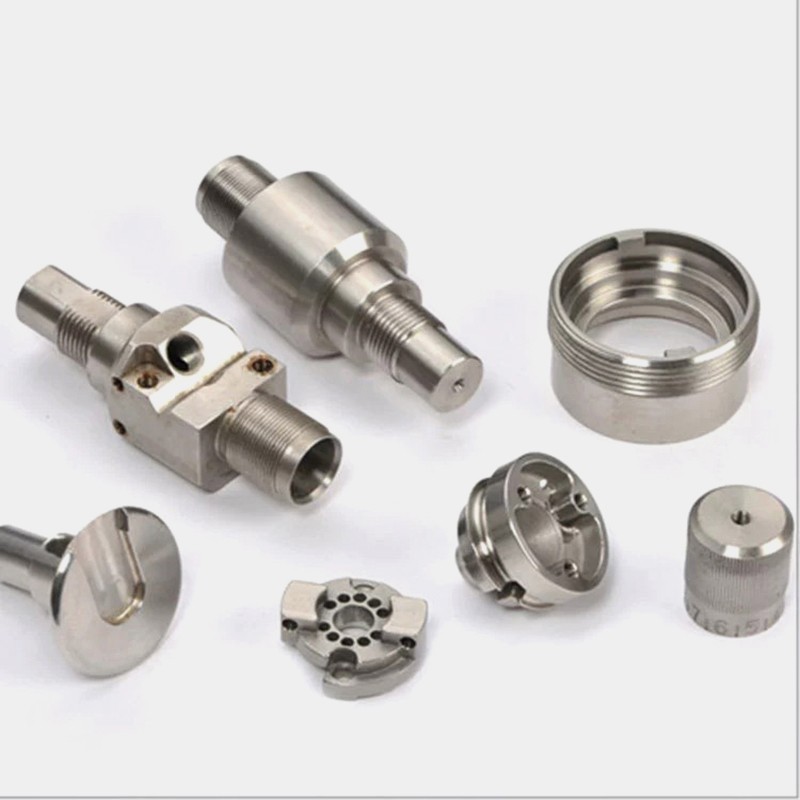
When tackling complex components like cylinder heads, valve heads, or sophisticated hydraulic manifold assemblies, CNC machining stands as the undisputed champion for achieving the necessary precision, repeatability, and geometric complexity. Machining a “head” component, often the central and most intricate part of an assembly, demands a strategic blend of advanced technology, meticulous planning, and deep engineering expertise. As a precision parts manufacturer specializing in overcoming such challenges, we’ll dissect the critical process of How To Machine Heads CNC.
At its core, machining a head on a CNC system involves translating a 3D digital model into a physical part through subtractive manufacturing. The complexity arises from the head’s typical features: deep internal cavities, intersecting coolant or fluid passages, precise mating surfaces, valve guides or injector bores, and often thin-walled sections—all of which must be held to tight tolerances.

H2: Deconstructing the Head Machining Process: A Step-by-Step Technical Breakdown
Successfully machining a head is a multi-stage orchestration. Here’s how a proficient manufacturer like GreatLight CNC Machining Factory approaches it.
H3: Stage 1: Digital Blueprint Analysis and Process Planning
Before any metal is cut, the part is virtually built and deconstructed.

DFM (Design for Manufacturability) Review: Engineers collaborate with clients to analyze the 3D CAD model. This stage identifies potential machining challenges—such as impossible internal corners, overly deep pockets, or features that would require prohibitively expensive tooling—and suggests optimizations that maintain function while improving machinability.
CAM (Computer-Aided Manufacturing) Programming: Using sophisticated software, toolpaths are generated. For a head, this is rarely a simple 2.5D operation. 5-axis CNC machining capabilities become crucial here to allow the cutting tool to approach the workpiece from virtually any angle, enabling the machining of undercuts and complex internal geometries in a single setup.
Fixturing Strategy: Designing and fabricating custom fixtures is paramount. The fixture must securely hold the raw material (often a casting or billet) throughout multiple operations, ensuring stability during aggressive milling and precision during final finishing passes.
H3: Stage 2: Material Selection and Raw Stock Preparation
The choice of material is dictated by the head’s application.
Common Materials: Aluminum alloys (like A356 or 6061) for lightweight automotive cylinder heads, cast iron or ductile iron for heavy-duty applications, stainless steels (e.g., 304, 316) for corrosive environments, and high-performance alloys like Inconel for aerospace.
Stock Form: Heads are often machined from near-net-shape castings to minimize waste, or from solid billets for prototype or high-integrity applications. The raw stock is precisely squared and reference surfaces are established.
H3: Stage 4: Primary Machining Operations
This is where the bulk of material removal occurs.
Roughing: Using robust end mills, the general shape of the head is carved out. High-efficiency milling strategies are employed to remove material quickly while managing heat and stress on the workpiece.
Semi-Finishing: This step leaves a small, uniform amount of material for the final finish pass. It corrects any dimensional deviations that may have occurred during roughing due to stress relief.
H3: Stage 5: Precision Machining of Critical Features
This stage defines the head’s functionality and requires the highest level of precision.
Boring and Honing: Valve guides, injector sleeves, or bearing bores are machined to micron-level tolerances (±0.005mm or better) with exceptional surface finishes. This often involves dedicated boring heads or honing machines.
Port Machining: Intake and exhaust ports, with their complex curved surfaces, are ideal candidates for 5-axis CNC machining. A ball-nose end mill following a continuous 5-axis toolpath can create the smooth, aerodynamic surfaces essential for performance.
Face Milling: The mating surface (e.g., the head gasket face) is finished with extreme flatness and surface quality. This is critical for creating a perfect seal.
H3: Stage 6: Secondary Operations and Quality Assurance
Drilling and Tapping: Hundreds of holes for bolts, sensors, and fittings are drilled and threaded with positional accuracy.
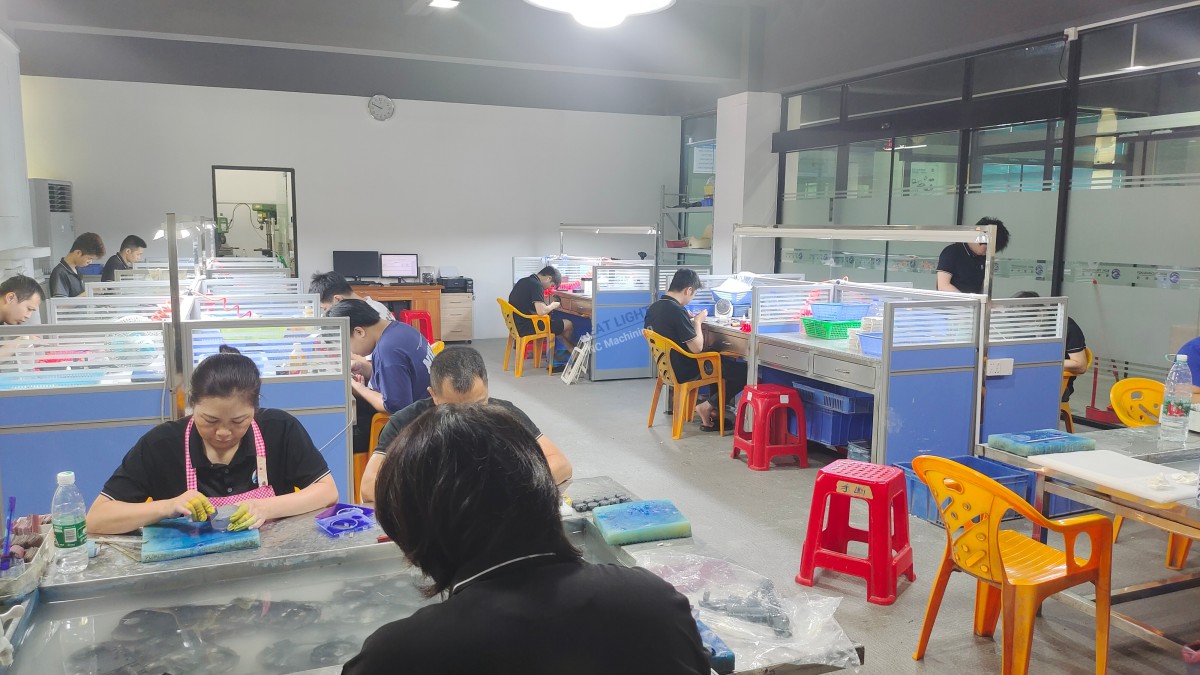
Deburring and Cleaning: All sharp edges are meticulously removed, and internal passages are cleaned to eliminate any metal chips or debris.
Comprehensive Inspection: The finished head undergoes rigorous inspection using Coordinate Measuring Machines (CMM), optical comparators, and surface roughness testers. Every critical dimension is verified against the original drawing.
H2: Why Advanced 5-Axis CNC is a Game-Changer for Head Machining
For complex heads, transitioning from 3-axis to 5-axis CNC machining is not an upgrade; it’s a necessity. Here’s why:
Single-Setup Machining: A 5-axis machine can access five sides of a part in one clamping. This eliminates cumulative errors from multiple setups, drastically improving overall accuracy and concentricity of features like valve seats.
Complex Geometry Mastery: It allows for the machining of compound angles and contoured surfaces (like ports) that are impossible with a 3-axis machine without complex and error-prone fixtures.
Improved Tool Life and Surface Finish: By tilting the tool or workpiece, the machine can maintain an optimal cutting angle, using the side of the tool rather than just the tip. This leads to better chip evacuation, less tool wear, and superior surface quality.
Reduced Lead Time: Consolidating operations into fewer setups directly translates to faster production cycles.
H2: Conclusion: Partnering with Precision for Critical Components
How To Machine Heads CNC effectively boils down to a synergy of advanced multi-axis equipment, granular process engineering, and unwavering quality control. It is a discipline where experience directly correlates with the performance and reliability of the final component.
For projects where the integrity of a head component is non-negotiable—whether for a next-generation automotive engine, a high-pressure hydraulic system, or a critical aerospace assembly—partnering with a manufacturer possessing deep technical heritage and certified processes is crucial. Facilities like GreatLight CNC Machining Factory, with their arsenal of advanced 5-axis CNC centers, integrated in-house tooling and fixturing solutions, and a quality management system anchored by ISO 9001:2015, IATF 16949 (for automotive), and ISO 13485 (for medical) certifications, are engineered to transform complex head designs into flawless, high-performance realities. They provide not just machining, but a full-spectrum manufacturing solution that manages complexity, ensures precision, and de-risks the entire production journey.
H2: Frequently Asked Questions (FAQ)
Q1: What are the biggest challenges in CNC machining a cylinder head?
A: The primary challenges include maintaining dimensional stability and preventing distortion during machining (due to internal stresses in the casting), achieving smooth, precise finishes in deep, curved intake/exhaust ports, ensuring the absolute perpendicularity and surface flatness of the deck face, and executing the precise boring of multiple valve guides and seats with perfect alignment.
Q2: Is it better to machine a head from a casting or a solid billet?
A: For production volumes, near-net-shape castings (aluminum or iron) are far more cost-effective and material-efficient. For prototypes, low-volume runs, or applications requiring maximum material integrity (like racing), machining from a solid billet is preferred as it eliminates potential casting defects and offers more homogeneous material properties.
Q3: What tolerances can be expected on a precision-machined head?
A: A capable manufacturer can hold critical tolerances to very tight levels. Examples include:
Deck flatness: ≤ 0.03mm over entire surface.
Bore diameters (e.g., valve guides): ±0.005mm.
Positional accuracy of bolt holes: ±0.02mm.
Surface finish on sealing faces: Ra 0.8 µm or better.
Q4: How does 5-axis CNC machining reduce costs for complex heads?
A: While 5-axis machines have a higher hourly rate, they reduce total cost by: 1) Slashing setup time and labor, 2) Minimizing fixture costs, 3) Reducing scrap from accumulated setup errors, 4) Sometimes eliminating the need for expensive specialty form tools, and 5) Shortening the overall production timeline.

Q5: What post-processing is typically required after CNC machining a head?
A: Beyond cleaning and deburring, common post-processing includes:
Heat Treatment: Such as T6 aging for aluminum heads to achieve desired hardness.
Surface Treatment: Anodizing (for aluminum), plating, or painting for corrosion protection.
Specialized Finishing: Valve seat grinding or lapping for perfect sealing.
Pressure Testing: 100% testing of coolant or combustion chambers to verify no leaks.


