3D printing resin has better precision,Now there are manyResin3DThe printer is capable of producing prints with virtually no visible layer lines. This makes resin printing ideal for coloring, as you are generally working with a smooth surface and don’t need to do this.With many post-processings like FDM printing, you can achieve the same or even better results.
Before using brushes and paints, it’s a good idea to learn how to paint resin models. It ismagic monkey networkTodayShare with everyonecontent.
1、post-processing
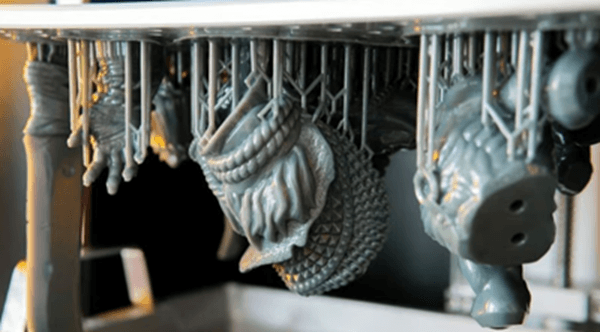
You need to check the resinSupport marks on 3D prints (Source: All3DP)
Give resinimpressionBefore applying any paint we must ensure that all support structures are removed and the model is completely cured. We will remove the support structure before curing because it is much easier to remove the support structure before this step. This will also reduce the amount of sanding you need to do later. Always wear protective gloves when handling uncured resin.
Sand the support
After the model is cured, we need to check if there are any excess supports on the model. Use a file or sandpaper to smooth out any visible dents left on the backing. Can be used firstSand with 220 or 400 grit sandpaper, then work your way slowly. Always wear a protective mask when sanding plastic.
fill the holes
If you find any holes, dents, or chips in your model, you can use dot putty or Bond glue to fill them. Be sure to wait for the filler to dry for about an hour before sanding it. It is recommended to place the model in a well-ventilated area as these types of body fillers have an odor.
Now that the supports are removed and any imperfections have been filled and sanded, we can move on to the next step.
2、base
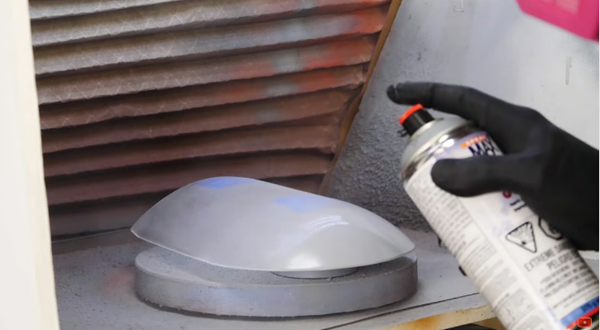
Always prime before painting (Source:Eric Strebel via YouTube)
Primer is one of the most important steps when painting a resin model, as the primer creates an even layer across the entire model for the paint to adhere to. Although some paints and resins adhere well to each other, applying a primer eliminates any problems with paint and resin selection, allowing us to use water-based paints and washable resins. Primer also prevents paint from peeling or bubbling due to skin oils reacting with the paint.
When using any type of spray paint or air gun, be sure to wear a protective mask to avoid inhaling fine paint particles and only spray in a well-ventilated area.
Apply primer
For small models and miniatures, a brush primer will suffice, or you can use a spray primer if you have it on hand. Larger prints will require a spray primer to achieve adequate coverage.
Try to apply an even coat over the entire model. Neither too thick nor too thin, but to be on the safe side, apply it in a thin layer. AndUnlike FDM printing, we don’t need to use a filler primer to hide the layer lines.
Primer color
The color of the primer usually doesn’t matter, but a good rule of thumb is to use a light primer for painting light-colored objects and a dark primer for painting dark objects. If you plan to use metallic paint, you should use a very dark primer first, as this will improve the shine of the metallic paint.
Allow the primer to dry before moving on to the next step.
3、spray painting
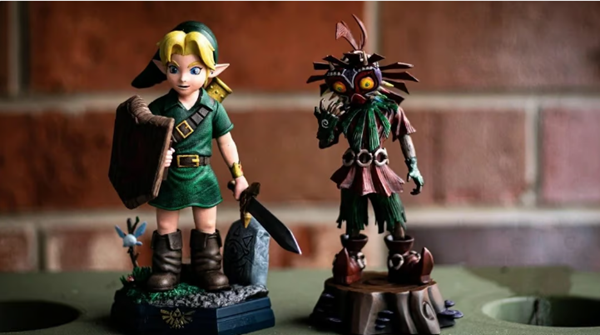
paints and resinsPrints are a match made in heaven.(source:CorruptedCombat8, via Reddit)
Paint selection
The type of paint we use is important. Generally speaking, it’s best to use acrylic paint or modeling paint, as both adhere well to plastic. Most acrylic paints are easily resistant to wear and scratches and are thereforeGood choice for cosplay items, but we need to apply several thin coats to get maximum coverage. Enamels and oil paints also work in other ways. Water-based paints are not recommended because they often require many coats and are less effective than other options.
Primer
Once we have determined the type of paint, we will begin priming the model, covering the entire model in a single color. Start by choosing the most dominant color for your model. Spray paint is great for applying primer, but a paintbrush can also do the job.
You can skip the primer and paint directly on the primed model, but the primer will ensure that there are no difficult areas where the primer shows.
thinFestivaldeal with
Once the base painting is complete, we need smaller brushes to fill in the details of the model. It is best to use one brush per color to avoid accidents.
For large models that need to be painted, we may use masking tape to cover areas of the model that need to remain primed before painting other colors. Wait enough time for each color to dry before applying the masking tape, and allow the new color to dry completely before removing the masking tape to avoid peeling the edges.
4、seal
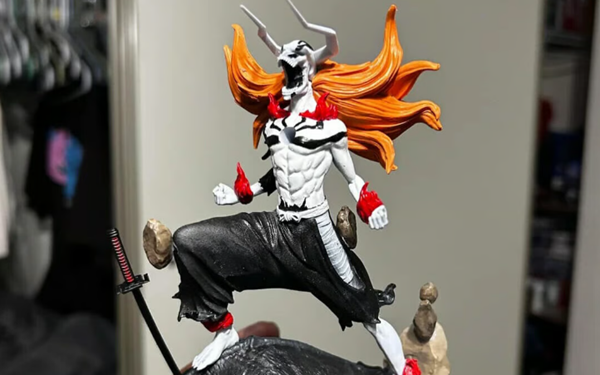
A good topcoat will really make your prints shine (source:bueno42, via Reddit)
A sealant or clear coat can give our models a perfect look while protecting the paint from scratches and scuffs. Although technically optional, sealing the enamel is often a good idea to ensure our hard work doesn’t go to waste.
Type of sealant
The type of sealer we use depends on your personal preference, high gloss sealers give our models a shiny appearance. The matte sealer removes any shine from the model, giving it an even surface finish. Satin sealer falls somewhere in between, giving off a slight sheen that isn’t as noticeable as a high-gloss sealer. Different sealants can be mixed for different parts of the model, for example to give the flames a glossy finish while the rest of the model is matte.
It should be noted that some high-end sealers do not work well with all types of paint. However, if we stick to regular paint, this shouldn’t be a problem.
Apply a sealant
Apply an even coat to the model and do not touch once dry. Touching the varnish before it dries can stain the paint and ruin the finish.
After an hour or two, the painting process is complete! We can now work properly with our model and display our work.
5、Tips and tricks
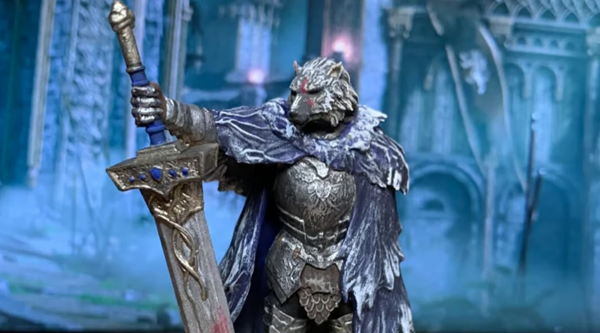
Details determine success or failure (Image source:Loober1234 via Reddit)
We have some advanced tips to take your paint job to the next level.
reflections and shadows:This technique is often used to find where the light hits the model and shows shadows clearly, giving us a good idea of where on the model to use dark colors and where to use highlights when painting. Grab a spray bottle, any color will do, but white is a good choice. Lightly spray paint the model from a distance, directly above it. Now focus on the areas where the paint has not fallen off. These are places where we need to add depth and shadows to the model to make it more realistic.
wet mix:Wet blending is a brush technique used by miniature painters to create natural color transitions on their models. After painting part of the model, while the paint is still wet, dip the same brush into a new color and continue painting the same area. Make sure to mix the brush with the paint on the model so that the two colors blend together for a smooth transition.
dry brushing: Drybrushing is often used to add very fine details to a model, such as slight highlights or scratches on the edges of metal objects. Use a stiff-bristled paintbrush and dip only the tips of the bristles into the paint. Once the paint is slightly dry, lightly brush the edges of the model with a paintbrush. This should leave enough paint around the edges of the model to be visible, but not too obvious. Less is more with this method, but feel free to experiment!
Use resin color: In order to save time while still creating stunning effects, many builders incorporate resin color into their painted designs, choosing to leave certain parts of the model unpainted. This method is particularly effective with transparent resin, as it can give the illusion of invisibility or create a transparent effect that paint cannot capture. This is also a great technique for adding bright details to clear resin.
nail polish:There are some stunning nail polish colors that can add truly stunning detail to our designs, resulting in some very unique effects. However, we do not recommend completely replacing pigments with nail polish, as the concentration of nail polish can vary and may even reduce the detail of fine prints.
Daguang focuses on providing solutions such as precision CNC machining services (3-axis, 4-axis, 5-axis machining), CNC milling, 3D printing and rapid prototyping services.


