Introduction to Cura adaptive layer 3D printing slicing software

Introduction to Cura adaptive layer 3D printing slicing software

One of the most important slicer settings for a 3D printer is layer height, which defines the distance of each layer that makes up the model. Higher layer height means thicker layers, resulting in more powerful prints in less time. Conversely, smaller layer heights provide more space to print details (such as small features) onto […]

Content Navigation

One of the most important slicer settings for a 3D printer is layer height, which defines the distance of each layer that makes up the model. Higher layer height means thicker layers, resulting in more powerful prints in less time. Conversely, smaller layer heights provide more space to print details (such as small features) onto the model, but the model will be weaker and take longer due to the increased number of layers used .

UltiMaker Cura is one of the most popular slicing programs for fused deposition modeling (FDM) 3D printers, with adaptive layer settings that allow layer heights to be changed throughout the printing process. In this article, we will explain how adaptive layers work and discuss the pros and cons of this feature. We will also go over the different settings related to the adaptive layer functionality in Cura and how to adjust them.

Why are adaptive layers beneficial?

Introduction to Cura adaptive layer 3D printing slicing software

picture1: Adaptive layer feature makes 3D printed curves smoother (Source: Chris TerBeke via GitHub)

One problem that can arise when using consistent layer heights is that the top of the model can be truncated if its height value is not divisible by the defined layer height. SO,A 1.1mm high model will be printed with five 0.2mm layers, as most 3D slicing programs will round (usually down).

Adaptive layer for3D printing is very useful because it is not always beneficial to use the same layer height throughout the printing process. This feature was first released in Cura in 2017 and has since been improved so that you can now control more aspects of how it works. Similar features are available in other slicing programs, such as PrusaSlicer and the variable layer height settings in Bambu Studio.

The most obvious advantage of adaptive layers is that they ensure more accurate printing, because the slicer does not need to round up the number of layers used for printing. Non-flat printing can also be used to avoid height shortening. This process usesLayers in 3D space (rather than just the X and Y axes) can also improve part accuracy, but are more complex to configure and are not always available.

Additionally, the Adaptive Layers feature will use smaller or larger layer heights when the template is most beneficial, so you don’t have to choose whether you want a powerful or detailed print. For example, let’s say you print a street lamp. Adaptive layer settings will tell your slicer to use a larger layer height for the featureless axes of the model and a smaller layer height for the more detailed shadow areas of the part to capture all the detail.

Another important advantage of adaptive layers is that, thanks to theseZ-axis details use smaller layer heights, so curved features on the model’s Z-axis are smoother. However, it is worth mentioning that the quality and accuracy of the XY plane curves are not affected by the adaptive layer, since the height of the layer only affects the characteristics of the Z axis.

How does it work?

1733735229 612 Introduction to Cura adaptive layer 3D printing slicing software

picture2: Normally the same layer height is used when printing, but adaptive layers…will adapt! (Source: fntsmn via Reddit)

The Adaptive Layers feature allows the printer to change the layer height of a model to minimize print time (i.e. use thicker layers where possible) while maximizing print quality. printing (i.e. use thinner layers if necessary). This function tells the slicer to assign different layer heights based on the shape and structure of the model. The result is that smaller layer heights are used for more detailed areas of the model with small and precise features, and larger layer heights are used for more basic areas.

according toUltiMaker said that once activated, the slicing engine will analyze the imported model and measure the slope and angle of the exterior surface. The Adaptive Layers feature uses this information to determine which layer height will best reduce print times without sacrificing the detail contained in the design.

constituteModel layers for Z-axis curves (3D Z-axis curves) or other small Z-axis details are assigned a smaller layer height to ensure smoother curvature. Essentially, this is the same as using more polygons when rendering a 3D sphere, because using a smaller layer height will not change the model but will make the actual print look more like it.

In contrast, layers that make up the vertical, flat parts of the print are assigned a higher layer height. This is because these areas of the print do not require much detail and using smaller layers will not have much impact on the appearance of the printed model. You can think of this as rendering with a low polygon count.3D cube; only six polygonal squares (or 12 triangles) are needed in the end. The appearance of the model does not change if you use more polygons.

in typicalThe end result of enabling this feature on a 3D object is that the sliced ​​model will be able to have progressively increasing or decreasing layer heights. The layer height you set in Cura is always considered the base layer height, and the adjusted layer height will only differ slightly from it, which we’ll discuss in detail in the final section.

Advantages and disadvantages

1733735230 330 Introduction to Cura adaptive layer 3D printing slicing software

picture3: Different layer heights are represented by different colors in the preview (Source: All3DP; Model: Ant via Printables)

now you knowHow Cura’s Adaptive Layers feature works, let’s find out how it can help you!

The advantages and disadvantages of adaptive layers vary depending on whether you plan to print with smaller or larger layer heights.

If you plan to use smaller layer heights, enabling adaptive layers will result in a slight loss of print accuracy and detail, but will result in faster printing and less material consumption. On the other hand, if you use adaptive layers on a model for which you want to use a larger layer height, you will see an improvement in model accuracy and a slight increase in print time and consumption. material.

Another great benefit of Cura’s adaptive layer feature is that it reduces the need for post-processing (like sanding) compared to just using larger layer heights. This is because a smaller layer height is used for the curves and Z-axis details of the model, so you don’t need to sand as much to achieve a smooth surface. However, this also means you will have to sand more than if you started with a smaller layer height.

advantage

Compared to using a simple larger layer height,Improved Z-axis curve and details

model inZ axis height will be more accurate

Reduces the need for post-processing compared to just using larger layer heights

Print faster than just using smaller layer heights

Less material consumption than simply using smaller layer heights

default

Compared to using a simple smaller layer height,Lower quality Z-axis curves and details

Slower slicing times (requires more computing power, but still not much)

Requires more post-processing than just using a smaller layer height

Prints slower than just using a larger layer height

Higher material consumption compared to using layers of greater height

Overall,Cura’s Adaptive Layers feature is a great way to take advantage of both small and large layer heights. Since this feature works in almost all scenarios, it is best to keep it enabled in the slicer configuration file and only disable it when consistent layer heights are required.

facility

1733735230 660 Introduction to Cura adaptive layer 3D printing slicing software

picture4: You can enable the adaptive layer feature in the “Experimental” settings section (Source: All3DP; Model: Ant via Printables)

Now you knowAdaptive Layers in Cura, how they work and what they do, we will explain how to use and adjust the Adaptive Layers functionality in a slicer configuration file to take full advantage of its benefits. The first step in this process is to enable the feature:

1. In Cura, click the print settings box (green).

2. Click the three dotted (red) icons and select “All” from the drop-down menu that appears so you can see all the settings in Cura.

3. Scroll down to the Experimental Settings section and look for the Use Adaptive Layers feature (purple) or search for it via Cura’s search bar (orange). Enable this feature if it is not already enabled.

Once enabled, you should see some relevant settings appear below. These settings adjust the parameters of the adaptive layer formula so that you can control the effect of the function on how the model is sliced.

The biggest change: This defines how far from the base layer height the layer height can be set. For example, if you areBy setting the base layer height in Cura to 0.2mm and using a maximum variation of 0.04mm, the minimum layer height used will be 0.16mm and the maximum layer height will be 0.16mm. 0.24mm. We recommend keeping this value at 0.04mm (Cura’s default setting) and only making small adjustments if you want to blend more detailed or faster layers onto your print.

change step size: This is the difference in floor height from one floor to another. For example, suppose this value is0.02mm, the slicer wants to increase the layer height from 0.2mm to 0.3mm. The slicer will increase the layer height by 0.02mm with each layer until a layer height of 0.3mm is reached. Cura’s default 0.04mm should work just fine, but if you decide to adjust the settings, do so in small increments to ensure your print doesn’t fail.

land size: This controls the horizontal offset distance from one layer to the next. A larger terrain size means that successive layers areThe greater the distance in the X and Y axes. The greater the horizontal distance between vertically consecutive layers, the more layer height can be used, resulting in thicker layers, less model detail, and prints stronger. vice versa. You can leave this setting at the default of 0.2mm, or increase it to increase the layer thickness if you need a stronger part.


Daguang focuses on providing solutions such as precision CNC machining services (3-axis, 4-axis, 5-axis machining), CNC milling, 3D printing and rapid prototyping services.

Picture of JinShui Chen

JinShui Chen

Rapid Prototyping & Rapid Manufacturing Expert

Specialize in CNC machining, 3D printing, urethane casting, rapid tooling, injection molding, metal casting, sheet metal and extrusion

Pressroom

Recent Posts

Welcome to GreatLight Metal,Maximum Processing Size 4,000 mm

Precision Machining CNC Quote Online

Loading file

Upload Click here to upload or drag and drop your model to the canvas.

The model is too large and has been resized to fit in the printer's build tray. [Hide]

The model is too large to fit in the printer's build tray. [Hide]

The model is too large, a fitting printer is selected. [Hide]

The model is too small and has been upscaled. [Hide]

Warning: The selected printer can not print in full color [Hide]

Warning: obj models with multiple meshes are not yet supported [Hide]

Warning: Unsupported DXF entity  [Hide]

Warning: could not arrange models [Hide]


File Unit:      
Scale:
%
L × W × H:
X: × Y: × Z:  cm 
Rotation:
X: ° Y: °  


Model Stats:

Material Volume: cm3
Support Material Volume: cm3
Box Volume: cm3
Surface Area: cm2
Model Weight: g
Model Dimensions:
x x cm
Number of Polygons:
Number of Shapes:
Total Path: cm
⚡ Instant Quote for Precision Manufacturing

Submit your design files (STEP/IGES/DWG) and receive a competitive quote within 1 hour, backed by ISO 9001-certified quality assurance.

📋 How It Works

  1. Upload & SpecifyShare your 3D model and select materials (Aluminum/Stainless Steel/Titanium/PEEK), tolerances (±0.002mm), and surface treatments.

  2. AI-Powered AnalysisOur system calculates optimal machining strategy and cost based on 10+ years of automotive/aerospace data.

  3. Review & ConfirmGet a detailed breakdown including:
    - Volume pricing tiers (1-10,000+ units)
    - Lead time (3-7 days standard)
    - DFM feedback for cost optimization

Unit Price: 

Loading price
5 Axis CNC Machining Equipment
4 Axis CNC Machining Equipment
3 Axis CNC Machining Equipment
CNC Milling & Turning Equipment
Prototype and Short-Run Injection Moldings Exact plastic material as final design
Volume Metal Die Casting Services - Precision Cast Parts
Bridge the Gap From Prototype to Production – Global delivery in 10 days or less
Custom high-precision sheet metal prototypes and parts, as fast as 5 days.
Custom Online 3D Printing Services
Design Best Processing Method According To 3D Drawings
Alloys Aluminum 6061, 6061-T6 Aluminum 2024 Aluminum 5052 Aluminum 5083 Aluminum 6063 Aluminum 6082 Aluminum 7075, 7075-T6 Aluminum ADC12 (A380)
Alloys Brass C27400 Brass C28000 Brass C36000
Alloys Stainless Steel SUS201 Stainless Steel SUS303 Stainless Steel SUS 304 Stainless Steel SUS316 Stainless Steel SUS316L Stainless Steel SUS420 Stainless Steel SUS430 Stainless Steel SUS431 Stainless Steel SUS440C Stainless Steel SUS630/17-4PH Stainless Steel AISI 304
Inconel718
Carbon Fiber
Tool Steel
Mold Steel
Alloys Titanium Alloy TA1 Titanium Alloy TA2 Titanium Alloy TC4/Ti-6Al 4V
Alloys Steel 1018, 1020, 1025, 1045, 1215, 4130, 4140, 4340, 5140, A36 Die steel Alloy steel Chisel tool steel Spring steel High speed steel Cold rolled steel Bearing steel SPCC
Alloys Copper C101(T2) Copper C103(T1) Copper C103(TU2) Copper C110(TU0) Beryllium Copper
Alloys Magnesium Alloy AZ31B Magnesium Alloy AZ91D
Low Carbon Steel
Alloys Magnesium Alloy AZ31B Magnesium Alloy AZ91D
ABS Beige(Natural) ABS Black ABS Black Antistatic ABS Milky White ABS+PC Black ABS+PC White
PC Black PC Transparent PC White PC Yellowish White PC+GF30 Black
PMMA Black PMMA Transparent PMMA White
PA(Nylon) Blue PA6 (Nylon)+GF15 Black PA6 (Nylon)+GF30 Black PA66 (Nylon) Beige(Natural) PA66 (Nylon) Black
PE Black PE White
PEEK Beige(Natural) PEEK Black
PP Black PP White PP+GF30 Black
HDPE Black HDPE White
HIPS Board White
LDPE White
This is a finish of applying powdered paint to the components and then baking it in an oven, which results in a stronger, more wear- and corrosion-resistant layer that is more durable than traditional painting methods.
No coating required, product’s natural color!
This is a finish of applying powdered paint to the components and then baking it in an oven, which results in a stronger, more wear- and corrosion-resistant layer that is more durable than traditional painting methods.
This finishing option with the shortest turnaround time. Parts have visible tool marks and potentially sharp edges and burrs, which can be removed upon request.
Sand blasting uses pressurized sand or other media to clean and texture the surface, creating a uniform, matte finish.
Polishing is the process of creating a smooth and shiny surface by rubbing it or by applying a chemical treatmen
A brushed finish creates a unidirectional satin texture, reducing the visibility of marks and scratches on the surface.
Anodizing increases corrosion resistance and wear properties, while allowing for color dyeing, ideal for aluminum parts.
Black oxide is a conversion coating that is used on steels to improve corrosion resistance and minimize light reflection.
Electroplating bonds a thin metal layer onto parts, improving wear resistance, corrosion resistance, and surface conductivity.
This is a finish of applying powdered paint to the components and then baking it in an oven, which results in a stronger, more wear- and corrosion-resistant layer that is more durable than traditional painting methods.
Please provide additional text description for other surface treatment requirements!
Material
Material
  • CNC Metals
    • Aluminum
    • Brass
    • Stainless steel
    • Inconel718
    • Carbon Fiber
    • Tool Steel
    • Mold Steel
    • Titanium
    • Alloy Steel
    • Copper
    • Bronze
    • Low Carbon Steel
    • Magnesium
  • CNC Plastics
    • ABS
    • PC
    • PMMA (Acrylic)
    • PA (Nylon)
    • PE
    • PEEK
    • PP
    • HDPE
    • HIPS
    • LDPE
Printer
Printer
  • CNC Metals
    • 5 Axis CNC Machining
    • 4 Axis CNC Machining
    • 3 Axis CNC Machining
    • CNC Milling & Turning
    • Rapid Tooling
    • Metal Die Casting
    • Vacuum Casting
    • Sheet Metal Fabrication
    • SLA 3D Printing
    • SLS 3D Printing
    • SLM 3D Printing
  • Rapid Prototyping
    • Design Best Processing Method According To 3D Drawings
Post-processing
Post-processing
Finalize
The world's first CNC machining center that dares to provide free samples!

Free for first product valued at less than $200. (Background check required)

Precision Machining CNC Quote Online

15 Years CNC Machining Services

When you’re ready to start your next project, simply upload your 3D CAD design files, and our engineers will get back to you with a quote as soon as possible.
Scroll to Top

ISO 9001 Certificate

ISO 9001 is defined as the internationally recognized standard for Quality Management Systems (QMS). It is by far the most mature quality framework in the world. More than 1 million certificates were issued to organizations in 178 countries. ISO 9001 sets standards not only for the quality management system, but also for the overall management system. It helps organizations achieve success by improving customer satisfaction, employee motivation, and continuous improvement. * The ISO certificate is issued in the name of FS.com LIMITED and applied to all the products sold on FS website.

GreatLight Metal ISO 9001 certification successfully renewed
✅ ISO 9001:2015
GreatLight Metal ISO 9001 certification successfully renewed ZH

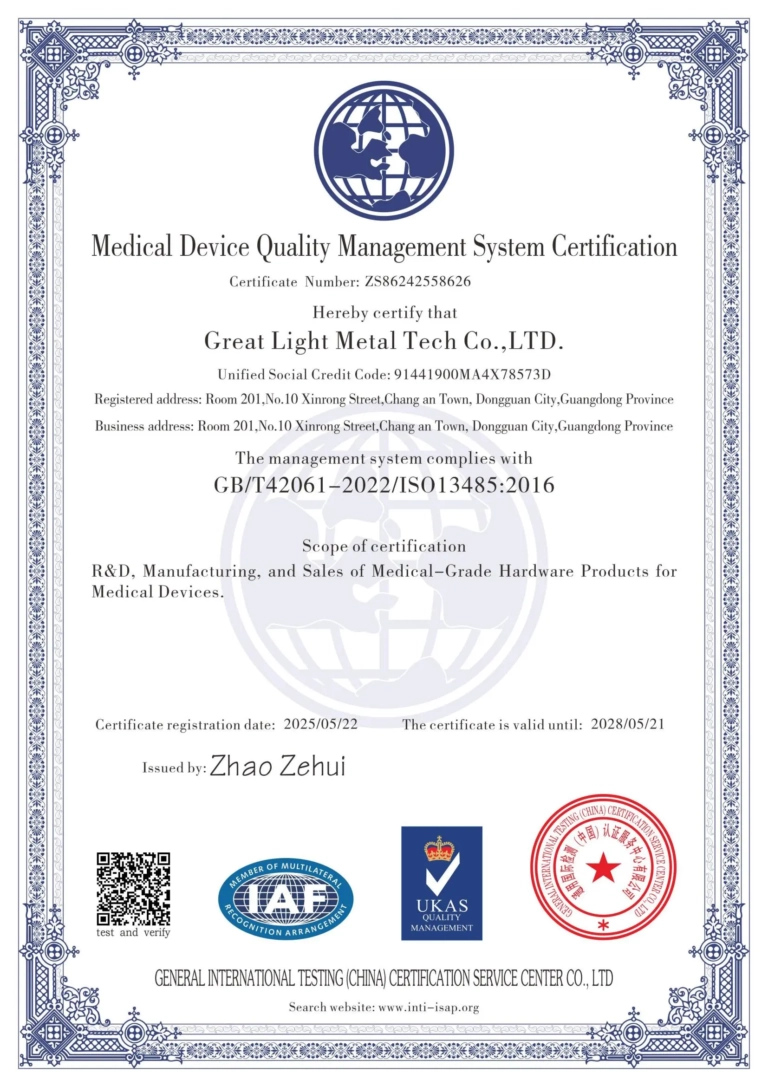
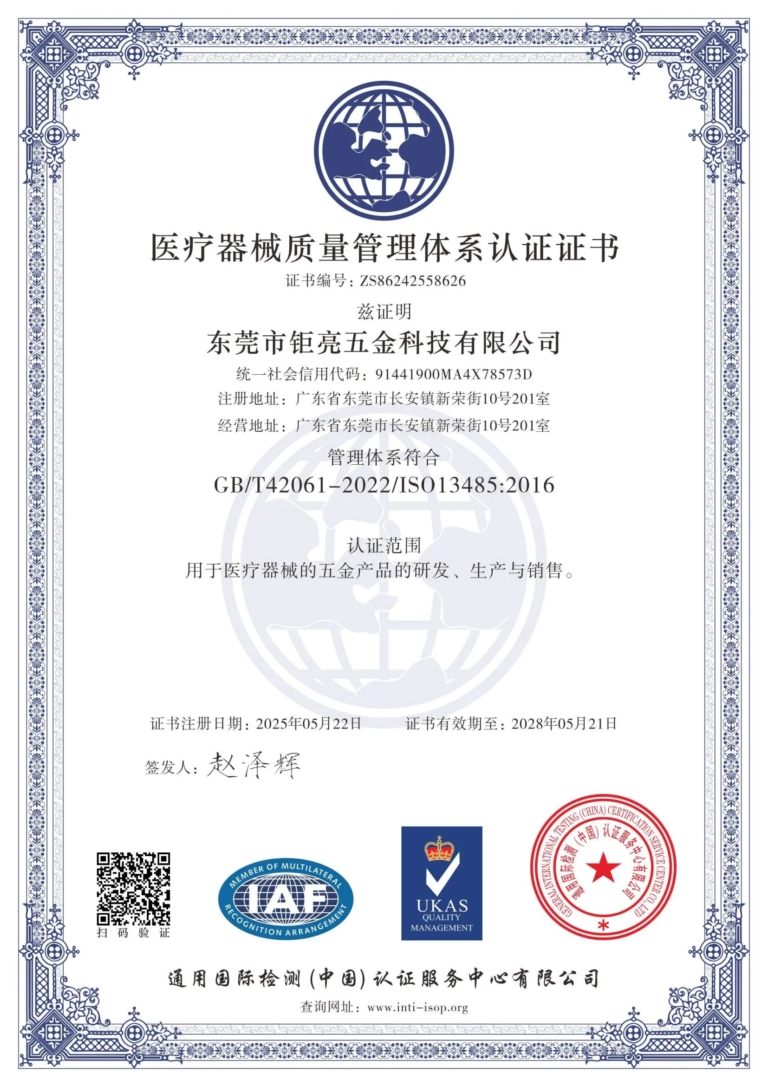
ISO 13485 certificate

ISO 13485 is an internationally recognized standard for Quality Management Systems (QMS) specifically tailored for the medical device industry. It outlines the requirements for organizations involved in the design, development, production, installation, and servicing of medical devices, ensuring they consistently meet regulatory requirements and customer needs. Essentially, it's a framework for medical device companies to build and maintain robust QMS processes, ultimately enhancing patient safety and device quality.

GreatLight Metal Technology Co., Ltd Has Obtained Multiple Certifications (3)
GreatLight Metal Technology Co., Ltd Has Obtained Multiple Certifications (4)

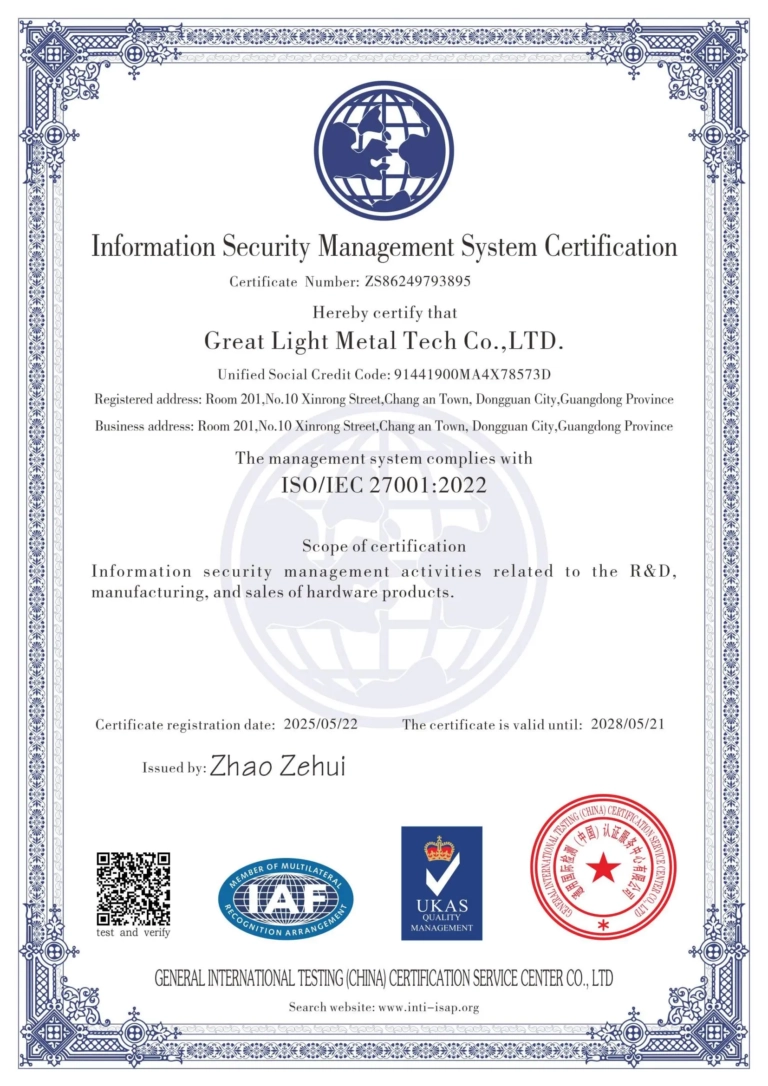
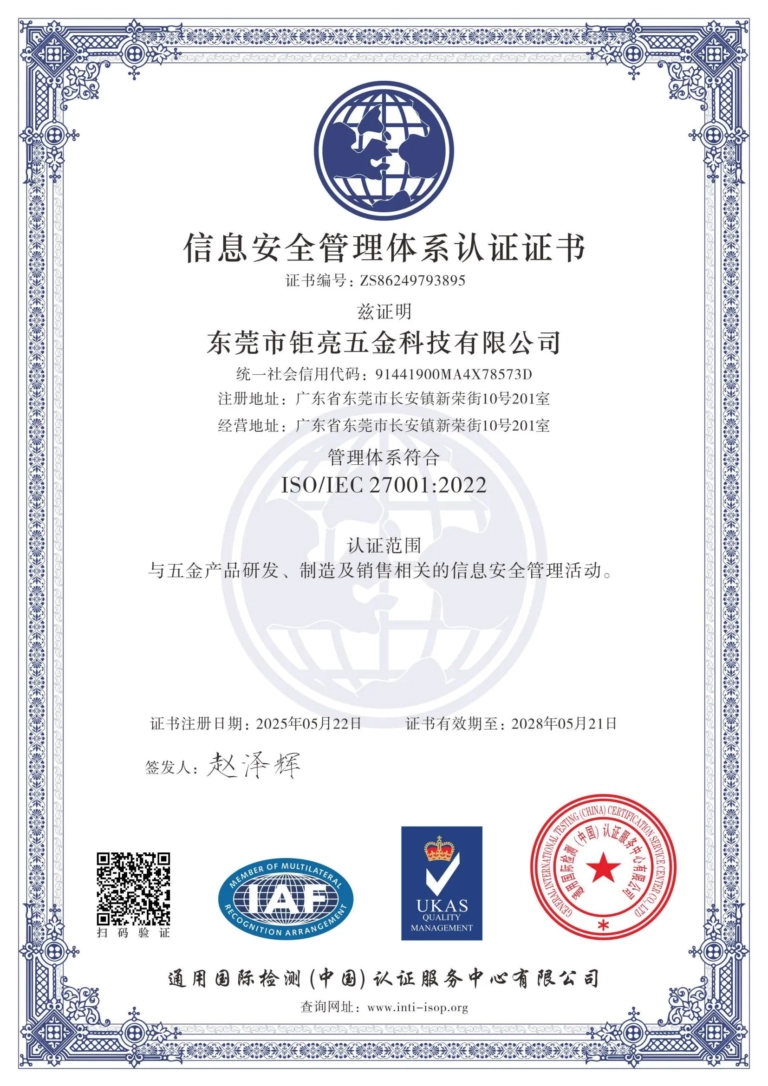
ISO 27001 certificate

ISO/IEC 27001 is an international standard for managing and processing information security. This standard is jointly developed by the International Organization for Standardization (ISO) and the International Electrotechnical Commission (IEC). It sets out requirements for establishing, implementing, maintaining, and continually improving an information security management system (ISMS). Ensuring the confidentiality, integrity, and availability of organizational information assets, obtaining an ISO 27001 certificate means that the enterprise has passed the audit conducted by a certification body, proving that its information security management system has met the requirements of the international standard.

GreatLight Metal Technology Co., Ltd Has Obtained Multiple Certifications (1)
GreatLight Metal Technology Co., Ltd Has Obtained Multiple Certifications (2)

IATF 16949 certificate

IATF 16949 is an internationally recognized Quality Management System (QMS) standard specifically for the automotive industry. It builds upon the foundation of ISO 9001 and adds specific requirements relevant to automotive production and service parts. The goal is to enhance quality, improve processes, and reduce variation and waste within the automotive supply chain.

Automotive Industry Quality Management System Certification_01
Automotive Industry Quality Management System Certification_00

Get The Best Price

Send drawings and detailed requirements via Email:info@glcncmachining.com
Or Fill Out The Contact Form Below:

All uploads are secure and confidential.