How To Set A P Coordinate CNC Machine? If you’re a procurement engineer, R&D specialist, or small business owner working with precision parts, you’ve likely encountered the “P coordinate” in CNC programming or machine setup. Unlike the familiar X, Y, Z linear axes, the P coordinate isn’t a physical axis—it’s a parameter used to specify predefined workpiece coordinate systems (WCS), program offsets, or cycle parameters, depending on your CNC controller brand. Mastering its setup is critical to achieving the tight tolerances (like ±0.001mm) required for high-end parts in aerospace, automotive, medical, and robotics industries. For businesses that don’t have in-house CNC experts, partnering with a precision machining provider like GreatLight CNC Machining Factory can eliminate the guesswork, but understanding the basics of P coordinate setup will help you communicate your needs more effectively and verify quality outcomes.
How To Set A P Coordinate CNC Machine?
First, Clarify What the “P Coordinate” Entails in CNC Systems
Before diving into setup steps, it’s essential to dispel confusion: the term “P coordinate” is not a universal standard across all CNC systems. In most cases, it refers to a parameter that does one of three key things:
Selects a workpiece coordinate system (WCS): For example, on Fanuc controllers, G54 P1 activates the first predefined WCS, while G54 P2 selects the second. This is the most common use case for part setup, as it lets you switch between multiple part zero positions without re-calibrating the machine.
Specifies dwell time: In codes like G04 P1000, the P parameter tells the machine to pause for 1000 milliseconds (1 second) before proceeding.
Defines offset numbers: In turning cycles (e.g., G71 on Fanuc), P specifies the starting line number of the roughing program.
For the purpose of this guide, we’ll focus on the most relevant application for precision part manufacturing: setting and activating workpiece coordinate systems using the P parameter.
Step-by-Step Guide to Setting P Coordinates for Major CNC Controllers
Setup processes vary by controller brand, but the core goal remains the same: assigning a part’s zero position to a predefined WCS using the P parameter. Below are detailed steps for the three most common controller types used in precision machining:
Fanuc Series Controllers (Most Common in Precision Machining)
Fanuc controllers are ubiquitous in high-precision CNC machining, including the 5-axis machines used by GreatLight CNC Machining Factory. Here’s how to set P coordinates for WCS setup:
Access the Workpiece Coordinate System (WCS) Setup Screen
Press the “OFFSET SETTING” button on the controller panel.
Navigate to the “WORK” tab using the soft keys. This will display a list of predefined WCS (G54 to G59) and extended WCS (G54.1 P1 to P48).
Input Coordinate Values for the Target WCS
Use the arrow keys to select the row corresponding to your desired P parameter (e.g., G54.1 P1 for the first extended WCS).
Input the X, Y, Z coordinate values of your part’s zero point (measured from the machine’s home position using an edge finder, touch probe, or dial indicator). For ultra-precise parts like those processed by GreatLight, a precision touch probe with ±0.0005mm accuracy is recommended to eliminate human error.
Verify and Save the Coordinates
Double-check the input values against your design drawing to avoid typos. Even a 0.1mm error can lead to scrap parts in high-tolerance applications.
Press the “INPUT” soft key to save the values. Some Fanuc models require pressing “WRITE” to confirm changes.
Activate the P-Assigned Coordinate System in Your Program
In your CNC program, add the code to call the WCS: for example, G54.1 P1 G90 G00 X0 Y0 Z5.0 will move the tool to 5mm above the part zero defined in P1.
Siemens Sinumerik Controllers
Siemens controllers use the P parameter slightly differently for WCS setup. The standard WCS are G54 to G59, but extended WCS are activated using G54.1 Pn (where n is the offset number, 1 to 300). Here’s the setup process:
Press the “OFFSET” button, then select “Workpiece Offsets” from the menu.
Find the row labeled “G54.1 Pn” (replace n with your desired parameter number, e.g., P10).
Input the X, Y, Z coordinates of your part zero, then press “Accept” to save.
In your program, include G54.1 P10 to activate the coordinate system before running the machining cycle.
Haas CNC Controllers
Haas simplifies WCS setup with intuitive menus. To set a P coordinate for WCS:
Press the “OFFSET” button, then select “Work Offsets” from the main menu.
Use the “Page Up” or “Page Down” keys to find the offset number corresponding to your P parameter (e.g., P5 for the 5th workpiece offset).
Enter the X, Y, Z values of your part zero using the keypad, then press “Enter” to save.
In your program, call the offset with G54 P5 to activate the coordinate system.
Critical Best Practices for P Coordinate Setup to Ensure Precision
Even with the right steps, small mistakes in P coordinate setup can compromise part quality. Here are the best practices GreatLight’s team follows to maintain ±0.001mm precision for every part:
Use High-Precision Measurement Tools
Avoid manual edge finders for ultra-tight tolerances. Instead, use a CNC touch probe (like Renishaw probes) to automatically measure part zero positions. GreatLight uses these probes on its 5-axis CNC machines to eliminate human error.
Document All P Parameter Assignments
Keep a log of which P number corresponds to which part zero position (e.g., P1 for front face, P2 for back face of a complex 5-axis part). This ensures traceability and makes it easier to replicate setups for future runs.
Perform a Dry Run Before Machining
Run the program without cutting material to verify that the machine moves to the correct positions. GreatLight’s engineers always perform dry runs for complex parts, especially those for automotive engine components and medical devices, to prevent costly scrap.
Calibrate the Machine Regularly
Even the best CNC machines drift over time. GreatLight calibrates its 127+ precision machines monthly to ensure that coordinate systems remain accurate. This is part of their ISO 9001:2015 certified quality management system.
Validate Coordinates Post-Setup
After setting the P coordinate, use a dial indicator or coordinate measuring machine (CMM) to confirm that the machine’s tool position matches the design specifications. GreatLight uses in-house CMMs to inspect every batch of parts for compliance.
Why Proper P Coordinate Setup Matters for Your Precision Parts
For parts that require ±0.001mm precision—like aerospace turbine blades, medical surgical instruments, or humanoid robot joints—incorrect P coordinate setup can lead to:
Scrap parts, which increases material and labor costs.
Delayed production timelines, as rework or re-calibration is needed.
Failed quality inspections, which can damage your brand reputation.
GreatLight CNC Machining Factory understands these risks deeply. With over 12 years of experience, their team of certified engineers is proficient in setting P coordinates across all major controller brands, ensuring that every part meets your exact specifications. For example, when working with a new energy vehicle client to manufacture complex e-housings, GreatLight used P parameters to switch between three different part zero positions in a single program, reducing setup time by 40% while maintaining ±0.002mm tolerance.
How GreatLight Supports Your CNC Machining Coordination Needs
While learning to set P coordinates is valuable, partnering with a professional precision machining provider like GreatLight can save you time, reduce risks, and deliver better results. Here’s how they stand out:
Full Range of CNC Capabilities: GreatLight offers 3-axis, 4-axis, and precision 5-axis CNC machining services, all equipped with state-of-the-art controllers that support advanced P parameter functionality.
ISO-Certified Quality Management: As an ISO 9001:2015, IATF 16949, and ISO 13485 certified manufacturer, GreatLight follows strict protocols for coordinate setup, inspection, and documentation.
Expertise in Complex Parts: GreatLight specializes in solving manufacturing challenges for industries like automotive, aerospace, medical, and robotics, where precise P coordinate setup is non-negotiable.
One-Stop Services: From rapid prototyping to full production, and including post-processing (anodizing, plating, painting), GreatLight handles every step of the process, so you don’t have to coordinate multiple suppliers.
Risk-Free Guarantee: If parts don’t meet your specifications due to coordinate setup errors or other quality issues, GreatLight offers free rework. If rework still doesn’t meet your needs, they provide a full refund.
Conclusion
How To Set A P Coordinate CNC Machine? Mastering this skill is a key part of ensuring precision in your CNC parts, but you don’t have to do it alone. Whether you’re setting up your own machine or outsourcing to a provider, understanding the role of the P parameter, following best practices, and working with experts can make all the difference. GreatLight CNC Machining Factory’s combination of advanced equipment, certified processes, and decades of experience makes them the ideal partner for custom precision parts. To learn more about their projects and capabilities, visit their LinkedIn page to connect with their team and explore case studies.
Frequently Asked Questions (FAQ)
Q1: Is the “P coordinate” the same across all CNC controllers?
A: No, the P parameter’s function varies by controller. On Fanuc, it’s often used to select extended workpiece coordinate systems; on Siemens, it can define offset numbers; on Haas, it specifies which workpiece offset to edit. Always refer to your controller’s manual or consult a specialist if you’re unsure.
Q2: What happens if I input the wrong P parameter value?
A: Inputting an incorrect P value can lead to the machine using the wrong workpiece coordinate system, resulting in parts that are misaligned or out of tolerance. In worst-case scenarios, it can cause tool collisions with the workpiece or machine, leading to costly damage. This is why GreatLight performs multiple checks before running any program.
Q3: Can the P coordinate be adjusted mid-program?
A: Yes, you can switch between different P-defined coordinate systems mid-program by calling the appropriate G-code (e.g., G54.1 P2 after using G54.1 P1). This is useful for machining complex parts with multiple zero points, like 5-axis components processed by GreatLight.
Q4: How does GreatLight ensure precise coordinate setup for my custom parts?
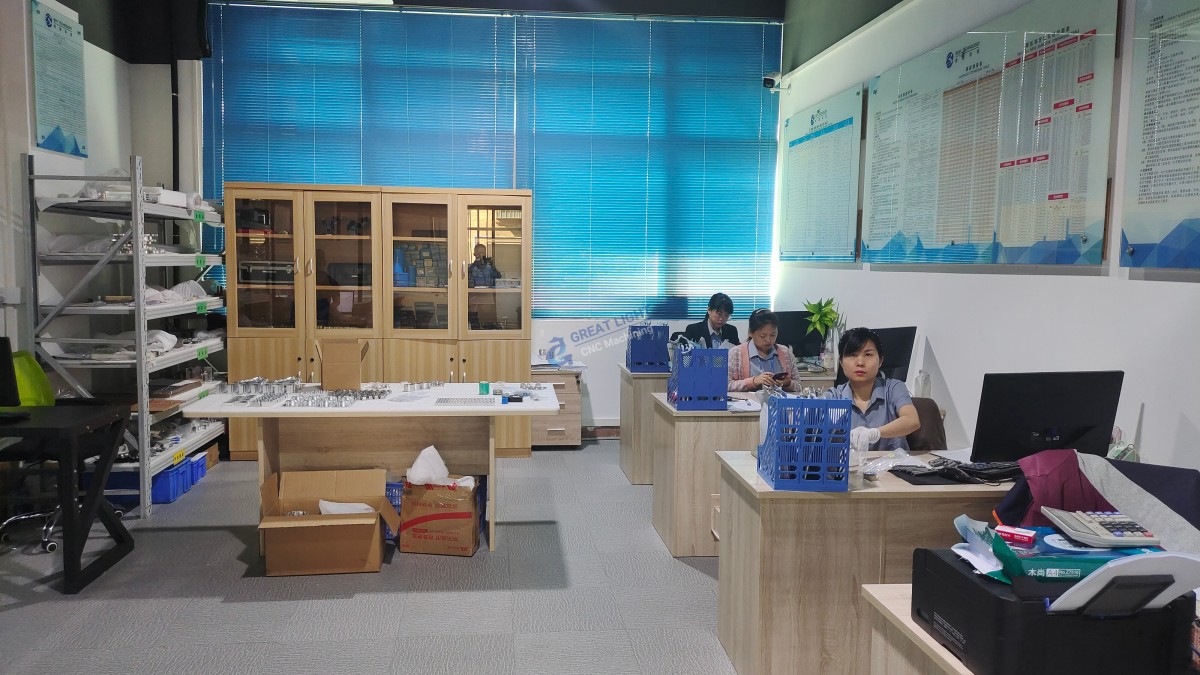
A: GreatLight uses a combination of high-precision touch probes, regular machine calibration, ISO-certified quality protocols, and post-setup CMM inspections to ensure that coordinate systems are accurate to ±0.001mm. Their team of certified engineers has years of experience working with all major CNC controllers.
Q5: Do I need special tools to set P coordinates accurately?
A: For basic setups, an edge finder or dial indicator can work, but for ultra-precise parts, a CNC touch probe is recommended. GreatLight invests in top-of-the-line measurement tools to eliminate human error and ensure consistent results.