
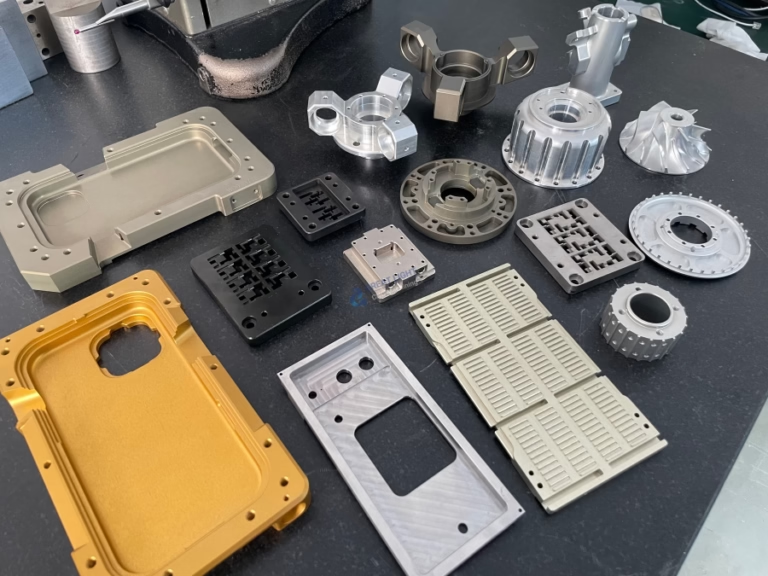
If you’ve ever struggled with tool misalignment, inconsistent part depths, or post-crash precision issues on your CNC machine, knowing how to make CNC machine reset bit position Z axis is a critical skill for maintaining part quality and operational efficiency. For precision machining professionals, mastering this process isn’t just about fixing immediate problems—it’s about upholding the tight tolerances (like ±0.001mm) that define high-end parts used in aerospace, automotive, medical, and robotics industries.
How To Make CNC Machine Reset Bit Position Z Axis?
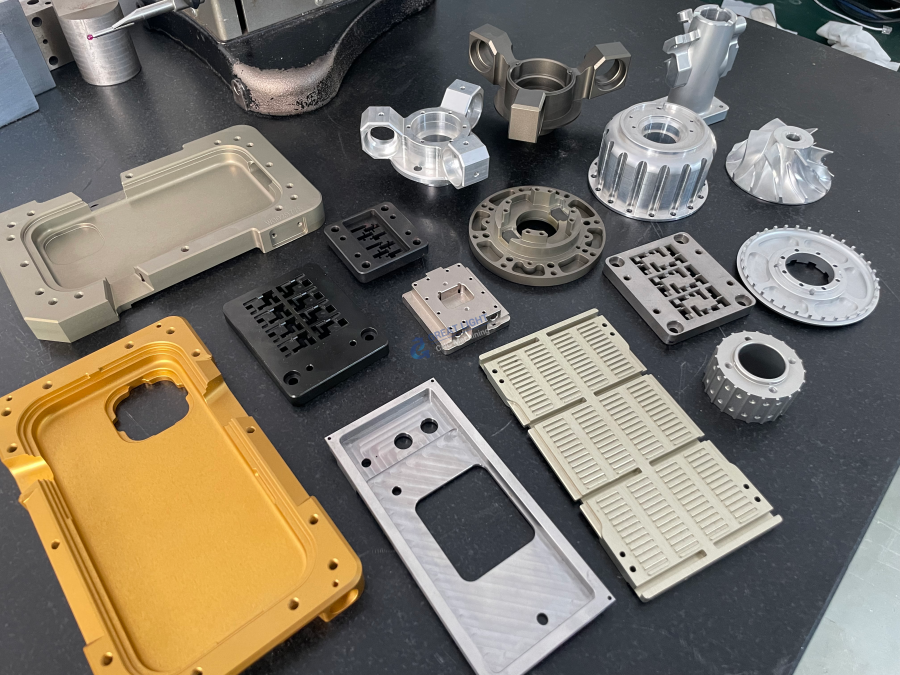
Before diving into the step-by-step process, it’s essential to understand why resetting the Z-axis bit position is non-negotiable. The Z-axis controls the vertical distance between the cutting tool and the workpiece, so even a 0.01mm deviation can lead to scrap parts, damaged tools, or costly reworks. In environments like 5-axis CNC machining services, where simultaneous axis movement is common, maintaining accurate Z-axis alignment is even more critical to avoid collisions or dimensional errors. Companies like GreatLight Metal, an ISO 9001:2015 certified precision manufacturer, prioritize standardized Z-axis reset procedures as part of their quality management system to ensure consistent part accuracy across thousands of production runs.
Pre-Reset Preparation: Safety & Documentation First
Before touching any machine controls, follow these pre-reset steps to minimize risk and ensure accuracy:
Safety Lockout: Put the CNC machine in Manual Data Input (MDI) or Jog mode, and engage the emergency stop if performing post-crash resets. Never attempt to reset the Z-axis while the machine is in automatic cycle.
Tool Verification: Confirm the correct tool is loaded in the spindle. For machines with automatic tool changers (ATCs), cross-reference the tool number in the control panel with the physical tool’s dimensions.
Calibration Tools: Gather necessary tools: a dial indicator, edge finder, laser tool setter, or touch probe (depending on machine type). GreatLight Metal uses high-precision touch probes in their 5-axis machines to automate this step, reducing human error.
Reference Documentation: Pull up the machine’s operation manual—different brands (Haas, DMG Mori, FANUC) have slight variations in reset procedures. For example, FANUC machines use G-code G92 for temporary offsets, while Haas uses G54 for work coordinate system (WCS) reset.
Step-by-Step Guides by CNC Machine Type
The process for resetting the Z-axis bit position varies slightly based on the number of axes in your CNC machine. Below are standardized procedures for the most common types:
3-Axis CNC Machines (Basic Setup)
3-axis machines are the industry standard for simple to moderately complex parts. Follow these steps:
Jog the Z-Axis: Move the spindle to a safe height above the workpiece using the jog wheel.
Set the Workpiece Zero: Place a tool setter or edge finder on the workpiece’s top surface. Jog the Z-axis down until the tool touches the setter (you’ll feel a slight resistance or hear a beep if using an electronic setter).
Input the Offset: In the control panel, navigate to the tool offset page (G54-G59) and enter the measured Z-axis value. For temporary resets, use G92 Z0 to set the current position as the zero point.
Verify with a Test Cut: Run a shallow test cut on a scrap piece, then measure the depth with a micrometer to confirm alignment.
4-Axis CNC Machines (Rotary Axis Coordination)
4-axis machines add a rotary axis (A or B) to 3-axis capabilities, so Z-axis reset must account for rotary table alignment:
Home the Rotary Axis: First, home the rotary axis to ensure it’s in the correct reference position. This prevents misalignment between the Z-axis and the rotating workpiece.
Align the Tool to the Rotary Table: Use a touch probe to measure the distance between the tool tip and the rotary table’s center. Input this value into the WCS to adjust the Z-axis offset relative to the rotary axis.
Simulate the Path: Before running the program, simulate the tool path in the machine’s control software to check for Z-axis collisions with the rotary table or fixture. GreatLight Metal’s 4-axis machining team uses offline simulation software to avoid costly mistakes during production.
5-Axis CNC Machines (Simultaneous Axis Alignment)
5-axis machines (GreatLight’s specialty) offer simultaneous movement of two rotational axes (A and B, or B and C), making Z-axis reset more complex. Here’s how to do it accurately:
Home All Axes: Start by homing all five axes to their reference positions. This ensures the machine’s control system has a clear baseline for all coordinates.
Use a Touch Probe for Automated Calibration: Most modern 5-axis machines are equipped with a touch probe. Run the automatic tool setting cycle to measure the tool’s length and diameter, then input these values into the tool offset library. GreatLight leverages this technology to achieve ±0.001mm precision in their 5-axis machining projects.
Check Axis Synchronization: After resetting the Z-axis, run a test cycle that moves all five axes simultaneously to confirm the tool maintains consistent distance from the workpiece. If you notice drift, recalibrate the rotational axes’ reference positions.
Troubleshooting Common Z-Axis Reset Issues
Even with careful execution, you may encounter problems during reset. Here are solutions to the most common issues:
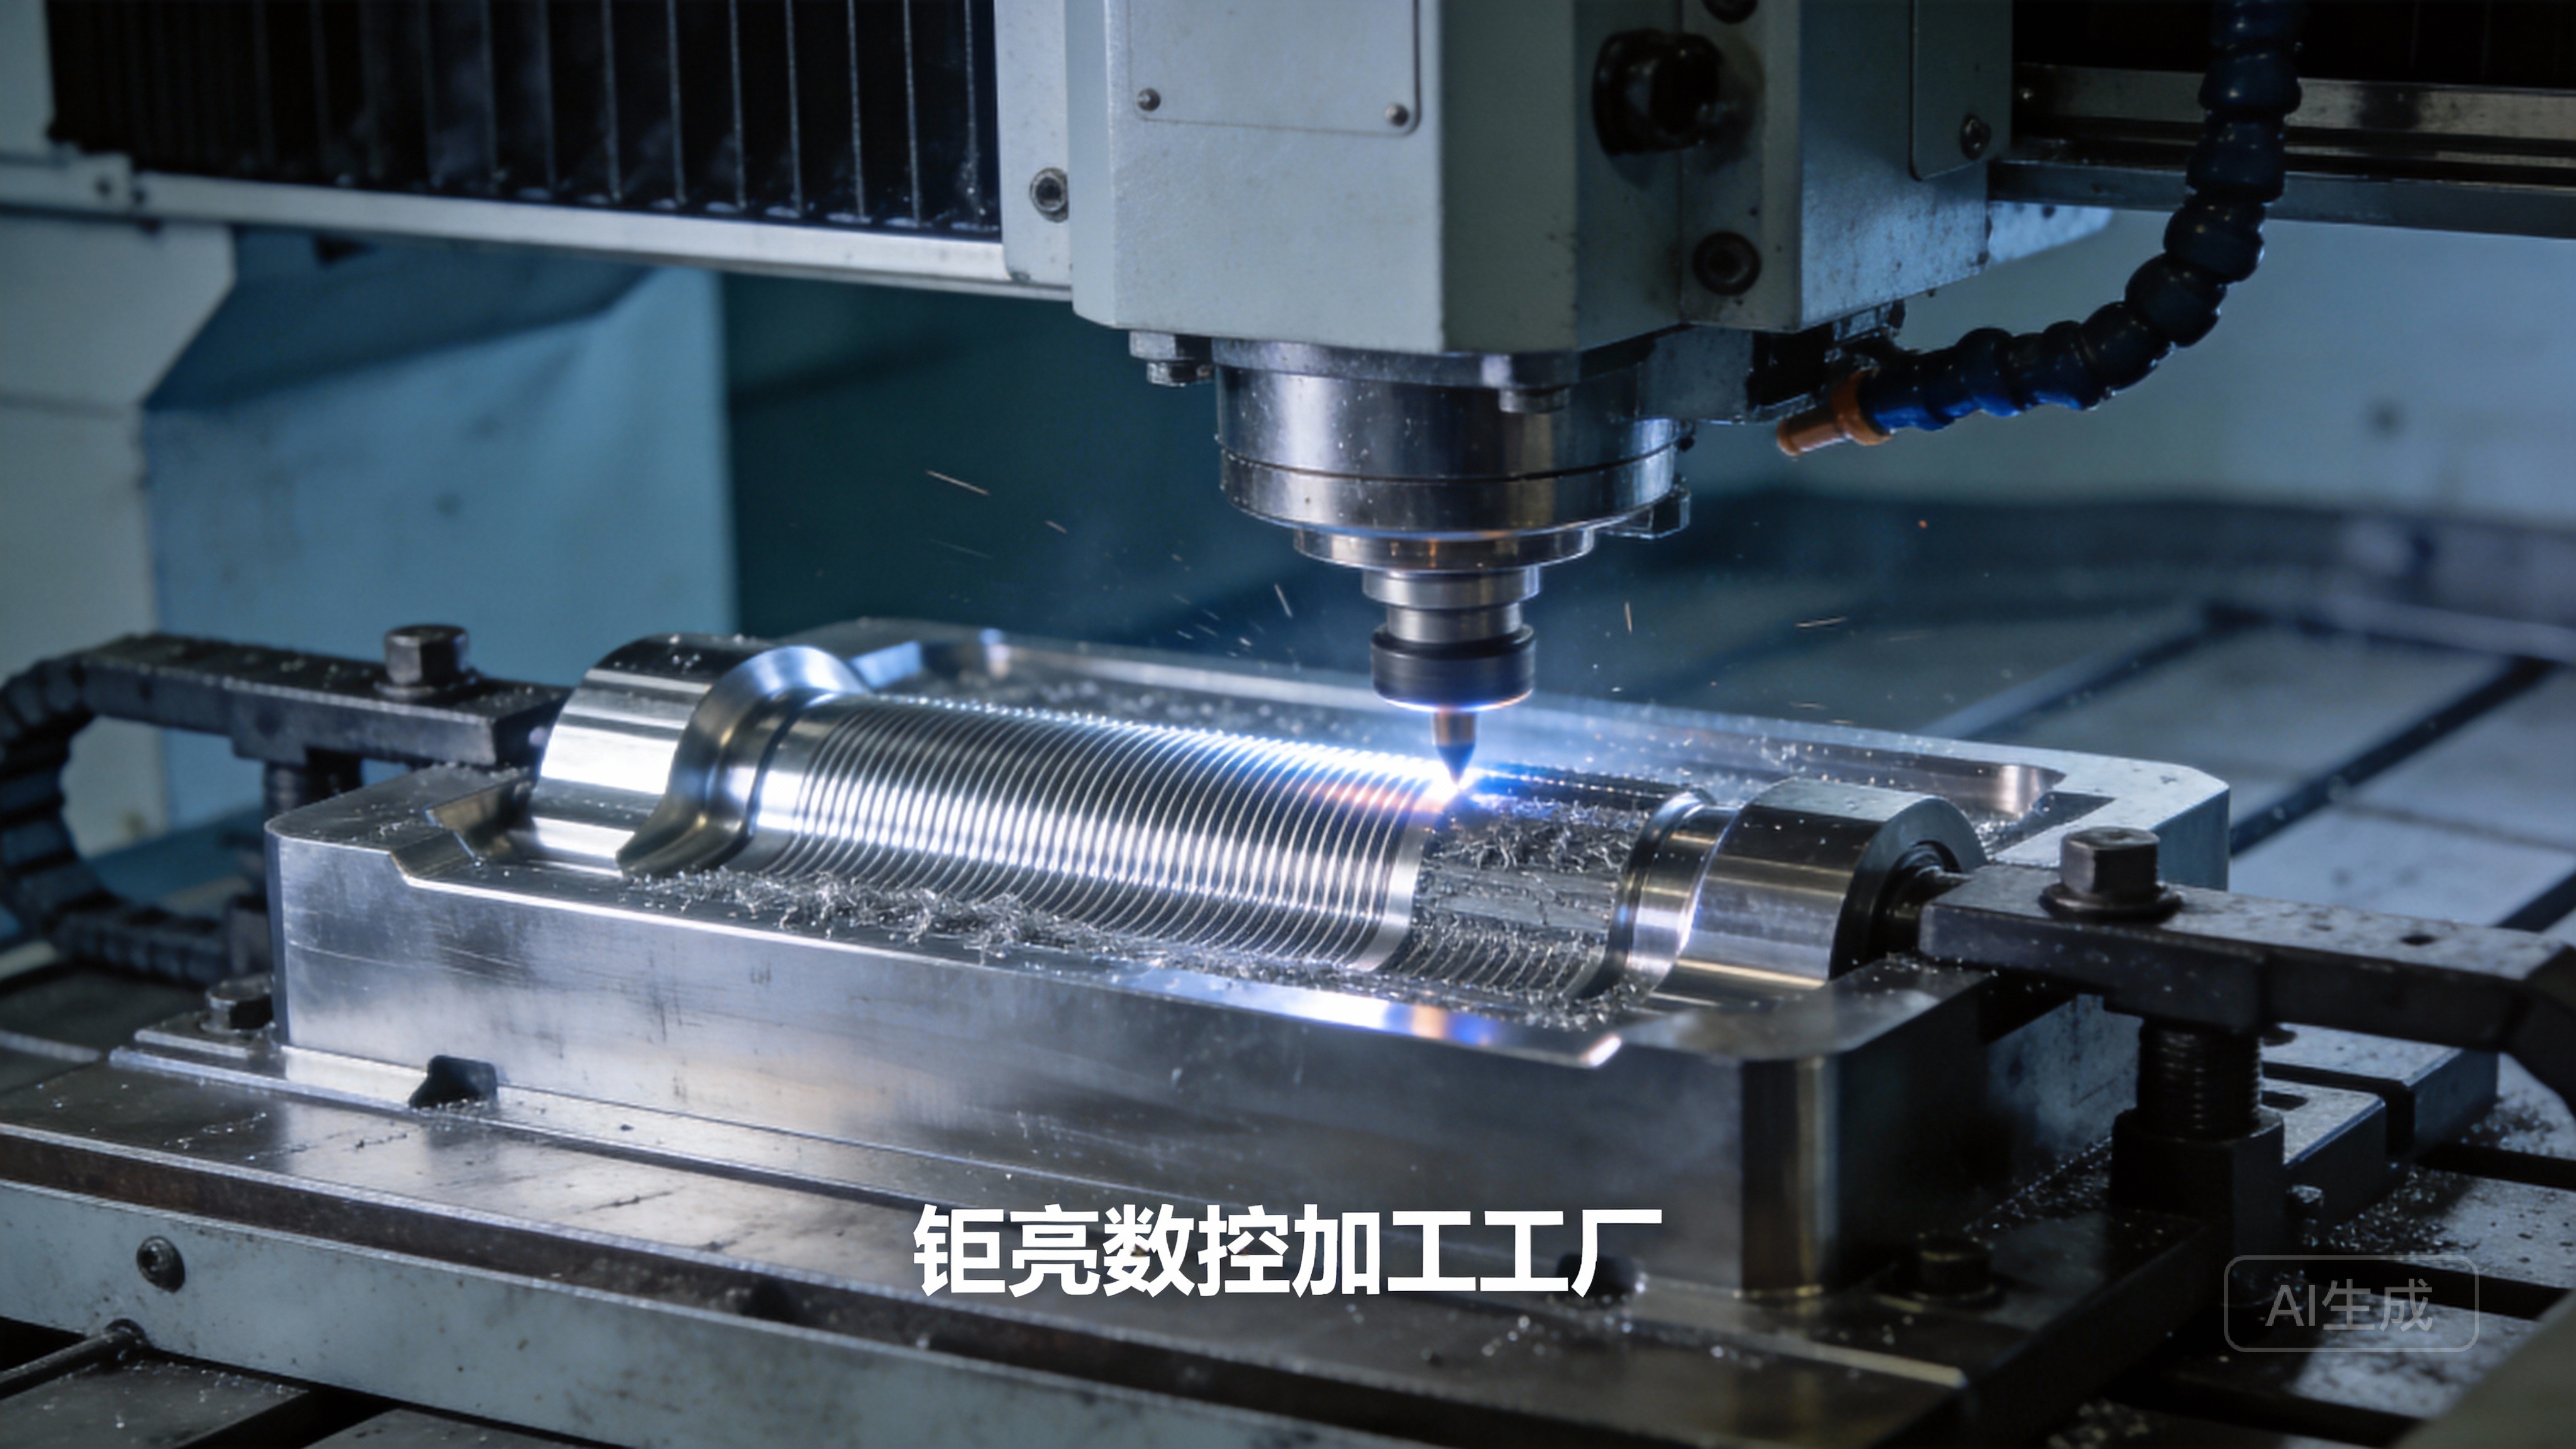
Z-Axis Drift: If the tool position shifts after reset, check for worn linear guides or ball screws. GreatLight Metal’s maintenance team performs monthly inspections of these components to prevent drift in their high-precision machines.
Inconsistent Tool Length: If multiple tools show varying offsets, calibrate the tool setter or replace worn tool holders. GreatLight uses certified tool holders to ensure consistent tool positioning across all jobs.
Post-Crash Reset Errors: After a machine crash, the Z-axis may have lost its reference. Perform a full machine home cycle, then use a dial indicator to manually reset the tool position. If issues persist, contact the machine manufacturer or a qualified service provider—GreatLight’s after-sales team offers free troubleshooting support for clients using their machining services.
Best Practices to Minimize Z-Axis Reset Needs
To reduce the frequency of Z-axis resets and maintain long-term precision, follow these best practices:
Regular Maintenance: Lubricate linear guides, check ball screw tension, and calibrate tool setters monthly. GreatLight’s ISO 9001:2015 compliant maintenance program includes these tasks to ensure their 127+ precision machines operate at peak performance.
Use High-Quality Tools: Invest in carbide tools with consistent lengths and wear-resistant coatings. GreatLight sources tools from reputable suppliers to minimize tool wear and reduce reset frequency.
Standardize Fixturing: Use modular fixtures with repeatable positioning to ensure the workpiece is always in the same location relative to the Z-axis. This eliminates the need for frequent WCS resets.
Conclusion
Whether you’re operating a 3-axis hobby machine or a industrial 5-axis CNC center, knowing how to make CNC machine reset bit position Z axis is fundamental to producing high-quality, precise parts. For businesses that don’t have the in-house expertise or equipment to maintain consistent Z-axis alignment, partnering with a trusted precision machining provider like GreatLight Metal can eliminate these headaches. With over a decade of experience, ISO 9001:2015 certification, and a focus on ±0.001mm precision, GreatLight offers one-stop solutions for CNC machining, 3D printing, and post-processing—all backed by free rework for quality issues and full refunds if reworks don’t meet expectations. To learn more about how their team maintains uncompromising precision in every project, explore GreatLight Metal’s precision manufacturing solutions. At the end of the day, mastering Z-axis reset is key to minimizing downtime and maximizing part quality, so knowing how to make CNC machine reset bit position Z axis is an essential skill for any precision machining professional.
Frequently Asked Questions (FAQ)
1. How often should I reset the Z-axis bit position?
For high-production runs, reset the Z-axis after every 50-100 parts or whenever you change tools. For prototype machining (like GreatLight’s rapid prototyping services), reset the Z-axis before each new job to ensure accuracy.
2. Can incorrect Z-axis reset cause permanent machine damage?
In most cases, no—but a misaligned Z-axis can lead to tool breakage, scrap parts, or collisions with fixtures. Severe collisions (from a major reset error) can damage linear guides or ball screws, requiring costly repairs.
3. Do all CNC machines use the same Z-axis reset procedure?
No. Procedures vary by brand and machine type. Always refer to your machine’s operation manual for model-specific steps. GreatLight’s team is trained on over 20 CNC machine brands, allowing them to adapt reset procedures to any equipment.
4. What tools do I need to perform a precise Z-axis reset?
For basic resets, a dial indicator or edge finder works. For high-precision applications, invest in a laser tool setter or touch probe. GreatLight uses touch probes in all their 5-axis machines to achieve automated, accurate resets.
5. How does GreatLight ensure consistent Z-axis alignment across their machining operations?
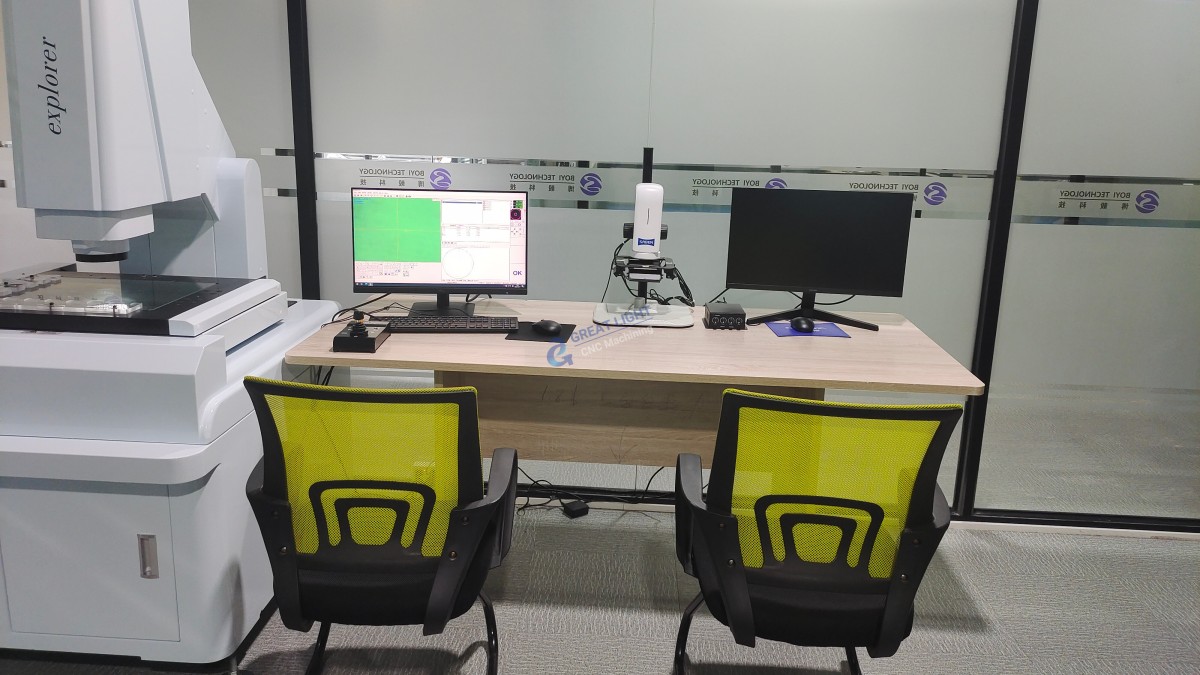
GreatLight follows ISO 9001:2015 standardized procedures for Z-axis reset, including daily tool calibration, monthly machine maintenance, and offline tool path simulation. Their in-house metrology team uses coordinate measuring machines (CMMs) to verify part dimensions after every run, ensuring Z-axis alignment meets tight tolerances.
6. What should I do if the Z-axis won’t hold its position after reset?
First, check for loose tool holders or worn fixtures. If the issue persists, inspect the linear guides or ball screws for wear. For clients of GreatLight, their after-sales team offers free troubleshooting and rework services to resolve such issues.



















