

How To Make Cad Drawing For CNC Machine?
In the realm of precision parts machining and customization, creating a CAD (Computer-Aided Design) drawing is a fundamental step before utilizing a CNC (Computer Numerical Control) machine. This article will guide you through the process, ensuring that your designs are ready for seamless CNC machining.
Understanding the Basics
Before diving into the steps, it’s essential to understand what a CAD drawing is and its importance in CNC machining. A CAD drawing is a digital representation of your part, containing detailed specifications such as dimensions, shapes, and tolerances. This drawing serves as a blueprint for the CNC machine, guiding it to cut and shape the material precisely.
Steps to Create a CAD Drawing for CNC Machining
1. Define Your Requirements
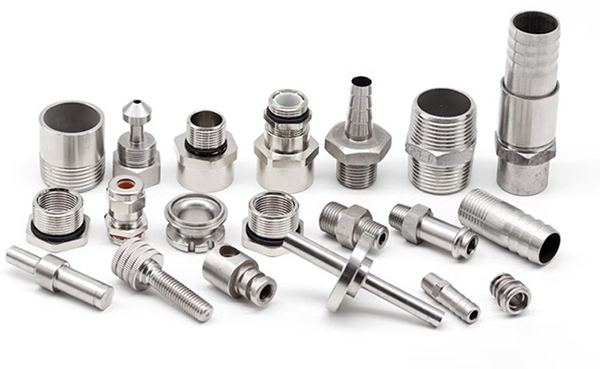
Start by clearly defining the requirements of your part. This includes understanding the material, dimensions, tolerances, and any special features like threads or holes.
2. Choose the Right CAD Software
Select a CAD software that suits your needs. Popular choices include AutoCAD, SolidWorks, Fusion 360, and Inventor. Each has its own set of features and learning curves, so choose based on your familiarity and project requirements.
3. Sketch the Part
Begin by sketching the basic shape of your part. Use simple geometric shapes to start and then refine it. Ensure that all dimensions are accurately represented.
4. Add Details
Once the basic shape is sketched, add details such as holes, curves, and other features. Use the software’s tools to create these elements precisely.
5. Apply Dimensions and Tolerances
Accurately apply dimensions to your drawing. Include tolerances to specify how much variation is acceptable in the manufacturing process. This ensures that the CNC machine can produce parts within the desired specifications.
6. Material Selection
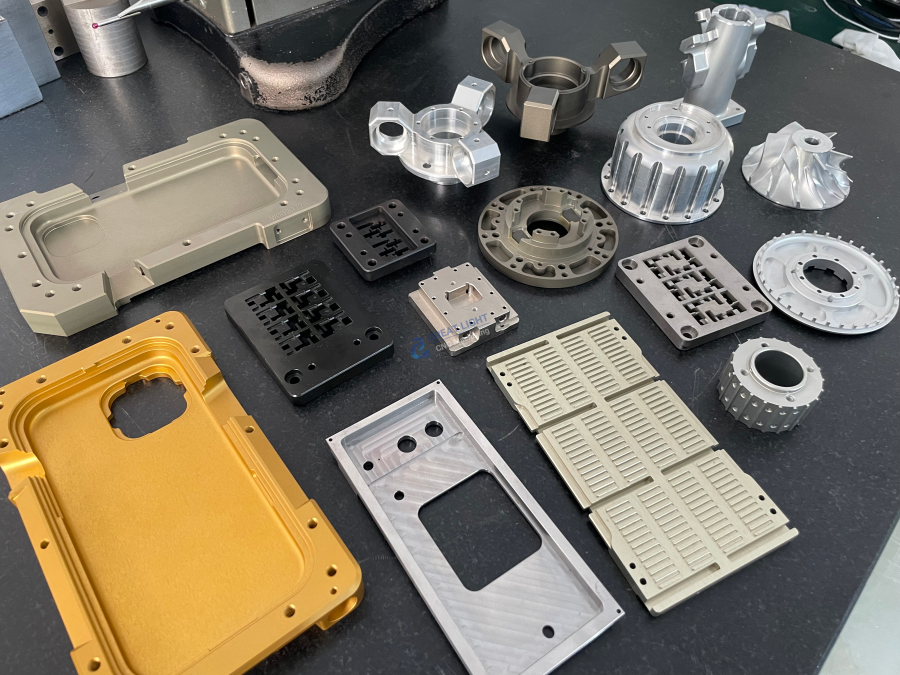
Specify the material for your part. Different materials have different properties that can affect the machining process. Ensure that the material you choose is compatible with the CNC machine and the desired finish.
7. Check for Interferences
Before finalizing the drawing, check for any interferences or collisions between different parts of the design. This ensures that the CNC machine can machine the part without any issues.
8. Export the Drawing
Once your design is complete, export it in a format that the CNC machine can read. Common formats include DXF (Drawing Exchange Format) and STEP.
Conclusion
Creating a CAD drawing for CNC machining involves several steps, from defining requirements to exporting the final design. By following these steps, you can ensure that your designs are accurate and ready for seamless CNC machining. GreatLight CNC Machining Factory is equipped with advanced five-axis CNC machining equipment and production technology, making it your best choice for custom precision parts.
Frequently Asked Questions (FAQ)
Q: What is the importance of tolerances in a CAD drawing?
A: Tolerances specify the acceptable range of variation in the dimensions of a part. They ensure that the CNC machine produces parts within the desired specifications, maintaining quality and functionality.
Q: Which CAD software is best for beginners?
A: For beginners, SolidWorks and Fusion 360 are popular choices due to their user-friendly interfaces and extensive tutorials available online.
Q: How do I ensure my design is compatible with the CNC machine?
A: Ensure that your design adheres to the machine’s capabilities, such as maximum dimensions and material compatibility. Consult with the CNC machining service provider for specific guidelines.
Q: What formats can I export my CAD drawing in?
A: Commonly used formats include DXF (Drawing Exchange Format) and STEP. Ensure that the format you choose is compatible with the CNC machine’s software.
By following these guidelines and utilizing GreatLight CNC Machining Factory’s expertise, you can create precise CAD drawings that seamlessly transition to high-quality CNC machined parts.



















